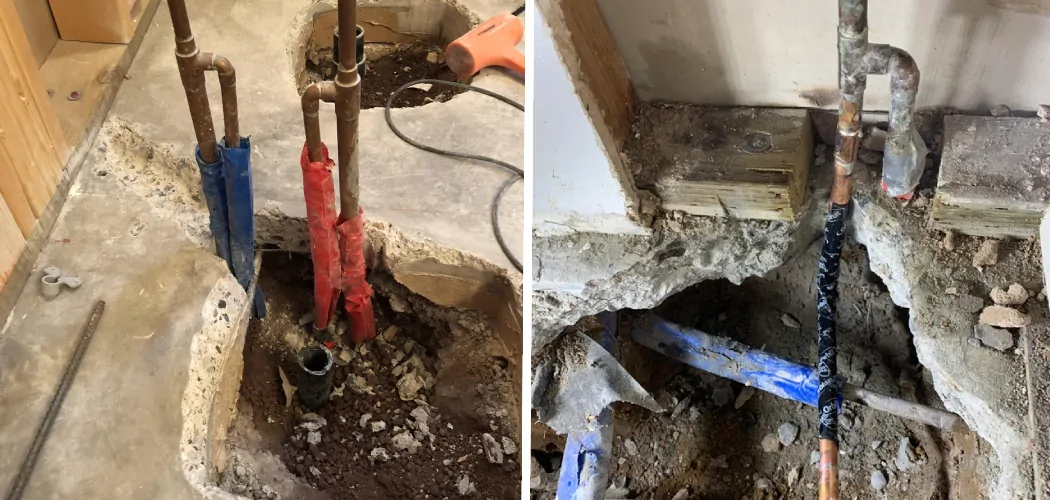
Are you a homeowner looking to tackle a DIY plumbing project? Do you have a house on a slab and need help replumbing it? Replumbing an entire house can be no walk in the park, especially if it’s a slab home. Fortunately, we’re here to lend a helping hand! In this blog post, we’ll walk you through the ins and outs of replumbing your house on a slab.
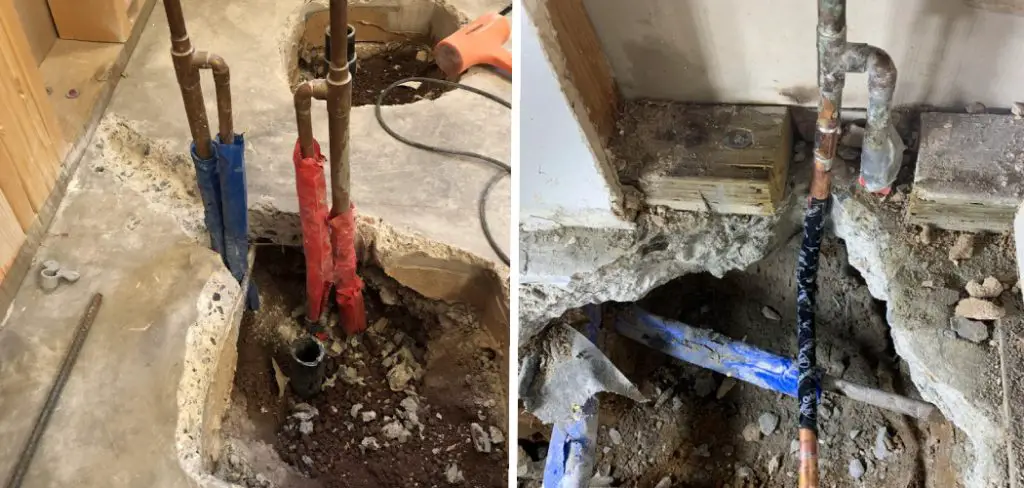
We’ll discuss all the various considerations for doing the job correctly and safely, from materials needed to pre-planning steps so that everything goes as smoothly as possible. If you want to tackle this project yourself instead of relying on experts like plumbers or builders, then come along with us as we break down everything you need to know about how to replumb your home today.
Whether you’re just getting started or already well underway with the process, this guide on how to replumb a house on a slab will give you helpful tips and tricks for tackling one of the most convenient yet complicated projects.
What is a House on a Slab?
Before we go any further, it’s important to understand what exactly is a house on a slab. In simple terms, a house on a slab is one that’s built directly on the ground or concrete foundation without a basement.
Homeowners who choose to build their homes on slabs make the most of their space and don’t have to worry about flooding or water damage. However, this type of construction does come with its own unique set of challenges when it comes to plumbing.
Is It Possible to Replumb a House on a Slab?
The first thing you may be wondering is whether it’s even possible to replumb a house that rests on a slab. The answer is yes, it is possible! A slab home means your house has no basement or crawlspace, and the plumbing system runs through the concrete foundation below your home.
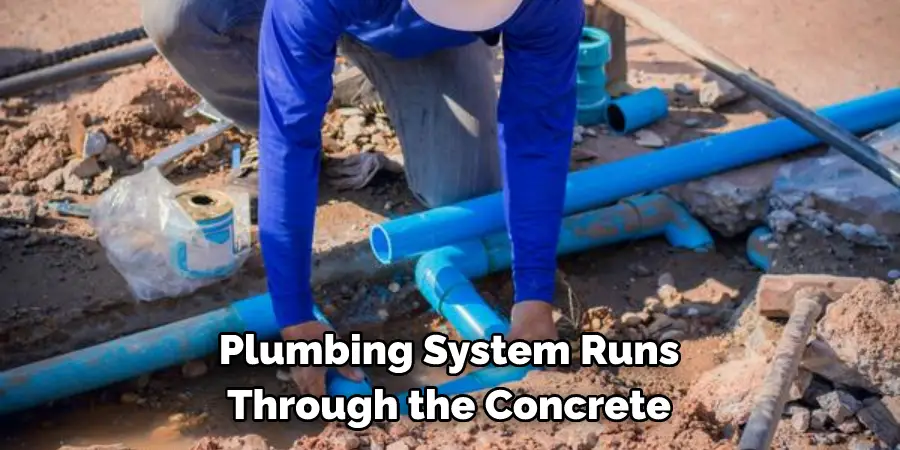
This can make the process of replacing pipes more challenging than a home with a basement or crawlspace, but it’s still doable.
Things to Consider Before Replumbing a House on a Slab
Before you jump into the replumbing process, there are a few things to consider.
First, decide what type of material you want to use for the new plumbing system. PEX and copper pipes are the most commonly used materials for residential plumbing systems, but there are other options available as well.
Additionally, consider whether or not you’ll need to break through the slab foundation in order to access and replace the pipes. Depending on your house, you may be able to avoid this step by running new pipes through walls or floors.
Next, it’s important to make sure all local codes are followed when replumbing a house on a slab. This includes making sure that all pipes, fittings, and connections are up to code. Additionally, be sure that all fixtures and appliances are properly connected to the new plumbing system.
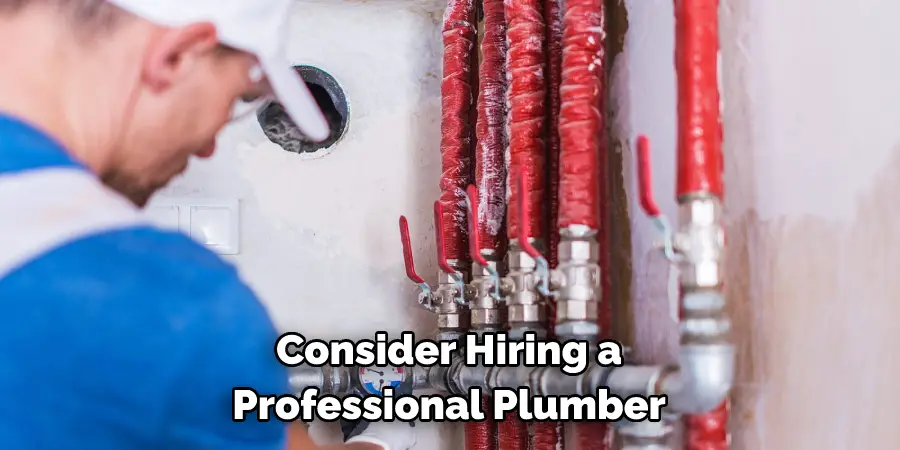
Finally, you should also consider hiring a professional plumber or builder if you don’t have enough experience with replumbing a house on a slab. This can help ensure that your project is done correctly and your house remains safe from any potential plumbing problems.
Required Items for Replumbing a House on a Slab
Now that you know what to consider before starting the project, let’s go over the items you’ll need. Obviously, you will need the new pipes and fittings for your plumbing system. You may also need to purchase tools like saws, wrenches, screwdrivers, and other tools, depending on the type of pipes you’re using.
Additionally, you will need to have access to a few supplies, such as pipe sealant, duct tape, and joint compound. You may also want to pick up some protective gear like gloves, goggles, and boots in case of any spills or splashes while working with the pipes.
10 Instructions on How to Replumb a House on a Slab
Finally, let’s go over the steps for replumbing your house on a slab. The process may be slightly different depending on your home and how much access you have to the plumbing system, so be sure to plan accordingly.
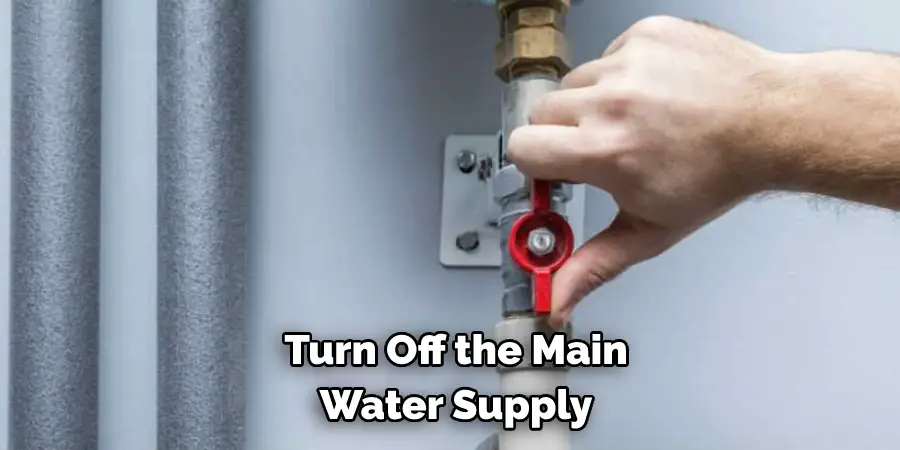
1. Turn Off the Main Water Supply
Before you start replumbing, it’s important to turn off the main water supply to your home. Remember to take all appropriate safety measures when working with water and electricity. The water supply should remain off until the job is finished.
2. Drain the Pipes
Once you’ve shut off the main water supply, it’s time to drain the pipes so they can be replaced. This will help prevent any leaks or spills while working with the new plumbing system. It is best to start from the highest point in your home and work your way down.
3. Remove Old Pipes
Now that the pipes are drained, you’re ready to remove the old plumbing system. Begin by carefully unscrewing any fittings or connections attached to the old pipes. You may need to use an appropriate tool like a hacksaw or pipe wrench to do this.
4. Cut New Pipes
Once the old pipes have been removed, it’s time to cut new pipes and fittings for your plumbing system. Be sure to use appropriate tools, such as a tubing cutter or saw, depending on what type of material you are using. Additionally, be sure to measure correctly and cut the pipes to fit your house.
5. Install New Pipes
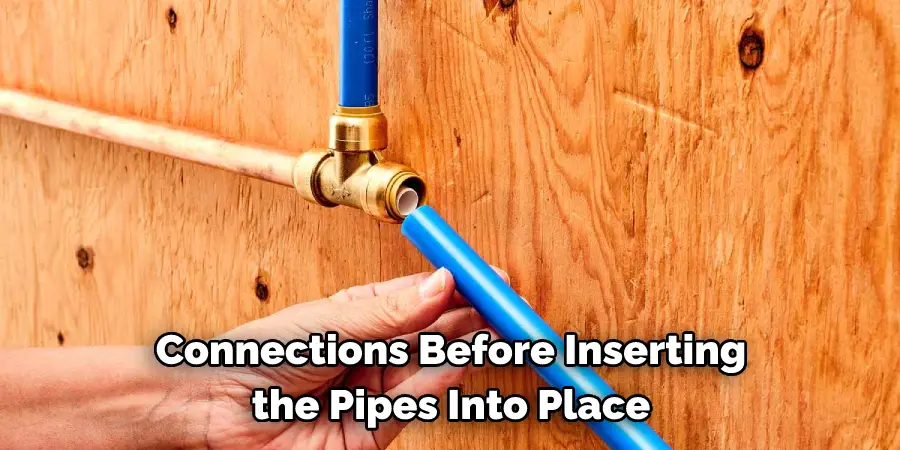
Once the new pipes are cut to the appropriate size, it’s time to begin installing them. Start by connecting any necessary fittings or connections before inserting the pipes into place. Be sure to use pipe sealant or joint compound when making any connections.
6. Test the System
Once all of the new pipes are in place, it’s time to test the system. Start by turning on the main water supply and letting the water run for a few minutes to check for any leaks or bursts. If everything looks good, then you can move on to attaching fixtures and appliances.
7. Attach Fixtures and Appliances
Now it’s time to attach any fixtures or appliances that need to be connected to the new plumbing system. Start by carefully connecting each fixture or appliance in accordance with the manufacturer’s instructions. Be sure to leave enough room between each connection so they don’t cross over or interfere with one another.
8. Connect to the Main Water Supply
Once you’ve connected all of the fixtures and appliances, it’s time to connect them to the main water supply. Start by attaching a hose from the main water supply line to each fixture or appliance. Be sure to use the appropriate valves when making any connections.
9. Check for Leaks
Once all of the fixtures and appliances are connected to the main water supply, turn on the water and check for any leaks or bursts. If everything looks good, then you can move on to testing each fixture or appliance individually.
10. Test Each Fixture and Appliance
The last step is to test each fixture and appliance individually. Start by turning on the water for each one and checking for any leaks or bursts. If everything looks good, then your house has been successfully replumbed!
With these instructions, you should be well on your way to replumbing your house on a slab. Be sure to take extra precautions and use the appropriate tools when working with plumbing. Once you’ve finished replumbing your house, you can sit back and enjoy the peace of mind of knowing that your home is now up to code.
8 Safety Measures to Take
1. Always wear protective gear while working, such as safety glasses, gloves, and a dust mask. Protective wear is essential to protect you from any dangers that may arise while working. The protective gear will also help you keep the work area clean and free of dust or debris that can be generated by your work.
2. Make sure to turn off any gas or water supply before beginning the job so that you do not create a hazard while re-plumbing the house. It is especially important to remember to turn off these sources if you are working near them.
3. Make sure the work area is well-ventilated to avoid inhaling any dangerous dust or chemicals while re-plumbing the house. If possible, use a fan to keep air circulating in your workspace. If the area is not adequately ventilated, you may need to install exhaust fans near your work area.
4. Always use watertight connections when working with water pipes and fittings. This will prevent any leaks that could occur if the connections are not properly sealed.
5. Test all seals and connections before using them to ensure they are secure and leak-proof.
6. Use a pipe wrench to tighten connections if necessary. When using any type of tool, make sure it is in good working condition and free of defects or damage.
7. Be aware of any hazardous materials you may be exposed to while re-plumbing the house on a slab, such as asbestos, lead, and other harmful substances.
8. Dispose of any hazardous materials properly, as dictated by local laws and regulations. Follow all safety guidelines when dealing with these types of materials to ensure your health and that the health of those around you are not compromised in any way.
By following these steps, you can safely re-plumb a house on a slab and ensure that your home is safe and secure. With the right preparation, you can complete this job with confidence.
Frequently Asked Questions
How Long Does the Plumbing Last on Slab?
The average lifespan of slab plumbing depends on the type and quality of the materials used. Generally, copper plumbing will last anywhere from 50 to 70 years, while plastic or PVC can last up to 40 years with proper maintenance.
It is important to have an experienced plumber inspect your slab plumbing at least once a year in order to identify potential problems before they become more serious.
Do I Need a Plumber to Replumb My Slab Home?
Yes, it is recommended that you hire an experienced and licensed plumber to replumb your slab home. A plumber will be able to assess the existing plumbing system and make the necessary changes or replacements in order to ensure that your home is functioning safely and efficiently. Additionally, they can ensure that the new plumbing system meets local codes and regulations.
Conclusion
Replumbing your home on a slab can be a grueling yet necessary task. Hopefully, this blog post on how to replumb a house on a slab has provided you with the insights and tools to successfully re-plumb your home. Educating yourself on the basics of plumping, such as what type of pipes are needed and how to measure distances, should help prepare you for this project.
As expressed in this article, having a clear plan before starting will make your job much easier and save you time. That said, it is important to remember that if the job becomes too difficult or too expensive, developers may be able to complete it at an affordable rate with minimum disruption caused. All in all, remember to stay safe and take the correct precautions when re-plumbing your house on a slab.

