Sump pumps are an essential part of any home’s plumbing system, especially for homes that have basements or crawl spaces. They work by removing excess water that accumulates in the sump pit and redirecting it away from the foundation of your house.
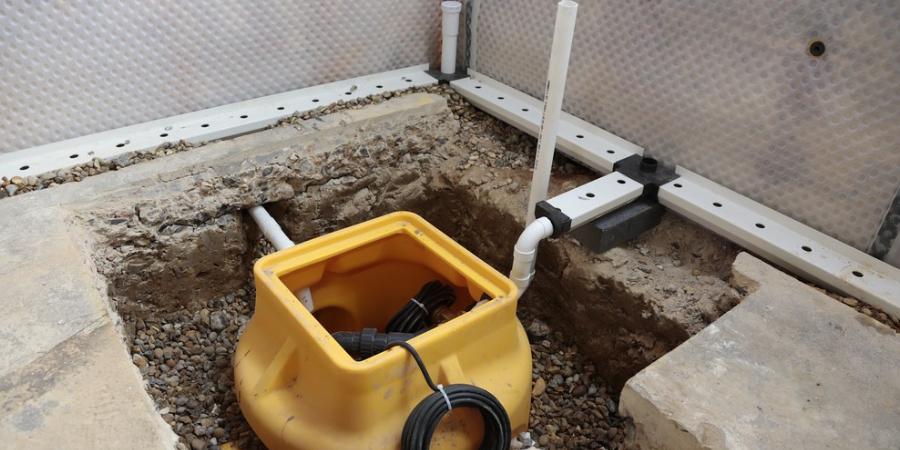
However, there are times when you may need to reroute the discharge of your sump pump, and knowing how to do it properly can save you from potential water damage or costly repairs.
The main purpose of a sump pump is to remove excess water from the basement or crawlspace of your home. However, sometimes the location where the sump pump discharges the water may not be ideal or could even pose potential hazards. In such cases, it becomes necessary to reroute the sump pump discharge. In this blog post, You will learn in detail how to reroute sump pump discharge.
Step by Step Processes for How to Reroute Sump Pump Discharge
Step 1: Inspect Your Current Sump Pump
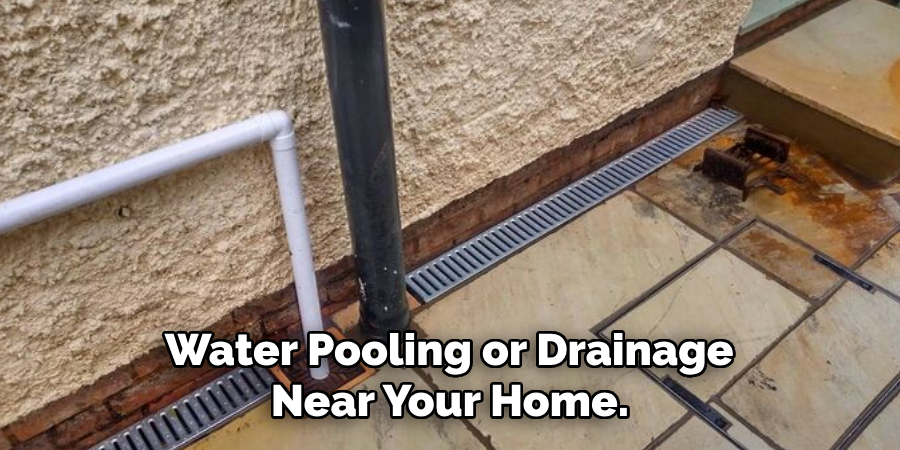
Before you start rerouting your sump pump discharge, it’s important to inspect the current location and determine if it needs to be moved. Look for any signs of water pooling or drainage issues near the existing discharge spot. If you notice any issues, it may be a good idea to reroute the discharge to a different location.
Step 2: Determine the New Discharge Location
Once you have decided to reroute your sump pump discharge, you need to determine where the new location will be. Ideally, it should be in an area that is far enough away from your house and any neighboring properties so that it won’t cause any potential issues. Additionally, make sure the discharge will not flow towards any walkways or areas where people frequently use.
Step 3: Prepare for Excavation
If you are rerouting your sump pump discharge to a new location outside of your house, you will need to dig a trench for the pipes. Make sure you have all the necessary tools and equipment before starting the excavation process. It’s also important to check with local regulations and codes regarding groundwater drainage in your area.
Step 4: Dig the Trench
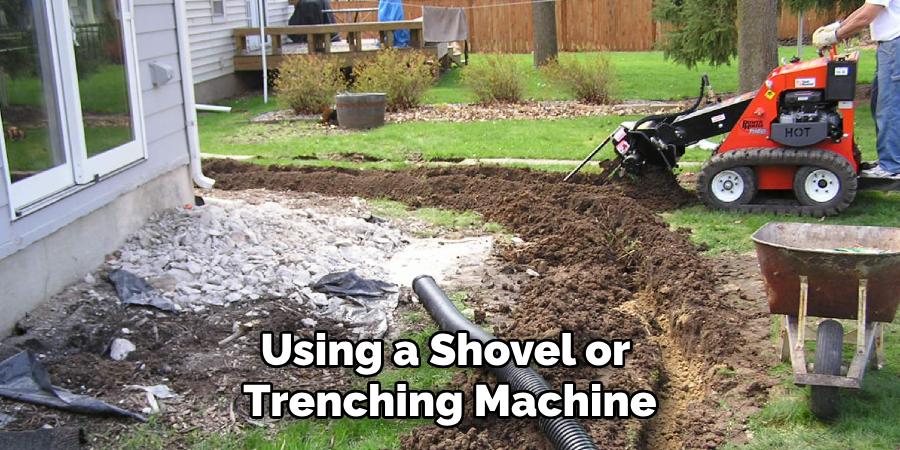
Using a shovel or trenching machine, dig a trench from the current discharge location to the new discharge location. It’s important to make sure the trench is deep enough and has a slope of at least 1/8 inch per foot for proper drainage. This may vary depending on local regulations, so be sure to check before digging.
Step 5: Create a Pit for the New Discharge Location
At the new discharge location, dig a pit big enough to accommodate the sump pump and its pipes. This pit should be at least three feet deep and wide enough to allow for proper pipe installation. If necessary, use a sump pit liner to prevent any potential issues with ground water seeping into the discharge area.
Step 6: Install Pipes
Using PVC pipes and connectors, run a new discharge line from the sump pump to the new discharge location. Make sure all connections are secure and properly sealed. It’s important to avoid any dips or low points in the pipe that could cause clogging or drainage issues.
After the pipes are installed, cover the trench and pit with soil and compact it to ensure proper drainage. You can also use gravel or rocks as a base before covering with soil for better drainage. If necessary, add a drain cover to prevent debris from entering the discharge line.

Step 7: Test the New Discharge Location
Once everything is in place, test the new discharge location by pouring water into the sump pit. Make sure it flows properly through the pipes and drains away from your house without any issues. If necessary, make adjustments to ensure proper drainage.
To avoid any potential damage to the pipes, make sure they are securely attached to the house and protected from freezing temperatures. You can use insulation or heat tape for added protection during colder months.
Step 8: Consider Hiring a Professional
If you are not confident in your ability to reroute your sump pump discharge, or if the task seems too daunting, it’s always best to hire a professional. They have the necessary skills and equipment to ensure the job is done correctly and safely. This may also save you time and potential headaches in the long run.
By following these steps, you can successfully reroute your sump pump discharge and prevent any potential issues with water pooling or drainage near your home. It’s important to regularly check and maintain your sump pump system to ensure it is functioning properly and avoid any unexpected problems.
Safety Tips for How to Reroute Sump Pump Discharge
- Always wear protective gear such as gloves and goggles when working with the sump pump discharge. The water may contain debris, bacteria, or other hazardous materials.
- Make sure to turn off the power supply before attempting to reroute the sump pump discharge. This will prevent any electrical accidents and ensure your safety.
- Use caution when handling the sump pump discharge pipe as it may be hot or have sharp edges. Wear protective gear and handle with care to avoid injuries.
- Before starting any rerouting work, make sure to plan out the new route carefully. Consider factors such as slope, distance, and potential obstacles before making changes to the discharge location.
- Keep children and pets away from the work area to avoid any accidents or injuries. It is important to maintain a safe distance while working on rerouting the sump pump discharge.
- If you are unsure about how to reroute the sump pump discharge, it is best to seek professional help. Attempting complex rerouting without proper knowledge and experience can be dangerous.
- Regularly inspect and maintain your sump pump and its discharge system to ensure proper functioning. This will help prevent any major issues that may require rerouting in the future.
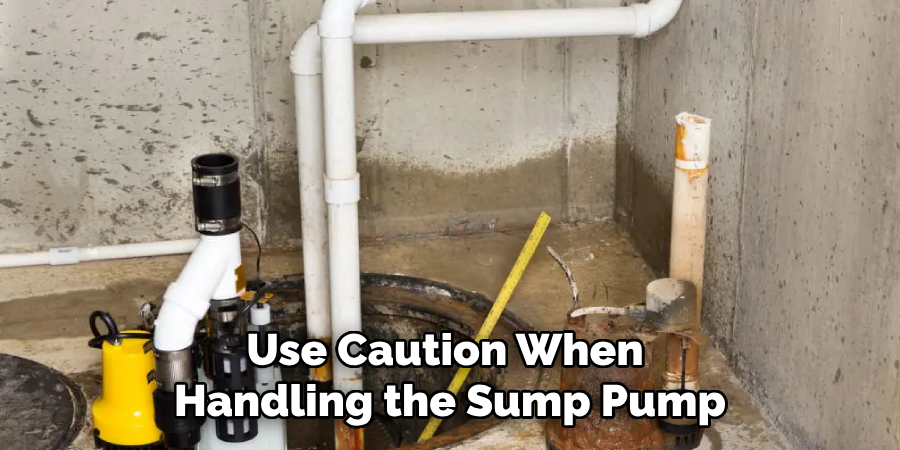
Remember, safety should always be the top priority when working with a sump pump discharge. With these precautions in mind, you can safely and effectively reroute your sump pump discharge for optimal performance.
Are There Any Specific Building Codes or Regulations When It Comes to Rerouting Sump Pump Discharges?
When it comes to rerouting sump pump discharges, there are some building codes and regulations that you should keep in mind. These codes and regulations vary by location, so it’s important to check with your local government or building authority before making any modifications. However, here are some general guidelines that you should follow:
- The discharge point of the sump pump should be at least 10 feet away from your home’s foundation. This helps to prevent water from seeping back into your basement or crawlspace.
- The discharge should be directed away from your neighbor’s property and any public walkways. This ensures that the excess water does not create any hazards for others.
- Some areas may also have regulations regarding where the sump pump discharge can be routed, such as into a storm sewer or retention pond. Be sure to check these regulations before making any changes.
- If you live in a flood-prone area, there may be additional regulations for rerouting sump pump discharges. For example, some areas may require the discharge to be directed towards a designated water collection or drainage system.
- It’s also important to consider potential damage to neighboring properties when rerouting sump pump discharges. If you plan on redirecting the water towards a neighbor’s property, be sure to get their permission first and consider installing barriers or additional drainage systems to prevent any damage.
- Lastly, make sure that the discharge point is located in an area that allows for proper drainage and does not cause issues for your own property. This includes avoiding areas with low spots or natural slopes that could create standing water.
Overall, it’s crucial to research and follow all local building codes and regulations when rerouting sump pump discharges. Not only does this ensure the safety of your own property, but also that of those around you.
Is There Any Maintenance Required After Rerouting a Sump Pump Discharge?
After learning about how to reroute a sump pump discharge, you may be wondering if there is any maintenance required after completing the task. The short answer is yes, there are some important steps you should take to ensure your new sump pump discharge system runs smoothly and effectively. In this section, we will cover the essential maintenance tasks to keep in mind after rerouting a sump pump discharge.
1. Check the New Discharge Pipe
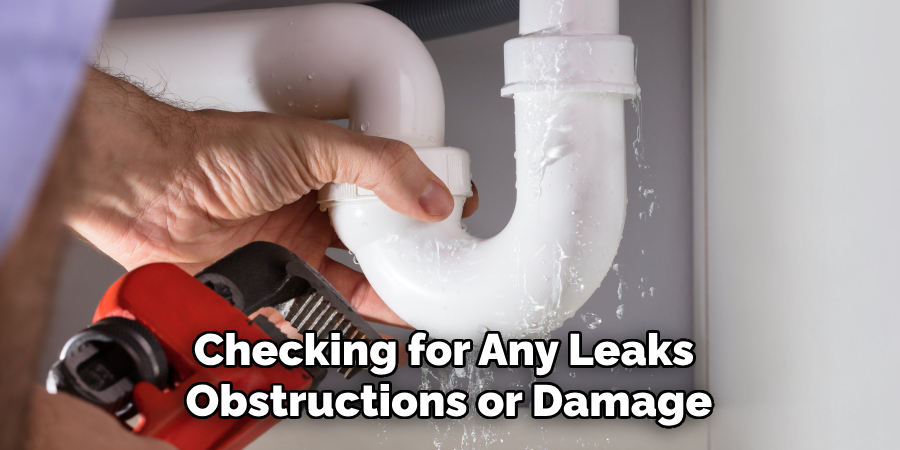
The first thing you should do after rerouting your sump pump discharge is to check the new discharge pipe to make sure it is functioning properly. This includes checking for any leaks, obstructions, or damage to the pipe. If you notice any issues, they should be addressed as soon as possible to prevent any potential problems.
2. Test the Discharge Flow
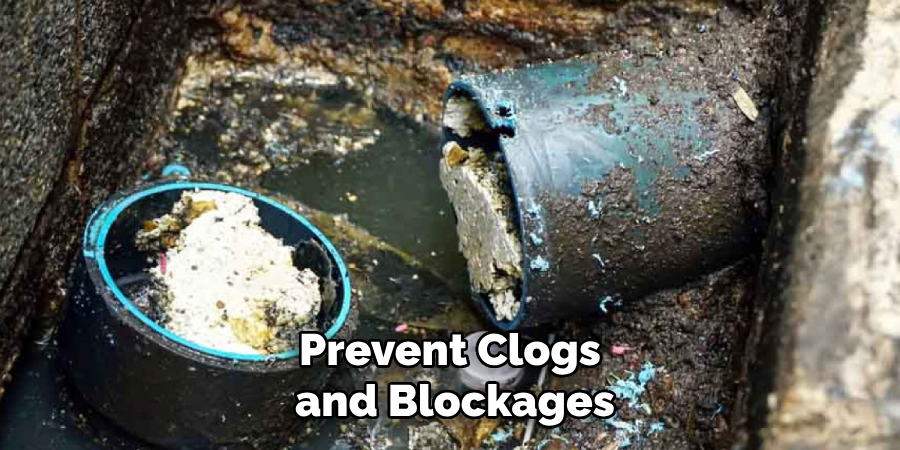
You should also test the flow of the sump pump discharge by pouring water into the pit and observing how it flows out of the new pipe. This will ensure that there are no clogs or blockages in the system that could impede proper drainage. If you notice any issues, try flushing the system with a garden hose to clear out any obstructions.
3. Inspect the Sump Pump
While you’re at it, it is also a good idea to inspect the condition of your sump pump itself. Check for any signs of wear and tear on the pump and its components such as the impeller, float switch, and check valve. Replace any damaged or worn-out parts to ensure optimal performance.
4. Clean the Sump Pit
Next, you should clean out the sump pit to remove any debris or sediment that may have accumulated over time. This will prevent clogs and blockages in the system and ensure proper water flow.
5. Test the Backup Pump (if applicable)
If you have a backup pump as part of your sump pump system, it is essential to test it after rerouting the discharge. This will ensure that it is working correctly and able to take over in case of a power outage or if your primary pump fails.
6. Consider Installing a Battery Backup
Speaking of power outages, it may be worth considering installing a battery backup for your sump pump system. This will ensure that your sump pump continues to function even during power outages, providing you with peace of mind and protecting your home from potential flooding.
By following these maintenance steps, you can ensure that your newly rerouted sump pump discharge system continues to work effectively and protect your home from potential water damage. Remember to also continue with regular maintenance tasks throughout the year to keep your sump pump system running smoothly.
Conclusion
In conclusion, rerouting sump pump discharge is a crucial task that every homeowner should know how to do. As sump pumps are an essential part of our homes, it is important to ensure that they are functioning properly and efficiently. Rerouting the discharge is not only beneficial for preventing flooding and water damage, but it also helps in maintaining the overall health and longevity of your sump pump system.
To successfully reroute your sump pump discharge, make sure to carefully plan and map out the new route, acquire the necessary materials, and follow proper installation procedures. It is also important to regularly maintain your sump pump system and check for any potential issues that may arise. I hope this article has been beneficial for learning how to reroute sump pump discharge. Make Sure the precautionary measures are followed chronologically.

