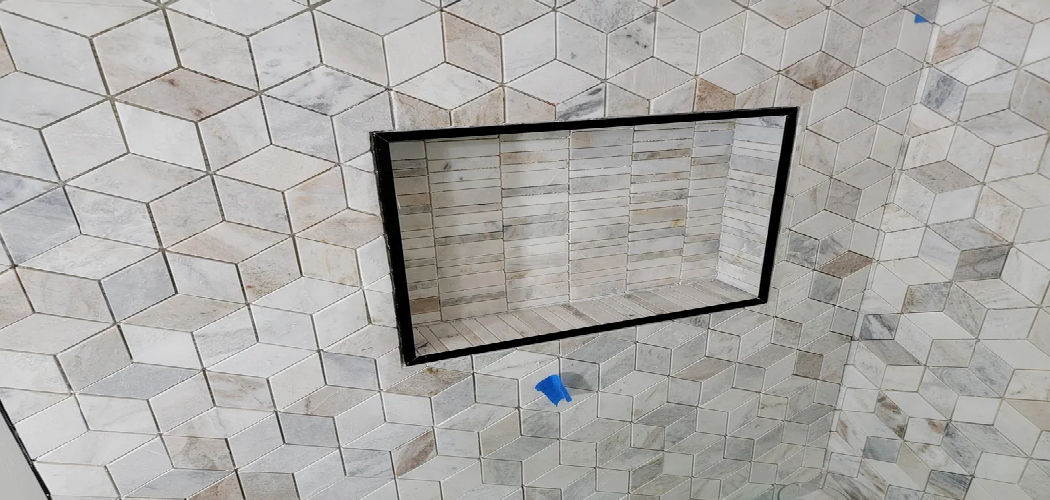
Over time, grout lines in a shower can become worn, cracked, or discolored due to constant exposure to water, soap, and cleaning products. Resealing grout is an essential maintenance task that not only enhances the appearance of your shower but also helps prevent water damage and mold growth. In this blog post, we’ll walk you through the steps on how to reseal grout lines in a shower so that you can get back to using it in no time! So grab your tools, and let’s get started!
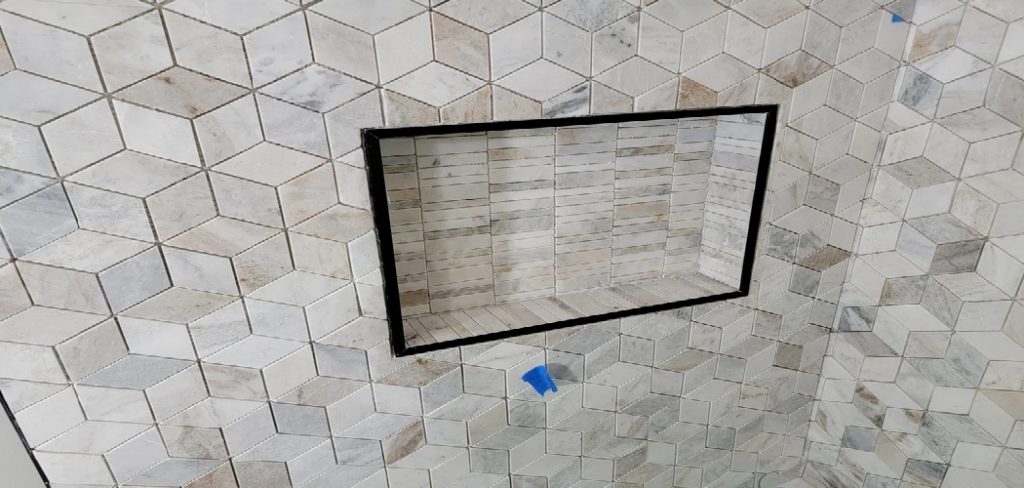
What is Grout Sealer and Why Do You Need It?
Grout sealer is a protective liquid that is applied to grout lines to create a barrier against moisture, dirt, and stains. Since grout is naturally porous, it can easily absorb water and other substances, making it more susceptible to discoloration, mold, and damage over time. Applying a grout sealer helps to extend the life of your grout by repelling liquids and preventing buildup, ensuring your shower stays clean and well-maintained.
Using grout sealer is essential because it not only keeps your shower looking fresh and new but also helps to preserve the structural integrity of the grout. Without a proper seal, water can seep into the grout, leading to potential water damage and costly repairs. Whether you’ve just installed new grout or you’re resealing existing grout, this step is key to maintaining a healthy and attractive shower space.
Tools and Materials Needed
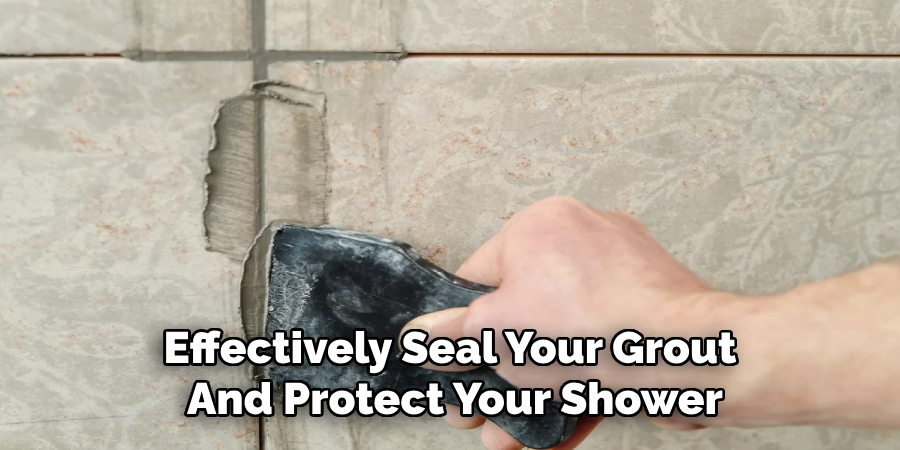
To effectively seal your grout and protect your shower, you will need the following tools and materials:
- Grout Sealer: Choose a high-quality grout sealer appropriate for your specific tile and grout type (e.g., penetrating sealer for natural stone).
- Applicator: Options include a small paintbrush, foam brush, or a roller applicator specifically designed for grout lines.
- Cleaning Supplies:
- Mild Cleaner or Grout Cleaner to ensure the grout is free of dirt and residue.
- Soft Scrub Brush for scrubbing the grout lines without causing damage.
- Cloth or Sponge for wiping down surfaces.
- Masking Tape (optional): Useful for protecting adjacent tiles or areas from sealer application.
- Gloves and Eye Protection: For safety while handling the grout sealer.
- Ventilation Tools (if needed): Fans or open windows to ventilate the area during application, especially if using a solvent-based sealer.
Having these tools and materials ready will make the sealing process efficient and ensure a professional-quality finish.
10 Methods How to Reseal Grout Lines in a Shower
1. Thoroughly Clean the Grout Lines Before Sealing
Before applying any sealer, the first and most important step is to clean the grout lines meticulously. Any dirt, mold, mildew, soap scum, or old sealer residue must be removed to ensure proper adhesion of the new sealant. Use a grout cleaner or a mixture of baking soda and vinegar, applied with a stiff brush, to scrub the grout lines.
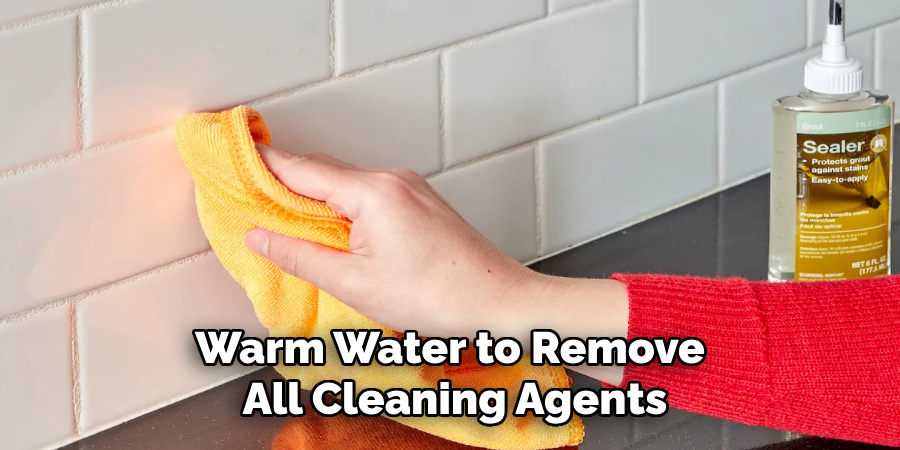
For tough stains or mildew, a diluted bleach solution or hydrogen peroxide can be effective. After scrubbing, rinse thoroughly with warm water to remove all cleaning agents. It’s critical to allow the grout to dry completely—ideally for 24 to 48 hours—before applying the sealer, as moisture trapped under the sealant can cause bubbling and poor performance.
2. Choose the Right Type of Grout Sealer
Not all grout sealers are created equal, so selecting the appropriate product for your specific tile and grout type is essential. There are primarily two types: penetrating (or impregnating) sealers and membrane-forming sealers. Penetrating sealers soak into the grout, providing water repellency while allowing it to breathe, making them ideal for shower floors and walls.
Membrane-forming sealers create a protective layer on top of the grout but may peel or wear off in wet environments. For showers, a high-quality penetrating sealer designed for wet areas is generally recommended. Always check the manufacturer’s specifications to ensure compatibility with your grout.
3. Use Proper Tools for Application
Applying grout sealer requires precision, and using the right tools can make the job easier and more effective. A small paintbrush, grout sealer applicator pen, or a foam brush works well for controlled application along grout lines without spilling onto tiles. Some sealers come with a built-in applicator, which simplifies the process.
Avoid using rollers or large brushes, as these can apply sealer unevenly and waste product. Additionally, keep clean, lint-free cloths nearby to immediately wipe away any excess sealer that accidentally lands on tile surfaces to prevent haze or discoloration.
4. Apply the Sealer Evenly and in Thin Layers
When resealing grout, less is more. Apply a thin, even coat of sealer to the grout lines, ensuring complete coverage without pooling or drips. Thick layers can take much longer to dry and may form bubbles or uneven surfaces. Start by applying sealer to a small section—approximately 2 to 3 square feet—using smooth, steady strokes.
Work systematically to cover all grout lines, maintaining a wet edge to avoid visible overlap lines. If your grout is highly porous or aged, a second thin coat may be necessary after the first one dries, but always follow the manufacturer’s drying times.
5. Wipe Off Excess Sealer Promptly
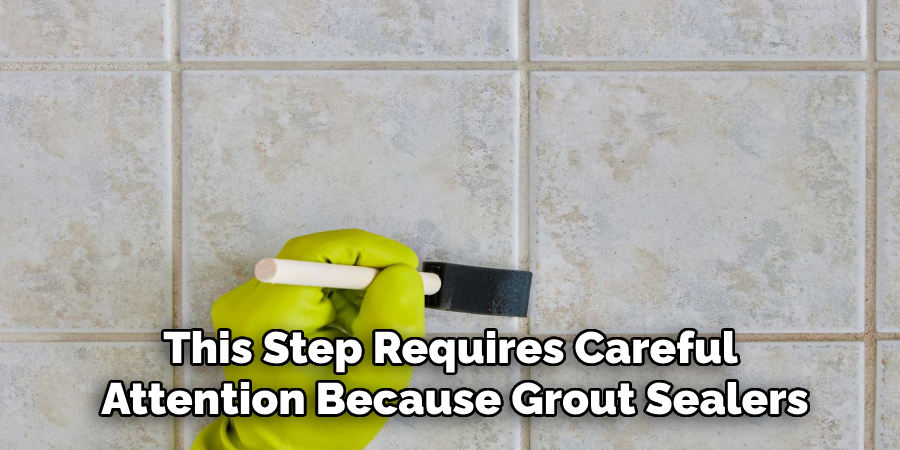
One of the most common mistakes when resealing grout is allowing sealer to dry on the tile surface, causing an unsightly haze or residue. After applying sealer to the grout lines, immediately wipe the surrounding tile surfaces with a clean, dry cloth or paper towel. This step requires careful attention because grout sealers can dry quickly, especially in warm or dry conditions. If the sealer does dry on tiles, it can be challenging to remove and may require additional cleaning with grout haze removers or polishing compounds.
6. Allow Sufficient Drying and Curing Time
After application, it is crucial to allow the grout sealer adequate time to dry and cure to ensure maximum protection. Typically, grout sealers require at least 24 hours to dry, but curing can take up to 72 hours depending on the product and environmental conditions such as temperature and humidity. Avoid using the shower or exposing the grout to water during this period, as premature contact with water can compromise the seal. To promote faster drying, ensure proper ventilation in the bathroom by opening windows or using exhaust fans.
7. Test the Sealing Effectiveness
Once the sealer has fully cured, test its effectiveness by applying a few drops of water to different grout areas. If the water beads up on the surface instead of soaking into the grout, the sealant has been properly applied and is working effectively. If water is absorbed and darkens the grout, this indicates incomplete sealing, and you may need to apply an additional coat. Regular testing every few months can help you determine when resealing is necessary to maintain protection.
8. Address Damaged or Cracked Grout Before Sealing
If the grout lines are cracked, crumbling, or missing in areas, resealing alone won’t be enough to protect your shower. Damaged grout must be repaired or replaced prior to sealing to prevent water intrusion that can cause further damage behind the tiles. Use a grout removal tool or utility knife to carefully remove damaged grout without harming tiles. Then, apply new grout using a grout float, smoothing it into the gaps and allowing it to cure as directed. Once the new grout is fully cured and dry, proceed with the sealing process for best results.
9. Use Sealer in Well-Ventilated Areas and Wear Protective Gear
Many grout sealers contain solvents and chemicals that emit strong fumes during application. To protect your health, always perform the sealing process in a well-ventilated bathroom or use fans to improve air circulation. Open windows and doors to allow fresh air to flow in. Wearing gloves and a mask is also highly recommended to avoid skin contact and inhalation of fumes. Safety precautions not only protect you but also ensure a more comfortable working environment.
10. Maintain Grout Regularly to Prolong Sealer Life
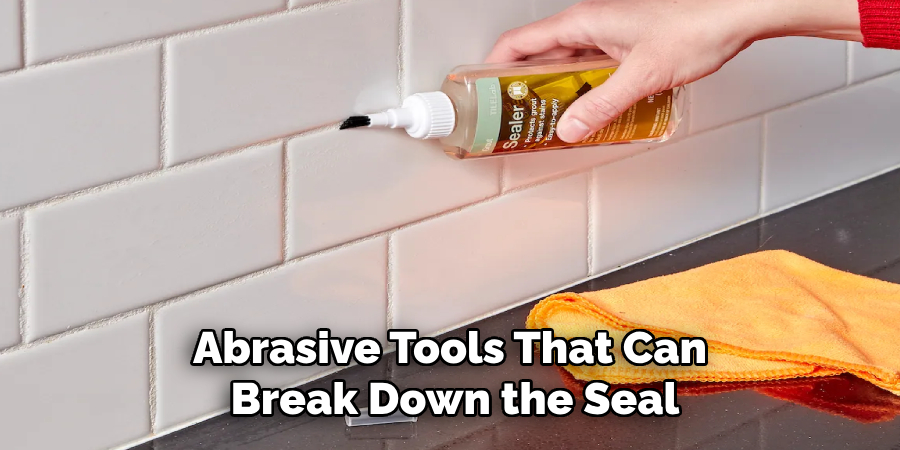
Resealing grout is only one part of maintaining a clean, durable shower. Regular maintenance significantly prolongs the life of the grout sealer and keeps your shower looking its best. Clean grout lines frequently with mild, pH-neutral cleaners, avoiding harsh chemicals and abrasive tools that can break down the seal. After showers, use a squeegee or towel to remove excess water and reduce moisture buildup. Periodically inspect grout lines for signs of wear or staining, and reseal as necessary, typically every 1 to 3 years depending on usage and water quality.
Conclusion
Resealing grout lines in a shower is a vital task that protects your tile investment and maintains a hygienic, attractive bathing space. The process involves careful preparation, product selection, application, and maintenance to achieve lasting results. By thoroughly cleaning grout lines, choosing the right sealer, applying it evenly, and allowing proper curing, you can effectively repel moisture and prevent mold, stains, and structural damage.
Taking safety precautions during application and committing to regular upkeep will ensure your shower remains beautiful and functional for years to come. Thanks for reading our blog post on how to reseal grout lines in a shower! We hope you found it helpful and informative.

