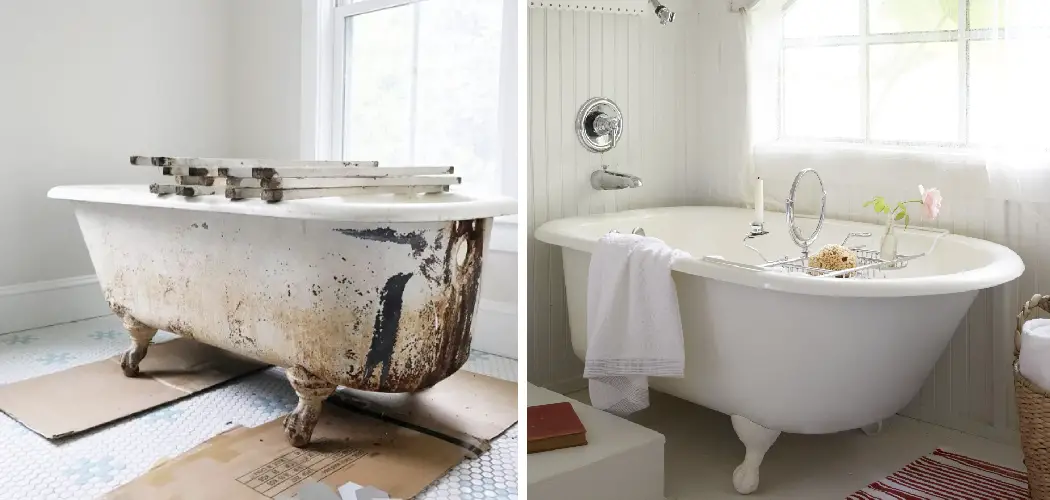
Clawfoot tubs exude a unique charm and timeless elegance that seamlessly blends with the aesthetic of vintage and historic homes. Their intricate design and sturdy construction have made them treasured fixtures, turning ordinary bathrooms into luxurious retreats. However, these beautiful tubs can become worn, stained, or damaged over time, compromising their appearance and usability.
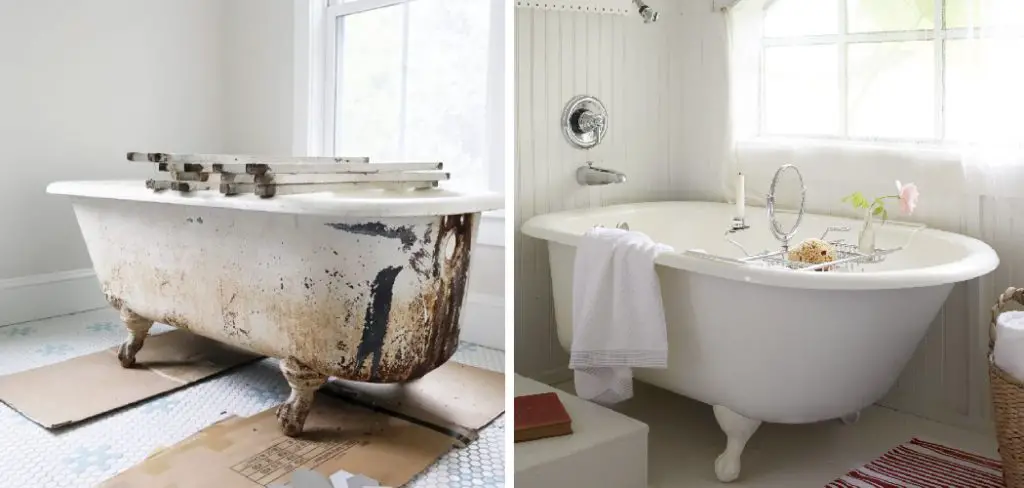
Understanding how to restore a clawfoot tub is essential in preserving its beauty and ensuring it remains a functional centerpiece in your home. The process involves several critical steps, including thorough cleaning to remove grime and rust, repairing any chips or cracks, refinishing the surface to restore its original luster, and finally, reinstalling the tub securely. By following these steps, you can rejuvenate a clawfoot tub, allowing it to shine with its former grandeur for years to come.
Assess the Condition
Inspection
The first step in restoring a clawfoot tub is to thoroughly inspect it for any damage. Begin by examining the entire surface, both inside and out, for signs of rust, cracks, chips, or worn enamel. Pay close attention to areas around the drain and overflow, as these are common places for rust to develop. Look for any discoloration, pitting, or rough spots on the enamel surface, indicating wear or damage. Additionally, inspect the feet of the tub, ensuring they are structurally sound and free from rust or any significant wear.
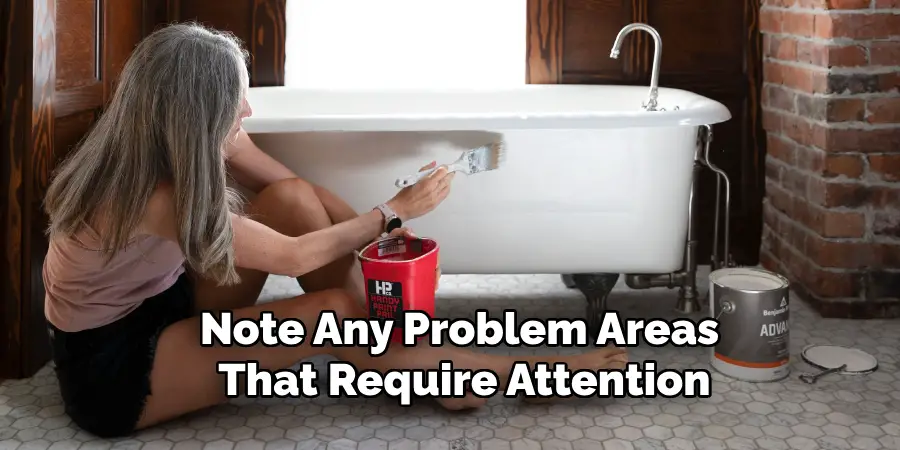
Note Problem Areas
As you conduct your inspection, note any problem areas that require attention. This includes marking spots where rust needs to be removed, cracks or chips that must be filled, and patches of worn enamel that will need refinishing. Don’t forget to examine the exterior surface of the tub and underneath it to identify any hidden issues. Make a detailed list of these areas to ensure you address each one during the restoration process.
Gather Information
Determine the material of your clawfoot tub—whether it is made of cast iron or acrylic—as this will affect the restoration process. Cast iron tubs are sturdy and durable but tend to rust, whereas acrylic tubs are lighter and can suffer from cracks or surface scratches. Knowing the material will help you select the appropriate cleaning agents, repair kits, and refinishing products to use. Properly identifying the material and extent of damage will set the foundation for a successful restoration.
Remove the Tub
Disconnect Plumbing
Before beginning the removal process, ensure that the water supply to the tub is turned off to prevent any leaks or accidents. Locate the plumbing fixtures connected to the tub, including the drain and water lines. Use a wrench to disconnect the water lines carefully, ensuring no damage is done to the existing plumbing. Next, unscrew the drain cover and detach the drain pipe from the tub. Using a pipe wrench or a similar tool might be necessary to loosen any stubborn connections.
Enlist Help
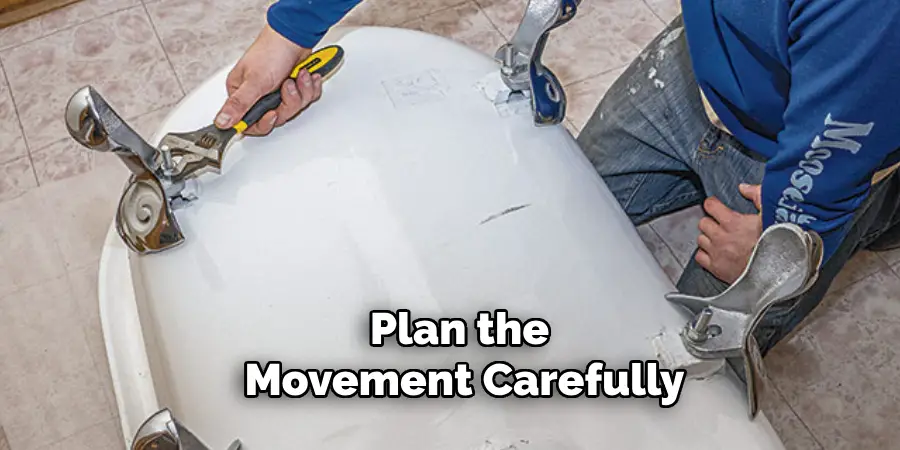
Given the considerable weight of cast iron tubs, it is crucial to have additional help to move the tub safely. Coordinate with one or two other people to assist you. Plan the movement carefully, ensuring each person has a clear understanding of their role in the lifting and positioning process. Communicate effectively during the process to avoid any accidents or injuries. Consider using a dolly or moving straps for better leverage and control if the tub is particularly cumbersome.
Protect Floors
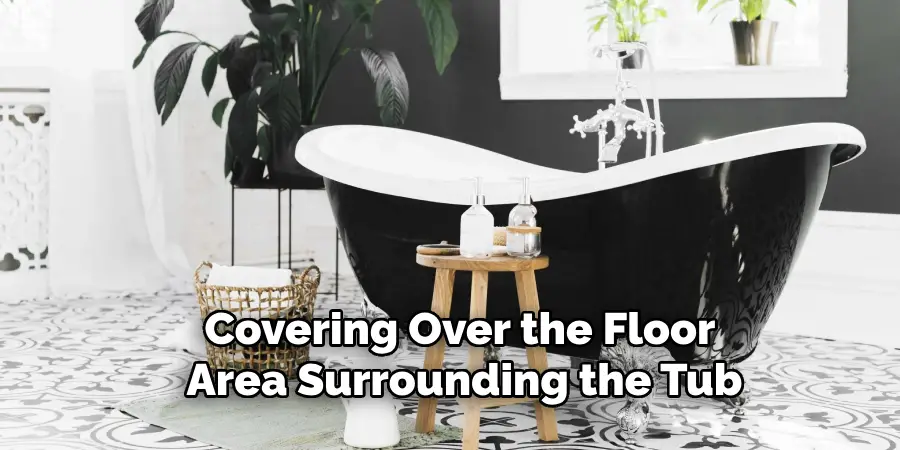
To prevent any potential damage to your floors during the tub’s removal, place a tarp or protective covering over the floor area surrounding the tub. This layer will safeguard against scratches, dents, or any falling debris during the disconnection and movement process. Ensure the protective covering is secure and adequately covers all the areas where the tub will be moved. By taking these precautions, you can preserve the integrity of your flooring while safely removing the tub for restoration.
Cleaning and Surface Preparation
Clean the Tub
To start the cleaning process, prepare a mixture of warm water and mild detergent. This solution will help you effectively remove dirt, grime, and soap scum that has accumulated over time. Use a soft sponge or cloth to gently scrub the entire surface of the tub, both inside and out. Ensure you reach all crevices and corners to clean the tub fully.
You can use a non-abrasive cleaner or a mixture of baking soda and water for stubborn stains that don’t come off with mild detergent. Apply the mixture to the stains, let it sit for a few minutes, then scrub with a soft brush. Rinse the tub thoroughly with warm water to wash away any remaining cleaner or baking soda residue.
Remove Rust
For cast iron tubs, addressing rust is a crucial step. Use a wire brush or sandpaper to meticulously remove any rust spots from the surface of the tub. Pay extra attention to areas around the drain and feet, as these are common places for rust to develop. Brush firmly but carefully to avoid damaging the underlying material.
Once you have removed the rust, applying a rust converter to the affected areas is advisable. A rust converter chemically transforms rust into a stable substance and prevents future rusting. Follow the product instructions for application, ensuring a clean and dry surface before application.
Strip Old Paint and Finish
Next, you will need to strip the old paint or finish from the exterior of the tub. Select a paint stripper suitable for your tub’s material and follow the manufacturer’s instructions for the best results. Generally, this involves applying the paint stripper with a brush and allowing it to sit for a specified period.
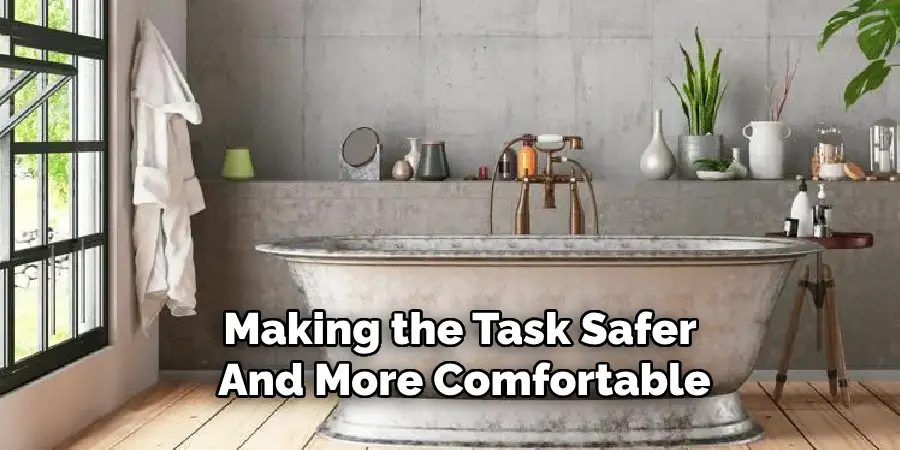
During this time, the old paint or finish will start to soften and peel away. Use a scraper or putty knife to gently remove the softened paint. Ensure you wear gloves and work in a well-ventilated area to protect yourself from the chemicals. Proper ventilation will help to dissipate any harmful fumes, making the task safer and more comfortable.
Sand the Surface
After removing the old paint and rust, the next step is to sand the interior and exterior surfaces of the tub. Sanding will create a smooth, even surface to which the new finish can adhere. Start with coarse-grit sandpaper to remove any remaining imperfections and rough spots. As you progress, switch to finer grits of sandpaper to achieve a smoother finish. Sand in a consistent, circular motion, and make sure to cover all areas equally.
Once the sanding is complete, use a damp cloth to wipe down the tub and remove any dust or debris the sanding process generates. A clean and dust-free surface is essential for a flawless refinishing application. With the tub now prepped and ready, you can move on to the next stages of restoration, confident that your efforts will yield a beautiful, revitalized clawfoot tub.
Repair and Patch
Fill Cracks and Chips
Use an epoxy repair kit to fill any cracks, chips, or holes in the tub. These kits are specifically designed to bond well with both cast iron and acrylic surfaces, providing a durable and waterproof seal. Carefully follow the instructions provided with the repair kit to ensure proper application. This typically involves mixing the epoxy compound, applying it to the damaged areas with a putty knife, and smoothing it out to create an even surface. Pay attention to drying and curing times as specified in the kit’s manual to achieve the best results.
Sand Repairs
Once the epoxy repairs have fully cured, use fine-grit sandpaper to sand down the patched areas, blending them seamlessly with the surrounding surface. This step is essential for ensuring that the repaired spots do not stand out once the new finish is applied. Sand in gentle, circular motions until the surface feels smooth and uniform. After sanding, wipe down the tub with a damp cloth to remove any dust or debris, ensuring a clean surface for the next steps in the restoration process.
Refinishing
Apply Primer
To begin the refinishing process, the first step is to apply a primer suitable for the tub’s material, whether it is cast iron or acrylic. A good primer ensures that the paint adheres properly to the surface and provides a smooth base for the topcoat. Use a brush or a spray gun to apply the primer evenly over the entire surface of the tub. Follow the manufacturer’s instructions regarding the drying time to achieve optimal results. Usually, it will require a few hours to dry completely.
Apply Enamel Paint
Once the primer has dried, the next step is to apply enamel paint. Opt for a high-quality enamel paint or a tub refinishing kit specifically designed for tub surfaces. This type of paint provides a durable and glossy finish that can withstand moisture and regular use. Apply the paint in multiple thin coats rather than one thick coat to prevent drips and ensure an even finish. Allow each coat to dry entirely as per the product instructions before applying the next. For a smooth, professional finish, consider using a spray gun. This tool helps to distribute the paint evenly, reducing brush marks and achieving a sleek surface.
Seal the Finish
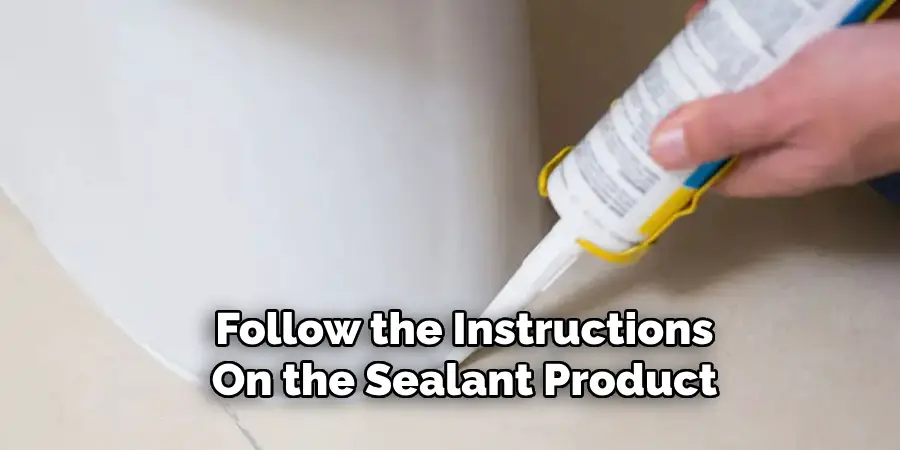
Apply a clear coat or sealant to protect the new finish and give the tub a glossy appearance. This step is crucial for extending the life of the paint job and resisting wear and tear. Follow the instructions on the sealant product for the best application method, typically using a spray or brush. Ensure that the applied sealant covers the entire surface uniformly. Allow the sealant to cure fully, which may take up to 24 hours or longer, depending on the product. Avoid handling or reinstalling the tub until the sealant has completely cured to ensure a durable and lasting finish.
How to Restore a Clawfoot Tub: Restore the Feet
1. Clean and Sand
The first step in restoring the clawfoot tub feet is to clean them thoroughly. Use a wire brush or sandpaper to remove any rust or old paint, paying close attention to intricate details and hard-to-reach areas. Sanding will help create a smooth surface, ensuring that the new paint or polish adheres properly.
2. Paint or Polish
After cleaning and sanding, you have the option to paint the feet to match the tub or polish them if they are made of a metal such as brass or chrome. If painting, select a durable paint that complements the tub’s finish and apply multiple thin coats for an even appearance. For metal polishing, use a metal polish appropriate for the type of metal, following the product instructions to achieve a shining and protective finish.
3. Reattach Feet
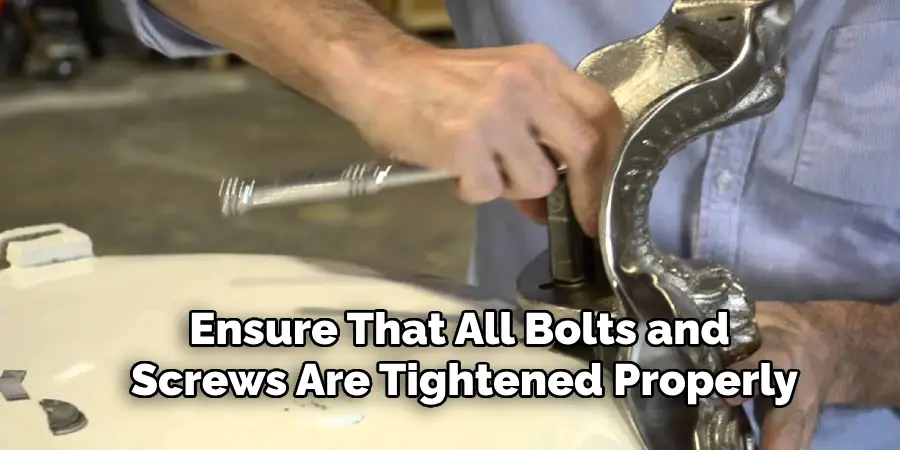
Once the feet are completely dry, reattach them securely to the tub. Ensure that all bolts and screws are tightened properly, verifying that the tub is stable and level. This final touch will complete your clawfoot tub restoration, bringing back its timeless charm and functionality.
Reinstallation
Position the Tub
To start the reinstallation process, carefully move the clawfoot tub back into its original position in the bathroom. It may be helpful to have an extra pair of hands to assist with this step, ensuring that the tub is handled carefully to avoid any damage to the new finish. Align the tub precisely with the designated location, considering the plumbing fixtures’ positions.
Reconnect Plumbing
Once the tub is in place, reconnect it to the plumbing fixtures, including the drain and water lines. Make sure to follow the installation guidelines for your specific type of tub and fittings. Tighten all connections securely, using appropriate plumbing tools to ensure a watertight seal.
Check for Leaks
After reconnecting the plumbing, turn on the water supply and inspect all connections for signs of leaks. Pay close attention to the areas around the drain and water line fittings. If any leaks are detected, tighten the connections further or apply additional sealing materials as needed. Addressing any leaks immediately prevents water damage.
Final Adjustments
Finally, make any necessary adjustments to ensure the tub is level and securely in place. Use a spirit level to check the tub’s alignment and adjust the feet if needed to achieve a perfectly level position. Confirm that all bolts and screws are tightened and that the tub is stable and ready for use.

With these final steps completed, your restored clawfoot tub is now ready to be enjoyed, adding elegance and timeless charm to your bathroom space.
Conclusion
Restoring a clawfoot tub involves several meticulous steps to ensure it returns to its former glory. The process begins with an assessment to identify needed repairs, followed by the careful removal of the tub from its original position. The next steps include thorough cleaning and essential repairs using epoxy.
After the repairs, refinishing the tub involves applying primer, enamel paint, and a sealant for protection. Restoration concludes with reattaching and refinishing the feet and finally reinstalling the tub and reconnecting the plumbing.
Knowing how to restore a clawfoot tub offers numerous benefits, preserving its historic charm and functionality while enhancing the bathroom’s aesthetic appeal. To maintain your restored tub, it is crucial to practice regular cleaning and avoid harsh chemicals that may damage the finish. Embrace the timeless elegance and practicality of your beautifully restored clawfoot tub with proper care and attention.

