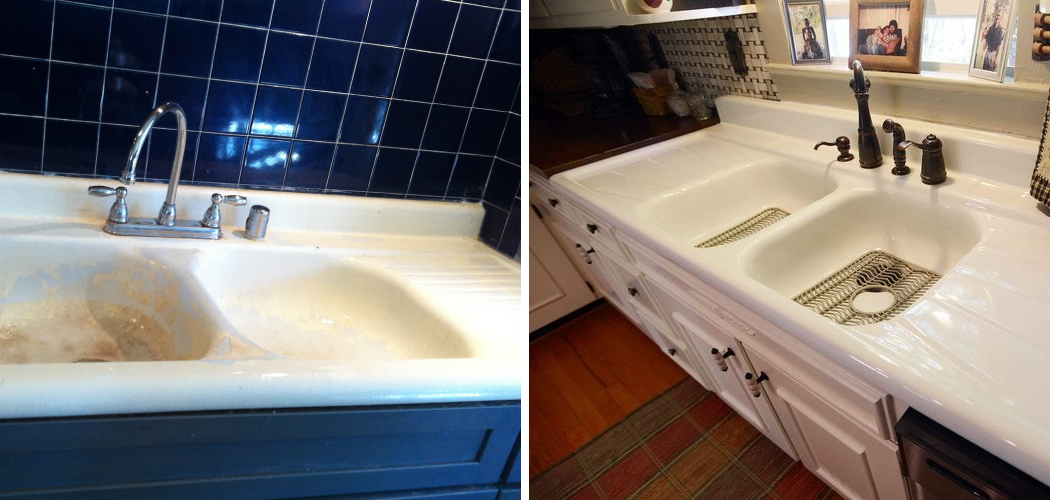
Enameled cast iron sinks have long been celebrated for their durability and timeless elegance, making them popular in many households. These sinks combine the sturdiness of cast iron with a smooth, glass-like enamel coating, offering both strength and a classic aesthetic.
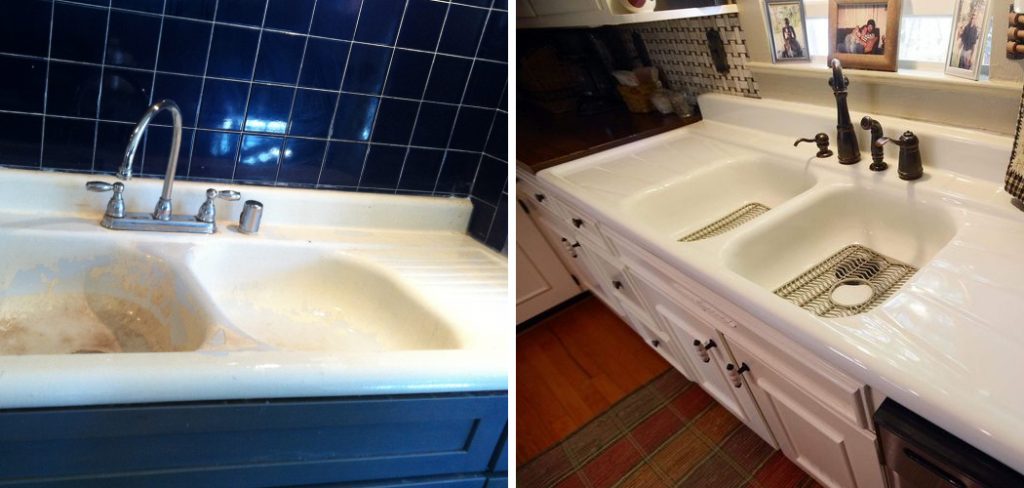
However, over time, regular use can lead to common issues such as stains, chips, scratches, and dull surfaces, detracting from their original beauty. Understanding how to restore an enameled cast iron sink is essential in maintaining the sink’s functionality and visual appeal. Restoration revives the sink’s appearance and extends its lifespan, ensuring it remains a charming and efficient fixture in your home. By addressing these concerns promptly and effectively, you can enjoy the lasting beauty and utility of your enameled cast iron sink for years to come.
Assessing the Condition of Your Sink
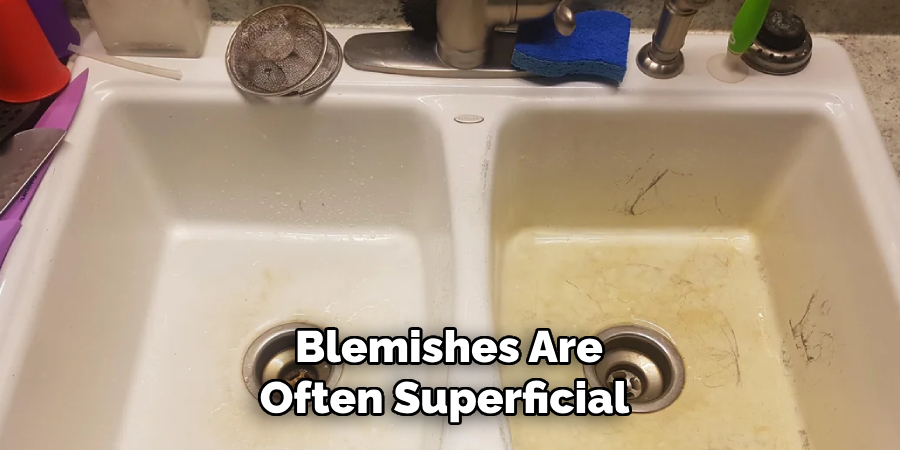
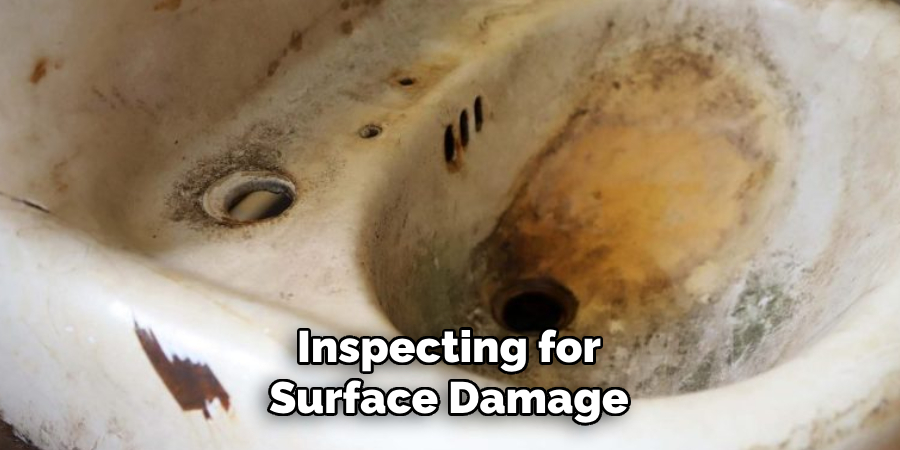
Before beginning the restoration process, it is critical to thoroughly assess the condition of your enameled cast iron sink. Start by inspecting for surface damage, such as stains, mineral deposits, and scratches that may have accumulated over time due to regular use.
These blemishes are often superficial and can be effectively addressed with appropriate cleaning techniques. However, also examine the sink for deeper damage, which may manifest as chips, cracks, or areas where the cast iron is exposed. These issues require more substantial intervention to prevent further deterioration.
Once you have identified the damage, determine the specific restoration needs for your sink. For minor wear, a simple regimen of light cleaning and polishing can often restore the sink to its former glory. In cases where you encounter chips or scratches, consider using repair kits designed specifically for enameled surfaces. These kits are user-friendly and provide durable solutions for small imperfections.
However, a professional refinishing service may be necessary for extensive damage—such as widespread chipping or significant abrasions. This process involves recoating and restoring the enamel, rejuvenating the sink’s appearance and functionality. By understanding the condition of your sink, you can choose the most effective restoration approach.
Cleaning the Sink Thoroughly
A critical step in the restoration process is cleaning the enameled cast iron sink thoroughly to eliminate stains, residue, and mineral deposits. To achieve a clean and polished surface, gather the following materials: a non-abrasive cleaner, a soft sponge or microfiber cloth, white vinegar, and baking soda. These items are effective yet gentle, ensuring that the enamel surface remains intact.
Removing Stains and Residue
Start by addressing any surface stains with a simple baking soda and water paste. Apply the paste to the affected areas and scrub gently using a soft sponge or cloth. The mild abrasiveness of baking soda helps lift stains without scratching the enamel. For stubborn mineral deposits, white vinegar acts as an excellent natural solvent. Saturate a cloth with vinegar and lay it over the deposits, allowing it to sit for a few minutes before scrubbing gently. Rinse thoroughly with water to remove any remaining residue or cleaning agents.
Avoiding Abrasive Products
It is crucial to avoid using abrasive products that could harm the sink’s enamel finish. Refrain from using steel wool, harsh chemicals, or scouring pads, as these can scratch or erode the enamel, exacerbating the damage. Instead, opt for non-abrasive cleaners and tools that protect the integrity of your sink. By following these gentle cleaning techniques, you can effectively restore the sink’s pristine appearance while safeguarding it against further damage.
How to Restore an Enameled Cast Iron Sink Repairing Chips and Scratches
When it comes to repairing chips and scratches on your enameled cast iron sink, using an enamel repair kit is an effective and affordable solution. These kits are designed to match your sink’s color, ensuring that repairs blend seamlessly with the existing enamel. Begin by carefully cleaning and drying the damaged area to ensure the surface is free from dust and moisture. This preparation is crucial for optimal enamel filler or touch-up paint adherence.
Using an Enamel Repair Kit
Once the area is prepared, apply the enamel filler or touch-up paint as instructed in the repair kit. Often, this will involve applying a thin layer of filler to the chipped or scratched area using a small brush or applicator tool provided in the kit. Make sure to smooth out the filler evenly to achieve a uniform surface.
After application, allow the repaired area to be cured completely. The curing time can vary depending on the product used, so carefully follow the manufacturer’s recommendations to ensure a durable repair.
Sanding and Polishing (Optional)
For a more professional finish, you may lightly sand the repaired area once it has fully cured. Use fine-grit sandpaper to smooth out any rough spots around the repair, taking care not to damage the surrounding enamel. After sanding, polish the area using a non-abrasive product to restore the sink’s natural shine. This step helps blend the repair with the rest of the sink, ensuring a polished and cohesive appearance. By following these steps, you can effectively address chips and scratches, maintaining the elegance and functionality of your enameled cast iron sink.
How to Restore an Enameled Cast Iron Sink Restoring Shine and Luster
After addressing repairs, restoring the shine and luster of your enameled cast iron sink is essential to complete the restoration process. Polishing enhances the shine and adds a protective layer, preserving the sink’s beauty.
Polishing with Non-Abrasive Products
To achieve a brilliant finish, use a sink polish or wax specifically designed for enameled surfaces. These products provide both a gleaming sheen and a protective barrier against future blemishes. Apply the polish with a soft cloth, ensuring even coverage across the entire sink surface. Then, buff the sink gently to enhance its natural shine and bring out its full luster.
Natural Alternatives
If you prefer a more natural approach, a simple mixture of vinegar and olive oil can serve as an effective polishing solution. Mix equal vinegar and olive oil, then apply the mixture to the sink using a soft cloth.
The vinegar acts as a cleaning agent, while the olive oil creates a protective sheen. Gently buff the sink to ensure a smooth, polished appearance. This natural alternative restores shine and contributes to an eco-friendly maintenance routine. By using these polishing techniques, you can maintain the elegance and durability of your enameled cast iron sink.
Preventive Maintenance for Longevity
Regular maintenance ensures the longevity of your enameled cast iron sink, preserving its beauty and functionality for years. By incorporating a few simple practices into your routine, you can prevent common wear and tear.
Daily Cleaning Tips
After each use, wipe the sink dry to prevent unsightly water spots and mineral buildup. This small effort goes a long way in maintaining a pristine surface. For day-to-day cleaning, use mild dish soap with a soft sponge or cloth to gently clean the sink. This approach removes food particles and stains without damaging the enamel.
Avoiding Damage
To protect your sink from chips or cracks caused by heavy cookware, consider placing a rubber mat or protective grid at the sink’s base. These accessories absorb the impact of dropped items, reducing the risk of enamel damage. It’s also important to avoid dropping sharp or heavy objects into the sink, as this can cause permanent harm.
Regular Polishing
Schedule polishing every few months to maintain sheen and ensure a glossy surface. Use a product specifically designed for enameled surfaces to avoid abrasion. This routine not only enhances the sink’s appearance but also adds an extra layer of protection, keeping it resilient against future challenges. By following these preventive maintenance tips, you can enjoy your sink’s enduring elegance.
When to Seek Professional Refinishing
Signs Professional Help Is Needed
While regular maintenance and minor repairs can keep your enameled cast iron sink in good condition, there are situations when professional refinishing is advisable. If your sink exhibits widespread chipping, severe scratches, or visible rust due to exposed cast iron, it is a strong indication that professional assistance is needed. These issues affect the sink’s appearance and can compromise its structural integrity if left unaddressed.
Refinishing Process
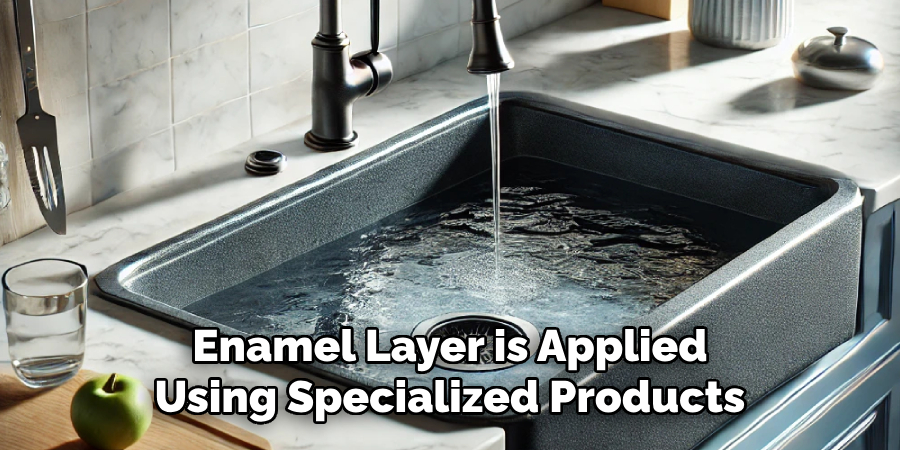
Professional refinishing involves recoating and refinishing the enamel surface to restore its original luster and functionality. The process typically begins with thoroughly cleaning and sanding the existing enamel to remove contaminants and smooth out imperfections. Next, a new enamel layer is applied using specialized products and techniques designed to bond effectively with the cast iron. This ensures a durable and long-lasting finish similar to a brand-new sink.
Expected Costs and Benefits
The cost of professional refinishing varies based on the extent of the damage and the size of the sink but generally ranges from $300 to $600. Despite the costs, the benefits are significant: refinishing can extend the lifespan of your sink, enhance its appearance, and eliminate health risks associated with exposed rust. Professional restoration rejuvenates your sink and adds value to your kitchen, providing a cost-effective alternative to replacement.
Conclusion
Restoring an enameled cast iron sink is rewarding, reviving its appearance and functionality. Regular cleaning, prompt repairs, and preventive care cannot be overstated in maintaining your sink’s longevity. Consider trying DIY restoration techniques to address chips and scratches effectively for minor issues.
However, consulting professionals will ensure the best outcome for extensive damage. By following these guidelines on how to restore an enameled cast iron sink, you can preserve its beauty and durability, enjoying a pristine kitchen centerpiece for years to come.

