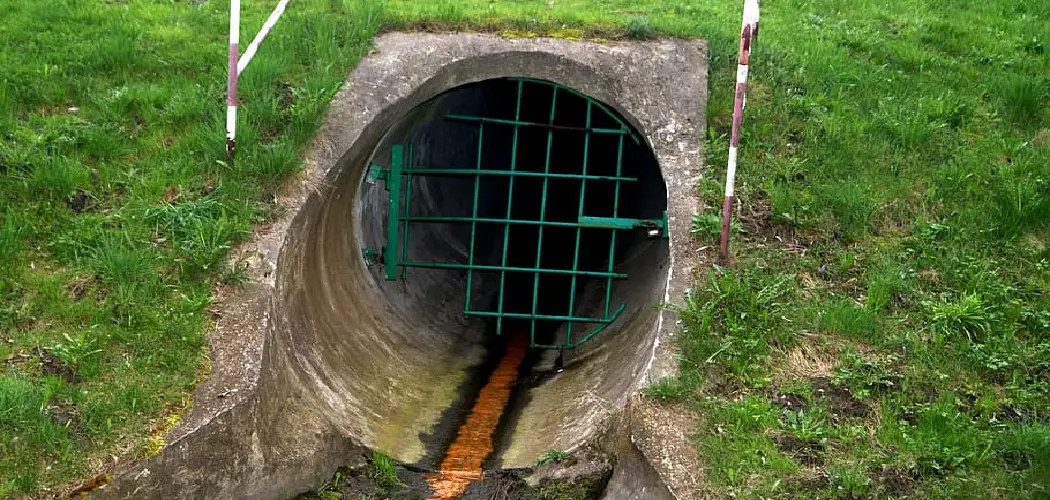
Gutter drainage is an important part of protecting your home from water damage, but it can be a tricky process to install. It requires running pipes underground and digging trenches that can lead to costly repairs if done incorrectly.
But with the right tools and knowledge, you can easily run gutter drainage underground and keep your home protected for years to come.In this guide, we will go over how to run gutter drainage underground properly so you don’t have any problems down the line.
Step-by-step on How to Run Gutter Drainage Underground
Step 1: Identify the Area
Where you want the gutter drainage to flow. This is usually the area that collects the most water runoff from your roof. You’ll want to make sure that the area you choose is at least four feet away from any foundations or retaining walls. That way, you won’t have to worry about water pooling up near your house. It’s also important that your chosen area has good drainage, so the water can run away.
Step 2: Dig the Trench
Dig a 6” to 8” trench that is level, or slightly sloped. Make sure it goes in the direction of the area you identified in Step 1. It’s important to make sure the trench is level so that when you install the drainage pipes, they are properly positioned. That way, the water will flow away from your house.
This will also ensure that water doesn’t pool up in the trench. It’s also important to make sure that the trench is deep enough so that you can put a few inches of gravel in the bottom. This will help the water drain away properly.
Step 3: Install the Gutter Drainage Pipes
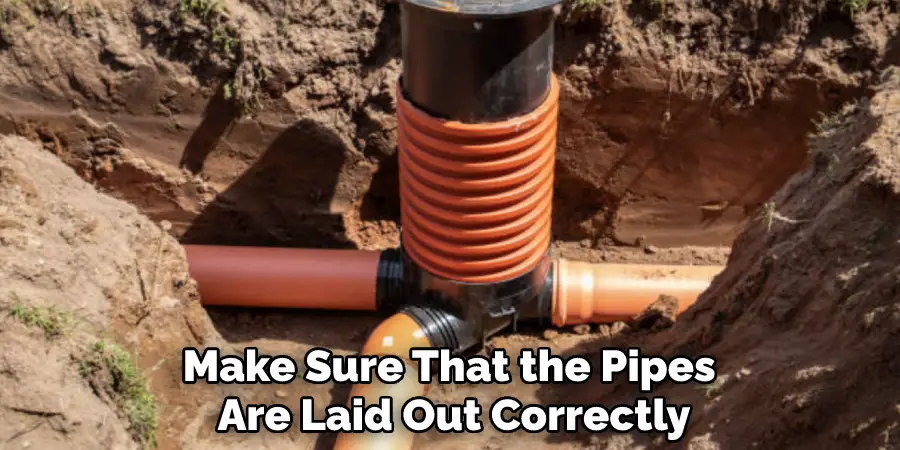
Lay out the pipes and use a pipe bender to bend them into shape, if necessary. Secure each piece with PVC cement or zip ties. This will ensure that the pipes stay in place and won’t move around. That way, the water will flow through them properly.
It’s important to make sure that the pipes are laid out correctly so that water flows away from your house. That way, you won’t have to worry about any water pooling up near your foundation. So take your time and make sure each piece is secured properly.
Step 4: Place Gravel at the Bottom
Fill the bottom of the trench with gravel and pack it down firmly so that it creates a solid base for the gutter drainage to flow over. That way, the water won’t pool up in the trench and will drain away properly. You can also place a geotextile fabric over the gravel for extra protection. You should also check the slope of the gravel to make sure it’s sloped away from your house in the direction you identified in Step 1.
Step 5: Set up Your Downspouts
Attach your downspouts securely to your home’s gutters, ensuring they are level and directed toward the end of your trenches. Make sure they also have some form of water diverter installed in order to keep the water away from your house’s foundation. You can also install a splash guard to prevent water from splashing onto your house.
That way, you won’t have to worry about pooling water near your home. It’s also important to make sure your downspouts and gutters are properly sealed so that water doesn’t leak out. It’s also a good idea to check the downspouts periodically to ensure they are still securely attached and in good shape.
Step 6: Install Prefabricated Drainage Basin
Install a prefabricated drainage basin at the end of the trench, which will help collect and distribute excess water into a dry well or another collection area. This will ensure that the water is properly drained away and can’t pool up near your home. So make sure you install the basin correctly following the manufacturer’s directions. That way, you won’t have to worry about water pooling up near your house. It’s also important to make sure the basin is sloped in the direction of your chosen area, so the water can run away properly.
Step 7: Cover the Pipes with Soil
Once all of the pipes are connected, cover them with soil and tamp it down firmly to ensure that there are no air pockets in between. Make sure that you leave some space for rainfall runoff to drain out. It’s also important to make sure the soil is firmly packed down so that there are no air pockets in between.
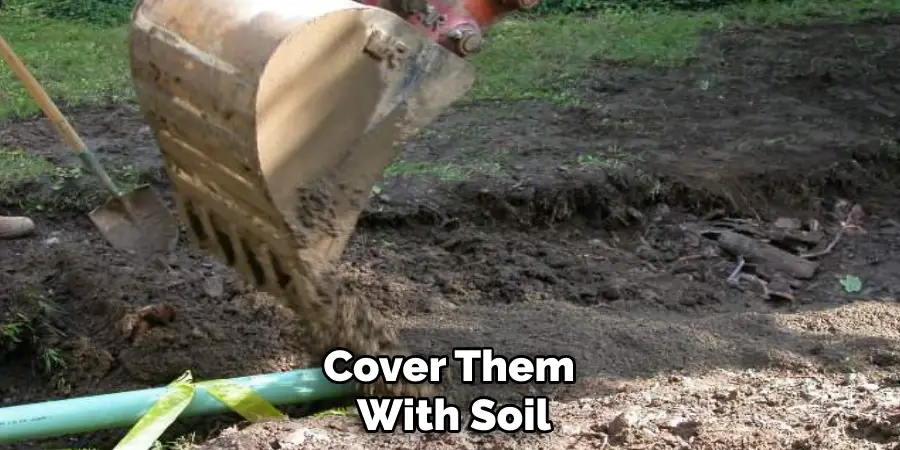
That way, the water won’t pool up and will drain away properly. It’s also a good idea to check the slope of the soil to make sure it’s sloping away from your house in the direction you identified in Step 1.
Step 8: Place Sod Over Trench
Lay sod over the top of the trench to camouflage it and create an even surface with your landscaping. You can also add plants or other vegetation to help break up the line of the trench. That way, you won’t have to worry about water pooling up near your house. You should also check the slope of the sod to make sure it’s sloping away from your house in the direction you identified in Step 1. It’s also important to make sure the soil is firmly packed down so that it won’t move around.
Step 9: Test Out your System
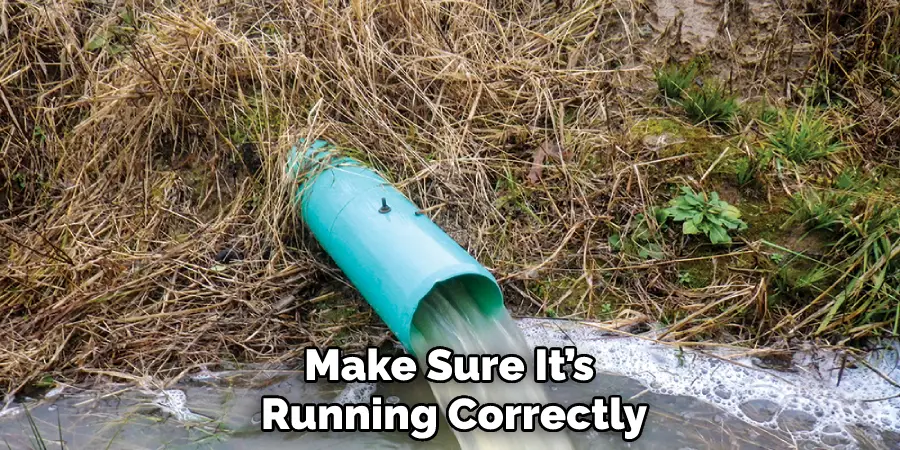
Once everything is installed, test out your system by running some water through it. Make sure that all of the connections are secure and that there are no leaks or blockages. It’s also important to make sure your system is properly sloped in the direction of your chosen area so that water can run away properly. That way, you won’t have to worry about water pooling up near your house.
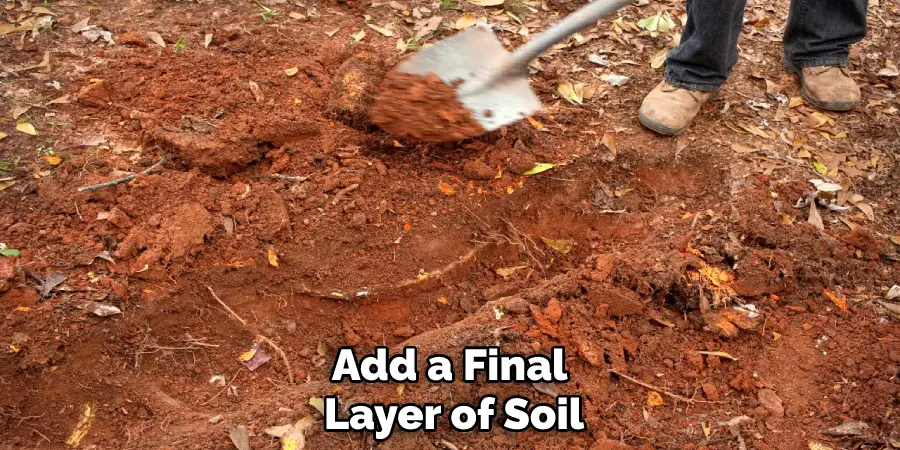
Step 10: Add a Final Layer of Soil
If all looks good, add a final layer of soil on top of the sod and then water it regularly to ensure that everything stays in place. You can also add mulch or straw to help further camouflage the trench and protect the roots of your plants. That way, you won’t have to worry about water pooling up near your house. It’s also important to make sure the soil is firmly packed down so that there are no air pockets in between.
With these steps, you should now know how to run gutter drainage underground properly. Following this guide will help keep your home safe from water damage for years to come! Just remember to check regularly for any signs of wear and tear or clogs in your system, as these can lead to costly repairs.
Do You Need to Use Professionals?
Depending on the complexity and size of your drainage project, you may need to hire a professional to help. This can be especially true if the slope of your landscape is too steep, or if the project requires digging deep trenches to properly run the drainage pipes.
It’s also important to make sure the soil is firmly packed down so that there are no air pockets in between. Professionals can also help with other issues, such as installing a sump pump or diverting water away from your house. So if you’re unsure about doing the project yourself, it’s always best to consult with a professional first.
Frequently Asked Questions
Q: How Do I Know if My Gutter Drainage System is Properly Sloped?
A: You should check the slope of the trench, pipes, and basin to make sure they are all pointing in the right direction. The soil should be sloping away from your house in the direction you identified in Step 1. And the sod should also be sloping away from your house as well.
Q: How Do I Make Sure There Aren’t Any Air Pockets?
A: Make sure to firmly pack down all of the soil so that there are no air pockets in between. If there are any, they can lead to water pooling up near your house.
Q: How Do I Keep My Gutter Drainage System Clear?
A: Regularly check for any signs of wear and tear or clogs in your system, as these can lead to costly repairs. Make sure that all connections are secure and that there are no blockages. And be sure to water the soil and sod regularly to keep them firmly in place.
Q: How Often Should I Check My Gutter Drainage System?
A: You should check your system at least once a year to make sure it’s running correctly. If you notice any signs of wear and tear or clogs, make sure to address them immediately. That way, your system will stay in good condition and keep your home safe from water damage for years to come.
Conclusion
Running gutter drainage underground is a great way to keep your home safe from water damage for years to come. By following the steps outlined in this guide on how to run gutter drainage underground, you can ensure that your system will be properly sloped and free of air pockets or blockages.
Additionally, it’s important to regularly check for any signs of wear and tear or clogs in your system so that costly repairs don’t become necessary down the line. With these tips in mind, you’ll have all the tools needed to successfully install an effective gutter drainage system!

