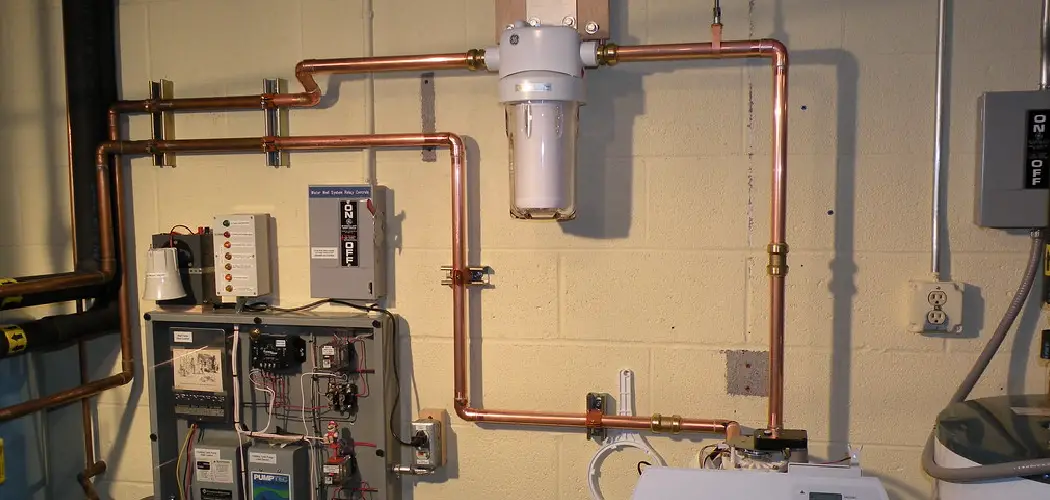
Running water lines in a house is a crucial aspect of plumbing that ensures a consistent and reliable supply of water throughout your home. Whether you’re constructing a new space or renovating an existing one, understanding the proper techniques, materials, and considerations for water line installation is essential.
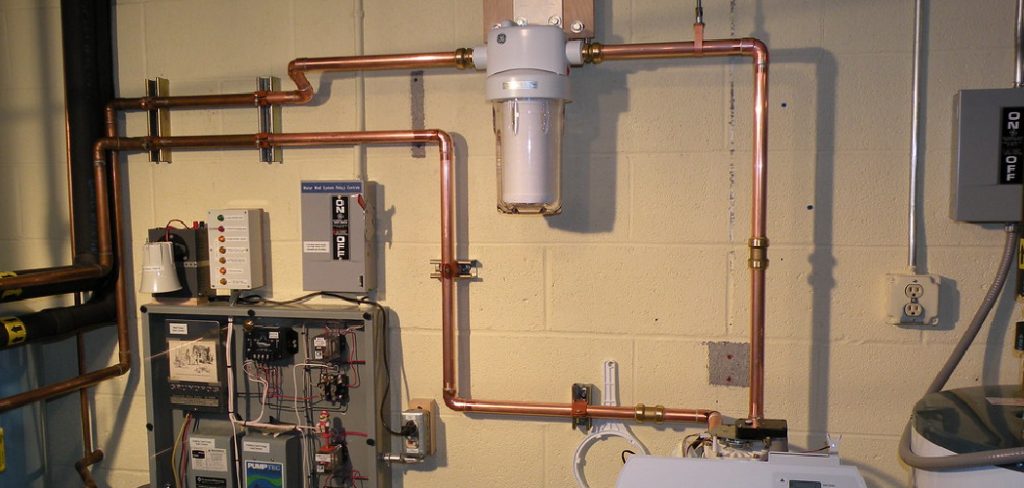
This guide on how to run water lines in a house diagram will provide you with detailed insights and diagrams to help you navigate the process efficiently, ensuring that your home’s plumbing system is both functional and up to code.
Why is Proper Water Line Installation Important?
Proper water line installation is vital for several reasons. First, it ensures the safety and health of the occupants by preventing contamination of the water supply.
Leaks or faulty connections can lead to waterborne diseases if untreated water enters the system. Secondly, a well-installed water line enhances the overall efficiency of the plumbing system, reducing waste and lowering utility bills through optimized water flow.
Furthermore, adhering to local building codes and regulations during installation helps avoid fines and ensures that the plumbing system can withstand pressure fluctuations and temperature changes. Ultimately, investing time and resources into proper installation can prevent costly repairs and expensive water damage in the long run.
Materials Needed for Running Water Lines
To run water lines in a house, you will need the following materials:
Pex Tubing or Copper Piping:
Pex tubing is a popular choice for water lines due to its flexibility, ease of installation, and cost-effectiveness. However, copper piping is also a durable and long-lasting option that can withstand high temperatures and provide better flow rates.
Fittings:
Fittings such as elbows, tees, valves, and couplings are essential for connecting the water line to fixtures or branching it off in different directions. These fittings come in various sizes to accommodate different pipe diameters.
Pipe Cutters:
Pipe cutters are used to cut the pex tubing or copper piping into the desired lengths.
Crimping Tool or Soldering Kit:
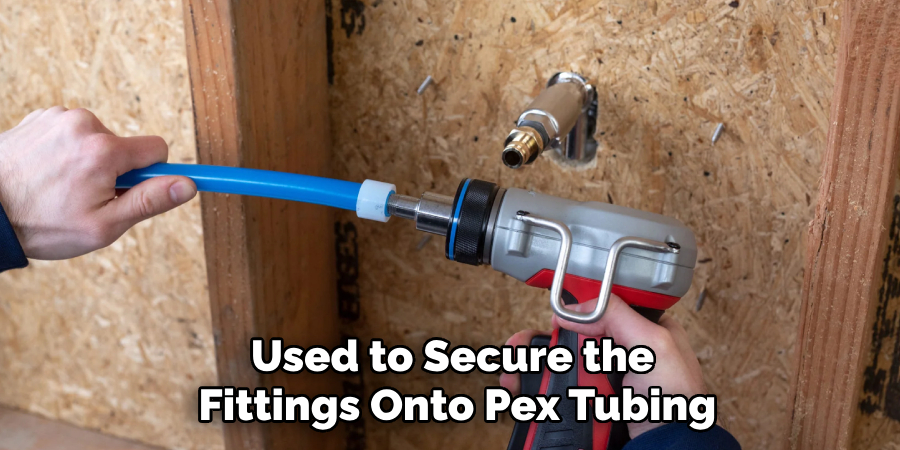
A crimping tool is used to secure the fittings onto pex tubing, while a soldering kit is necessary for connecting copper piping using solder and flux.
Measuring Tape:
A measuring tape is essential for accurately measuring and marking the pipe lengths and ensuring proper placement of fittings.
Other Tools:
You may also need a drill, screws, brackets, and other tools depending on your specific installation needs.
8 Steps on How to Run Water Lines in a House Diagram
Step 1: Plan Your Layout
Before starting the installation, it is crucial to plan the layout of your water lines carefully. Begin by creating a detailed diagram of your house that indicates where the water supply will enter, how the lines will run, and where they will connect to fixtures such as sinks, toilets, and appliances. Identify any obstacles such as walls, windows, and existing plumbing, that may impact your layout.
Consider the flow of water, keeping in mind that shorter runs and fewer bends will enhance water pressure and efficiency. Pay particular attention to local building codes and regulations to ensure that your layout is compliant. By doing thorough planning upfront, you can minimize potential issues and streamline the installation process.
Step 2: Shut Off Water Supply
Before beginning the installation of water lines, it is essential to shut off the water supply to prevent any leaks or flooding during the process. Locate the main shut-off valve for your home, which is typically found near the water meter or where the main water line enters the house. Turn the valve clockwise to close it completely.
It’s also advisable to open a few faucets in your home to drain any remaining water in the lines and relieve pressure. By taking these precautions, you can ensure a safer and more manageable installation experience.
Step 3: Install Main Water Line
Once you have planned your layout and shut off the water supply, the next step is to install the main water line. Begin by determining the entry point of the water supply line into your home, which is often from the street or a well. If you are using Pex tubing, measure the distance from the entry point to the designated area in your house. Cut the Pex tubing to the appropriate length using your pipe cutter, ensuring a clean and straight edge.
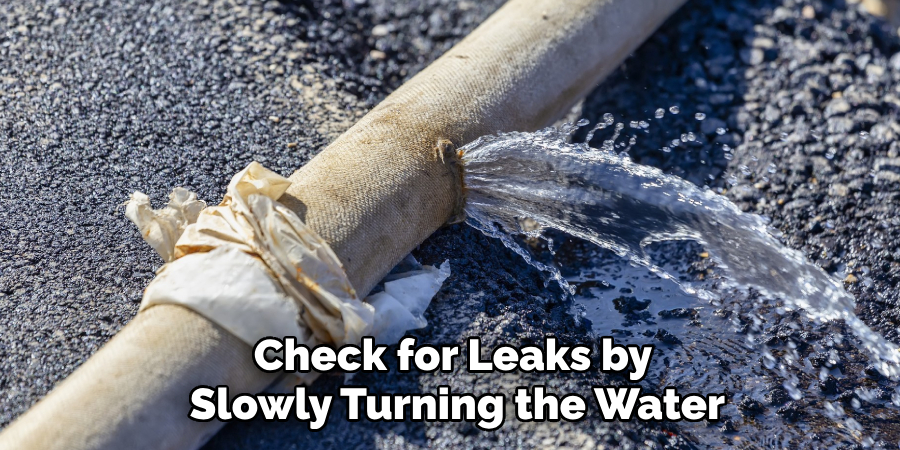
If you are working with copper piping, you will need to carefully solder the fittings to ensure a secure connection. Attach the main water line to the entry point following your diagram, using fittings as needed to navigate any bends or turns. Once secured, check for leaks by slowly turning the water supply back on and observing the connections.
Make any necessary adjustments before proceeding to the next steps in your installation. This careful installation is crucial for maintaining adequate water pressure and ensuring the longevity of your plumbing system.
Step 4: Install Branch Lines
After the main water line is installed, you can begin running branch lines to connect to fixtures and appliances. Using your diagram as a guide, measure and cut Pex tubing or copper piping to the appropriate length for each section. Secure fittings using your chosen method (crimping tool or soldering kit), making sure they are tightly connected and leak-free.
If branching off from an existing water line, be sure to use a tee fitting to avoid disrupting the flow of water in the main line. Additionally, it’s essential to properly support any bends or turns using brackets or other methods to prevent kinks that can impact water pressure.
Step 5: Connect to Fixtures
Once all branch lines are installed, you can connect the water line to fixtures such as sinks or toilets. This process is similar to installing branch lines but may require different fittings depending on the fixture type and placement. Take care to properly secure all connections and check for leaks before proceeding.
It’s also essential to follow manufacturer instructions for connecting specific fixtures, as they may require additional steps or specialized tools.
Step 6: Test the System
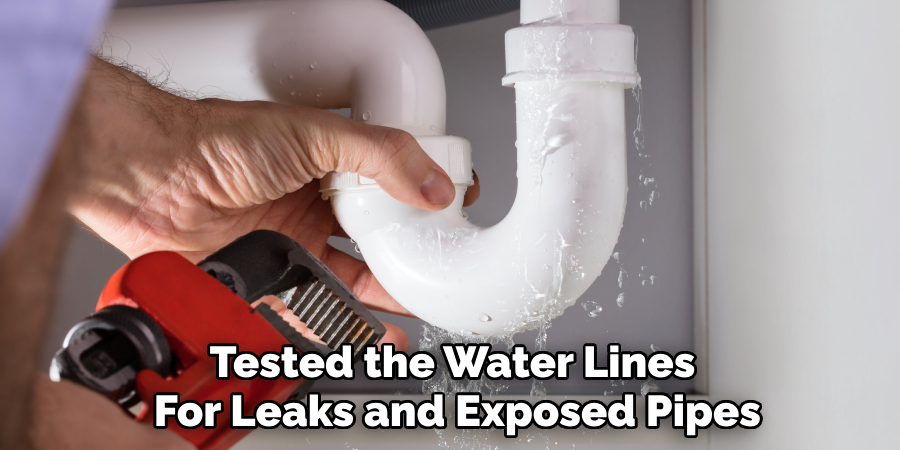
With all water lines installed and connected, it’s time to test the system before closing up any walls or ceilings. Slowly turn on the main water supply and check for any leaks at each connection point. If you notice any leaks, make necessary adjustments and retest until there are no signs of leakage.
It’s also advisable to run faucets in different areas of your home to ensure proper flow and pressure throughout the system.
Step 7: Insulate Exposed Pipes
Once you have successfully tested the water lines for leaks, the next step is to insulate any exposed pipes. This is particularly important for pipes that run through unheated areas, such as basements, crawl spaces, and attics, as insulation helps prevent freezing and reduces energy loss. Begin by measuring the length of each exposed pipe section that requires insulation.
Use pipe insulation sleeves or foam tubes, which are typically easy to install by simply sliding them onto the pipes. Ensure that all seams are tightly sealed, and use tape to secure the insulation in place if necessary.
Additionally, consider using insulating tape or covers for any valves or fittings to provide extra protection against temperature fluctuations. By insulating your pipes, you enhance the efficiency of your plumbing system and prolong the lifespan of the piping.
Step 8: Close Up Walls and Ceilings
Once all water lines are installed, tested, and insulated, you can close up any walls or ceilings that were opened during the installation process. Use a drywall or other materials to cover the openings, making sure to leave access points for future maintenance or repairs.
It’s also crucial to properly mark where all water supply lines run behind walls and ceilings using a permanent marker. This will help you avoid accidentally damaging them in the future when performing renovations or installing new fixtures.
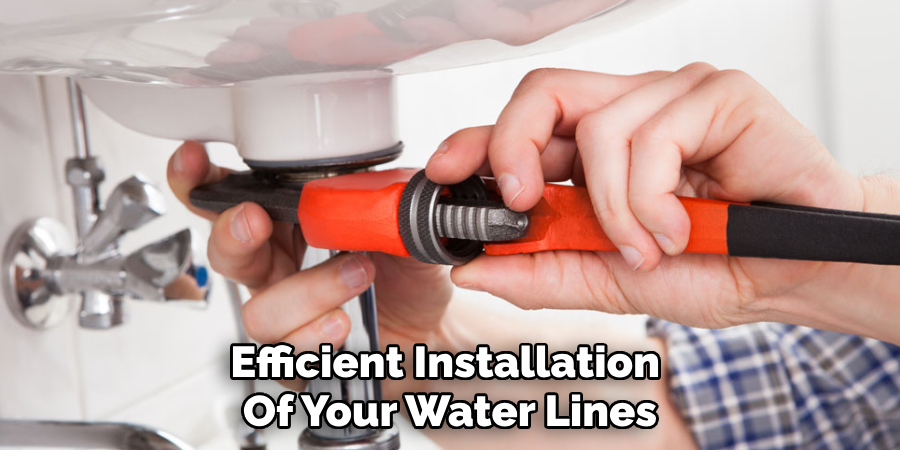
Following these steps on how to run water lines in a house diagram will ensure a successful and efficient installation of your water lines. By carefully planning, taking necessary precautions, and following proper techniques, you can enjoy reliable water pressure and a well-functioning plumbing system for years to come. Remember to always consult local building codes and regulations before beginning any plumbing project. Happy installing!
Conclusion
In conclusion, installing water lines in your home is a critical task that, when done correctly, can greatly enhance your plumbing system’s efficiency and reliability. Following the steps outlined in this guide on how to run water lines in a house diagram—from planning your layout and shutting off the water supply to testing the system and insulating exposed pipes—ensures a thorough and successful installation.
Always remember to adhere to local building codes and regulations, as they are designed to promote safety and functionality in plumbing systems. With the right tools and careful attention to detail, you can confidently undertake this project, ultimately ensuring a steady and dependable water supply for your household needs.

