When it comes to enhancing the functionality of your shed, running water to it can be a game changer. Whether you plan to use the shed as a workshop, a gardening oasis, or simply for storage, having a water supply can greatly improve convenience and efficiency.
This guide will walk you through the essential steps and considerations on how to run water to a shed, ensuring you have everything you need to create a practical and versatile space. From planning the route and obtaining necessary permits to selecting the right materials and ensuring proper drainage, we’ll cover all aspects to make the process as smooth as possible.
Common Uses for Water in a Shed
Water can serve various purposes in a shed, significantly enhancing its utility. Here are some common uses:
- Gardening Tasks: If your shed is a gardening hub, having water readily available makes it convenient to tend to plants, especially for watering flowers, vegetables, and herbs without having to trek back and forth to the main house.
- Cleaning Tools and Equipment: A water supply allows you to easily clean your gardening tools, lawnmowers, and other equipment, helping to maintain their condition and prolong their lifespan.
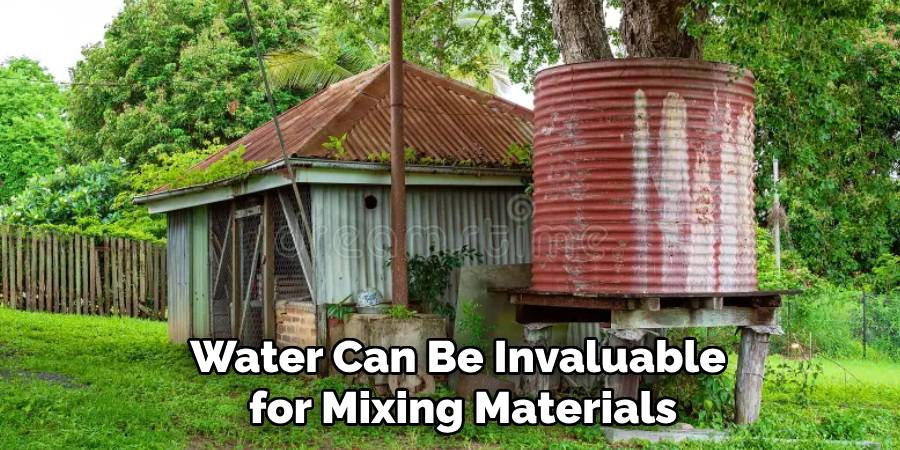
- Workshops and Projects: For those using the shed as a workshop, running water can be invaluable for mixing materials, cleaning surfaces, or even rinsing off after tasks that create dust or debris.
- Pet Care: If your shed doubles as a space for pet supplies or housing, having water on hand can facilitate pet grooming, hydration, and general care.
- Personal Convenience: More generally, a water source can provide convenience for any number of tasks, such as filling buckets, watering canisters, or even washing up before heading back indoors.
By considering these uses, you can maximize the benefits of running water to your shed and make it a more functional and enjoyable space.
Planning and Preparation
Before diving into the installation process, thorough planning and preparation are crucial to ensure a successful project. Begin by assessing the shed’s location and the nearest water source; this will help determine the most efficient route for running water. Next, consider any local regulations and obtain the necessary permits, as water supply lines may be subject to specific codes or restrictions in your area.
Once you’ve secured the approvals, create a detailed outline of the layout, including the type of piping and materials you’ll need. Common options include PVC or PEX pipes, known for their durability and ease of installation. Additionally, plan for any necessary fittings, connectors, and valves that will help manage water flow. It’s also wise to think about drainage solutions to prevent water accumulation around the shed.
10 Methods How to Run Water to a Shed
1. Connect to Existing Water Lines
The simplest method for running water to a shed is connecting it to existing water lines. This involves tapping into your home’s water supply and running a line to the shed. First, locate the nearest water line in your home, such as an outdoor spigot or a nearby water source.
Shut off the water supply and install a T-fitting or a valve to divert some water to the new line. Use high-quality PVC or PEX piping, and ensure all connections are securely sealed to prevent leaks. Install a shut-off valve near the shed for maintenance purposes. This method is straightforward if you have easy access to your home’s water lines and requires basic plumbing skills.
2. Install a Rainwater Collection System
A rainwater collection system provides a sustainable and eco-friendly way to supply water to a shed. Install gutters on your shed’s roof to collect rainwater, which then flows into a downspout connected to a storage tank. Choose a tank size appropriate for your water needs and position it near the shed.
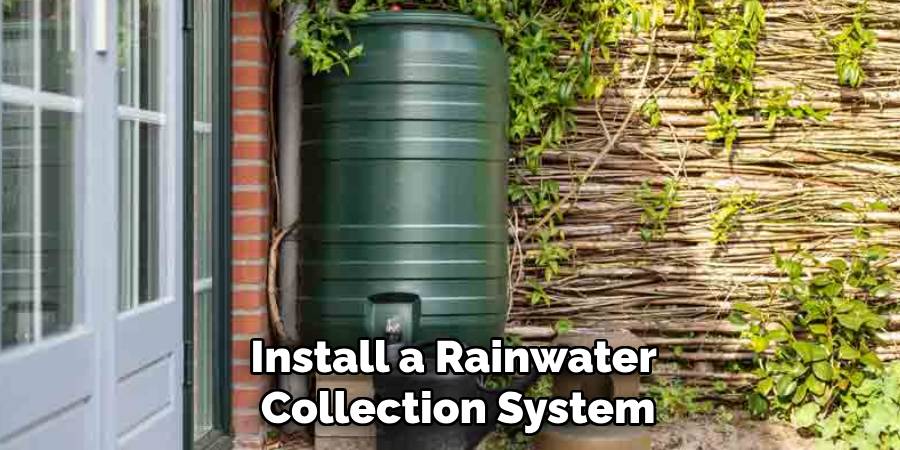
Ensure the tank has a filter to remove debris and a spigot for dispensing water. Connect a hose or pipe from the tank to the shed to deliver the collected rainwater. This method is particularly useful for areas with regular rainfall and can reduce reliance on municipal water sources.
3. Use a Water Storage Tank with a Pump
If you have a large water storage tank, you can use a pump to run water to your shed. Position the tank in a convenient location and connect it to a pump that can provide adequate water pressure. Install a hose or pipe from the pump to the shed, and ensure the pump is properly primed and maintained. This setup allows for flexible water supply, especially if the shed is located far from the main water source. Ensure that the tank is covered and maintained to prevent contamination and keep the water clean.
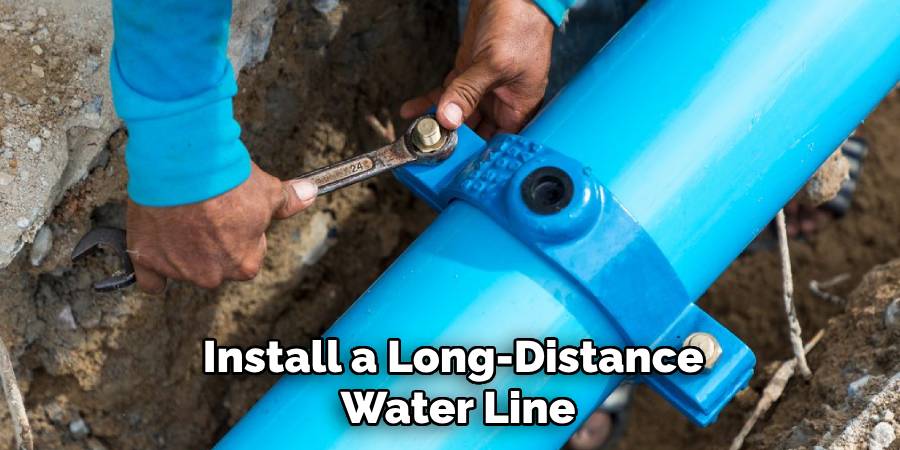
4. Install a Long-Distance Water Line
Running a water line over a long distance requires careful planning and installation. Begin by trenching a path from the water source to the shed, ensuring the trench is deep enough to prevent freezing or damage to the pipe.
Use durable, weather-resistant piping, such as PEX or PVC, and include insulation if necessary to protect the line from temperature fluctuations. Install pipe supports and fittings to ensure stability and avoid leaks.
Connect the water line to the shed and test for any leaks before burying the trench. This method is ideal for sheds located far from the main water source and ensures a steady supply of water.
5. Set Up a Well System
For a more permanent solution, you can install a well system if there is a suitable water table on your property. Drill a well to access groundwater, and install a submersible pump to draw water from the well. Connect the well system to a pipe that runs to the shed, including any necessary filtration or treatment systems to ensure water quality. This method provides a reliable and independent water source, although it requires a significant investment and permits for drilling a well. Regular maintenance and testing are essential to ensure the well’s longevity and water safety.
6. Utilize a Water Softener System
If the water quality from your main source is poor or hard, incorporating a water softener system can improve the water delivered to your shed. Install a water softener unit between the main water supply and the pipe leading to the shed. This system removes minerals that cause water hardness and prevents scale buildup in pipes and fixtures. Connect the softened water supply to the shed, and ensure regular maintenance of the water softener to keep it functioning effectively. This method enhances water quality and protects plumbing and appliances from mineral damage.
7. Create an Outdoor Water Source with a Hose Bib
For a less permanent solution, you can set up an outdoor water source using a hose bib. Install a hose bib on an exterior wall of your home or another suitable location near the shed. Run a hose from the hose bib to the shed, securing it with stakes or clips to prevent kinking or damage. This setup is ideal for seasonal use or if you need a temporary water supply for the shed.
8. Install a Water Cistern
A water cistern is a large container used to store and supply water. Position the cistern near the shed and connect it to a water source, such as rainwater collection or a well. Install a pump or gravity-fed system to transfer water from the cistern to the shed. Ensure the cistern has a cover to prevent contamination and includes a filtration system if necessary.
9. Set Up a Gravity-Fed System
A gravity-fed system uses the natural force of gravity to supply water to the shed. Install a water storage tank or barrel at an elevated location, such as on a platform or a stand. Connect a pipe from the tank to the shed, ensuring that the pipe is positioned to allow water to flow downhill. This system requires proper elevation and pipe slope to ensure effective water delivery. While simple and cost-effective, this method relies on gravity and may not provide high water pressure.
10. Integrate a Mobile Water Cart
For a flexible solution, consider using a mobile water cart or tank. Fill the cart with water from a source, such as a garden hose or a well, and transport it to the shed as needed. This method is ideal for sheds located in remote areas or if you need water on an occasional basis.
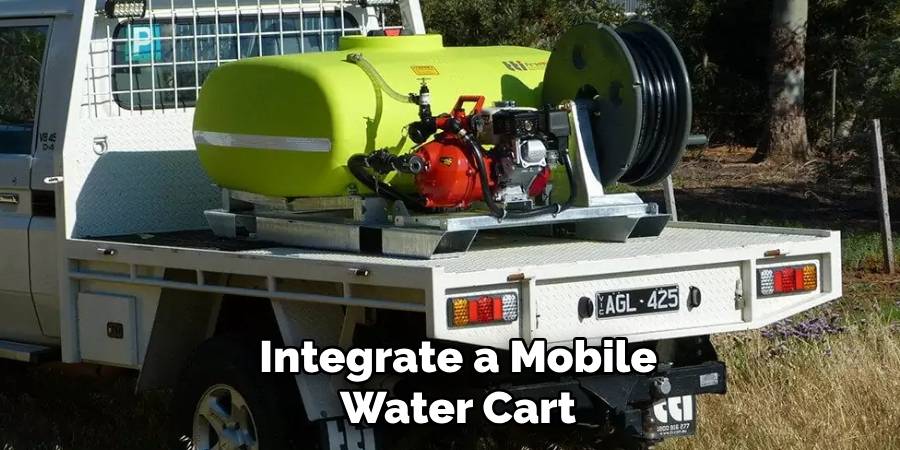
Ensure the cart is equipped with a dispensing mechanism, such as a spigot or hose, to transfer water from the cart to the shed. Regularly clean and maintain the cart to prevent contamination and ensure safe water usage.
Conclusion
Running water to a shed can significantly enhance its utility and convenience. Whether you choose to connect to existing water lines, install a rainwater collection system, or set up a gravity-fed system, each method offers unique benefits and considerations. Hopefully, this article gave you some helpful tips about how to run water to a shed successfully, so now that you have the proper knowledge on how to get the job done, why not give it a try today?

