Sealing leaking shower tiles is an essential maintenance task that not only protects your bathroom from water damage but also enhances its overall appearance. Over time, grout and caulking can deteriorate, leading to leaks that may cause mould growth and structural issues if left unaddressed.
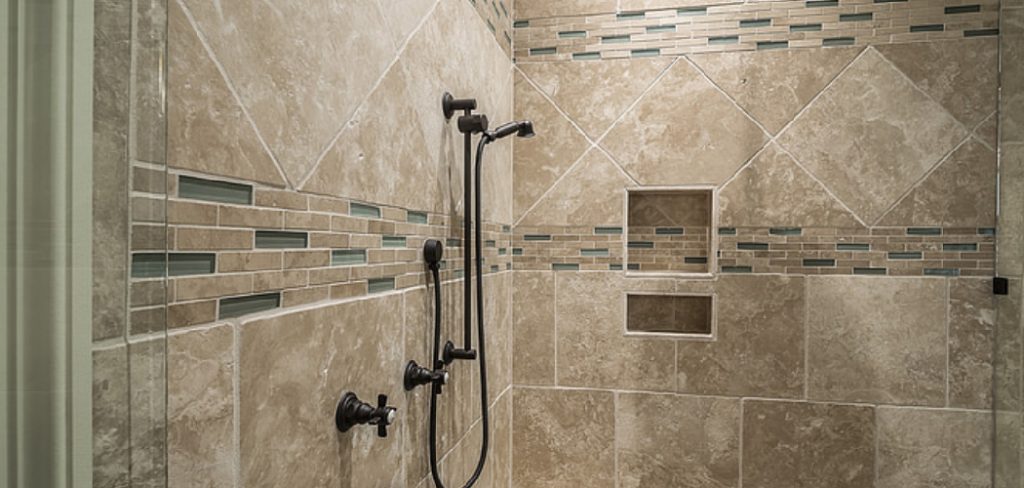
This guide on how to seal leaking shower tiles will walk you through the necessary steps to effectively seal your shower tiles, ensuring a watertight barrier that will extend the life of your bathroom surfaces and keep your space looking fresh and inviting. Whether you’re a seasoned DIY enthusiast or a beginner, these straightforward instructions will help you achieve a professional finish.
Why is Seal Leaking Shower Tiles Important?
Sealing leaking shower tiles is crucial for several reasons. First and foremost, it prevents water from seeping into the underlying structures, which can lead to extensive damage, such as rotting wood, deteriorating drywall, and the growth of mold or mildew. This not only poses health risks due to poor air quality but can also result in costly repairs.
Additionally, a well-sealed shower enhances the aesthetic appeal of your bathroom, keeping it looking clean and well-maintained. Regularly sealing your tiles not only protects your investment but also prolongs the lifespan of your materials, ultimately saving you time and money in the long run.
Materials Needed
Before you begin, gather the necessary materials to seal your leaking shower tiles. These include:
Grout and Tile Cleaner:
Use a product specifically designed for cleaning grout and tiles. Avoid using harsh chemicals or abrasive cleaners, as they can damage the tiles and grout.
Caulking Gun:
This tool is essential for applying the sealant evenly and precisely. Consider purchasing a high-quality caulking gun to achieve better results.
Silicone Sealant:
Choose a waterproof silicone sealant designed for use in bathrooms. It should be mould-resistant and able to withstand constant exposure to water.
Grout Sealer:
Select a penetrating grout sealer for maximum protection against water damage. Look for a product that is suitable for your specific tile and grout type.
Clean Cloth or Sponge:
These will be used to wipe away any excess sealant and clean up any spills or messes.
8 Step-by-step Guides on How to Seal Leaking Shower Tiles
Step 1: Clean the Shower Area
Begin by thoroughly cleaning the shower area to remove any soap scum, mildew, or old grout residue. Use a grout and tile cleaner, applying it to the tiles and grout lines. Allow the cleaner to sit for a few minutes to break down any buildup, then scrub the surfaces using a non-abrasive sponge or brush to ensure all dirt and grime are removed.
Rinse the area well with warm water to eliminate any remaining cleaner and debris. It’s important to let the shower area dry completely before proceeding to the next step, as moisture can interfere with the adhesion of the sealant and grout.
Step 2: Remove Old Caulking
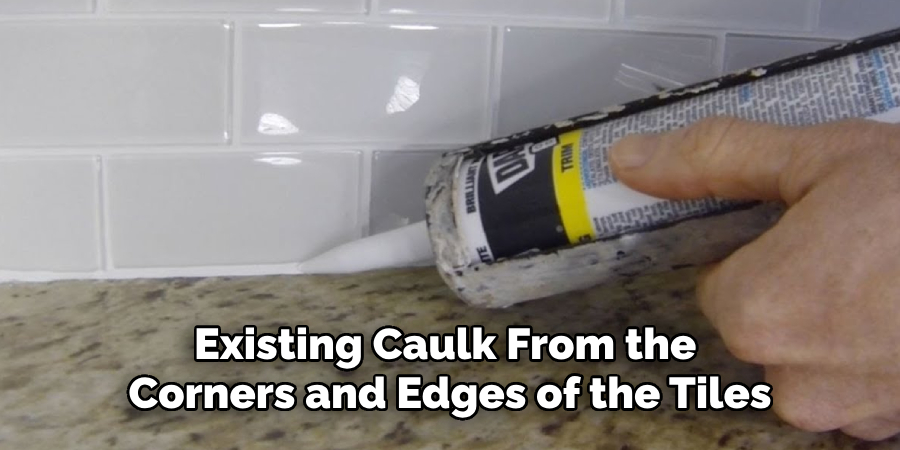
To ensure a proper seal, it’s essential to remove any old caulking that may be present. Start by using a utility knife or a caulk removal tool to carefully cut away the existing caulk from the corners and edges of the tiles. Be cautious to avoid damaging the tile or grout underneath during this process.
Once you’ve removed the bulk of the old caulking, use a putty knife to scrape away any remaining residue. Afterward, clean the area again with a grout and tile cleaner to ensure it’s free of dust and debris, and then rinse thoroughly to prepare the surface for the new sealant application. Allow the area to dry completely before moving on to the next step.
Step 3: Apply New Caulk
Using your caulking gun, apply a thin and even line of silicone sealant along the edges and corners of the shower area. Be sure to fill any gaps or cracks between the tiles and the bathtub or shower pan. Smooth out the sealant using your finger or a caulking tool to create a neat finish.
Pro tip: It’s better to work in small sections at a time, rather than trying to caulk the entire area in one go, as this may result in dried-out sealant that is difficult to manipulate.
Step 4: Let it Cure
After applying the new caulk, it’s crucial to allow it to cure properly for the best results. Refer to the manufacturer’s instructions on the sealant packaging for the recommended curing time, which can typically range from 24 to 48 hours. During this time, avoid using the shower to ensure the sealant adheres effectively and forms a watertight barrier.
Proper curing helps to prevent the sealant from breaking down prematurely due to moisture exposure, ensuring that your newly sealed edges will maintain their integrity and protect against leaks for as long as possible.
Step 5: Clean and Prepare the Grout
Once the caulk has cured completely, it’s time to focus on the grout. Begin by cleaning the grout lines between the tiles to remove any dirt, debris, or old grout sealer. You can use a grout brush or a toothbrush along with your grout and tile cleaner for this task. Gently scrub along the grout lines to ensure they are clear of any obstructions. After cleaning, rinse the area thoroughly with warm water and let it dry completely.
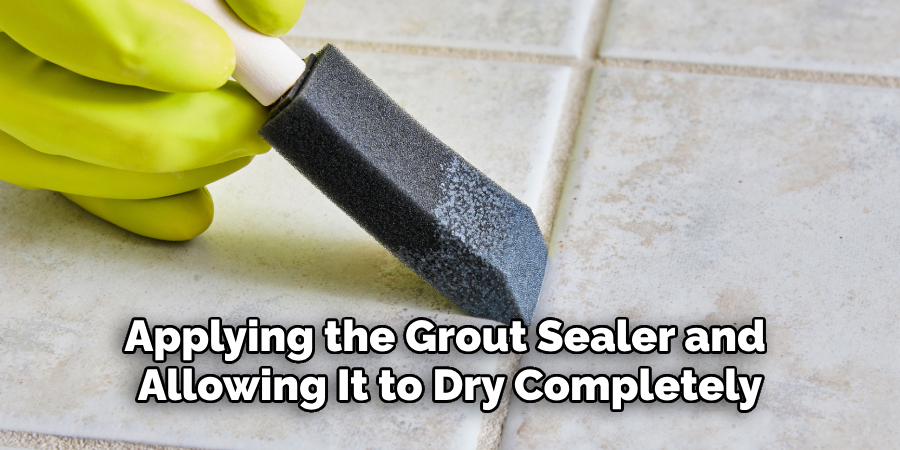
After the grout is clean and dry, consider applying a grout sealer to protect it from moisture and staining. Choose a penetrating grout sealer suitable for your specific type of grout, and apply it according to the manufacturer’s instructions. Make sure to cover all grout lines evenly for maximum protection.
Allow the sealer to dry as per the guidelines before using the shower. This step is vital for maintaining the integrity of the grout and preventing future leaks.
Step 6: Reapply Caulk if Needed
After applying the grout sealer and allowing it to dry completely, inspect the caulk around the shower area carefully. Look for any areas where the caulk may have shrunk, cracked, or where gaps may have formed. If you notice any imperfections or weak spots in the seal, it’s important to remove and reapply caulk in those areas to ensure a watertight seal.
Use a utility knife or caulk removal tool to gently take out the affected caulk, cleaning the area thoroughly as described in previous steps. Once the surface is clean and dry, reapply a thin, even line of silicone sealant along the edges, smoothing it out for a clean finish.
Allow the new caulk to cure as per the manufacturer’s recommendations before using the shower. This step is crucial to maintaining the overall integrity of your shower’s waterproof barrier.
Step 7: Regular Maintenance
Periodic maintenance is key to ensuring your shower remains watertight for as long as possible. Make it a habit to inspect the caulk and grout lines regularly, looking for signs of wear or damage.
If necessary, touch up any areas with new caulk or reapply the grout sealer to maintain its effectiveness in preventing leaks. This regular upkeep can significantly extend the life of your sealed shower and save you from having to perform more extensive repairs down the line.
It’s also important to keep the shower area clean, use a non-abrasive cleaner, and avoid harsh chemicals that may break down the sealant or damage the tiles or grout. Wiping down the shower walls after each use can help prevent soap scum and mildew buildup, which can compromise the effectiveness of the sealant over time.
Step 8: Seek Professional Help if Needed
If you encounter persistent issues with leaks, mold, or damage that you cannot resolve through regular maintenance, it may be time to seek professional assistance.
A qualified contractor or plumber can provide an expert assessment of your shower’s condition and identify underlying problems that may not be immediately visible. They can also offer solutions for complicated repairs or water damage, ensuring that your shower is restored to optimal condition.
While tackling minor repairs on your own can be satisfying and cost-effective, knowing when to bring in a professional can save you time, effort, and potentially prevent further damage to your home. Don’t hesitate to reach out for help if the situation warrants it, ensuring the longevity and functionality of your shower for years to come.

Frequently Asked Questions
Q1: Is It Necessary to Remove Old Caulk Before Applying a New One?
A: Yes, removing old caulk and ensuring the surface is clean and dry is essential for proper adhesion of the new sealant and to prevent future leaks. It’s also crucial for the overall aesthetic of your shower, as applying new caulk over old, discolored caulk can result in an uneven and unsightly finish.
Q2: How Often Should I Reapply Caulk Around My Shower?
A: It depends on various factors such as the quality and type of sealant used, frequency of use, and exposure to moisture. On average, it is recommended to replace caulk every 5 years or when signs of wear or damage are evident. Regularly inspecting and maintaining the caulk and grout can help identify potential issues before they become a more significant problem.
Q3: Can I Use Any Type of Grout Sealer?
A: No, it’s crucial to choose a penetrating grout sealer suitable for your specific type of grout. Using the wrong type of sealer can result in poor adhesion and reduced effectiveness in protecting against moisture and staining. Refer to the manufacturer’s instructions or consult with a professional if unsure.
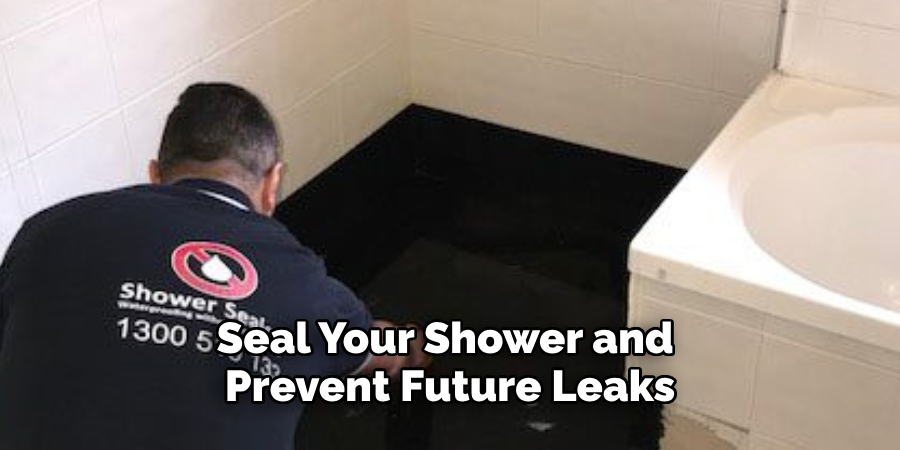
With these tips and steps on how to seal leaking shower tiles, you can effectively seal your shower and prevent future leaks. Remember to regularly inspect and maintain the caulk and grout lines for optimal performance, and don’t hesitate to seek professional help if needed. With proper care, your shower will stay watertight and functional for years to come. Happy sealing!
Conclusion
Maintaining a watertight seal in your shower is essential for preventing leaks and ensuring the long-term durability of your bathroom. By following the outlined steps on how to seal leaking shower tiles—cleaning and preparing the grout, applying sealant correctly, conducting regular maintenance, and seeking professional help when necessary—you can significantly reduce the risk of water damage.
Consistent vigilance in inspecting and maintaining your caulk and grout will not only enhance the appearance of your shower but also save you from costly repairs in the future. With these practices in place, you can enjoy a functional and aesthetically pleasing shower environment for years to come.
