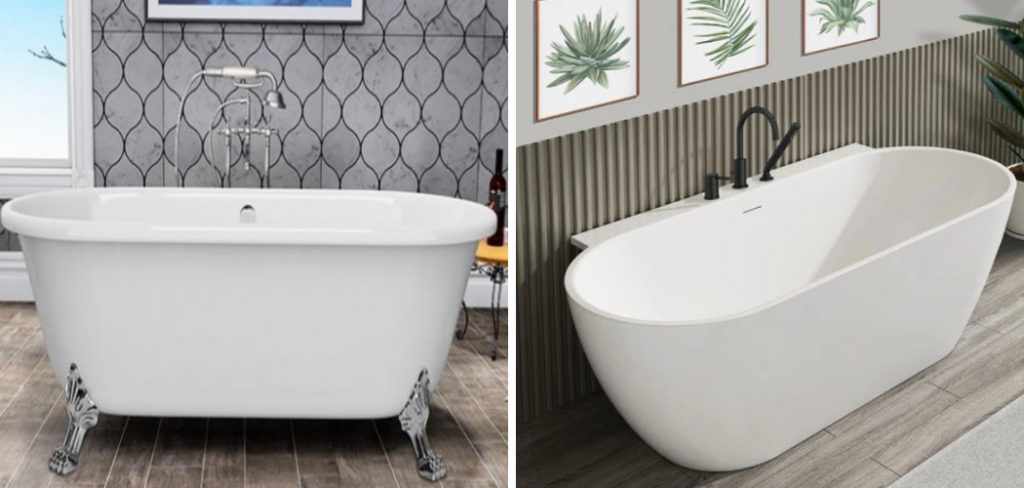
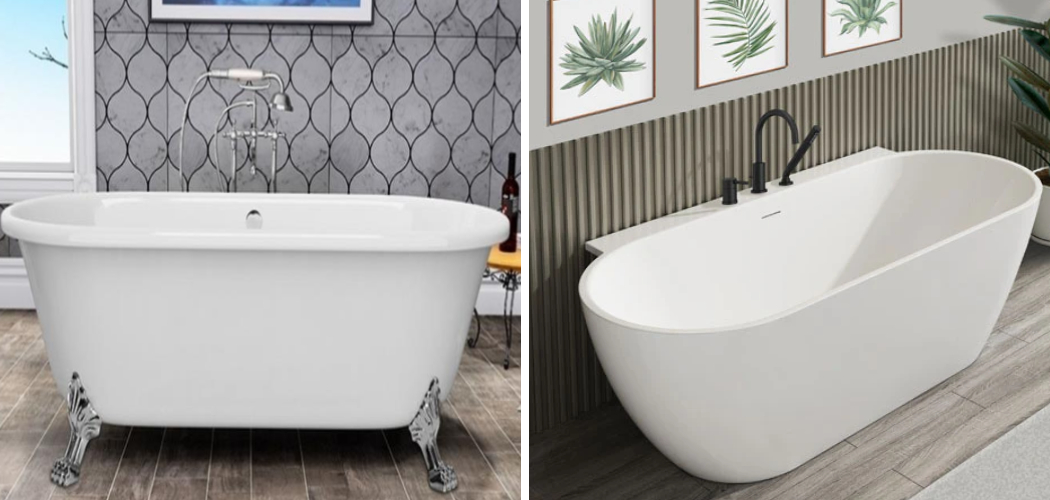
Securing a freestanding tub is crucial in ensuring a safe and enjoyable bathing experience. Without proper installation, a freestanding tub can tip or shift during use, posing a safety hazard and potentially damaging your bathroom floor or plumbing. Additionally, a well-secured tub enhances the stability and durability of the fixture, allowing you to enjoy its benefits for years to come. There are several types of freestanding tubs, including clawfoot, pedestal, and modern designs, each requiring different methods of securing based on their unique features.

This article will serve as a comprehensive guide on how to secure freestanding tub effectively, helping you prevent unwanted movement and maintain the aesthetic and functionality of your bathroom. With the right steps and attention to detail, you can ensure your tub remains a beautiful and practical centerpiece in your space.
Tools and Materials Needed
Securing a freestanding tub properly requires the right tools and materials to ensure stability and durability. Below is a list of essential items you’ll need for the installation process:
Essential Tools
- Power drill
- Level
- Measuring tape
- Pipe wrenches or adjustable spanner
- Screws or bolts
Materials
- Rubber pads or anti-slip mats (optional for added stability)
- Mounting brackets or anchors (for tubs with specific mounts)
- Floor anchors (if needed for added security)
Choosing the Right Tools for the Job
When selecting the tools and materials for your installation, consider the weight and design of your freestanding tub. Heavier tubs, such as cast iron models, may require heavy-duty anchors or brackets for maximum support, while lightweight acrylic tubs might only need basic mounting hardware.
Additionally, evaluate your flooring type—wood, tile, or concrete—as this will influence the best securing method. Using the appropriate tools and materials ensures a secure fit and long-lasting performance for your freestanding tub.
Preparing the Area for Installation
Before beginning the freestanding tub installation, it is essential to ensure the area is properly prepared. Following these steps will help create a stable and secure foundation for your tub:
Step 1: Leveling the Floor

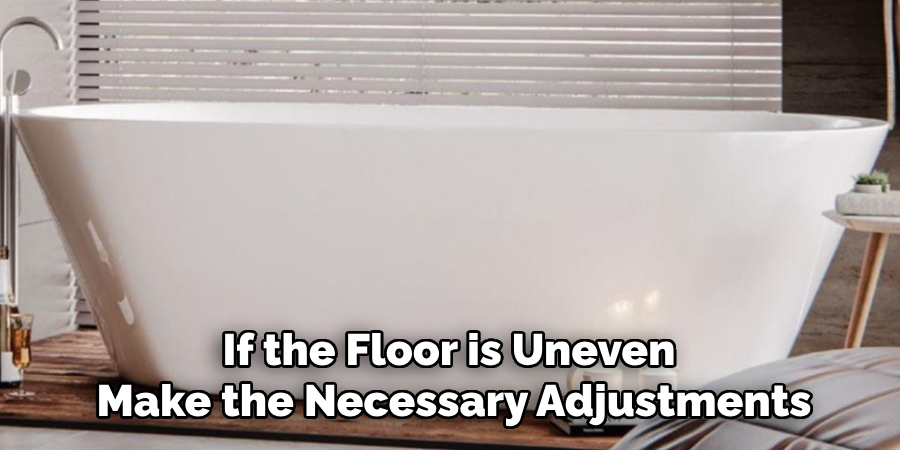
Start by checking the floor for any unevenness. A level floor is critical to preventing wobbling or instability in the tub. Use a level tool to assess the alignment of the installation area. If the floor is uneven, make the necessary adjustments, such as filling gaps or using self-leveling compound, to achieve a flat surface.
Step 2: Locate and Mark Securing Points
Identify the ideal spots for securing your tub. These securing points are generally located around the base of the tub or at the legs, depending on the design. Take precise measurements and mark these points clearly on the floor. This step ensures the installation will align accurately with the hardware and avoid unnecessary repositioning later.
Step 3: Clear the Area
Remove any obstacles or clutter from the installation area. If there are old fixtures, damaged flooring, or debris, ensure these are cleared away to allow for a clean workspace. This makes the installation process smoother and reduces the risk of accidents or damage to your new tub. A clutter-free area will help you work more efficiently and allow for better visibility during the installation process.
How to Secure Freestanding Tub: Securing a Freestanding Tub with Mounting Brackets
Step 1: Attach Mounting Brackets to the Tub
If your freestanding tub comes with mounting brackets, begin by installing them on the underside of the tub. Follow the manufacturer’s instructions to securely attach the brackets, ensuring they are properly aligned and tightened. This step is essential to stabilize the tub during and after installation.
Step 2: Mark the Positions on the Floor

Carefully place the tub in its desired position on the floor. Use a pencil to mark where the mounting brackets meet the floor. These markings will guide the placement of the floor anchors and ensure the tub remains precisely aligned with your chosen location. Double-check the positioning to avoid unnecessary adjustments later.
Step 3: Drill Holes for Floor Anchors
Using a power drill and the appropriate drill bit size recommended by the hardware instructions, create holes for the floor anchors at the marked locations. Make sure the holes are drilled to the correct depth and angle to hold the anchors in place securely. Take care to avoid damaging underlying pipes or electrical lines during this step.
Step 4: Install Floor Anchors and Attach Brackets
Insert the anchors into the drilled holes and ensure they are firmly in place. Align the mounting brackets with the anchors and secure the tub by inserting bolts through the brackets and into the anchors. Use a wrench to tighten the bolts, ensuring the tub is stable and secured. Check for any wobbling or movement, and make final adjustments if necessary.
Using Anti-Slip Pads or Rubber Feet for Stability
Anti-slip pads or rubber feet are a valuable addition to enhance the stability of your tub. These materials provide additional grip, reducing the likelihood of shifting or sliding during use, especially on smooth or wet surfaces. By incorporating these, you can further secure the tub and prioritize safety.
Step 1: Apply the Pads to the Tub Legs or Base
Begin by attaching rubber pads or adhesive anti-slip materials to the tub’s legs or base. Depending on the design of your tub, ensure that the adhesive side sticks firmly to a clean, dry surface. This setup offers extra friction to keep the tub in place.
Step 2: Ensure Even Distribution

Arrange the pads evenly across all legs or along the base for balanced support. This ensures that the tub remains level, reducing strain or tipping during use. Double-check the placement, as uneven distribution could compromise stability.
Step 3: Test for Movement
Once the pads are applied, gently push the tub from different angles to ensure it stays securely in place. Adjust the pads as necessary for optimal performance if there is any movement. This final step helps confirm that the anti-slip feature is working effectively.
Securing a Freestanding Tub with Adjustable Feet
Step 1: Adjust the Feet to the Desired Height
Many freestanding tubs are equipped with adjustable feet that allow for precise customization. Begin by positioning the tub in its designated space and assessing the surface for unevenness. Adjust the feet by extending or retracting them as needed to achieve the desired height and balance. This step ensures the tub sits evenly, avoiding wobbling or potential instability during use.
Step 2: Tighten the Feet to Stabilize the Tub
Once the feet are adjusted to the proper height and the tub is level, tighten the screws or mechanisms on each foot to lock them into place. This step is crucial for securing the feet and preventing any unintentional movement. Ensure all feet are firmly tightened and make any necessary adjustments to maintain the tub’s balance and alignment.
Step 3: Recheck for Stability
After securing the feet, use a level tool to confirm the tub is properly aligned and stabilized. Gently apply pressure to the tub’s edges to test for any movement or tipping. If instability is detected, repeat the steps to adjust further and secure the feet. A final check ensures that the freestanding tub is safe and ready for use.
Alternative Methods for Extra Stability
Step 1: Use a Tub Cradle or Frame
Incorporating a cradle or supporting frame underneath can provide additional security and stability for some freestanding tubs. These cradles or frames are specifically designed to distribute the weight of the tub evenly and prevent any rocking or shifting during use. Ensure the cradle or frame is compatible with your tub model and is properly installed according to the manufacturer’s guidelines.
Step 2: Install a Freestanding Tub Support Bracket
Certain freestanding tub models come equipped with support brackets that can be anchored to the wall or floor. These brackets are an excellent option for securing the tub firmly in place, especially in areas where the floor may be slightly uneven. When using support brackets, follow the installation instructions provided by the manufacturer and verify that the brackets are tightly fastened to avoid any potential movement.
Step 3: Consider Professional Installation

If securing the tub becomes challenging or you lack the necessary tools or experience, consulting a professional plumber or installer can be the best course of action. Professionals have the expertise to assess your bathroom setup and ensure the tub is installed safely and securely. This option can save time and provide peace of mind, especially for high-end or heavy freestanding tubs.
Conclusion
Securing a freestanding tub ensures safety, stability, and longevity. Proper installation begins with leveling the tub to prevent wobbles and using appropriate support brackets if necessary. Additionally, securing adjustable feet or pads can provide extra stability on uneven surfaces. When considering how to secure freestanding tub, it’s crucial to evaluate the specific needs of your tub model and floor type. This mindful approach enhances the tub’s functionality and extends its lifespan. By following these steps and recommendations, you can create a safe and reliable installation that stands the test of time.

