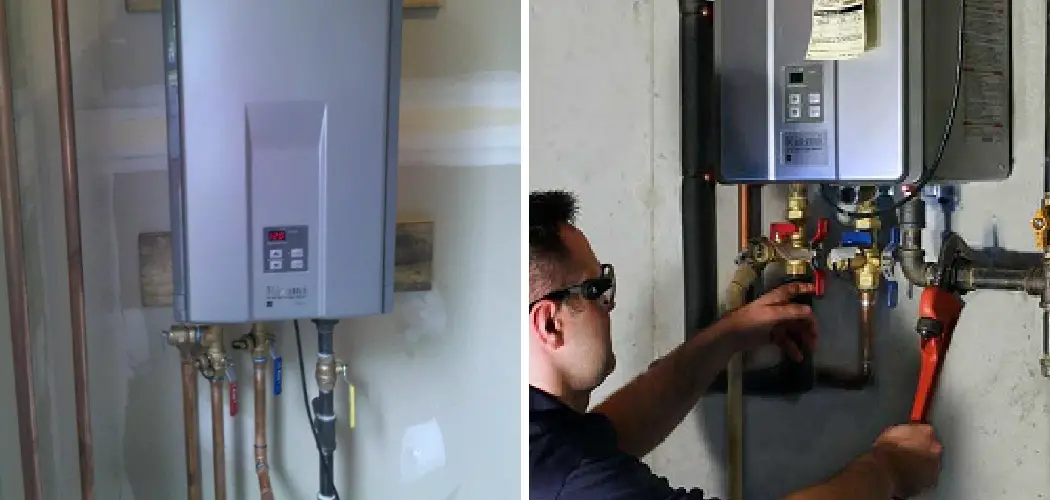
Are you looking to keep your home’s Rinnai tankless water heater running at peak efficiency? Regularly servicing a Rinnai Tankless Water Heater is important; not only does it ensure that the system runs smoothly, but it also prevents potential breakdowns and costly repairs.
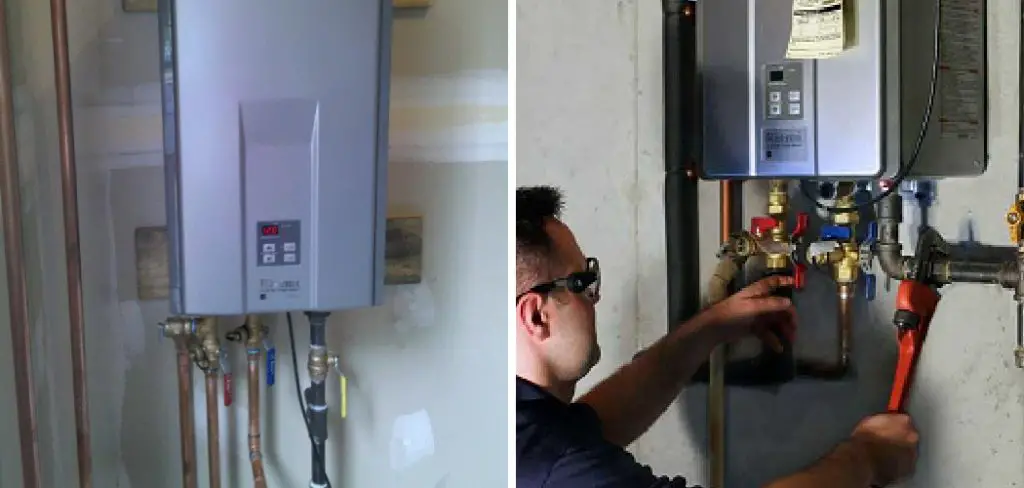
In this blog post, we will discuss how to service a rinnai tankless water heater, the parts that need regular attention and care, as well as when and why maintenance should be done. With our step-by-step guide, you’ll be able to service your own Rinnai Tankless Water Heater effectively in no time!
What is a Rinnai Tankless Water Heater?
A Rinnai Tankless Water Heater is a type of on-demand water heating system that heats water as it’s needed, allowing you to save energy and enjoy hot water at any time. The most common types of tankless water heater systems are electric, natural gas, or propane.
What Parts of a Rinnai Tankless Water Heater Need Regular Maintenance?
The primary parts of a Rinnai Tankless Water Heater that need regular maintenance and cleaning include the burner, heat exchanger, thermostat, valves, hoses, and filters. Maintaining these parts help ensure proper operation and reduce breakdowns.
Things to Consider Before Starting
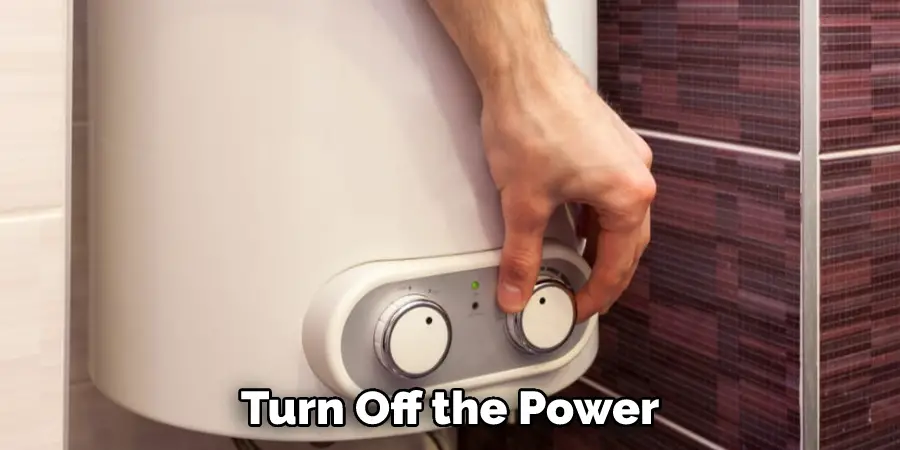
Before you begin servicing your Rinnai Tankless Water Heater, there are several safety considerations to keep in mind. Make sure you check the manual for any specific manufacturer guidelines or precautions. Also, make sure you have all the necessary tools and supplies on hand before beginning maintenance. Also, be sure to turn off the power to the tankless water heater before beginning any maintenance.
Required Tools and Supplies
In order to service a Rinnai Tankless Water Heater, you will need the following tools and supplies:
- Safety glasses
- Work gloves
- Screwdrivers
- Wrench set
- A vacuum cleaner with hose attachment
- Cleaning solutions
10 Tips on How to Service a Rinnai Tankless Water Heater
1. Look for Damage
Start by visually inspecting the exterior of the tankless water heater, looking for any signs of damage or leakage. If you find any damage, contact a professional for repair. The damage may be due to physical, chemical, or biological factors.
2. Clean the Gas Burner & Heat Exchanger
Remove any debris from the gas burner and heat exchanger using a vacuum cleaner with a hose attachment. Make sure you check for any signs of corrosion or rust. If necessary, use a cleaning solution to remove dirt and grime.
3. Check the Thermostat
Check the thermostat to ensure it’s operating properly. Make sure all the connections are tight and that there is no corrosion or rust present. Thermostat settings should also be checked to make sure they are working as intended.
4. Check the Valves & Hoses
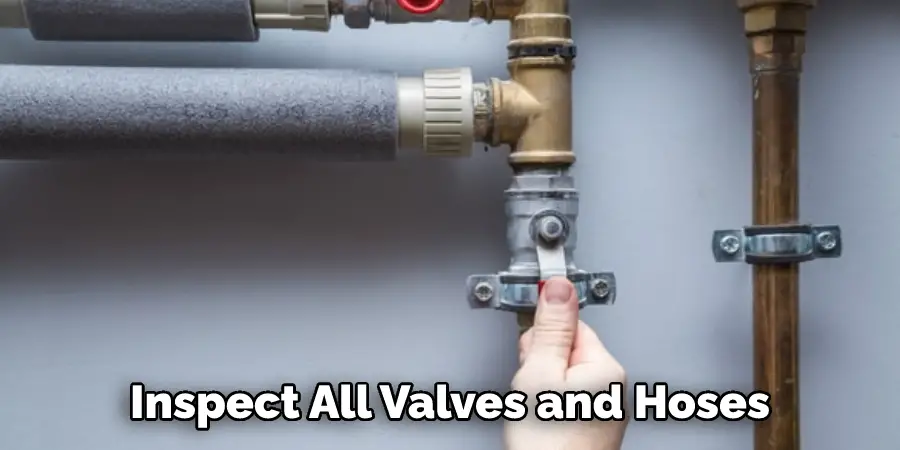
Inspect all valves and hoses for any signs of wear or damage. Make sure all connections are tight and that there is no leakage. Replace any broken or worn hoses with new ones. The valve should also be tested for proper operation.
5. Clean the Filters
Clean any sediment or dirt from filters using a vacuum cleaner with a hose attachment. Make sure to check the size and shape of the filter to ensure it’s suitable for your tankless water heater model.
6. Check for Gas Leaks
Check for any gas leaks in the system. If you find a leak, contact a professional to repair it right away. Gas leaks can be dangerous and should not be taken lightly. If you smell gas, make sure to open a window or turn off the gas supply before calling for help.
7. Perform Maintenance
Check all electrical components of your tankless water heater, including circuit breakers and wiring. Make sure all wires are connected properly and that there isn’t any corrosion or wear present. If necessary, replace any broken or worn parts.
8. Flush the System
Flush out the tankless water heater system to remove any sediment or dirt buildup. This is critical to ensure long-term performance and reliability. Use a specialized flushing solution to do this job effectively.
9. Test for Proper Operation
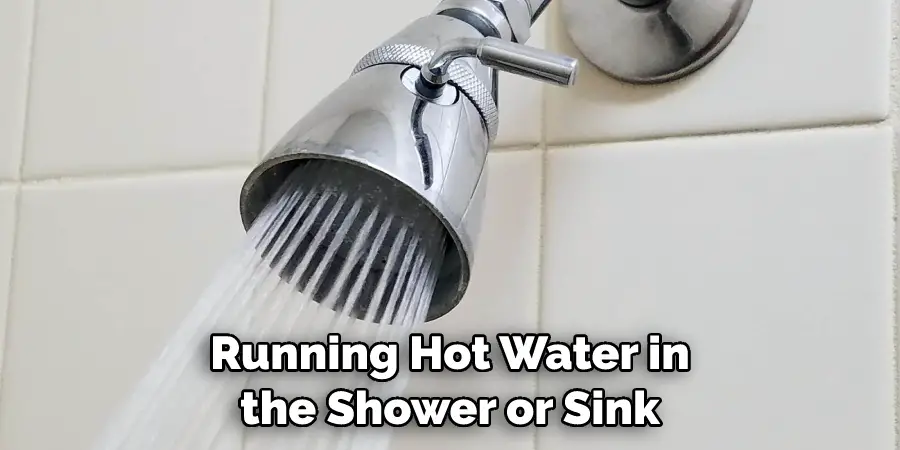
Once you’ve completed servicing your Rinnai Tankless Water Heater, you need to test it for proper operation. This can be done by running hot water in the shower or sink and verifying that the temperature is what you expect.
10. Contact a Professional If Needed
If you’re not comfortable servicing your tankless water heater or if you find any issues that require professional attention, don’t hesitate to contact a qualified technician. They can diagnose and repair any issue quickly and safely so your home’s hot water supply is restored as soon as possible.
By following these 10 tips on how to service a rinnai tankless water heater, you can ensure your tankless water heater is in perfect working condition. Regular maintenance will help extend the life of your tankless water heater and save you money on repair costs in the long run. Plus, it will give you peace of mind knowing that your hot water supply is always safe and reliable.
9 Maintenance Tips
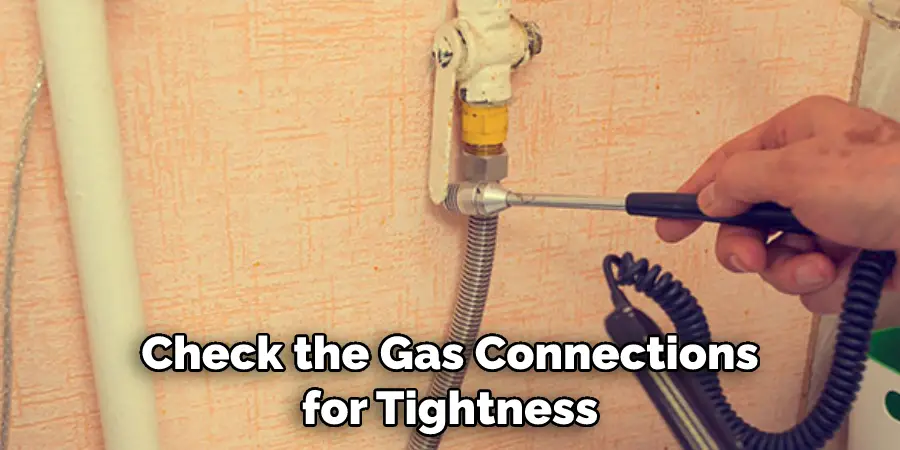
1. Check the gas connections for tightness. The gas connection should be checked regularly for any signs of wear or damage. Loose connections can cause gas leaks, which is why it’s important to ensure all connections are tight and secure.
2. Check the water pressure in the system. It’s important that the water pressure is at a safe level for your tankless water heater. If the pressure is too high, it can cause damage to the system.
3. Inspect all venting components for signs of wear or damage. The venting components are responsible for safely releasing exhaust gases from your tankless water heater, so it’s important that they are in good condition. Any broken or worn parts should be replaced right away.
4. Inspect the thermostat settings to make sure they are working properly. If the thermostat is set too low, your tankless water heater won’t heat the water efficiently. Make sure all settings are correct and that there isn’t any buildup on or around the component.
5. Inspect all hoses for signs of wear or damage. Make sure all hose cuffs are properly tightened and that there is no kinking or cracks in the hoses. Replace any worn or damaged hos
6. Check the temperature and pressure valve for signs of wear or damage. Make sure all seals are tight and that there is no corrosion present. If necessary, replace any worn parts with new ones. The valve should also be tested for proper operation.
7. Clean the heat exchangers with a pipe brush. The heat exchanger is responsible for transferring heat from the gas to the water, so it’s important that it is clean and free of any blockages. A pipe brush can help clear out any buildup on the heat exchanger.
8. Replace the air filter if necessary. The air filter helps regulate the amount of air that is drawn into the tankless water heater, so it’s important that it is clean and free of any blockages. If necessary, replace your air filter with a new one.
9. Test for proper operation by running hot water in the shower or sink and verifying that the temperature is what you expect. This is crucial for ensuring your Rinnai tankless water heater is working properly.
These 8 tips can help you service your Rinnai Tankless Water Heater to ensure it lasts for years to come. Regular maintenance will save you time, money, and hassle down the line. Plus, it will give you peace of mind knowing that your hot water is always safe and reliable.
How Much Will It Cost?
The cost of how to service a rinnai tankless water heater will vary depending on the extent of the service required. The cost may include labor, materials, and travel fees. If you’re having a professional technician come to your home for servicing, you can expect to pay a minimum of $150 to $300 per hour for labor, depending on the technician’s experience and location. Materials will also vary in price based on the type of work being done.
For example, a new air filter may cost anywhere from $15 to $30, while replacing a heat exchanger could easily cost up to $200.
Conclusion
It is important to evaluate our Rinnai tankless water heaters regularly, if not annually. This will ensure they are running optimally, and reduce the chance of breakdowns that could require costly repairs or warrant the replacement of the entire unit. Overall, servicing a Rinnai tankless water heater is quite easy and straightforward.
With the right tools and guidance on how to service a rinnai tankless water heater from this article, you can successfully give your system the yearly inspection it needs for efficient operation. Self-service for small repair jobs may at times be necessary, but occasionally having a professional take care of any advanced troubleshooting can be beneficial as well.
If anything seems off with your system, make sure to get it serviced promptly in order to minimize any existing damages or potential complications. With proper servicing, you can rest assured that your Rinnai tankless water heater will keep performing its duties reliably for years to come.

