Setting a Braeburn thermostat is essential for maintaining your home’s comfort and energy efficiency. With a user-friendly interface and customizable settings, Braeburn thermostats allow homeowners to easily manage their heating and cooling systems.

This guide on how to set a braeburn thermostat will walk you through the steps necessary to set up and program your Braeburn thermostat, ensuring you can enjoy a perfectly regulated indoor environment year-round. Whether you’re new to smart thermostats or looking to optimize your existing setup, this comprehensive guide will provide you with the knowledge you need to get started.
Why Set a Braeburn Thermostat?
Before we dive into the steps of setting a Braeburn thermostat, it’s important to understand why it’s necessary in the first place. A thermostat is responsible for controlling the temperature and maintaining it at your desired level. By setting up a Braeburn thermostat, you can ensure that your heating and cooling systems are running efficiently and effectively, ultimately saving you money on energy bills.
In addition to cost savings, having a properly set thermostat also contributes to a more comfortable living environment. With programmable settings, you can adjust your home’s temperature based on your daily routine and preferences, ensuring you come back to a cozy house after work or wake up to a perfectly heated home in the morning.
8 Steps on How to Set a Braeburn Thermostat
Step 1: Familiarize Yourself With the Interface
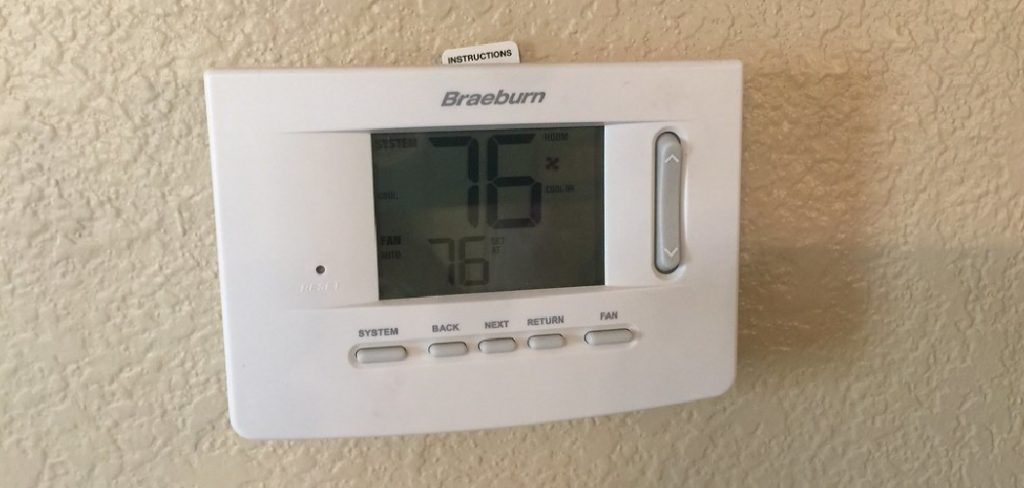
Before setting your Braeburn thermostat, take a moment to get acquainted with its interface. Most Braeburn models feature a clear display screen along with several buttons or a touchscreen for navigation. Identify key elements such as the temperature controls, settings menu, and any indicator lights.

Understanding how to access various features will make the programming process much smoother. Refer to the user manual specific to your model for additional details on the interface, as different models may have unique functionalities or display formats. Familiarity with your thermostat’s layout will help you confidently adjust settings and make the most of its capabilities.
Step 2: Set the Current Time and Date
Accurate time and date settings are crucial for the proper functioning of your Braeburn thermostat, particularly if it has programmable features. To set the current time and date, locate the “Menu” or “Settings” button on your thermostat’s interface. Navigate to the option for setting the clock, which may be labeled as “Time” or “Date/Time.”
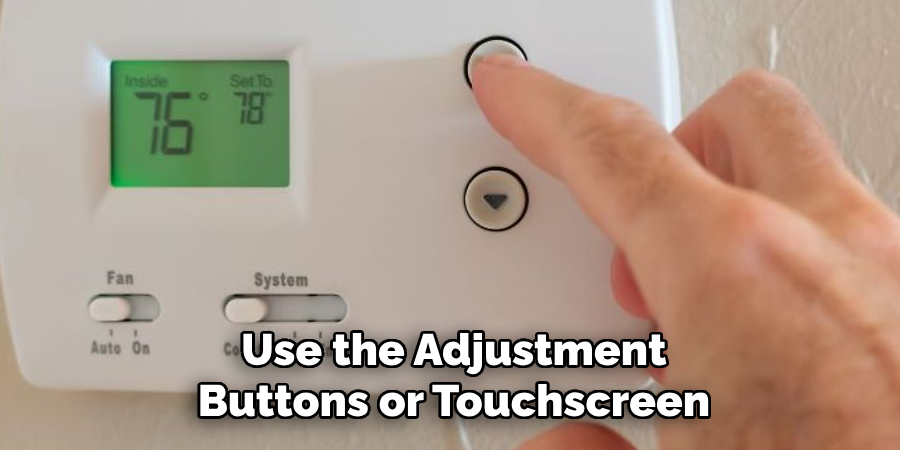
Once you’re in the correct menu, use the adjustment buttons or touchscreen to input the current time, ensuring you indicate whether it’s in AM or PM. Next, enter the date by selecting the appropriate fields for month, day, and year. After entering the correct information, confirm your settings by pressing the “OK” or “Confirm” button. This step is essential as it allows your thermostat to align its heating and cooling schedules with your daily routine.
Step 3: Select Your Preferred Temperature Units
Braeburn thermostats provide the option to display temperatures in either Fahrenheit or Celsius. Depending on your preference and familiarity with metric units, you can choose the desired unit by accessing the settings menu. Locate the “Preferences” or “Options” section and navigate to the temperature unit setting. Use the adjustment buttons or touchscreen to select between Fahrenheit or Celsius and confirm your choice.
It’s recommended to select the unit that you’re most comfortable with, as it will make interpreting and adjusting your thermostat much easier.
Step 4: Adjust the Default Temperatures
Before programming your Braeburn thermostat, it’s essential to adjust the default temperatures for heating and cooling. The default temperatures are typically set at 70°F (21°C) for heating and 72°F (22°C) for cooling. However, these may not be suitable for your home or individual preferences.
To change these settings, access the “Temperature” menu on your thermostat and use the adjustment buttons or touchscreen to enter your preferred temperature for both heating and cooling. Be sure to confirm each setting before moving on.

Step 4: Adjust Basic Settings
In addition to setting your preferred temperatures, you’ll want to adjust other basic settings on your Braeburn thermostat to optimize its performance. This includes selecting the heating or cooling mode, adjusting the fan settings, and enabling any energy-saving features offered by your model. Navigate to the “Mode” or “System” section in the settings menu and choose between options such as “Heat,” “Cool,” or “Auto,” depending on your seasonal needs.
Next, locate the fan settings, where you can opt for “On,” “Auto,” or “Circulate.” Choosing “Auto” allows the fan to operate only when heating or cooling is in progress, which can save energy. If your thermostat offers a “Hold” or “Schedule” feature, consider activating it to maintain specific temperatures during predetermined times. Be sure to save all changes to ensure that your adjustments are active, allowing you to enjoy a comfortable environment tailored to your preferences.
Step 6: Program Your Thermostat
Now that you’ve set the basic settings and preferences, it’s time to program your Braeburn thermostat. Depending on your model, you may have different programming options such as weekdays vs weekends, or individual programs for each day of the week. Refer to your user manual for specific instructions on how to program your desired schedule. It’s recommended to input a program that aligns with your daily routine, such as lowering the temperature while you’re away at work and raising it before you come home.
It’s essential to note that programmable thermostats allow for multiple schedules, so be sure to take advantage of this feature if it suits your lifestyle.
Step 7: Test Your Settings
Once you’ve completed the programming process, it’s crucial to test your settings to ensure that they are working correctly. Start by adjusting the temperature and observe if your HVAC system responds accordingly. If not, double-check your settings and make any necessary changes.

Next, try out different features such as energy-saving mode or fan circulation to confirm their functionality. It’s recommended to test your thermostat during seasons of mild weather so that you can adjust any settings without discomfort from extreme temperatures.
Step 8: Regularly Review and Adjust Settings
As your daily routine and weather patterns change, it’s essential to regularly review and adjust your thermostat settings for maximum efficiency. This may include updating your program schedule or adjusting temperature preferences based on changing seasons.
Following these steps on how to set a braeburn thermostat and regularly reviewing your thermostat’s settings will help you make the most of its features and ensure a comfortable living environment. Always refer to your user manual for specific instructions related to your model, and don’t hesitate to contact customer support if you require further assistance. With proper use and maintenance, your Braeburn thermostat can help you save on energy costs while keeping your home at the perfect temperature.
Frequently Asked Questions
Q: How Do I Set the Time and Date on My Braeburn Thermostat?
A: To set the time and date, access the “Menu” or “Settings” button on your thermostat’s interface. Navigate to the option for setting the clock, enter the time and date, and confirm your settings. It’s crucial to adjust the time and date accurately as it allows your thermostat to schedule heating and cooling cycles according to your daily routine.
Q: Can I Change the Temperature Display from Fahrenheit to Celsius?
A: Yes, you can change the temperature display by accessing the preferences or options menu on your thermostat. Use the adjustment buttons or touchscreen to select between Fahrenheit or Celsius and confirm your choice.
Q: How Do I Adjust the Default Temperatures for Heating and Cooling?
A: To adjust default temperatures, access the “Temperature” menu on your thermostat’s interface. Use the adjustment buttons or touchscreen to enter your preferred temperature for both heating and cooling and confirm each setting. Be sure to save your changes.
Q: How Do I Program My Braeburn Thermostat?
A: Depending on your model, you may have different programming options. Refer to your user manual for specific instructions on how to program a schedule that aligns with your daily routine and preferences. Remember to save all changes so they take effect.

Q: Can I Control My Braeburn Thermostat Remotely?
A: Some models of Braeburn thermostats offer remote control through a mobile app or website. Refer to your use manual or contact customer support to learn more about this feature and how to set it up.
Conclusion
Programming your Braeburn thermostat may seem daunting at first, but with these simple steps on how to set a braeburn thermostat, you can easily set up and customize your settings for optimal comfort and energy efficiency. Remember to consult your user manual for any specific instructions or features unique to your model.
With proper programming, you can enjoy a comfortable home while reducing unnecessary energy consumption and expenses. So go ahead, make the most of your Braeburn thermostat and take control of your indoor climate today! Happy programming!
