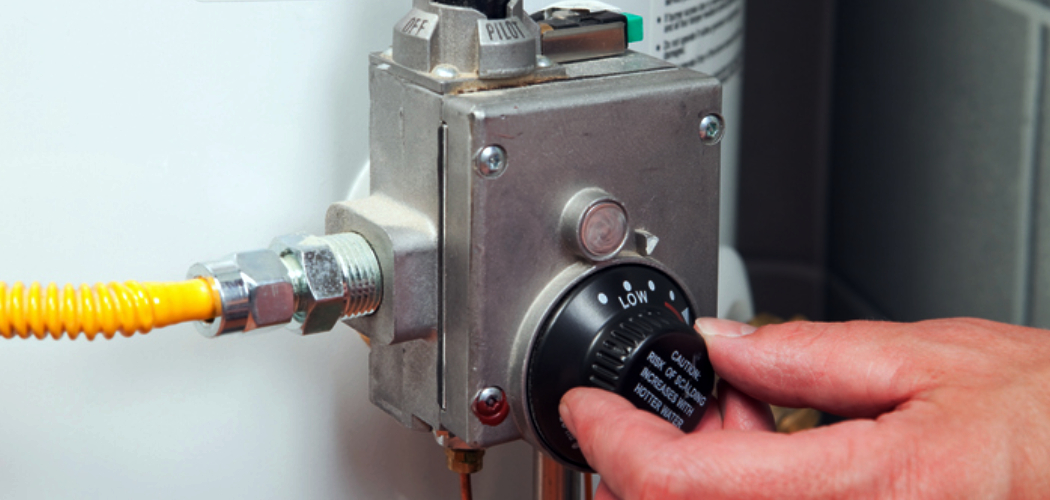
Are you tired of taking cold showers every morning? It’s time to install a geyser in your home!
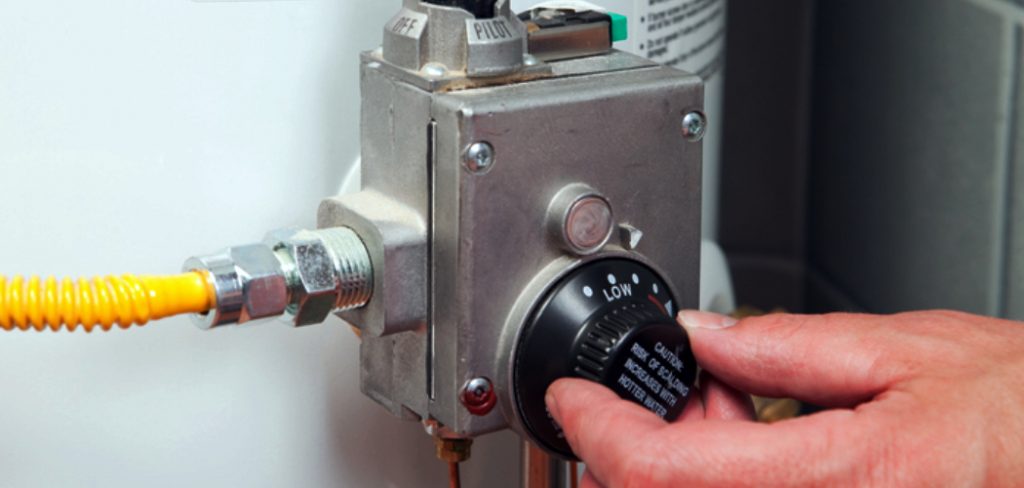
Setting up a geyser is essential to ensure a steady supply of hot water for your home or workspace. Whether you’re installing a new unit or replacing an old one, the process requires attention to detail and following proper safety guidelines. Additionally, it’s always a good idea to have a professional plumber or electrician assist you with the installation, especially if you’re not familiar with plumbing or electrical work.
This guide on how to set a geyser will take you through the key steps involved in setting a geyser, helping you achieve an efficient and reliable setup. Proper installation not only enhances the geyser’s performance but also ensures safety and longevity.
What Are the Benefits of Setting a Geyser?
Before we dive into the installation process, let’s first understand the benefits of setting up a geyser.
- Instant Hot Water: With a geyser installed, you no longer have to wait for the water to heat up before showering. The hot water is readily available, providing convenience and comfort.
- Consistent Temperature: Unlike traditional methods where you have to adjust the temperature manually, geysers have built-in thermostats that regulate the temperature automatically, ensuring a consistent hot water supply without any fluctuations.
- Energy Efficiency: Geysers are designed to use less energy compared to other heating methods, such as gas or electric heaters. This means they save you money on your energy bills and reduce your carbon footprint.
- Space-saving: Geysers are compact and easily installed in any space, making them perfect for small apartments or offices.
- Versatile: Depending on your needs, you can choose from various types of geysers, such as electric, gas, solar-powered, and more.
Now that you know the benefits, let’s move on to the installation process!
What Will You Need?
Before you begin the installation, ensure you have all the necessary tools and materials. Some of the essential items include:
- Geyser unit
- Appropriate piping (copper or PVC)
- Wrenches and pliers
- Screwdriver
- Teflon tape
- Safety gloves and goggles
It’s also important to read the instructions manual provided by the manufacturer to ensure you have all the required parts for your specific geyser model.
9 Easy Steps on How to Set a Geyser
Step 1. Turn Off the Electricity Supply:
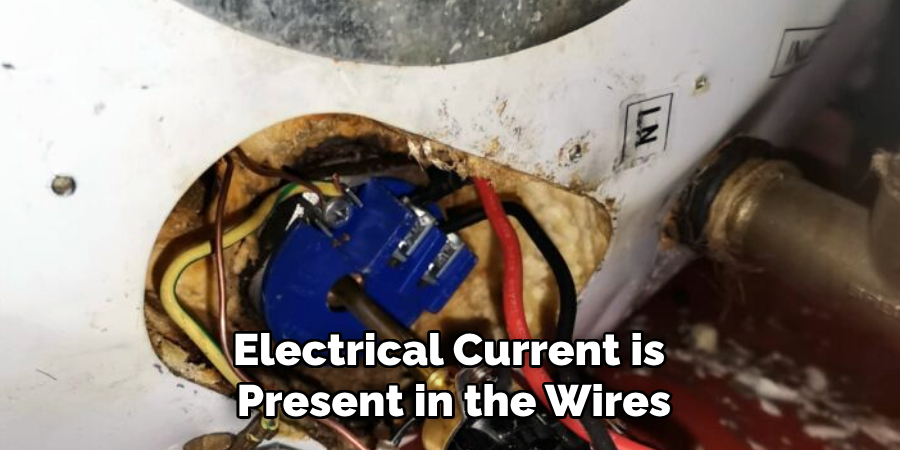
Before you begin the installation process, it is crucial to prioritize safety. Locate the main electrical supply that powers the area where the geyser will be installed and turn it off completely. This prevents accidental electric shocks and ensures a safe working environment. Double-check with a voltage tester to confirm that no electrical current is present in the wires before proceeding. This precaution is crucial for working with electric geysers since electricity and water can be dangerous. Remember, safety comes first!
Step 2. Locate the Installation Spot:
Choose an appropriate location to install the geyser. Ideally, the spot should be close to the main water supply and near an electrical point (for electric geysers) to minimize the need for extensive piping or wiring. Ensure the wall or surface where the geyser will be mounted is sturdy enough to support its weight, even when filled with water. Additionally, ensure the area is easily accessible for future maintenance or repairs. Mark the spot where the mounting brackets need to be fixed according to the manufacturer’s guidelines for height and positioning.
Step 3. Install the Mounting Brackets:
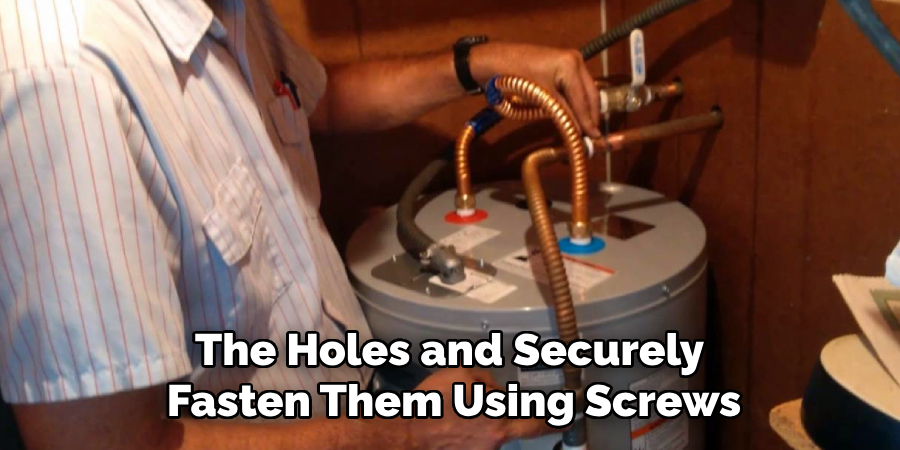
Using the markings made in the previous step, drill holes into the wall or surface where the mounting brackets will be fixed. Insert appropriate wall plugs into the holes to provide a secure base for the screws. Align the mounting brackets with the holes and securely fasten them using screws, ensuring they are tightly fixed and level. This will ensure the geyser is safely supported once mounted.
Step 4. Mount the Geyser:
Carefully lift the geyser and align it with the mounted brackets. Ensure that the hooks or mounting points on the geyser securely fit onto the brackets to provide a stable hold. Double-check that the geyser is aligned correctly and firmly attached to avoid any risk of it falling. Once mounted, gently test the stability by applying slight pressure to ensure it is securely fixed in place.
Step 5. Connect the Water Supply:
Locate the inlet and outlet connections on the geyser. Begin by attaching the cold-water inlet pipe to the designated inlet valve on the geyser. Ensure that the connection is tightly secured to prevent any potential leaks. Use a wrench if necessary, but avoid overtightening, which could damage the fittings. Next, connect the hot-water outlet pipe to the corresponding outlet valve on the geyser. Again, check that this connection is firm and secure. Once both pipes are attached, inspect them closely for gaps or loose fittings that might cause water seepage.
It is recommended to use Teflon tape or any sealing material on the threads of the connections to enhance their leak-tightness. After confirming the connections are solid, turn on the water supply and allow water to flow into the geyser while checking for leaks. If you notice any issues, turn off the water supply immediately and correct the connection before proceeding.
Step 6. Connect the Power Supply:
Locate the electrical connection point on the geyser and ensure the power supply is turned off before proceeding. Connect the wiring carefully to the appropriate terminals as specified in the manufacturer’s instructions. Ensure all connections are secure and insulated to prevent any risk of electrical hazards. Once the wiring is correctly connected, double-check for any loose ends and ensure the circuit breaker or switch is within easy reach for safety. Do not turn on the power supply yet; this will be done after verifying all installations.
Step 7. Fill the Geyser with Water and Check for Leaks:
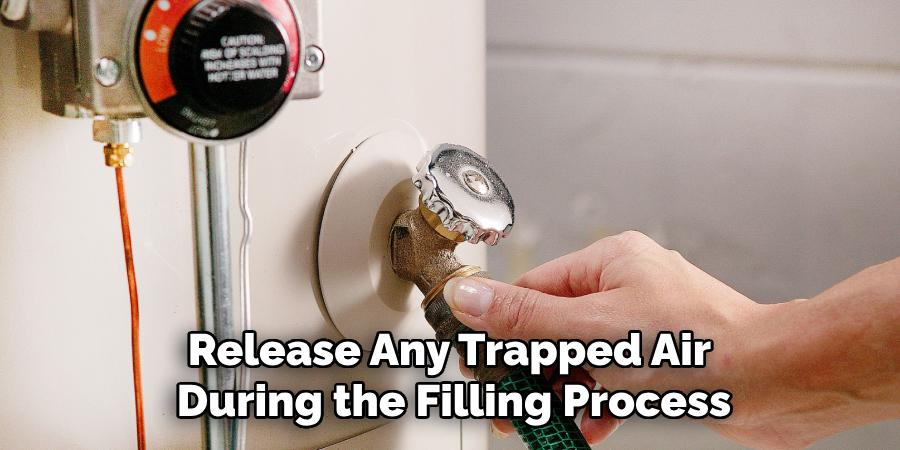
Open the inlet valve before turning on the power supply to allow water to fill the geyser. Ensure the outlet tap is open to release any trapped air during the filling process. Once the geyser is full, close the outlet tap and check all connections for leaks. Inspect the pipes, seals, and joints carefully to ensure they are watertight. If you notice any leakage, tighten the connections or replace faulty seals.
Step 8. Turn On the Power Supply and Test the Geyser:
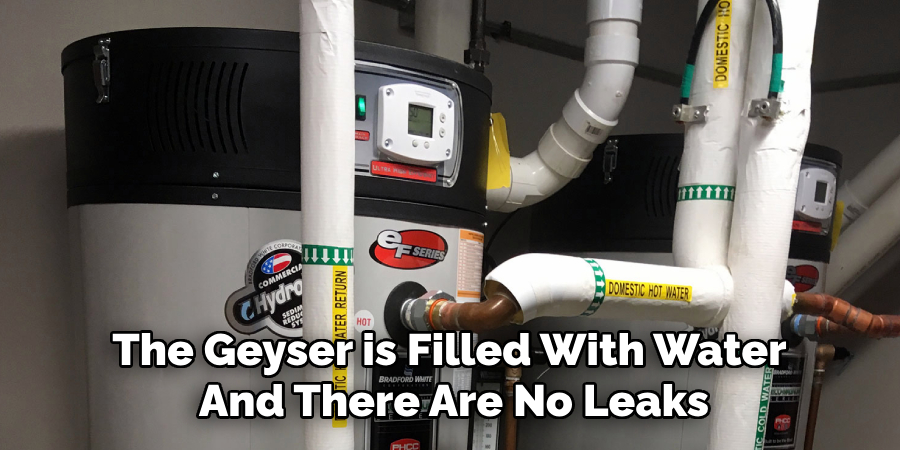
Once you have ensured the geyser is filled with water and there are no leaks, it is time to turn on the power supply. Switch on the circuit breaker or wall switch connected to the geyser. Allow the geyser to heat the water for the recommended duration as specified in the user manual. While the geyser is heating, monitor its performance to ensure it operates smoothly without any unusual noises or malfunctions. Check the temperature and pressure relief valve to confirm it is functioning correctly. If everything is working as expected, your geyser installation is complete. Always practice regular maintenance to ensure optimal performance and longevity.
Step 9. Clean-Up and Final Inspection:
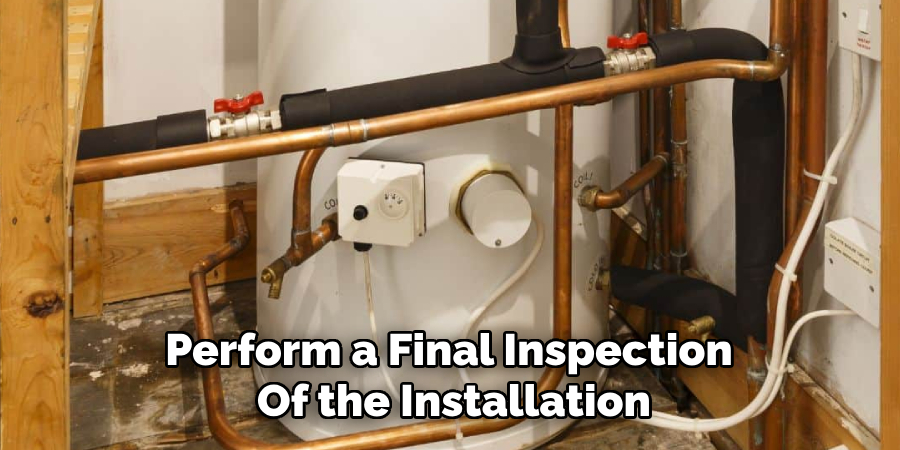
After completing the installation and testing the geyser, clean up the workspace. Remove any tools, packaging, or debris from the area. Perform a final inspection of the installation to ensure all connections are secure, the unit is mounted correctly, and there are no exposed wires or loose components. Double-check the user manual for any additional recommendations or safety precautions. Once satisfied, your installation is fully complete and ready for regular use.
You can safely and efficiently install your geyser by following these simple steps and taking necessary precautions.
5 Things You Should Avoid
- Ignoring the Manufacturer’s Instructions: Always read and follow the manufacturer’s guidelines when setting up a geyser. Neglecting them can lead to improper installation and potential safety risks.
- Setting the Temperature Too High: Avoid setting the temperature excessively high, as it can cause scalding injuries and put unnecessary strain on the geyser, leading to reduced lifespan.
- Skipping Regular Maintenance: Failing to conduct regular maintenance can result in sediment buildup, decreased efficiency, and possible damage to the geyser over time.
- Using Incorrect Wiring: Ensure that the electrical connections and wiring are appropriate and securely installed. Incorrect wiring poses a serious hazard, including the risk of electric shock or fire.
- Overlooking Safety Features: Avoid neglecting to check and enable essential safety features such as the pressure relief valve. These features are crucial to prevent accidents and ensure safe operation.
By avoiding these common mistakes, you can prolong the life of your geyser and keep it running safely and efficiently.
Conclusion
How to set a geyser correctly is essential for ensuring the safety, efficiency, and longevity of the appliance.
Always follow the manufacturer’s guidelines and consult a professional if necessary. Start by properly installing the geyser in a safe location and verifying the electrical and plumbing connections. Set the temperature to an optimal level, typically around 120°F (49°C), to balance comfort and energy efficiency. Regular maintenance, such as flushing the unit to prevent sediment buildup, is crucial for long-term functionality. Lastly, safety features like the thermostat and pressure relief valve should never be overlooked, as they play a vital role in preventing accidents.
By adhering to these steps, you can enjoy consistent hot water while maintaining the reliability of your geyser.

