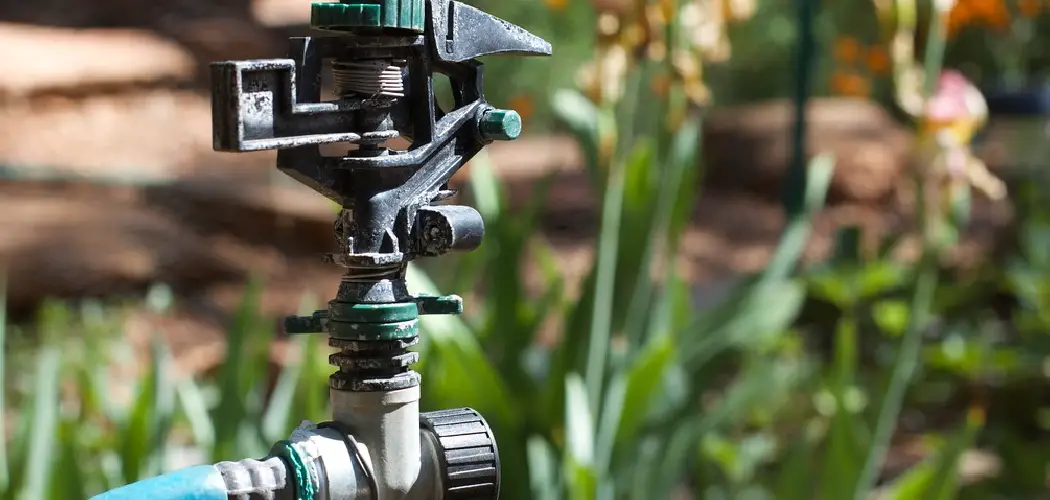
Setting up a sprinkler system timer is a crucial step in maintaining a healthy and vibrant landscape while ensuring efficient water usage. By automating your watering schedule, you can save both time and resources, preventing overwatering or underwatering your plants.
This guide will walk you through how to set up sprinkler system timer, empowering you to achieve the perfect balance for your garden or lawn. Whether you’re a seasoned gardener or a beginner, you’ll find the instructions easy to follow, allowing you to enjoy a lush, green space with minimal effort.
Basics of Sprinkler System Timers
Sprinkler system timers are devices designed to automate the watering process for gardens and lawns. They can be programmed to turn on and off at specific times, ensuring that your plants receive adequate moisture without manual intervention.
There are two main types of timers: mechanical and digital. Mechanical timers usually feature dial settings for easy adjustments, while digital timers offer advanced programming options, including multiple zones and watering schedules. Understanding the basics of these timers, including their settings and functionalities, is essential for optimizing watering efficiency and promoting healthy plant growth.
Additionally, most timers come with features like rain sensors, which can prevent watering during periods of rainfall, further enhancing water conservation efforts.
Tools and Materials Needed for Setting Up a Sprinkler System Timer
To effectively set up your sprinkler system timer, you’ll need a few essential tools and materials. Here’s a list to get you started:
- Sprinkler Timer: Choose either a mechanical or digital timer based on your preferences and garden needs.
- Screwdriver: A flathead or Phillips screwdriver may be necessary for mounting the timer and making electrical connections.
- Power Drill: If you’re installing the timer in a location that requires drilling, a power drill will be required for creating pilot holes.
- Wire Strippers: For hooking up the timer to your watering system, wire strippers will be useful for preparing the electrical wires.
- Electrical Tape: This is essential for securing and insulating any exposed wiring connections.
- Hose Connectors and Fittings: Ensure you have the necessary connectors to attach your sprinkler system to the timer.
- Garden Hose (if applicable): If using a hose system for irrigation, check that you have a suitable garden hose ready for connecting to the timer.
- Level: A small level can help ensure that your timer is mounted straight, improving functionality.
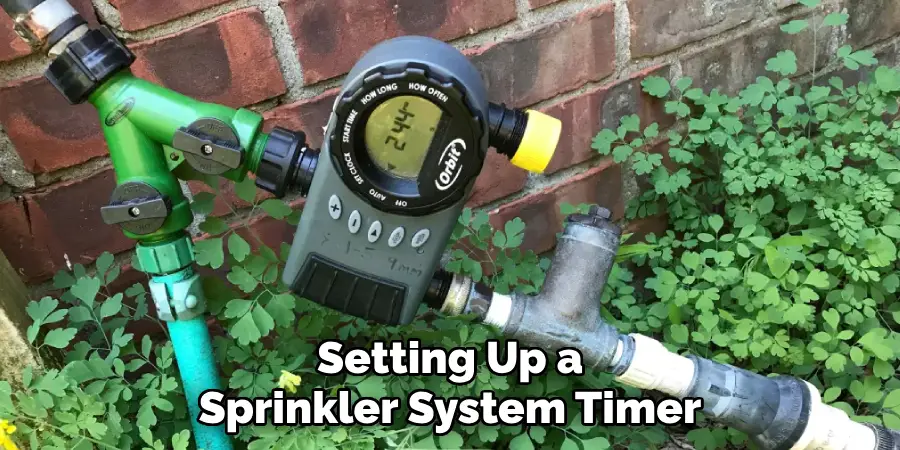
Having these tools and materials on hand will facilitate a smoother installation process and ensure that your sprinkler system timer is set up correctly for optimum performance.
10 Methods How to Set up Sprinkler System Timer
1. Choose the Right Timer for Your System
Before setting up a sprinkler system timer, it’s essential to select the correct timer for your specific irrigation setup. Timers come in different types, including mechanical, digital, and smart timers. Mechanical timers are simple to use but offer limited control over scheduling.
Digital timers provide more precise control, allowing you to set multiple start times and durations for different zones. Smart timers, connected via Wi-Fi or Bluetooth, offer advanced features like weather-based adjustments and remote access through mobile apps.
Understanding your system’s needs and your personal preferences will help you choose the right timer, setting the foundation for effective scheduling.
2. Familiarize Yourself with the Timer Controls
Once you’ve selected the appropriate timer, take time to familiarize yourself with its controls. This will involve reading the user manual, which provides a comprehensive guide to understanding how your particular model works.
Learn the functions of key buttons such as “start time,” “run time,” “days of the week,” and “zones.” Many modern timers have intuitive digital displays and menus that allow you to navigate through different options, but knowing where everything is located will save time and prevent errors during setup. This initial preparation is vital for efficient programming.
3. Set the Current Date and Time
Before programming watering schedules, you must set the correct date and time on your sprinkler timer. This ensures that the system runs accurately according to your programmed schedule. For digital timers, use the arrow buttons to scroll through the settings until you reach the “date” and “time” options.
Enter the correct information, being mindful of whether your timer uses a 12-hour or 24-hour clock format. If your region observes daylight saving time, adjust the timer accordingly. Accurate date and time settings prevent future scheduling conflicts and ensure your sprinkler system operates when you expect it to.
4. Determine Your Watering Needs Based on Lawn and Plant Types
Understanding your lawn and plant types is essential to determining the best watering schedule. Different grass species and plants have varying water requirements, with cool-season grasses typically needing more water than warm-season varieties.
Additionally, flower beds, shrubs, and trees often require different watering frequencies and durations compared to your lawn. This assessment allows you to customize the watering schedule for each zone. For instance, grass may need more frequent watering, while deep-rooted plants such as shrubs may only require water every few days.

Tailoring the schedule to the specific needs of your landscape prevents over- or under-watering.
5. Program the Zones Individually
Sprinkler systems are usually divided into multiple zones, with each zone covering a specific area of your lawn or garden. Programming each zone individually allows you to control when and how long water is applied to different parts of your landscape.
Begin by selecting the zone you want to program, then set the start time, duration, and frequency. For example, you may set one zone to water your lawn for 20 minutes every other day, while another zone that waters your garden beds might only need 10 minutes twice a week. This level of customization ensures that each part of your yard receives the proper care.
6. Set Multiple Start Times if Necessary
Many sprinkler timers allow you to set multiple start times for each zone. This feature is especially useful if your soil type or local regulations require shorter, more frequent watering periods to prevent runoff or conserve water. For instance, instead of watering a zone for 30 minutes all at once, you can split it into two 15-minute intervals, spaced out by a couple of hours.
This helps the water soak into the soil more effectively and reduces the risk of erosion or water waste. Multiple start times can also be used to accommodate specific watering needs during periods of drought or heat waves.
7. Adjust Watering Duration Based on Season
Watering needs change throughout the year, so it’s important to adjust the duration and frequency of your sprinkler system accordingly. In the spring and fall, when temperatures are cooler and plants require less water, you can reduce watering times or skip certain days. Conversely, during the hot summer months, your lawn and plants may need longer or more frequent watering sessions.
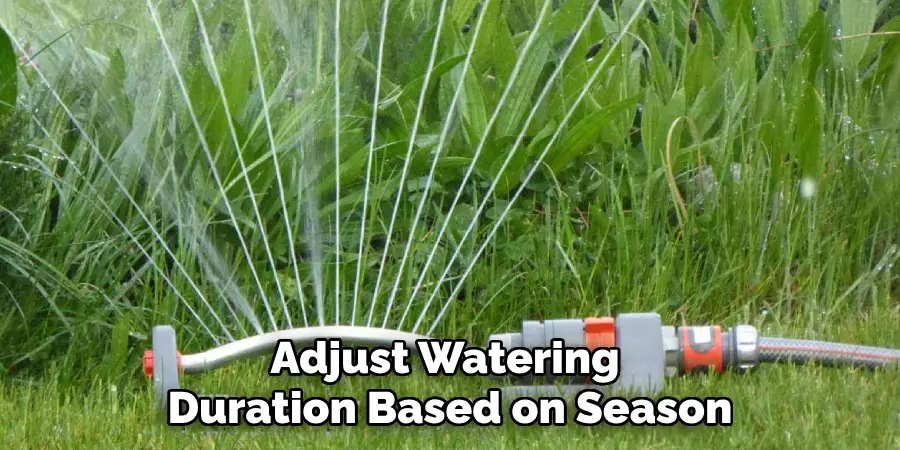
Most sprinkler timers have an easy-to-use seasonal adjustment feature that allows you to increase or decrease watering times by a percentage. Regularly updating your schedule to reflect seasonal changes will keep your landscape healthy without overusing water.
8. Use Rain Sensors or Weather-Based Adjustments
Many modern sprinkler systems come equipped with rain sensors or weather-based timers that automatically adjust the watering schedule based on current weather conditions. If your system has a rain sensor, make sure it is correctly installed and activated. This sensor prevents the system from running during or after rainfall, helping to conserve water and prevent over-watering.
For smart timers with weather-based features, connect your timer to the appropriate weather service through the system’s app. This enables the timer to make real-time adjustments, such as delaying watering after rain or increasing watering during heat waves.
9. Test the System to Ensure Proper Operation
Once you’ve programmed your timer and set your desired schedule, it’s essential to test the system to ensure everything is working properly. Activate the system manually and observe each zone as it runs to verify that the sprinklers are operating correctly.
Check for any issues such as clogged nozzles, uneven water distribution, or leaks. Confirm that the timer is turning the system on and off at the correct times and that each zone is receiving the proper amount of water.
10. Regularly Review and Adjust the Timer Settings
Even after setting up the sprinkler system timer, it’s important to regularly review and adjust the settings as needed. Seasonal changes, plant growth, and evolving water needs can affect how often and for how long your sprinklers should run.
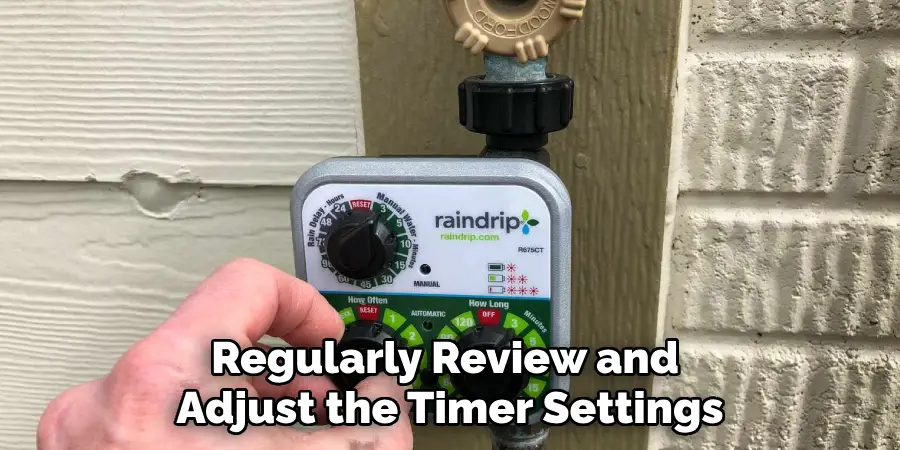
Check your timer every few months to ensure that it’s still set according to your lawn’s requirements. During prolonged periods of drought or heavy rainfall, you may need to adjust the schedule more frequently. Additionally, if your local area implements water restrictions, modify your timer to comply with the new regulations.
Conclusion
Properly managing your sprinkler system is crucial for maintaining a healthy and vibrant landscape while conserving water. By understanding your watering needs, programming your zones efficiently, and regularly adjusting your settings based on seasonal changes, you can create an effective irrigation plan tailored to your garden’s specific requirements.
Thanks for reading, and we hope this has given you some inspiration on how to set up sprinkler system timer!

