A washing machine drain pipe plays a crucial role in channeling wastewater from your appliance to the household drainage system. Over time, this pipe can accumulate lint, dirt, and other debris, leading to clogs and blockages. Keeping the drain pipe clear is essential to prevent backups that could disrupt your laundry routine and potentially cause water damage. One effective method for removing clogs is snaking. This process involves using a drain snake or auger to break up and extract obstructions from the pipe.
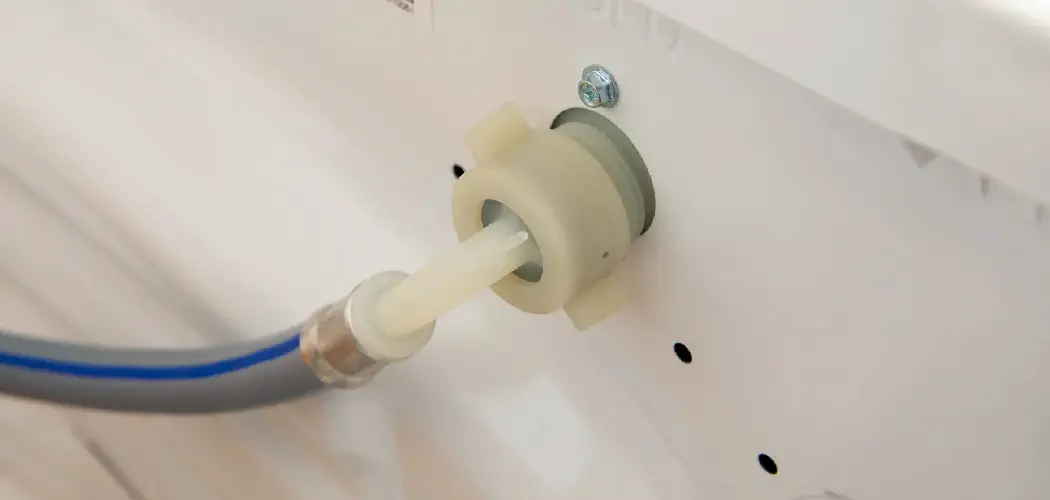
In this guide on how to snake washing machine drain pipe, you will learn the necessary steps for preparation, the equipment needed, and the detailed snaking process. By following these instructions, you can ensure your washing machine functions smoothly, minimizing the risk of costly repairs and prolonged downtime.
Preparation
Before snaking the washing machine drain pipe, it’s important to ensure the machine is completely powered off. Turn off the machine and unplug it from the electrical outlet to prevent any accidental starts that could pose a safety risk. This step is crucial for protecting yourself and your appliance during the maintenance process.
Next, locate and remove the access panel at the back of the washing machine. This panel gives you direct access to the drain pipe. Depending on your washing machine model, you may need a screwdriver or other tool to remove the screws securing the panel in place. Carefully set the screws aside so that you can easily reattach the panel later.
Finally, the area around the washing machine should be cleared to provide adequate space for working. Move any nearby objects or laundry baskets to create a safe and organized workspace. Having a clutter-free area will not only make the task easier but also help prevent accidents or interference during the snaking process. By following these preparation steps, you set a solid foundation for efficiently managing the clog in your washing machine drain pipe.
Equipment Needed
To begin, you will need a drain snake, also known as an auger. This tool is specifically designed for navigating through pipes and breaking up blockages. Purchase or rent a drain snake that is appropriate for the size of your washing machine drain pipe. Drain snakes come in various lengths and diameters, so ensure you choose one that can easily maneuver through the piping without causing damage.
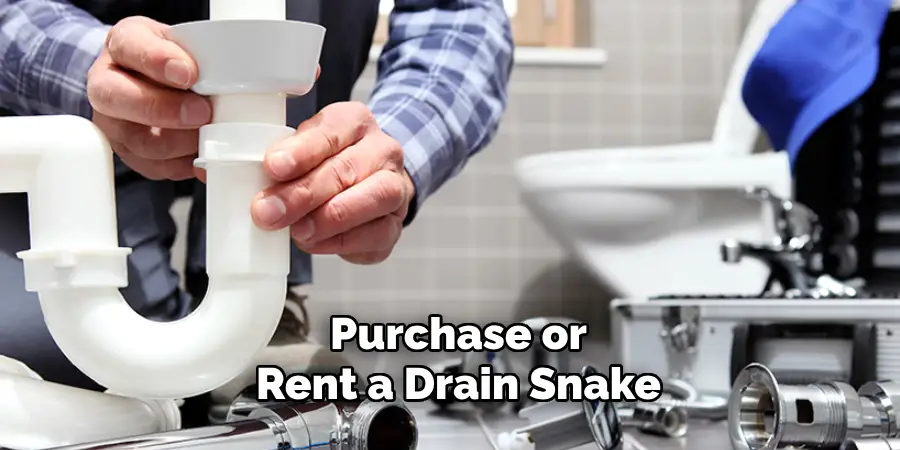
Protective gloves are essential when working with drain pipes. During the snaking process, you might encounter dirt, grime, or potentially harmful substances. Wearing durable, waterproof gloves will shield your hands from debris and bacteria, ensuring your safety and comfort throughout the task.
Finally, have a bucket ready to catch any water or debris that may come out of the drain pipe during the snaking process. This step is crucial to managing any mess and avoiding water damage to your floor. Place the bucket beneath the access point or any other areas where water might escape to collect runoff efficiently and keep your workspace clean.
How to Snake Washing Machine Drain Pipe: Snaking Process
Inserting the Snake:
- Extend the auger cable and insert it into the washing machine drain pipe through the access opening.
- Push the cable slowly and steadily into the pipe, feeding it in as needed to reach the clog or obstruction.
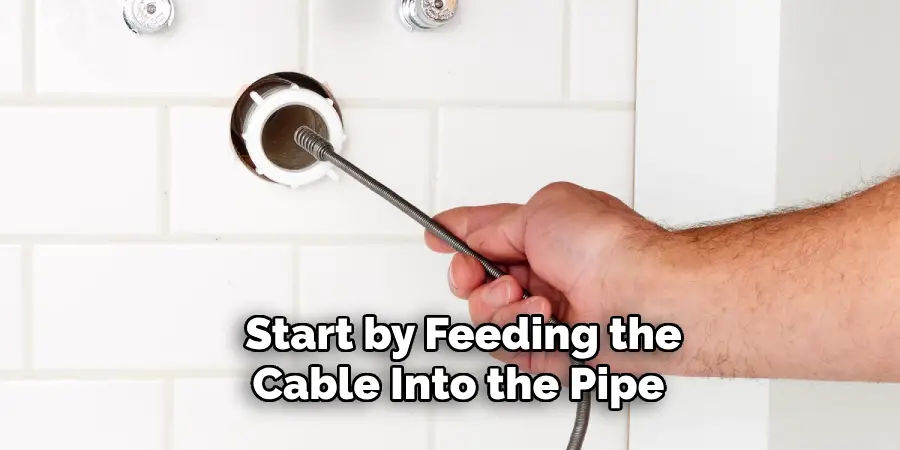
When inserting the drain snake into the washing machine drain pipe, it’s crucial to extend the auger cable fully. Start by feeding the cable into the pipe through the access opening. As you push the cable into the pipe, ensure a steady and slow movement to avoid any abrupt force that might damage the pipe or the snake itself. Feed the cable incrementally, ensuring it navigates through any bends or curves in the piping until you detect resistance or reach the clog.
Rotating the Snake:
- Rotate the snake’s handle clockwise as you push it into the drain pipe to help break up and dislodge the clog.
- Continue rotating and feeding the cable into the pipe until you encounter resistance or reach the clog.
Rotating the snake is an essential part of the process to effectively break up clogs. Hold the handle firmly and rotate it clockwise while continuing to push the cable further into the drain pipe. This rotation helps to dislodge debris and break up any clogs. Maintain a consistent rotation, and continue feeding the cable until you feel substantial resistance, indicating the presence of a clog. If the clog isn’t immediately reached, periodically retract and then push forward the snake to help maneuver past tight bends or other minor obstructions.
Breaking Up the Clog:
- Once you reach the clog, apply gentle pressure to the snake to break up the obstruction and clear the pipe.
- Rotate the snake back and forth or move it up and down to ensure a thorough clearing of the clog.
Upon encountering the clog, avoid applying excessive force. Instead, use gentle pressure to wiggle and maneuver the snake within the affected area. Rotate the handle back and forth or move the snake up and down to break up the obstruction adequately. This action will help clear the pipe and ensure that the debris is broken down enough to be flushed away easily. Take your time during this step to ensure the clog is dealt with comprehensively.
Retrieving the Snake:
- Slowly retract the auger cable from the drain pipe while continuing to rotate the handle.
- Clean off any debris or residue from the snake as you pull it out of the pipe.
After clearing the clog, slowly retract the auger cable from the drain pipe. As you pull the snake out, continue to rotate the handle to keep dislodging any remaining debris. This slow and steady retraction helps to bring out loosened materials and ensures that no debris is left behind. Once the snake is out, clean off any residue or debris from the cable to prevent it from becoming a source of future clogs.
Flushing the Drain:
- After snaking the drain pipe, run hot water through the washing machine to flush out any remaining debris and ensure proper drainage.
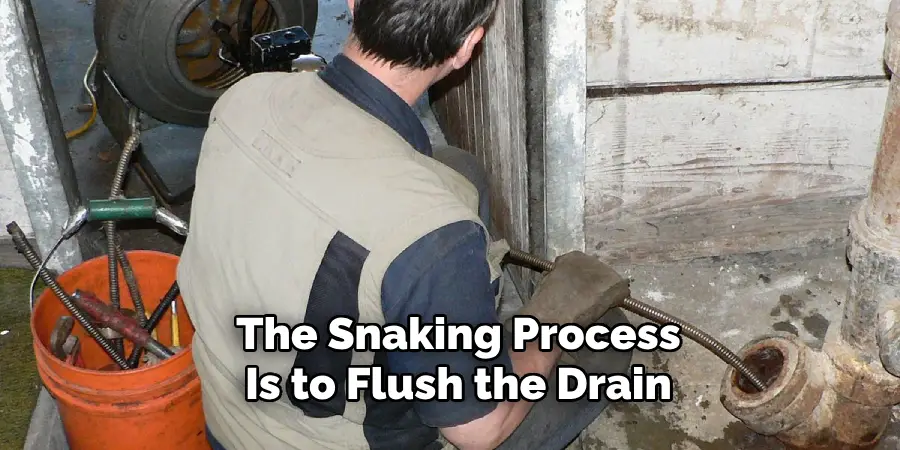
The final step in the snaking process is to flush the drain. Run hot water through the washing machine for several minutes to wash away any remaining debris or particles that were loosened but not removed by the snake. This ensures that the pipe is thoroughly cleaned and helps prevent future blockages. Proper flush ensures the drain pipe is clean and free-flowing, reducing the risk of reoccurring clogs and maintaining your washing machine’s efficiency.
Safety Precautions
Wear safety goggles to protect your eyes from splashes and debris while snaking the drain pipe. During the process, there is a possibility that water, grime, or broken particles may be ejected from the pipe, posing a risk to your eyes. Proper eye protection ensures that you remain safe from harm and can carry out the task effectively without injury.
Work in a well-ventilated area to avoid exposure to fumes and odors from the drain pipe. Drains may emit unpleasant or potentially harmful gases, so maintaining good airflow in your workspace will help dissipate these fumes and provide a safer environment. Open windows or use fans to ensure proper ventilation throughout the task.
Use caution to maintain balance and stability while operating the drain snake to prevent slips and falls. The process may require you to apply considerable force or assume awkward positions, which can challenge your balance. Ensure you are standing on a stable, non-slip surface and maintain a firm stance. Taking these precautions will minimize the risk of accidents and injuries during your work.
FAQs: Snaking Washing Machine Drain Pipes
What Should I Do if I Can’t Reach the Clog with The Drain Snake?
If you’re unable to reach the clog with the drain snake, try readjusting the angle of insertion and push the cable slowly, aiming to navigate through any bends. If this doesn’t work, the clog may be too far down the line, and it might be necessary to use a longer auger. As a last resort, consult a professional plumber to avoid causing damage to the piping.
Can I Use Chemical Drain Cleaners in Place of A Drain Snake?
While chemical drain cleaners are an option, they are generally not recommended for regular use as they can damage your pipes over time and are less effective on severe clogs. Using a drain snake is a safer and more environmentally friendly method for clearing obstructions, and it reduces the risk of needing frequent future repairs.
How Often Should I Snake My Washing Machine Drain Pipe?
Regular maintenance can prevent clogs, so it’s advisable to snake your washing machine drain pipe every 6 to 12 months, depending on usage. If your washing machine gets frequent use or you notice slow drainage, it might be necessary to perform this task more often. Regular maintenance helps to ensure smooth operation and reduces the likelihood of sudden, severe blockages.

Conclusion
Snaking a washing machine drain pipe involves a series of well-defined steps to ensure a clear and functional system. Begin with thorough preparation, gathering essential equipment such as a drain snake, gloves, safety goggles, and a bucket. Follow the detailed snaking process: inserting the snake, rotating it to break through clogs, removing obstructions, and finally flushing the drain with hot water.
Regular washing machine drain pipe maintenance is crucial to prevent backups and keep the machine running efficiently. By performing regular cleaning and promptly addressing any blockages, you can avoid costly repairs and extend the lifespan of your appliance.
If you encounter persistent clogs that are difficult to clear, consider troubleshooting common issues or seeking professional help. Repeating the snaking process or using a more powerful auger may be necessary. Knowing how to snake washing machine drain pipe is a valuable skill, but don’t hesitate to call in experts if needed.

