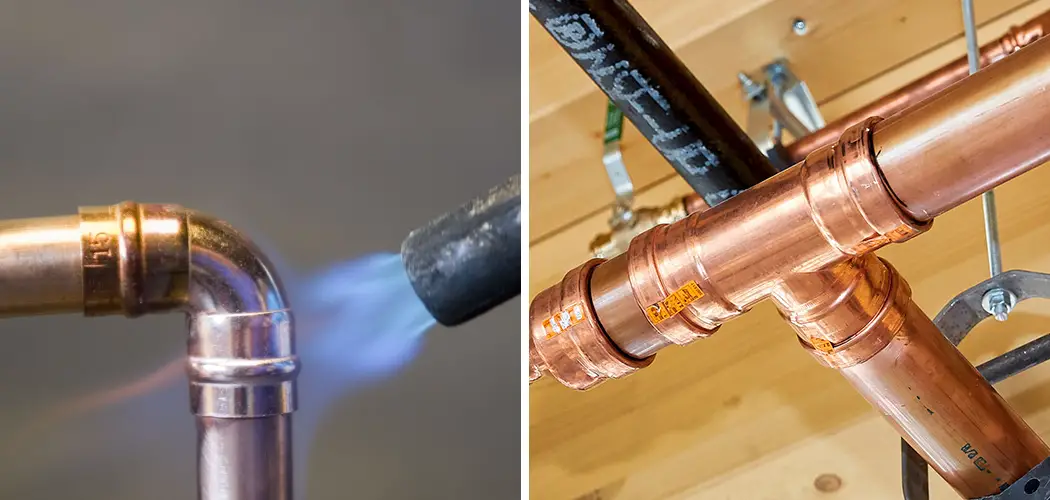
If you need to fix a leak in your copper piping, soldering is the most effective way to seal the joint and prevent further leaks. Soldering is also relatively easy if you have the right tools and some practice.
When done properly, soldered joints will last for many years and can help save thousands of dollars in unnecessary repairs or replacements. With the right technique and materials, you can learn to solder copper pipe leaks quickly and effectively.
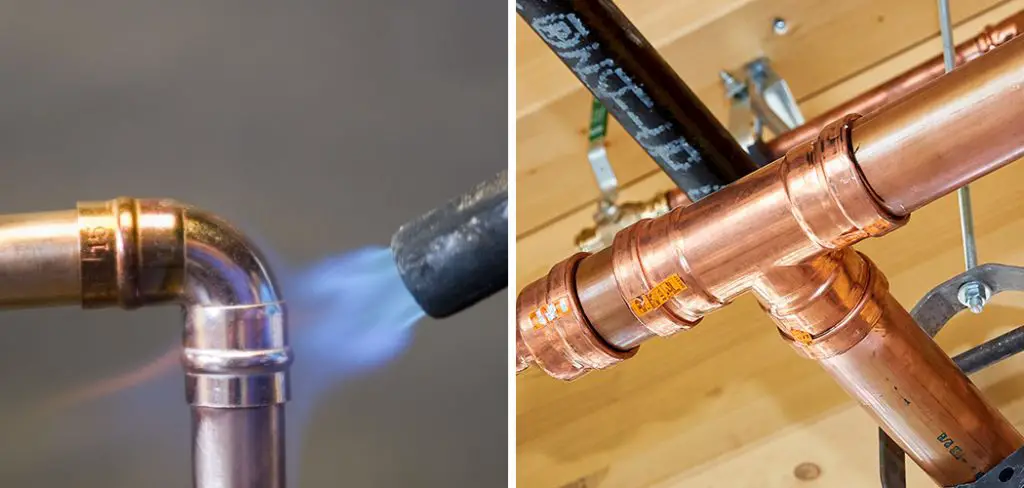
The primary advantage of soldering a copper pipe leak is that it provides a strong, durable seal with minimal chance of long-term leakage. When properly completed, the solder bond created by melting the metal will be stronger than the pipe itself and act as an excellent barrier against water or other corrosive elements.
Solder also has the advantage of requiring no special tools or equipment beyond a soldering iron, meaning it can be done almost anywhere. In this blog post, You will learn in detail how to solder copper pipe leak.
Tools You Will Need
- Soldering Iron
- Flux
- Copper Pipe Cutters
- Cleaning Brush
- Emery Cloth
- Sandpaper
- Wire Brushes
- Heat Resistant Gloves
- Safety Goggles
- Solder
Step-by-Step Processes for How to Solder Copper Pipe Leak
Step 1: Inspect and Evaluate the Situation
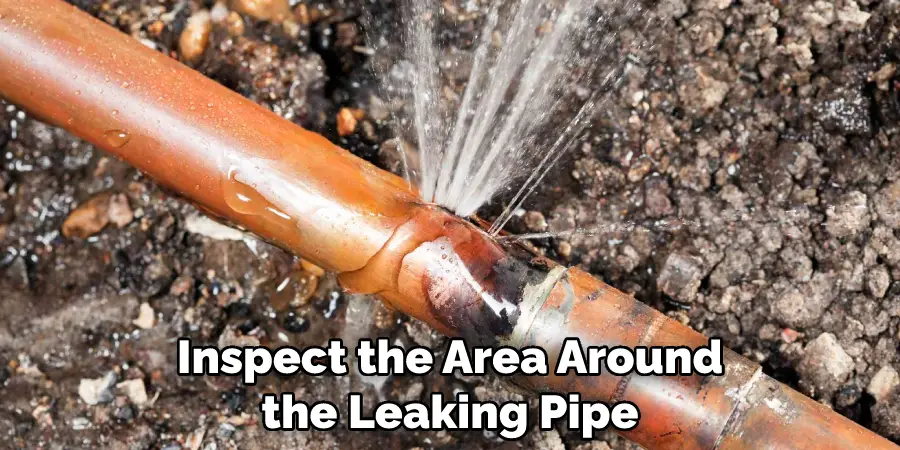
Before attempting to fix a copper pipe leak, it is important to inspect the area around the leaking pipe for any other potential damages or sources of the water leak.
Step 2: Cut and Sever Off Damaged Pipe
Once you have determined that there are no other structural problems causing the leak, you can cut off the damaged area of the pipe. Using a copper cutting tool, such as a tube cutter, is best for this task.
Step 3: Clean and Clear Out Damaged Area
Once you have cut off the damaged section of the pipe, it is important to clean out the remaining debris so that no pieces are left inside the joint when soldering. Use a steel brush and sandpaper to clean the inside of the pipe and remove any corrosion.
Based on measurements from your original cut-off piece of pipe, cut a new section of copper tube that is slightly longer than the missing length. Once you have cut it to size, deburr the edges of the new copper tubing and clean it with a brush.
Step 4: Apply Flux to the Inside of the Joint
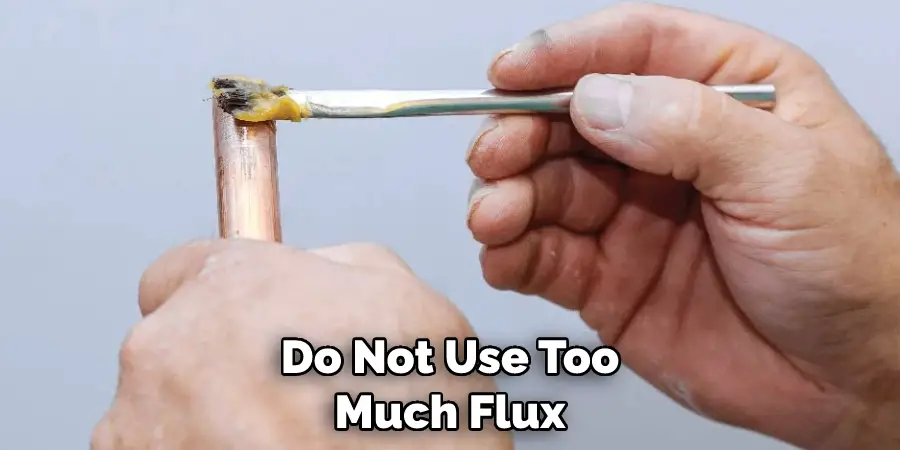
After cleaning the inside of both joints, apply flux to them using a brush. Avoid over-fluxing as this will interfere with the soldering process and result in an improper seal. Once the flux has been applied to both sections, connect them together using a sliding sleeve or compression fitting. Ensure there is no gap between the two sections and that they are connected tightly.
Step 5: Add Soldering Material to Joints
Place a small amount of soldering material onto the joint, ensuring it covers both pipe sections. The type of soldering material used will depend on the type of pipe and the environment in which it is being installed.
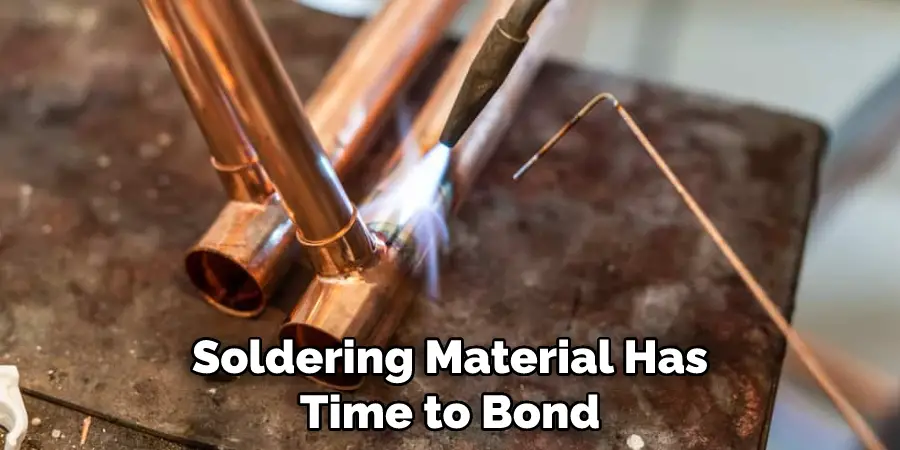
Using a torch, heat both joints until the soldering material melts and flows into the connection. Make sure to keep the flame on the part of the joint that you are soldering and away from any other material or combustible items.
Step 6: Allow Joints to Cool and Dry
After heating up both joints, allow them to cool and dry for at least 15 minutes before testing the integrity of the seal. This will ensure that the soldering material has time to bond with the copper pipe properly.
Once you have allowed the joint to cool, test it for leaks by running water through it and checking for any signs of a water leak. If there are no signs of a leak, you have successfully completed soldering a copper pipe leak.
By following these steps, you can easily solder a copper pipe leak and make sure that it remains sealed and secure.
Tips for How to Solder Copper Pipe Leak
- Wear eye protection and gloves when soldering, as sparks can fly off the pipe during the soldering process.
- Clear all debris from inside the pipe before attempting to solder it.
- Ensure you have adequate ventilation in the area where you are working since a lot of fumes will be generated.
- Always keep a fire extinguisher nearby in case of an emergency.
- Use the right type of solder for the job to ensure you get a good seal and that it won’t crack or break off over time.
- Don’t touch the soldering tip with your bare hands; it gets extremely hot and can cause serious burns.
- Don’t use too much flux, as it can lead to corrosion over time. Too little flux can also lead to a poor seal, so find the right balance when applying it.
Follow these tips while soldering copper pipes in order to ensure your safety and get the job done correctly. With proper precautions, soldering copper pipes is a relatively simple job that can be completed successfully with the right tools and knowledge.
How Can You Prevent Future Leaks From Occurring in Your Pipes?
After you’ve soldered your copper pipe leak, proper maintenance is key to preventing future leaks. Here are some tips for keeping your copper pipes in good condition:
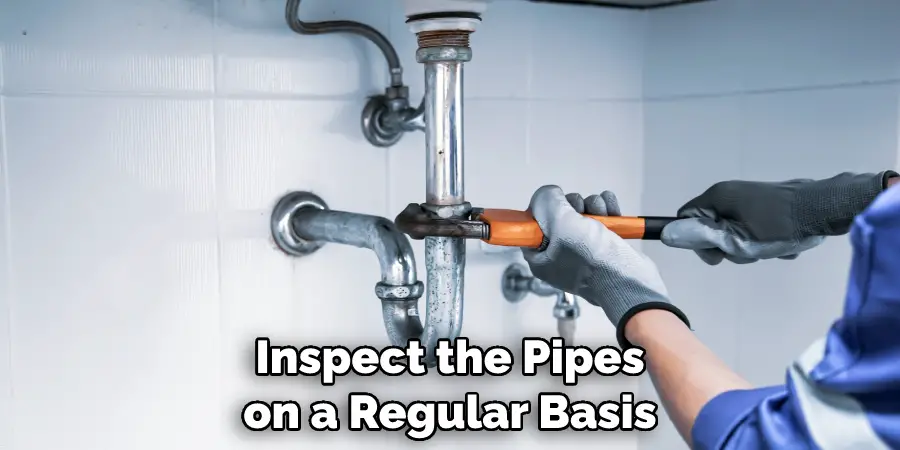
- Regularly inspect all of the pipes and joints in your plumbing system. Look for corrosion, bulging, or discoloration that may indicate a problem.
- Periodically flush out your pipes and taps with a solution of water and vinegar or lemon juice to remove any buildup of mineral deposits, which can weaken the pipe walls over time.
- If you live in an area that experiences hard water, consider installing a whole-house water filter or softener to reduce the amount of minerals in your water supply.
- Protect exposed pipes from extreme temperatures and frost by insulating them with foam or fiberglass sleeves.
- Keep an eye on any slow-draining faucets, as this could indicate a clogged pipe that needs to be cleared out. If left unchecked, this can cause leaking and other damage.
By following these steps, you can ensure that your copper pipes will remain in good condition for many years to come. Taking preventative measures now will save you time and money in the future.
What Type of Maintenance Should You Perform on Your Pipes After Soldering is Complete?
Once you’ve completed the soldering process, ensuring that your copper pipes remain in good condition is important. After all, a well-maintained piping system is essential for preventing future leaks and other problems. To help protect your copper pipe from further damage and deterioration, consider performing the following maintenance tasks:
- Test the Joints: After soldering, make sure to test the joints for any leaks or weak spots. You can do this by running a small amount of water through the pipe and inspecting it for any signs of a leak. If you find that there are still some weak areas, then consider reapplying solder to those areas until they are fully sealed.
- Clean the Pipes: To keep your copper pipes in good condition, it’s important to clean them regularly. This process can be done using a mix of warm water and baking soda to remove any corrosion or build-up that may have occurred over time. Make sure to rinse the pipes thoroughly afterward so they are free of any debris.
- Inspect for Signs of Wear and Tear: Over time, your copper pipes may experience some wear and tear from use. To help prevent further damage, inspect the pipes on a regular basis to look for any visible signs of corrosion or other problems that could lead to further leaks down the line. If you notice any signs of wear and tear, it’s best to replace the damaged pipes immediately.
By following these maintenance tips, you can ensure that your copper pipe system remains in good condition for years to come. This will help reduce the chances of having any further pipe leaks or other serious issues.
Are There Any Common Mistakes That People Make When Soldering Copper Pipes?
When it comes to soldering copper pipes, people make a few common mistakes. One of the most common is failing to clean the connections properly before soldering. If the surfaces aren’t completely free of dirt and debris, then air bubbles can form in the solder and cause leaks.
Additionally, if too much flux or heat is used, the solder can run instead of staying put. Finally, if the pipe is not connected properly before soldering, then there will be a weak connection that could lead to leaks and other problems. Taking extra time to make sure all surfaces are clean and free of debris and double-checking your connections can help prevent these common mistakes.
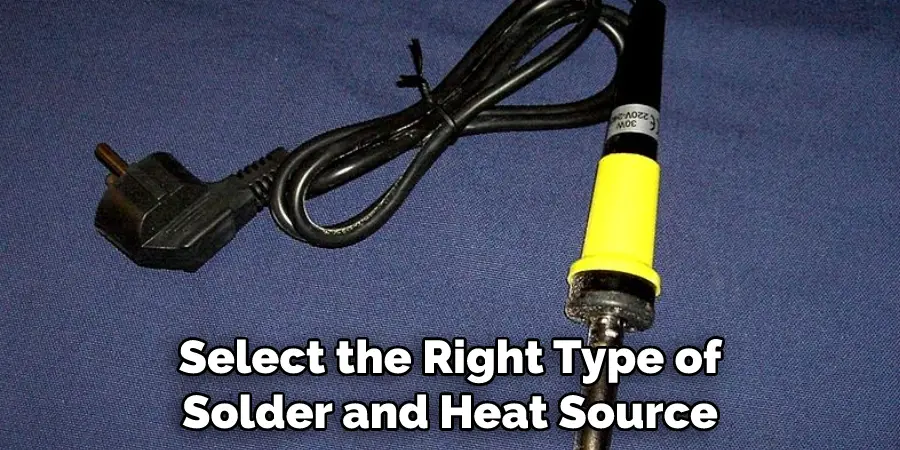
Another common mistake is not using the right type of solder. Different types of soldiers are made for different purposes, so it’s important to make sure you have the correct one before beginning your project.
Additionally, be sure to use a heat source that does not generate too much heat, as this can damage the pipes and connections. Taking the time to select the right type of solder and heat source can help ensure a successful soldering job.
Conclusion
Solder is a great way to fix a copper pipe leak, and with the right materials and techniques, it’s an easy fix for any homeowner. It’s important to make sure that you have the correct tools and supplies before attempting this task. Start by turning off the water supply to the area of the leak.
Then, use a wire brush and sandpaper to clean the area of the pipe where you’ll be soldering. Apply flux paste or primer to the surfaces before applying heat with your torch. Once everything is hot enough, melt some lead-free solder into the joint and allow it to cool.
I hope this article has been beneficial for learning how to solder copper pipe leak. Make Sure the precautionary measures are followed chronologically.

