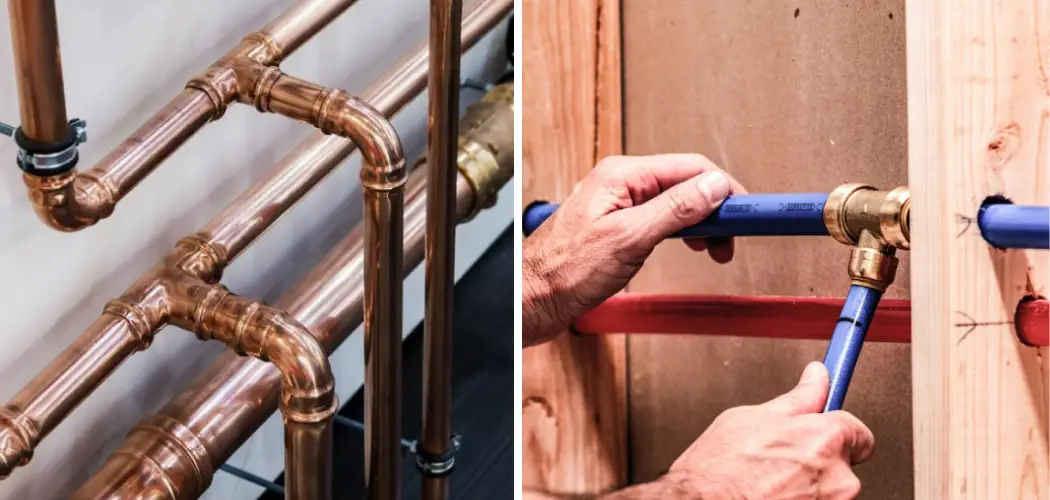
Splitting a water supply line can be a practical solution in various scenarios, whether you need to create separate water sources for different parts of your property or make plumbing modifications. Understanding how to split a water supply line is essential for both homeowners and professionals to ensure efficient water distribution. In this guide, we will explore the key steps and considerations involved in this process.
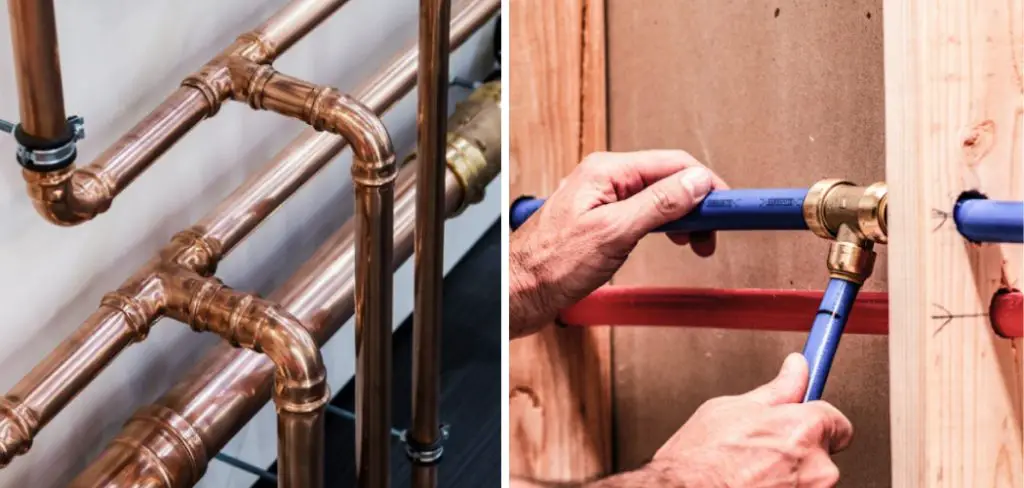
From identifying the appropriate location to install a split pipe, ensuring proper sizing and connections, to addressing potential challenges, we’ll provide you with the knowledge needed to successfully split a water supply line.
Whether your goal is to supply water to a new section of your home, set up an irrigation system, or perform plumbing repairs, this guide will equip you with the necessary skills and insights to get the job done right. So, let’s delve into the world of water supply line splitting and empower you to manage your water distribution needs effectively.
The Importance of Understanding the Process to Avoid Water Damage
Water damage is a common problem in households, and it can occur due to various reasons such as natural disasters, faulty plumbing systems, or human error. One of the main causes of water damage is a burst water supply line. This type of incident can happen suddenly and without warning, leading to extensive property damage and expensive repairs.
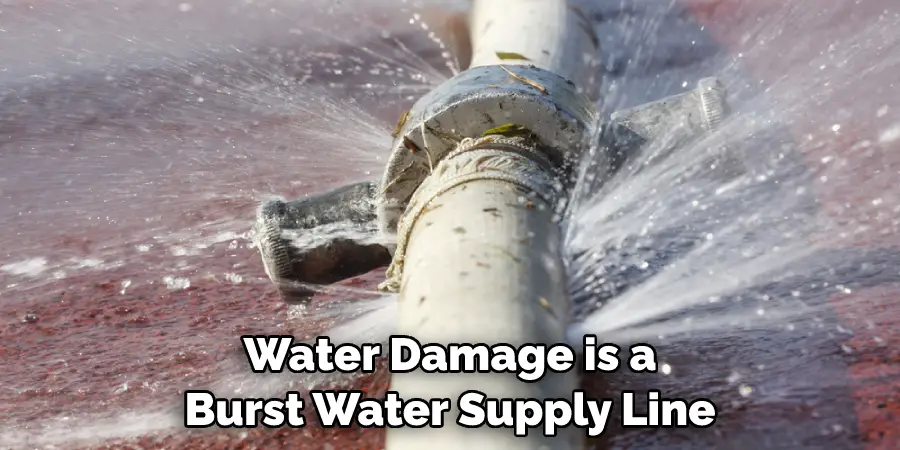
Fortunately, homeowners can take preventative measures to avoid such accidents from happening. One crucial step is to know how to properly split a water supply line. This document will discuss the process of splitting a water supply line and its importance in preventing water damage.
Why Split a Water Supply Line?
A water supply line is responsible for delivering clean and safe drinking water to your household. It runs from the main water source, typically located outside the house, to various fixtures such as sinks, toilets, and showers. Over time, water supply lines can become corroded or damaged, leading to leaks or bursts.
Splitting a water supply line involves creating two separate branches from the main line. This process allows for easier maintenance and repairs in case of any issues with one branch. It also ensures that if one branch experiences a leak or burst, the water flow can be shut off from that specific branch without disrupting the water supply to the rest of the house.
10 Methods How to Split a Water Supply Line
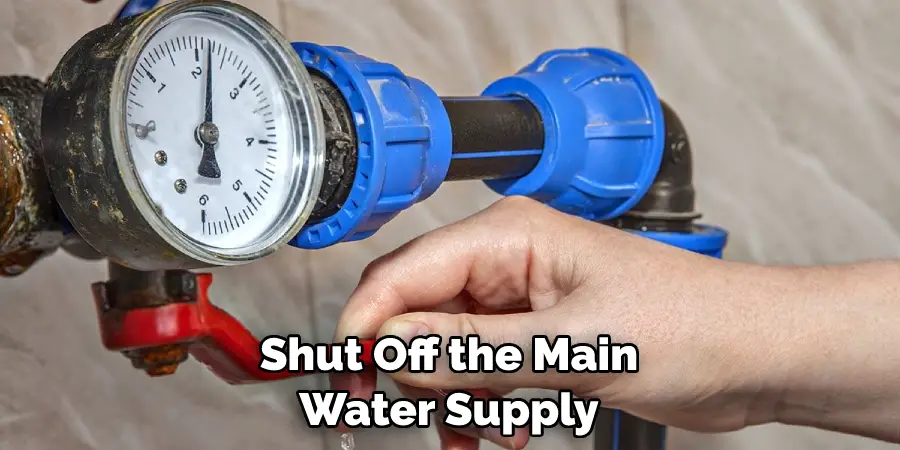
1. Shut Off the Main Water Supply
The first step in splitting a water supply line is to shut off the main water supply. This will prevent any water from flowing through the line while you are working on it, which can help to prevent any accidents or damage.
It is also important to ensure that all of the faucets in your home are turned off before beginning the process, as this will help to minimize any potential messes or leaks. Although this step may seem obvious, it is crucial to follow proper safety precautions before starting any DIY project.
2. Gather Necessary Tools
Before beginning the process, it is important to gather all of the necessary tools and materials that you will need for the job. This includes a wrench, a pair of pliers, an adjustable wrench, a hacksaw, and some fittings such as couplings and elbows.
It is also important to have some Teflon tape on hand in case there are any leaks after you have finished splitting the line. To make sure you have all the necessary tools, it may be helpful to create a list beforehand so you don’t forget anything.
3. Measure and Mark
Once you have gathered all of your tools and materials, it is time to measure and mark where you will be splitting the line. Be sure to measure carefully as this will ensure that everything fits together properly when you begin connecting your new lines. Once you have marked where you want to split the line, use a hacksaw to cut through it at your marked location. Make sure the cut is straight and clean to ensure a proper seal later on.
4. Install Coupling
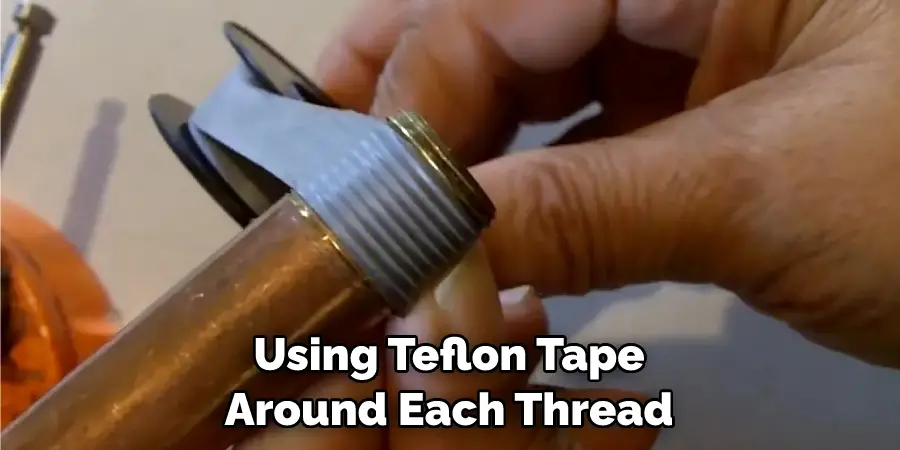
Once you have cut through the line, it is time to install a coupling so that you can connect two separate lines from this point forward. A coupling is simply two pieces of pipe with threads on both ends that allow them to be connected together securely without leaking. Be sure to use Teflon tape around each thread before screwing them together for extra protection against leaks.
5. Connect New Lines
Once your coupling has been installed, it is time to connect your new lines into place. Start by connecting one end of each new pipe to either side of the coupling using Teflon tape around each thread for extra protection against leaks.
Once this has been done, tighten each connection with an adjustable wrench until they are secure and there are no more leaks present in either line. Though using Teflon tape is not always necessary, it is a good practice to adhere to in order to ensure the lines are properly sealed.
6. Install Elbows
In order for both lines to run properly after being split apart, they must be angled correctly so that water can flow freely through them without becoming blocked or backed up somewhere along their path.
To do this, use elbows or other fittings at certain points along each pipe so that they angle in different directions as needed for proper water flow throughout your home’s plumbing system. Depending on how the water supply line is split, you may need to use multiple elbows or fittings in order to get both lines angled correctly.
7. Test New Lines
Once all of your connections have been made and secured with an adjustable wrench, it is time to test out your newly split water supply lines by turning on the main water supply again and allowing water pressure to build up within them once more before using their everyday life again. If everything looks good with no signs of leakage or blockage anywhere along either line, then congratulations!
You’ve successfully split a water supply line! Additionally, as you continue to use this newly split water supply line, be sure to routinely check for any signs of wear or tear along the lines. It is important to fix any issues immediately in order to avoid larger problems down the road. With this newfound knowledge and skill, you will never have to worry about sharing a single water supply line again.
8. Clean Up Area
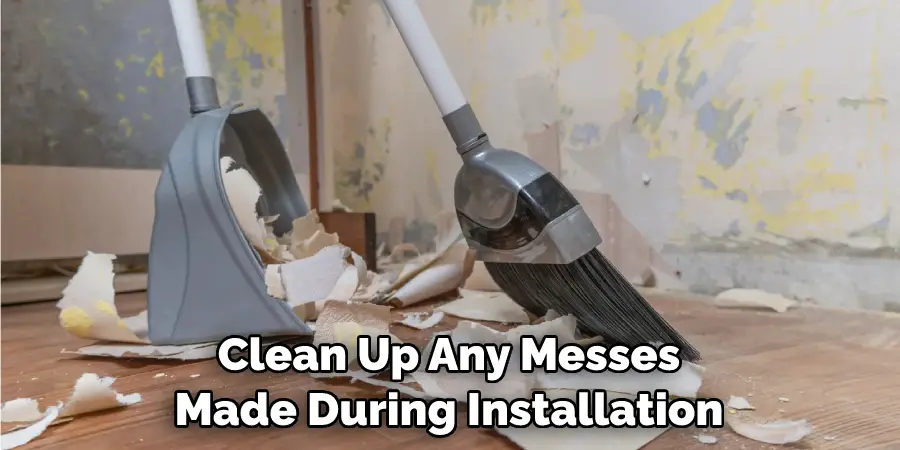
Now that everything has been tested out successfully, it’s time to clean up any messes made during installation, such as sawdust from cutting into pipes or dirt from digging holes for couplings etc.. Make sure not only does everything look neat but also safe so no one trips over anything left behind during installation!
However, it’s common for small leaks to occur on new pipe installations. This is due to the fact that fittings need time to settle and seal properly. If you do notice any small leaks, simply tighten the couplings or fittings a little bit more and check again after a few hours.
9. Inspect All Connections
Before putting things away double check all connections made throughout installation just like when testing out new lines earlier, but now take extra care looking for any small cracks or hairline fractures within pipes themselves as these could lead to much bigger problems down the road if left unnoticed. If anything looks questionable, replace it immediately! Make sure to also check the water supply valve for any leaks or loose connections.
10. Put Away Tools & Materials
Now that everything looks good, put away all tools & materials used during installation, making sure not to leave anything behind, especially sharp objects like saw blades which could potentially harm someone if left lying around.. Now sit back & enjoy knowing the job was done right!
For your safety and the safety of others, it is important to put away all tools and materials used during the installation process. This includes ensuring that any sharp objects such as saw blades are properly stored, as they could potentially harm someone if left lying around.
Conclusion
Splitting a water supply line can be a challenging task, but with the right tools and instructions, almost anyone can successfully complete this project. Make sure you turn off your water supply valve before beginning. Take the necessary safety precautions such as wearing protective gloves and eyewear before getting started. Once you understand all of the steps involved in splitting your water line, you will be ready to confidently execute this procedure.
To ensure that your career goes smoothly and your home is kept safe and secure, it is important to have properly split lines throughout your water system. Whether you choose to DIY or hire a professional contractor for help, understanding how to split a water supply line will certainly come in handy one day! So take some time today to learn more about the process—you never know when it could save you time and money down the road!

