A leaking kitchen faucet is a common household issue that can waste water and increase your utility bills. Fortunately, with the right tools and a little guidance, you can fix most leaks quickly and easily on your own.

This guide on how to stop a leaking kitchen faucet will walk you through the steps needed to identify the cause of the leak and repair it effectively, saving you both time and money.
What is a Leaking Kitchen Faucet?
A leaking kitchen faucet occurs when water drips or flows continuously from the faucet, even when it is turned off. This issue can stem from various causes, such as worn-out washers, damaged O-rings, or loose or corroded components within the faucet. Over time, these small problems can lead to significant water waste and increased utility costs.
Not only is it an inconvenience, but a leaking faucet can also contribute to moisture buildup in your kitchen, potentially causing damage to surrounding areas or fostering mold growth. Understanding the cause of the leak is the first step toward fixing it effectively.
6 Simple Step-by-Step Guidelines on How to Stop a Leaking Kitchen Faucet
Step 1: Gather Necessary Tools and Materials
Before you begin fixing your leaking kitchen faucet, make sure you have all the necessary tools and materials on hand. These include:
Adjustable Wrench
For removing and tightening the faucet handle and other parts. Make sure the wrench is the right size for your specific faucet.
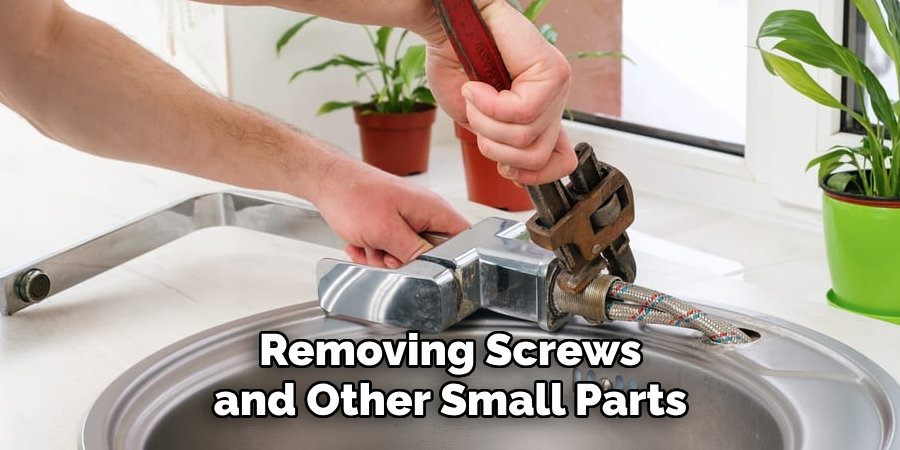
Screwdriver
For removing screws and other small parts.

Replacement Parts
Depending on the cause of the leak, you may need to replace worn out washers or internal components such as O-rings or valve seats.
Plumbers Tape
This can help create a watertight seal when reassembling the faucet.
It’s important to gather all the tools and materials beforehand so you don’t have to stop in the middle of the repair process.
Step 2: Shut Off Water Supply
To prevent any water from spilling while you work, it’s vital to shut off the water supply to the faucet. Look for the shut-off valves located under the sink, typically connected to the hot and cold water pipes. Turn both valves clockwise to close them completely.
If you can’t locate the shut-off valves under the sink, you may need to turn off the main water supply for your home. Once the water is shut off, turn on the faucet to drain any remaining water and confirm that the shut-off is effective.
Step 3: Remove Handle and Trim
To access the cartridge, you will need to remove the handle and trim. Use a screwdriver or an Allen wrench (depending on your faucet model) to loosen the set screw located at the base of the handle. Once loosened, carefully remove the handle from the faucet.
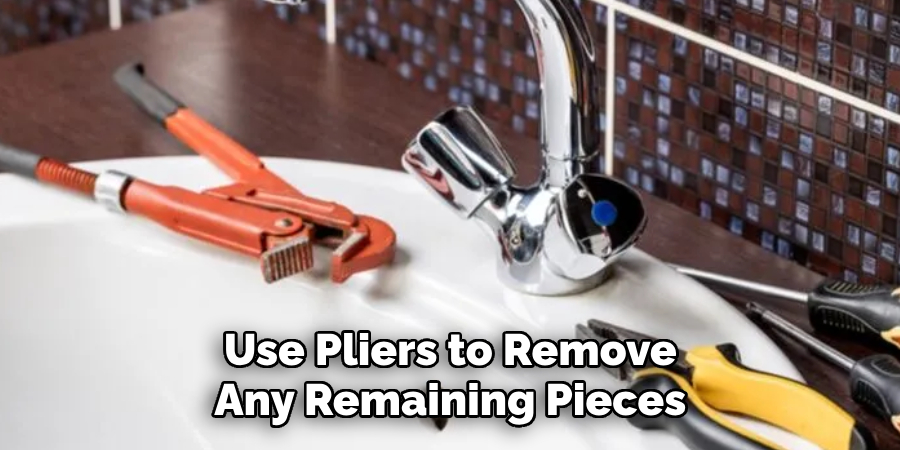
Next, use pliers to remove any remaining pieces of trim or hardware. Be sure to keep these in a safe place so you can easily reassemble them later.

Step 4: Remove Retaining Nut
With the handle and trim removed, the next step is to take out the retaining nut that holds the cartridge in place. Locate the retaining nut, which is typically a metal ring or cap securing the cartridge to the faucet body.
Using an adjustable wrench or a pair of pliers, carefully loosen and remove the nut by turning it counterclockwise. Be cautious not to apply excessive force that could damage the surrounding components. Once the retaining nut is removed, set it aside in a safe place for reassembly later.
Step 5: Remove Cartridge
With the retaining nut removed, you can now proceed to take out the cartridge. Gently grip the exposed part of the cartridge with your fingers or use pliers if needed, and pull it straight out from the faucet body. If the cartridge feels stuck, try wiggling it slightly to loosen it, but avoid using excessive force to prevent damaging the faucet.
Inspect the cartridge for signs of wear or buildup, as this could indicate the need for replacement. Once removed, set the cartridge aside or prepare to install a new one, depending on your repair requirements.
Step 6: Clean and Reassemble
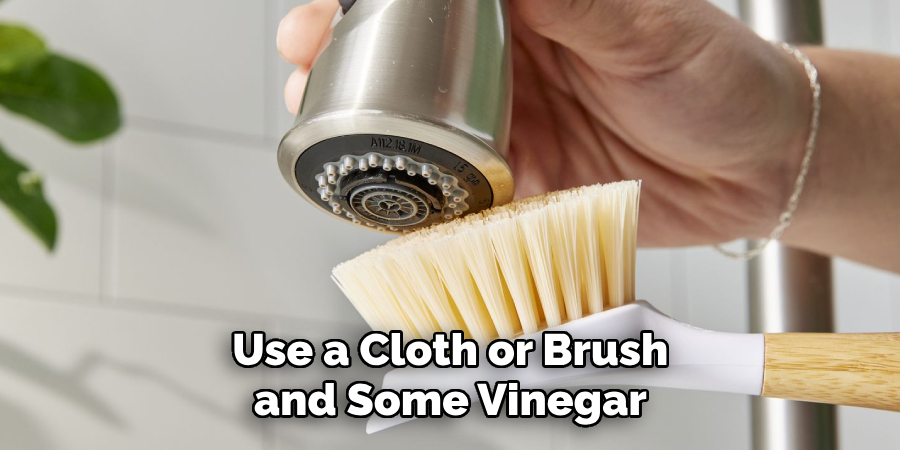
With the old cartridge removed, take this opportunity to clean any debris or buildup that may have accumulated in the faucet. Use a cloth or brush and some vinegar or mild soap to thoroughly clean all parts of the faucet.
Once cleaned, reassemble the faucet by following these steps in reverse order. Make sure to tighten all screws and nuts securely.

Following these steps on how to stop a leaking kitchen faucet should resolve any issues you were experiencing with your faucet’s cartridge. However, if the issue persists, it may be indicative of a larger problem and it is recommended to seek professional plumbing assistance.
Do You Need to Use Professionals?
While many kitchen faucet leaks can be resolved with simple tools and a bit of DIY effort, there are instances where professional help may be necessary. If the leak persists despite following the outlined steps, it could indicate more complex issues such as damaged plumbing connections, corroded pipes, or an issue with water pressure.
Additionally, if you’re uncomfortable working with plumbing or lack the proper tools, a licensed plumber can ensure the job is done effectively and safely. Seeking professional assistance not only saves time but also prevents potential further damage, ensuring your faucet and plumbing system remain in top condition.
How Much Will It Cost?
The cost of addressing a leaky faucet can vary depending on several factors, including the severity of the issue, the type of faucet, and whether you choose to repair it yourself or hire a professional. For do-it-yourself repairs, expenses might only include the price of replacement parts, which typically range from $5 to $20.
However, hiring a licensed plumber can add labor costs, with hourly rates averaging between $75 and $150, depending on your location and the complexity of the repair. If additional parts or extensive plumbing repairs are required, the total cost could rise. It’s always a good idea to request an estimate from a professional to better understand the expected expense before proceeding.
Prevention Tips
To avoid future leaks and prolong the life of your kitchen faucet, regular maintenance is key. Start by periodically checking for any loose screws or fittings and tightening them as needed. Clean the faucet regularly to prevent build-up of mineral deposits, which can cause wear and tear on the components. Use a water softener if you live in an area with hard water, as it helps minimize scaling inside the faucet.

Avoid using excessive force when turning the handles to prevent damage to the internal parts. Lastly, replace worn-out washers, O-rings, or seals at the first sign of wear to prevent small leaks from becoming bigger issues. By following these tips, you can maintain a functional and leak-free faucet for years to come.
Frquently Asked Questions
Q1: How Often Should I Clean My Faucet?
A- It is recommended to clean your faucet at least once a week to prevent buildup of grime and dirt. However, if you use your faucet frequently or live in a hard water area, you may need to clean it more often.
Q2: How Do I Clean My Faucet?
A- To clean your faucet, mix equal parts white vinegar and water in a spray bottle. Spray the solution onto the faucet and let it sit for a few minutes. Then, use a soft cloth or sponge to scrub away any residue. Rinse with water and dry with a clean cloth.
Q3: What Should I Use to Clean My Faucet?
A- It is recommended to use mild cleaning solutions such as white vinegar and water, dish soap, or a commercial all-purpose cleaner. Avoid using abrasive cleaners or scrub brushes as they can scratch and damage the surface of your faucet. Additionally, be sure to check the manufacturer’s instructions for any specific cleaning recommendations for your particular faucet model.
Q4: How Often Should I Clean My Faucet?
A- It is recommended to clean your faucet at least once a week in order to prevent buildup and maintain its appearance. However, this may vary depending on usage and water quality. If you notice any mineral deposits or grime building up, it may be necessary to clean it more often.
Conclusion
Replacing a single handle kitchen faucet can seem like a daunting task, but with the right tools and instructions, it can be easily accomplished. Remember to always start by turning off the water supply and carefully follow the steps on how to stop a leaking kitchen faucet outlined above.
Regular maintenance and quick repairs can help extend the life of your faucet and prevent more serious issues in the future. If you encounter any difficulties or have any concerns, do not hesitate to seek professional assistance. With proper care, your kitchen faucet should continue to provide reliable use for years to come. Happy fixing!

