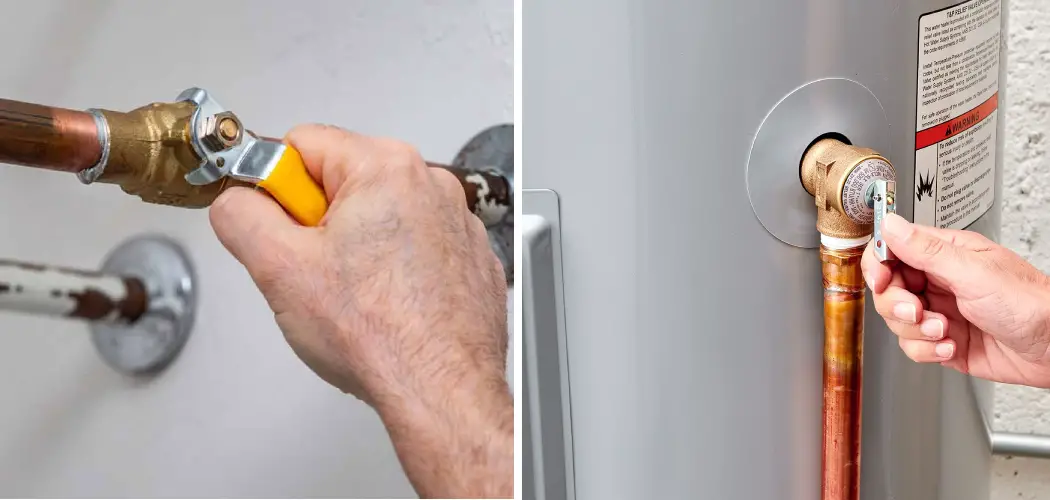
Are you tired of constantly dealing with a leaking pressure relief valve that seems to be spewing hot water from your home’s heating system all over the floor? Are you looking for a way to finally get it under control without having to call in an expensive repairman?
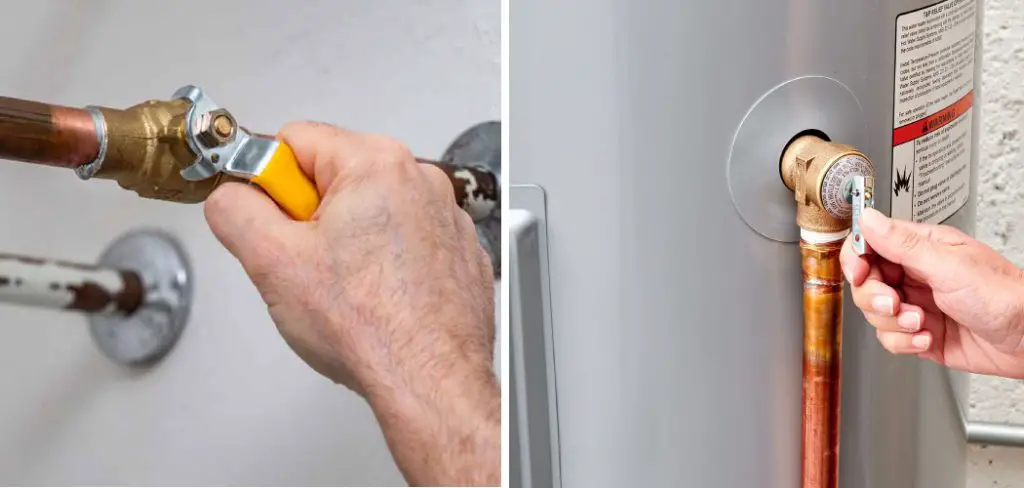
If so, then you’ve come to the right place; today we’re going to break down how to stop a pressure relief valve from leaking and save yourself time, money, and energy.
8 Best Methods on How to Stop a Pressure Relief Valve From Leaking
1. Close the Inlet Valve on Your Water Heater:
Before you can start making any repairs, you’ll need to turn off the water supply that feeds into the tank by closing the inlet valve. This will help ensure that no additional water is getting into the system while you work. Closing the inlet valve will also help reduce the leaking pressure from the relief valve.
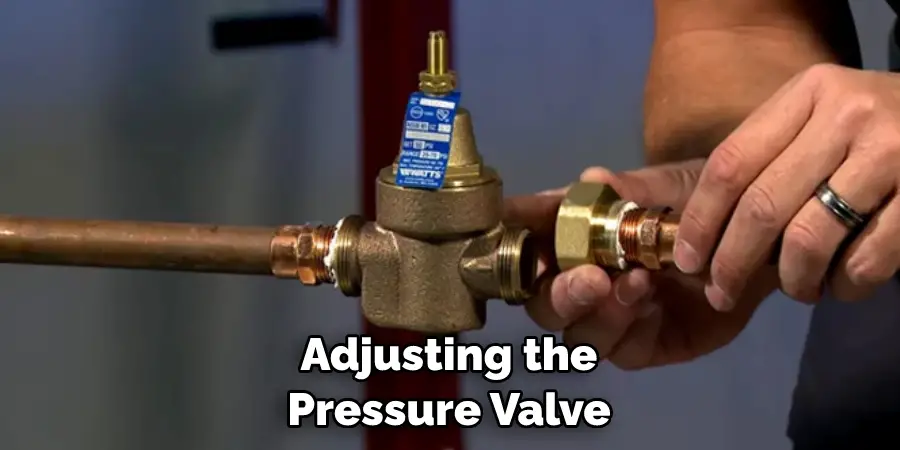
2. Adjust the Pressure Valve:
The pressure valve is located on the side of your water heater, and it determines how much pressure is being maintained within the system. If you’re experiencing a leaky relief valve, then you may need to adjust the pressure valve to stop it. While adjusting the pressure valve, make sure to keep an eye on the temperature gauge as well.
3. Flush Out Your Water Heater:
If your relief valve is still leaking after adjusting the pressure valve, then you may need to flush out your water heater. This is done by attaching a hose to the drain valve found on the side of the water heater and then letting the tank drain. Once it has been fully drained, you can then turn off the inlet valve and close up the hose.
4. Look for Blockages or Buildups:
If your relief valve is still leaking after flushing out your water heater, then chances are there’s a blockage or buildup somewhere in the system. You can check for these by carefully inspecting each component of the water heater and cleaning out any clogs or debris that you find. This method will often help stop the leaking pressure relief valve.
5. Replace the Pressure Relief Valve:
If all else fails, then you may need to replace the pressure relief valve entirely. This is a relatively simple process that should only take about half an hour and requires nothing more than a few basic tools and some new parts from your local hardware store.
6. Keep Up With Regular Maintenance:
To avoid having to deal with a leaking pressure relief valve again in the future, it’s important that you keep up with regular maintenance and inspections on your water heater. This should include flushing out the tank at least once every six months as well as inspecting all components of the system for any signs of damage or buildup.
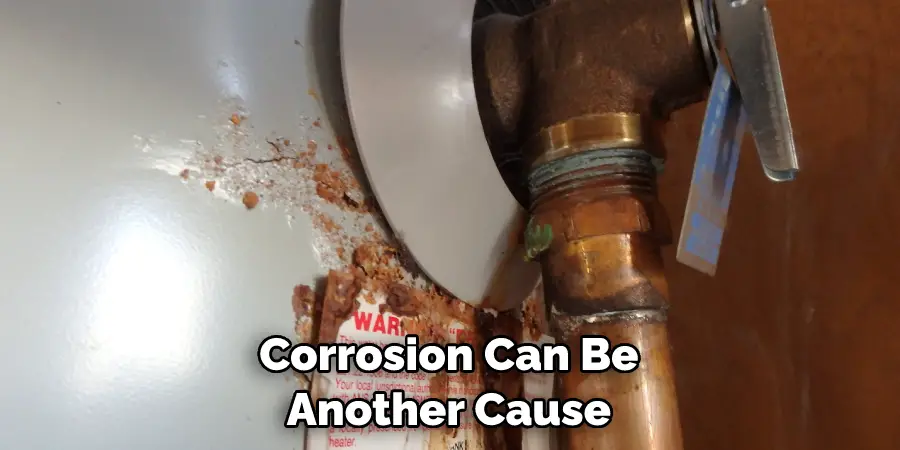
7. Check for Corrosion:
Corrosion can be another cause of a leaking pressure relief valve and should be checked regularly. If you notice any corrosion on the parts, then it needs to be cleaned up right away before it causes further damage to the system. Using a wire brush or some sandpaper can help remove any corrosion that you find.
8. Contact a Professional:
If you’ve tried all of these steps and still can’t seem to get your relief valve under control, then it may be time to contact a professional. A qualified technician will be able to diagnose the issue more thoroughly and provide you with the best solution for repairing or replacing your pressure relief valve.
By following these steps, you can stop a pressure relief valve from leaking and keep your water heater running smoothly for years to come. Just remember that regular maintenance is key, so be sure to check the system often and stay on top of any repairs or replacements that may need to be done. Good luck!
Additional Tips and Tricks to Stop a Pressure Relief Valve From Leaking
- Make sure that all valves and connections are tight and secure before you begin any troubleshooting. Check for signs of corrosion or damage to the valve itself, as well as any connecting pipes or fittings.
- Try adjusting the blow-off pressure on the valve if it is adjustable. This should be done by a qualified technician or professional to ensure safety.
- Ensure the valve is sized correctly for your application. Proper sizing of valves helps to prevent pressure overload and leakage.
- If possible, increase the operating temperature of the system slightly as this may reduce the occurrence of leaking from a pressure relief valve.
- Regularly inspect all pressure relief valves for proper operation. Clean or replace the seats and discs as needed to ensure optimal performance.
- Replace any worn-out or damaged components of the valve, such as gaskets, seals, or packing materials.
- Make sure the valve is not exposed to vibration or other external forces that may affect its performance.
- Keep the valve free of debris or other material that may obstruct the flow of media through the valve.
Following these simple tips can help you to keep your pressure relief valve in proper working order and prevent it from leaking. However, if the issue persists, contact a reliable professional for assistance.
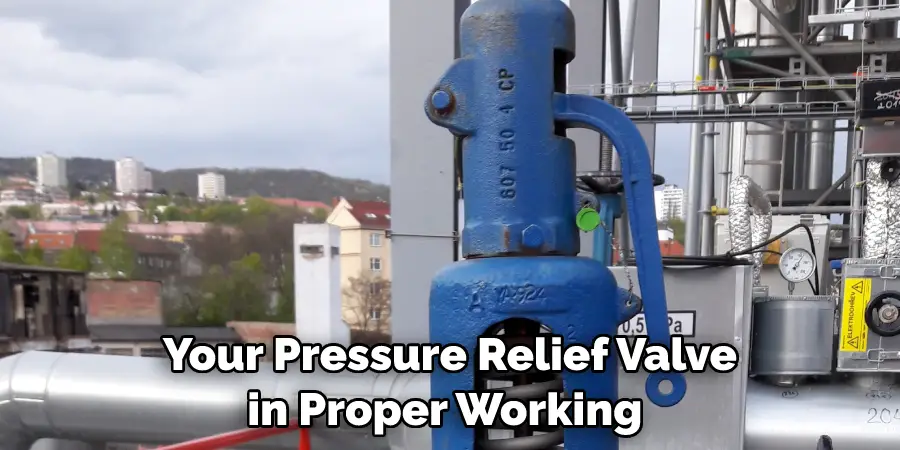
Precautions Need to Follow for Stopping a Pressure Relief Valve From Leaking
- Make sure the pressure relief valve is closed before attempting to repair or replace it. Never try to work on a pressurized system, as this can lead to serious injury or death.
- Before beginning any repairs, make sure that the valve is in proper working order and free from debris or foreign objects. Use a flashlight or other light source to inspect all areas of the valve for signs of leakage, and use a pair of pliers or a similar tool to remove any dirt or debris from the valve.
- Once you have visually inspected the valve, it is important to make sure that the pressure relief valve is set at its designed pressure level. This is typically done by adjusting the spring or diaphragm within the valve.
- Once you have ensured that the pressure relief valve is properly set, use a wrench to tighten any loose bolts and nuts on the valve. This will ensure that nothing moves when pressure builds up inside the system.
- If necessary, replace any worn, damaged, or corroded parts within the valve. This is important for ensuring the proper functioning of the valve and preventing leaks in the future.
- Finally, test the pressure relief valve by slowly increasing pressure inside the system and monitoring the operation of the valve as it opens and closes at each pressure level. If you detect any leaks, replace the valve or repair any worn parts as soon as possible. Following these steps will help to keep your pressure relief valves functioning properly and protect you from potential hazards.
Safety is always the number one priority when it comes to working with pressurized systems. When working with pressure relief valves, be sure to follow all safety precautions and use the correct tools and replacement parts to ensure a safe, leak-free system. Taking these steps will help you avoid problems with your pressure relief valves in the future and keep everyone safe.
Frequently Asked Questions
What Should I Do if My Pressure Relief Valve is Leaking?
If your pressure relief valve is leaking, it’s important to act quickly. First, shut off the power supply to the appliance or system in order to ensure safety. Then, inspect the valve and its components for any signs of degradation or damage that could be causing the leak.
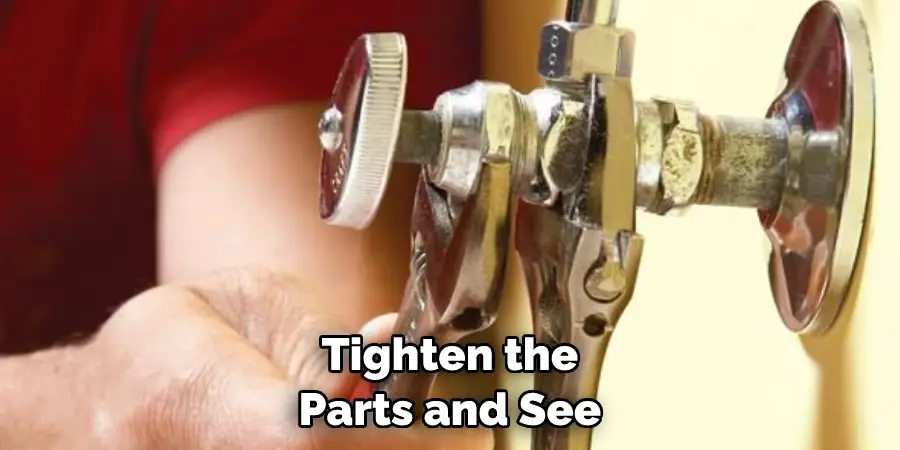
If it is a simple issue, like a loose nut or valve stem, tighten the parts and see if this resolves the issue. If not, you will likely need to replace some of the components in order to get your pressure relief valve functioning properly again.
Can I Replace a Pressure Relief Valve Myself?
Yes, it is possible to replace a pressure relief valve yourself. However, this should only be done if you have the experience and knowledge necessary to do so safely. If you are not sure what needs to be done, it’s best to contact a qualified professional for assistance. They will be able to inspect the system and determine what parts need to be replaced before proceeding.
What Should I Do If the Valve Does Not Resolve the Leak?
If replacing parts and tightening connections do not resolve your leak, then it’s likely that there is an underlying problem with your pressure relief valve or system. In this case, you should contact a qualified professional for further assistance. They will be able to inspect the system and determine what needs to be done in order to get it functioning properly again.
Conclusion
With the above outlined you can easily understand how to stop a pressure relief valve from leaking. It is important to act quickly when a valve begins to leak and inspect the condition of the valve and its components.
If any parts need to be replaced, it is best to contact a qualified professional for assistance in order to ensure safety. Following these steps should help you easily troubleshoot any issues with your pressure relief valve and get it running smoothly again.

