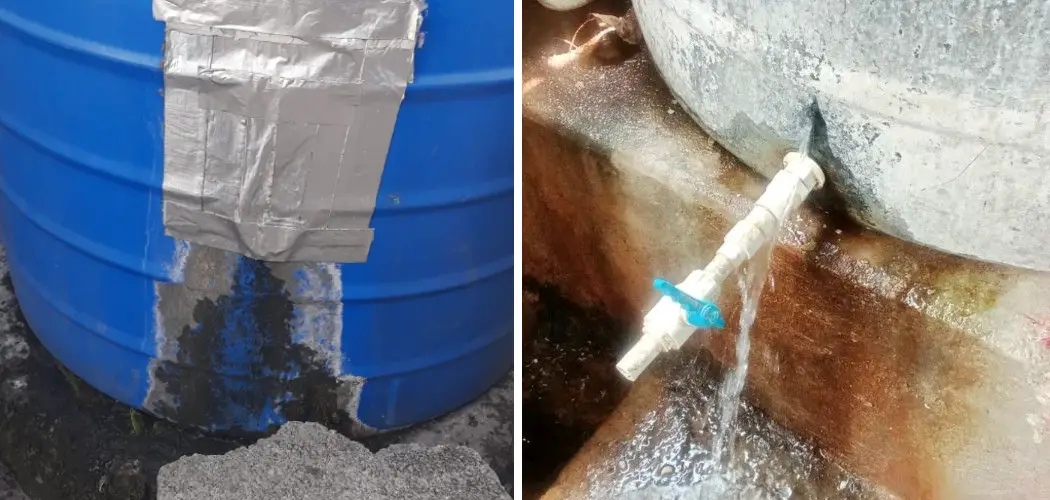
Water tank leakage is a prevalent issue that can arise from a variety of causes, including cracks in the tank material, corrosion over time, or faulty seals that fail to keep water contained.
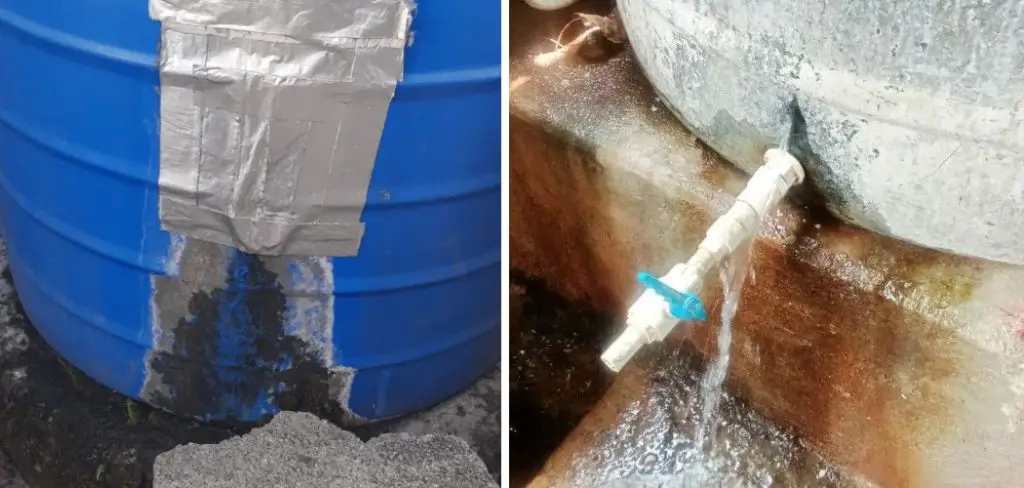
Addressing these leaks is critical, as uncontained water can lead to significant wastage, property damage, and even health risks due to the potential for mold or mildew growth in the surrounding areas.
Swift action to resolve these leaks conserves valuable water resources and protects your home and health. This article aims to provide a comprehensive guide on how to stop leakage in water tank effectively. Through detailed descriptions of methods and the necessary materials, readers will be equipped with the knowledge to identify and repair leaks, ensuring the longevity and integrity of their water tanks.
Identifying the Source of the Leak
Visual Inspection
The first step in identifying a leak in your water tank is to conduct a thorough visual inspection. Begin by examining the tank’s exterior for any obvious signs of damage.
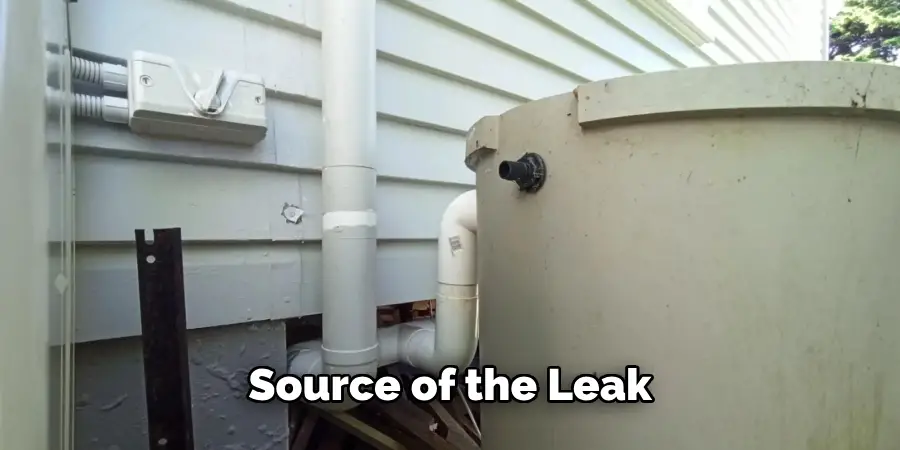
Look for visible cracks or holes that may have formed over time due to wear and tear or external pressure. Pay special attention to any rust spots, as these can indicate areas of weakness.
Additionally, inspect seams and joints carefully—these connection points are often where leaks are most likely to develop. If you notice any suspected areas, mark them for further investigation. Finally, observe the ground around the tank for damp spots or water puddles, which can suggest hidden leaks. Identifying these indicators early can help in taking prompt corrective measures.
Pressure Testing
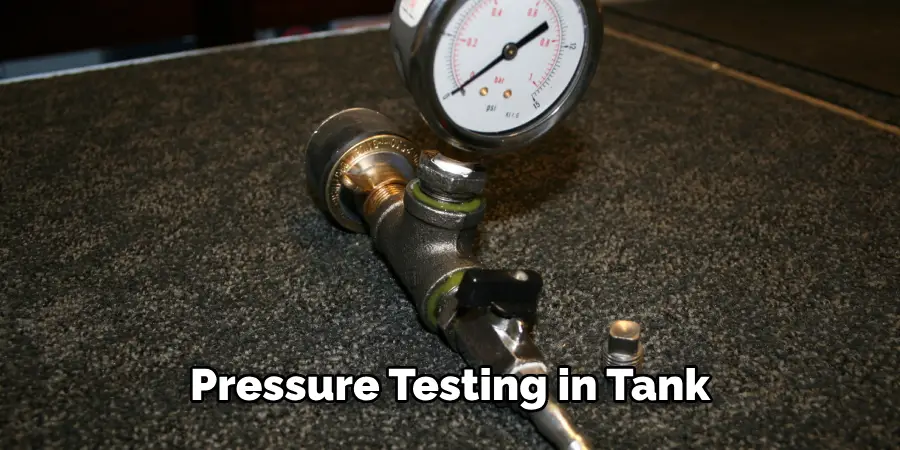
Once you’ve completed your visual inspection, proceed with pressure testing to confirm the presence of a leak. First, turn off the tank’s water supply to prevent further flow. After doing so, release any remaining pressure by opening taps connected to the system. Next, mark the current water level inside the tank with a piece of tape or a marker to monitor any changes.
Over the next few hours, closely observe the water level; a drop in the water level is a strong indicator of a potential slow leak. Additionally, a flashlight should be used to inspect the inside of the tank.
Look for signs of internal leaks, such as rust or corrosion around fittings or fixtures, which could compromise the tank’s integrity. This method allows you to detect more subtle leaks that may not be visible from the outside.
How to Stop Leakage in Water Tank: Temporary Fixes for Water Tank Leaks
Option 1: Epoxy Putty
Epoxy putty can provide a quick and effective temporary fix for small cracks or holes in your water tank. Begin by preparing the surface; use a wire brush or sandpaper to clean the area, removing any rust or debris. After cleaning, thoroughly dry the surface to ensure proper adhesion. Take the epoxy putty and knead it according to the manufacturer’s instructions until it becomes a uniform color.
Firmly press the putty into the damaged area, ensuring it fills the crack or hole completely. Smooth it out as needed to create an even finish. Typically, epoxy putty will require about 1 to 2 hours to cure, though it’s best to reference the product specifications, as curing times can vary. Wait at least 24 hours before refilling the tank with water to ensure a strong bond has formed.
Option 2: Waterproof Sealant
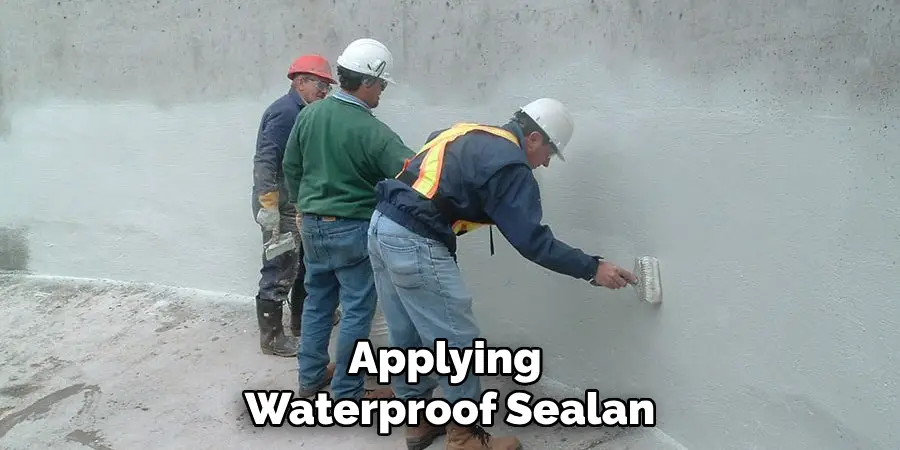
Applying a waterproof sealant or silicone caulk is another excellent temporary solution when dealing with minor leaks. Start by cleaning the leaking area with a cloth or scrub brush to remove any dirt, grease, or moisture, ensuring it is completely dry before application.
Once the area is clean, cut the tip of the sealant tube at a 45-degree angle and apply an even bead of sealant over the leak, filling it adequately.
Be sure to cover the area thoroughly to avoid air bubbles, which can compromise the integrity of the seal. After application, allow the sealant to cure for at least 24 hours or as specified on the product label. After the curing period, check the seal by slowly refilling the tank with water to confirm that the leak has stopped.
Option 3: Pipe Tape for Fittings
Leaks at connection points, such as valves or pipes, can often be resolved temporarily using pipe tape, commonly known as Teflon tape. To begin, identify any leaking fittings by checking for moisture around the joints. Once the leak is pinpointed, turn off the water supply and disassemble the leaking fitting if necessary. Wrap the thread of the fittings with pipe tape in a clockwise direction, covering all exposed threads to create a tighter seal.
Press it firmly into place as you wrap to ensure there are no loose ends. After reassembling the fittings, turn the water supply back on and monitor for leaks. This method effectively creates a watertight seal, providing a reliable temporary fix until a permanent repair can be made.
Permanent Repair Methods
Method 1: Tank Liner Replacement
A tank liner replacement is essential when dealing with older tanks that exhibit widespread internal damage or corrosion. Factors such as prolonged exposure to moisture, chemical degradation, or structural fatigue can compromise the tank’s integrity, leading to significant leaks. In such cases, a liner provides a protective barrier, extending the tank’s lifespan and preventing further leakage.
The installation process typically involves draining the tank and cleaning its interior to prepare for the new liner. Once the area is prepped, the liner is carefully positioned within the tank. Depending on the complexity, seeking professional assistance is recommended, as improper installation can lead to additional issues, such as misalignment or inadequate sealing.
Method 2: Welding or Soldering
For metal water tanks, welding or soldering serves as a reliable repair method for sealing cracks or holes. These techniques can effectively restore the tank’s structural integrity by fusing the metal back together. However, both methods require specialized equipment and a high level of expertise, making it advisable to consult professionals who are skilled in metalwork.
Attempting to weld or solder without adequate training can lead to further damage or even injury. A qualified professional will thoroughly assess the damage, provide an appropriate repair strategy, and ensure that the welds or solder joints are secure and safe, offering a long-lasting solution to reduce the risk of future leaks.
Method 3: Patch Kit for Plastic Tanks
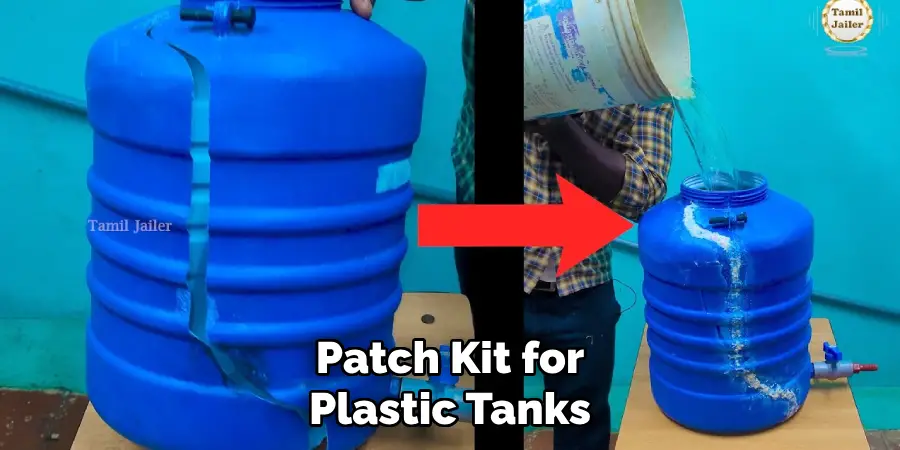
For plastic water tanks, using a patch kit can effectively address small to medium-sized leaks. These kits generally include a patch material made from a compatible plastic, along with adhesive and instructions. First, identify the leaking area and clean it thoroughly to ensure proper adhesion. Once the surface is prepared, cut the patch to size, apply the adhesive as directed, and firmly press the patch onto the leak, ensuring it covers the affected area completely.
Secure the patch according to the manufacturer’s guidelines, which may involve applying pressure or using clamps to hold it in place while the adhesive cures. Patch kits can provide a strong and durable solution, allowing your plastic tank to function effectively for years to come, thus preserving water quality and preventing further leaks.
Preventive Measures to Avoid Future Leaks
Taking proactive steps can significantly reduce the risk of future leaks in your water tank. Regular inspections are crucial; it’s advisable to schedule routine checks to identify any signs of wear and tear early. Detecting small issues, such as minor cracks or corrosion, before they escalate can save both time and money, ensuring the tank remains in optimal condition.
Regular Inspections
Encourage regular water tank inspections to catch any signs of wear and tear early. By monitoring the tank’s condition, you can catch minor issues before they develop into major problems that require extensive repairs.
Proper Installation
It is essential to ensure correct installation practices are in place. This includes making sure the tank has secure fittings and appropriate support to prevent unnecessary stress on the tank structure. Hiring professionals for installation or major repairs is also highly recommended, as their expertise can help avoid future issues and guarantee a long-lasting, leak-free solution.
When to Replace the Water Tank
Signs of Severe Damage
There are scenarios where a water tank is deemed beyond repair. Extensive corrosion, multiple large cracks, and significant structural damage can severely compromise the tank’s functionality and safety. The tank’s integrity is likely compromised if these issues are present, making repair efforts futile. In such cases, evaluating the cost of repairs against a potential replacement is essential, as a new tank may ultimately be more reliable and economical.
Choosing a New Tank
When considering a new water tank, evaluating both material and size is crucial. Common materials include plastic and metal, each offering distinct advantages in terms of durability and maintenance. Assess your household’s water usage to determine the necessary capacity for your new tank. Additionally, professional installation is highly recommended to ensure the tank is set up correctly, maximizing its lifespan and efficiency and guaranteeing long-term reliability for your water supply.
Conclusion
In summary, effectively identifying and fixing water tank leaks involves both temporary and permanent solutions. Techniques such as using sealants, pipe tape, and patch kits can immediately relieve minor leaks, while permanent methods like tank liner replacements, welding, and professional repairs address more significant issues.
Addressing leaks promptly is crucial to avoid further damage and water loss, which can lead to costly repairs down the line. Regular maintenance is essential to keep your tank in optimal condition—perform routine inspections to catch problems early. Lastly, knowing when to seek professional help is vital, especially for complex repairs. Always prioritize safety and integrity in your repair strategies.
By understanding how to stop leakage in water tank, you can significantly extend the lifespan of your water storage solution and ensure its operation remains efficient.

