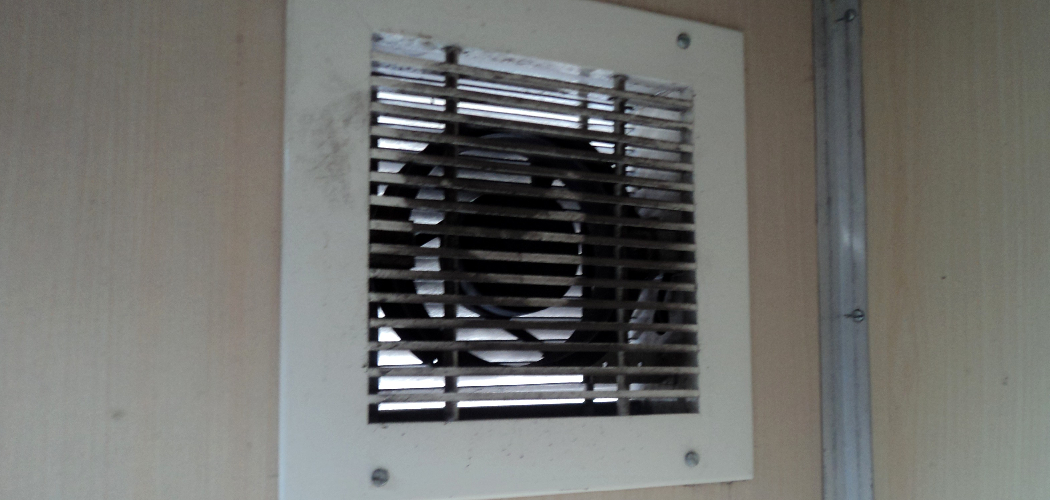
Are you tired of unpleasant smells coming through your bathroom vents? It can be frustrating to deal with odors constantly, and it may make you not want to use your bathroom. Luckily, there are some simple steps you can take to eliminate those pesky smells from entering your home through the bathroom vents.
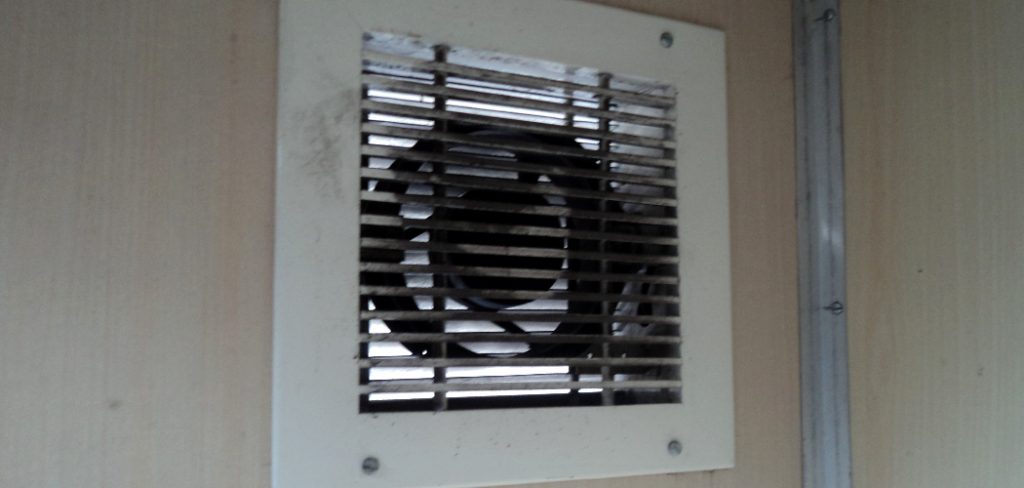
Unpleasant smells coming through bathroom vents can be both frustrating and embarrassing. These odors often originate from external sources or issues with the ventilation system, making it essential to identify and address the root cause. Taking the proper steps to prevent these smells improves air quality and enhances the overall comfort and hygiene of your home.
In this guide on how to stop smells from coming through bathroom vents, we’ll cover different methods you can use to tackle this issue effectively.
What Are the Causes of Smells Coming Through Bathroom Vents?
Before we dive into the solutions, it’s essential to understand what causes smells to come through bathroom vents. This will help you identify the root cause and choose the best method to eliminate them. Some common causes include:
- Clogged or Dirty Ventilation System: Over time, dust, dirt, and debris can accumulate in your ventilation system, leading to a buildup of bacteria and mold. Air flowing through these contaminated ducts carries unpleasant smells into your home.
- Blocked Vent Cap: The vent cap allows airflow while preventing outside elements from entering your bathroom. If it becomes clogged with debris or bird nests, it can impede proper ventilation, and cause smells to come through the bathroom vents.
- Inadequate Ventilation: If your bathroom doesn’t have adequate ventilation, it can lead to moisture buildup, which creates the perfect environment for mold and mildew growth. These microorganisms not only cause unpleasant odors but also pose health risks.
What Will You Need?
- Screwdriver
- Duct brush or vacuum cleaner with attachments
- Water and mild detergent
- Bleach or vinegar
- New vent cap (if necessary)
Once you have these items, you can proceed with the steps below to stop smells from entering your bathroom vents.
9 Easy Steps on How to Stop Smells From Coming Through Bathroom Vents
Step 1: Turn Off the Power
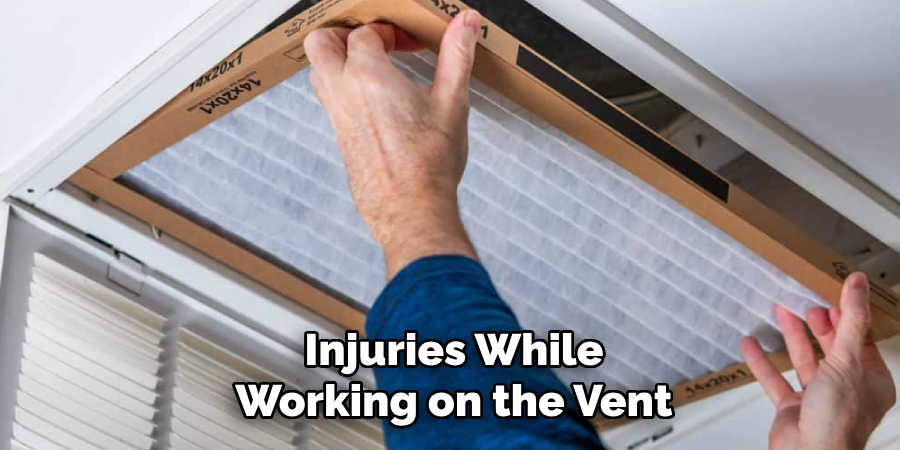
Before you begin, it’s crucial to ensure your safety by turning off the power to the bathroom ventilation system. Locate your home’s electrical panel and switch off the circuit that controls the bathroom fan. This step will prevent accidental shocks or injuries while working on the vent system. Double-check that the fan isn’t operational by attempting to turn it on after cutting the power. Once you confirm it’s off, you can proceed to the next steps.
Step 2: Remove the Vent Cover
Use a screwdriver to remove the vent cover from the bathroom ceiling or wall. Depending on the type of vent, this may involve removing screws or simply prying off the cover. Be cautious to avoid damaging the vent or surrounding area. Once the cover is removed, inspect it for any visible dirt, debris, or mold. Set the cover aside for cleaning later, as a clean vent cover is essential for eliminating odors and improving ventilation efficiency.
Step 3: Clean the Vent and Ductwork
With the vent cover removed, use a vacuum cleaner with a hose attachment to clean the vent opening and any visible ductwork. Focus on removing dust, debris, and any buildup obstructing airflow. If your vacuum cannot reach deeper into the duct, consider using a flexible cleaning brush designed for vents. Be thorough but gentle to avoid damaging the ductwork. Proper cleaning will improve air circulation and help eliminate lingering odors caused by trapped debris.
Step 4: Disinfect the Vent Area
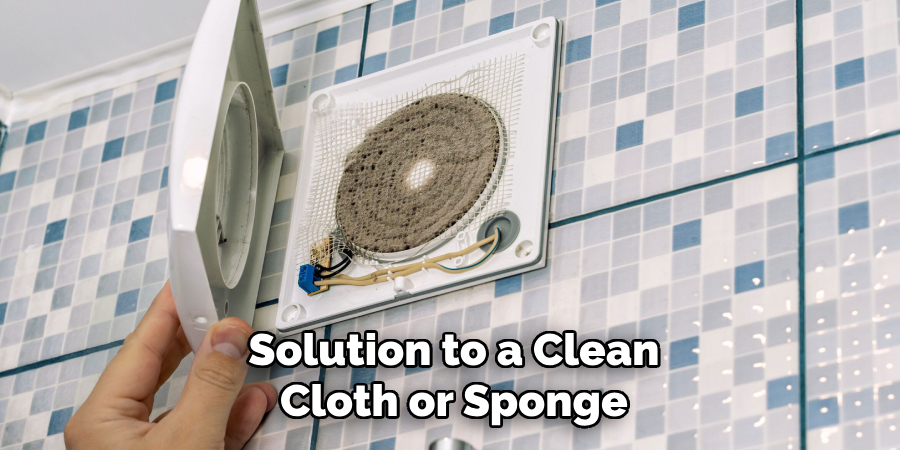
After removing dust and debris, it’s essential to disinfect the vent area to eliminate bacteria, mold, or mildew that may contribute to odors. Use a cleaning solution, such as a mixture of water and mild detergent, or a specialized household disinfectant.
Apply the solution to a clean cloth or sponge and gently wipe down the vent opening and surrounding surfaces. Avoid excessive moisture, as it could seep into the ductwork and cause further issues. Allow the area to air dry completely before proceeding to the next step. Disinfecting the vent area ensures a cleaner, fresher environment and helps maintain overall air quality.
Step 5: Replace or Clean the Air Filter
A clogged or dirty air filter can significantly reduce air quality and cause unpleasant odors. Locate the air filter in your HVAC system and assess its condition. If it’s disposable and appears dirty or worn, replace it with a new filter that matches the manufacturer’s specifications. If it’s a reusable filter, follow the cleaning instructions provided by the manufacturer, typically involving rinsing the filter with water and allowing it to dry completely before reinserting it. Regular maintenance of the air filter not only keeps your system running efficiently but also promotes cleaner, fresher air in your home.
Step 6: Inspect and Clean the Air Ducts
Over time, dust, debris, and even mold can accumulate in your air ducts, contributing to poor air quality and odors. To address this, use a flashlight to inspect the visible areas of your ductwork for any buildup or blockages. If you notice significant debris, consider using a vacuum with a hose attachment to remove loose particles. For more extensive cleaning or in the presence of mold, it’s advisable to consult a professional duct cleaning service. Ensuring clean air ducts improves airflow and enhances the overall performance of your HVAC system.
Step 7: Check the Thermostat Settings
Ensure your thermostat is functioning correctly and set to the appropriate temperature for your comfort. If you have a programmable thermostat, verify that the schedule aligns with your daily routine and seasonal temperature needs. Replace old batteries if needed and ensure the thermostat is securely mounted on the wall. If you notice any irregularities in temperature control, it may be time to recalibrate or upgrade to a newer model for improved energy efficiency and precision. Proper thermostat management can significantly reduce energy costs while maintaining a comfortable environment in your home.
Step 8: Inspect and Replace Air Filters
Regularly inspecting and replacing air filters is critical to maintaining the efficiency of your HVAC system. Dirty or clogged filters can restrict airflow, forcing the system to work harder and potentially leading to higher energy bills or costly repairs. Check your air filters at least once a month and replace them every 1-3 months, or as the manufacturer recommends. High-efficiency filters can also improve indoor air quality by trapping allergens, dust, and other particles. Always ensure your system’s replacement filter is the correct size and type to achieve optimal performance.
Step 9: Clean the Outdoor Unit
The outdoor unit of your HVAC system, also known as the condenser or heat pump, can accumulate dirt, leaves, and debris over time, which may reduce its efficiency. To ensure optimal operation, periodically clean the unit by removing debris around it and gently washing the fins with a garden hose if needed. Be careful not to bend the fins, as this may obstruct airflow. Maintaining a clear area around the unit—at least two feet of clearance—allows for proper airflow and prevents potential damage. Regular cleaning helps extend the life of your system and ensures it operates effectively year-round.
By following these steps, you can keep your HVAC system clean and properly maintained, promoting better air quality and eliminating any unpleasant odors in your home.
5 Things You Should Avoid
- Ignoring Regular Maintenance: Failing to clean and maintain your bathroom vents regularly can lead to a buildup of dust, mold, or debris, which can trap odors and worsen the problem over time.
- Using Short-Term Air Fresheners: Relying solely on air fresheners or sprays to mask odors instead of addressing the root cause can be ineffective and only temporarily hide the problem.
- Blocking Ventilation: Covering or closing vents to stop odors from spreading might seem compelling, but it can disrupt proper airflow and lead to moisture buildup, increasing the risk of mold and mildew.
- Neglecting Duct Inspections: Skipping routine checks of your ductwork can allow unnoticed leaks, cracks, or damage to persist, potentially letting odors seep through and spread throughout your home.
- DIY Fixes Without Proper Insight: Attempting unresearched DIY solutions, such as sealing vents with improper materials or tampering with the ventilation system, can worsen the issue and cause costly damage.
By avoiding these common mistakes, you can effectively manage and eliminate odors in your bathroom without causing further problems.
Conclusion
Taking proactive steps to address smells from bathroom vents can significantly enhance your home’s air quality and comfort.
Begin by identifying the source of the odor and ensuring your ventilation system is clean and functioning optimally. Regular maintenance, such as cleaning vents and filters, inspecting ductwork, and addressing any moisture issues, is essential to prevent the buildup of unpleasant smells. Avoid quick fixes and prioritize long-term solutions, such as improving ventilation and sealing leaks properly. You can create a fresher and healthier indoor environment by incorporating these practices into your home care routine.
Hopefully, the article on how to stop smells from coming through bathroom vents has provided useful insights and tips for maintaining a pleasant home atmosphere. So go ahead and take the necessary steps to keep your home smelling fresh! Happy cleaning!

