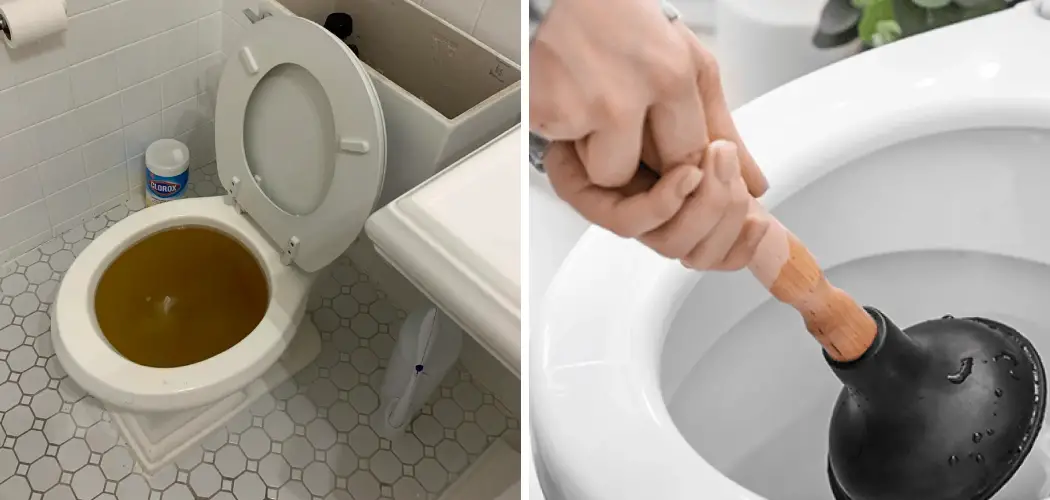
Are you tired of dealing with a toilet that always seems to overflow? Don’t worry, you’re not alone. This common household problem can be frustrating and even embarrassing. But fear not, there are simple steps on how to stop the toilet from overflowing.
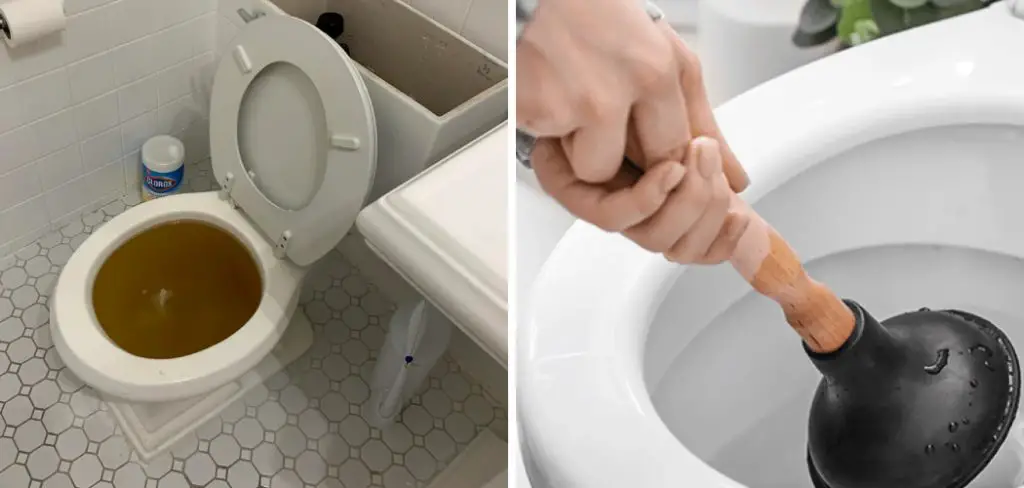
Toilets are a vital component of any home, providing convenience and hygiene. However, few scenarios can be as frustrating as finding your toilet overflowing. This common plumbing issue can lead to water damage, unpleasant odors, and costly repairs if not addressed promptly. Understanding the causes of toilet overflows and how to prevent them can save you time, effort, and money.
In this guide, we will explore practical tips and strategies for preventing your toilet from overflowing and ensuring a smoothly functioning and worry-free bathroom experience.
What are the Causes of Toilet Overflows?
There can be various reasons for a toilet to overflow. Some of the most common causes include:
- Clogged Drain: One of the primary causes of a toilet overflow is a clogged drain. This can happen when excessive toilet paper, sanitary products, or foreign objects are flushed.
- Blocked Trapway: The tramway is a curved channel inside the toilet’s base that leads to the sewer line. If debris or mineral buildup blocks this passage, water can back up and overflow.
- Malfunctioning Float System: The float system regulates the flow of water into the toilet tank. If it malfunctions, the tank can overfill and overflow.
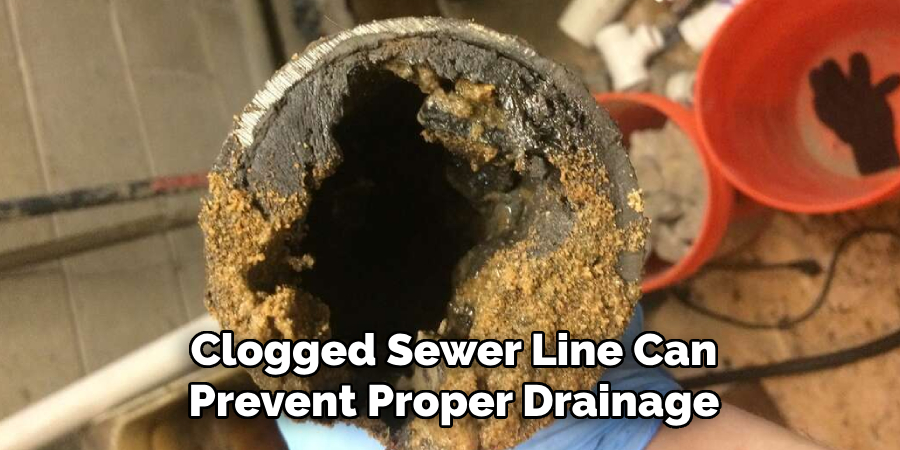
- Sewer Line Obstruction: A clogged sewer line can prevent proper drainage from your home’s plumbing fixtures, leading to backups and overflows.
- Broken/Worn Out Parts: Sometimes, toilet parts like flappers or fill valves can wear out or break with time, causing water to leak into the bowl and eventually overflow constantly.
These are some of the most common causes of toilet overflows, but there can be other underlying issues as well. If you’re experiencing frequent overflows despite trying to prevent them, it’s best to seek professional help to identify and fix the problem.
What Will You Need?
Before diving into the steps to stop a toilet from overflowing, let’s first gather the necessary tools and materials. These are some of the items you’ll need:
- Rubber Gloves: To protect your hands from bacteria and germs when handling plumbing issues, it’s always a good idea to wear rubber gloves.
- A Plunger: A plunger is your best friend for unclogging toilets. Make sure you have one handy in case of an overflow.
- Bucket or Container: Keeping a bucket or container nearby can help catch any excess water during troubleshooting.
- Toilet Auger/Snake: For more stubborn clogs, a toilet auger or snake can help clear the blockage.
- Wet/Dry Vacuum: You may need a damp/dry vacuum to remove excess water from the toilet and surrounding area.
Once these items are ready, you’re all set to tackle the overflowing toilet.
8 Easy Steps on How to Stop the Toilet From Overflowing
Step 1: Act Quickly
When you notice that your toilet is beginning to overflow, you must first remain calm and act quickly to prevent further damage. Usually, the sound of water rising or splashing is an indication that the toilet is close to overflowing. If you see water starting to reach the rim of the bowl, lift the toilet tank lid immediately and locate the float mechanism. In most cases, you can depress the float ball or move the float arm upwards to stop water flow into the tank.
This action can provide immediate relief and mitigate the overflow, allowing you to address the issue at hand without creating excessive mess or potential water damage. Additionally, if the situation is beyond immediate control, finding the shut-off valve behind the toilet and turning it clockwise can stop the water supply, giving you time to assess and resolve the underlying issue.
Step 2: Identify the Cause
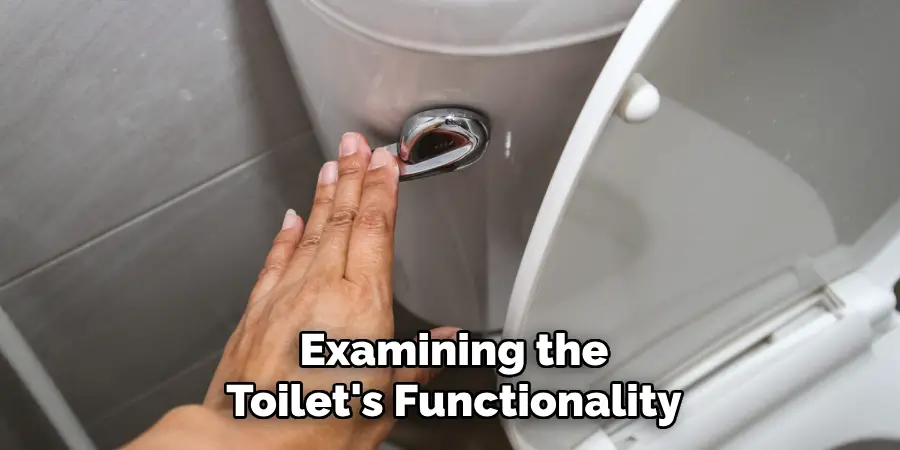
After you’ve stopped the overflow from continuing, it’s crucial to identify what caused the issue in the first place. Begin by examining the toilet’s functionality. Check if the float mechanism is operating correctly and if any debris obstructs the flush. If you suspect a clog, use your plunger to attempt to break it free. Make some initial observations about the toilet’s water levels and flush performance. If the water level is consistently high or you’re experiencing repeated clogs, it may indicate a more significant problem that needs addressing.
Step 3: Use the Plunger
Once you’ve identified a clog as a potential cause, it’s time to put your plunger to work. Start by ensuring enough water in the bowl to cover the plunger’s cup; if necessary, add a bit of water to achieve this. Place the plunger over the drain hole, ensuring a tight seal, and push down firmly to create suction. Pull up sharply to break the seal without losing the vacuum. Repeat this process several times, maintaining a steady rhythm. The goal is to dislodge the blockage with enough force to allow water to flow freely through the drain.
Step 4: Use a Toilet Auger/Snake
If the plunger has not resolved the clog, it’s time to bring in a toilet auger or snake. This tool is specifically designed to tackle more challenging blockages that a plunger alone can’t handle. Begin by carefully inserting the drill into the toilet bowl and push it gently down the drain until you feel resistance, indicating the blockage. Once you reach the clog, rotate the auger handle to break it apart or hook it. If successful, you should feel the blockage clear, allowing the drill to progress further down the drain.
Step 5: Check the Flapper Valve
If the toilet is still not functioning correctly after using the plunger and toilet auger, it’s time to inspect the flapper valve. The flapper is a rubber seal at the bottom of the tank that opens to allow water to flow into the bowl when you flush. Sometimes, the flapper can become warped, dirty, or misaligned, preventing it from creating an effective seal. To check this, lift the tank lid and flush the toilet while observing the flapper’s movement. If it doesn’t close entirely or remains open after flushing, it’s likely causing the overflow.
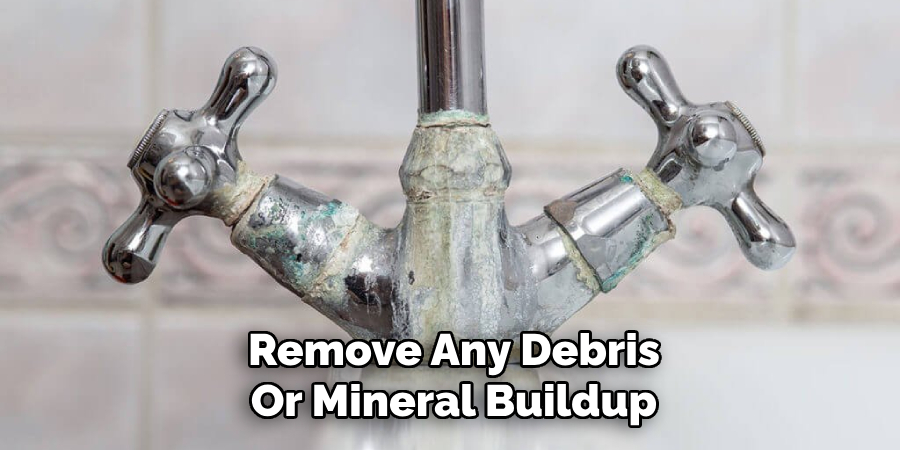
To resolve this issue, try cleaning the flapper to remove any debris or mineral buildup. If that doesn’t help, you may need to replace the flapper entirely. Installing a new flapper is usually a straightforward DIY task that can restore your toilet’s functionality and prevent further overflows.
Step 6: Examine the Fill Valve
If you’ve addressed the flapper valve and the toilet is still experiencing issues, the next step is to examine the fill valve. This component controls the water level in the tank and can sometimes malfunction, leading to overflows. Start by flushing the toilet and observing the fill valve’s operation. You should hear the water filling the tank and then stopping once it reaches the correct level. If the water continues to run after the tank is complete, it may indicate that the fill valve is faulty. To resolve this, you can adjust the height of the float mechanism or replace the fill valve altogether if necessary.
Ensure that the water supply is turned off before making any adjustments, and once you’ve completed the task, turn the water back on and check if it resolves the overflow issue. Correctly functioning fill valves are crucial to maintaining proper water levels and preventing toilet overflow problems.
Step 7: Inspect the Overflow Tube
If the issues persist after examining the fill valve, the next step is to inspect the overflow tube. This vertical tube in the toilet tank directs excess water away from the tank and into the bowl. If the overflow tube is cracked, clogged, or improperly positioned, it can lead to overflow. Begin by ensuring that the tube is not blocked by debris or mineral buildup; if it is, clean it carefully. Additionally, check the height of the overflow tube; it should be at least an inch lower than the rim of the toilet bowl. If the tube appears damaged or the water level is too high, consider replacing it to restore proper function.
Step 8: Assess the Drainage System
If the overflow issue persists after inspecting the overflow tube, it may be time to assess the overall drainage system. Start by checking for blockages beyond the toilet, such as in the sewer line or vent stack. You can do this by examining other drains in your home; if they back up or drain slowly, this suggests a more significant blockage in the system that needs professional attention. In such cases, using a drain camera can help identify the location and nature of the blockage within the pipes.
If you cannot diagnose the problem independently, it’s advisable to call a licensed plumber who can troubleshoot the issue further and safely resolve any complex drainage problems. Addressing the entire drainage system is critical to ensuring your toilet functions properly and preventing future overflow incidents.
By following these steps, you can successfully troubleshoot and resolve toilet overflow issues independently.
Conclusion
In conclusion, how to stop the toilet from overflowing requires a combination of regular maintenance and prompt troubleshooting when issues arise.
Understanding the essential components of your toilet, including the flapper valve, fill valve, and overflow tube, can help you quickly identify potential problems. Routine checks can help you catch issues before they escalate while knowing how to use tools like a plunger or toilet auger allows you to remedy clogs efficiently. If all else fails, don’t hesitate to seek professional assistance to ensure your plumbing system remains in good condition.
By taking these proactive steps, you can effectively manage your toilet’s performance and prevent overflow situations from disrupting your home.

