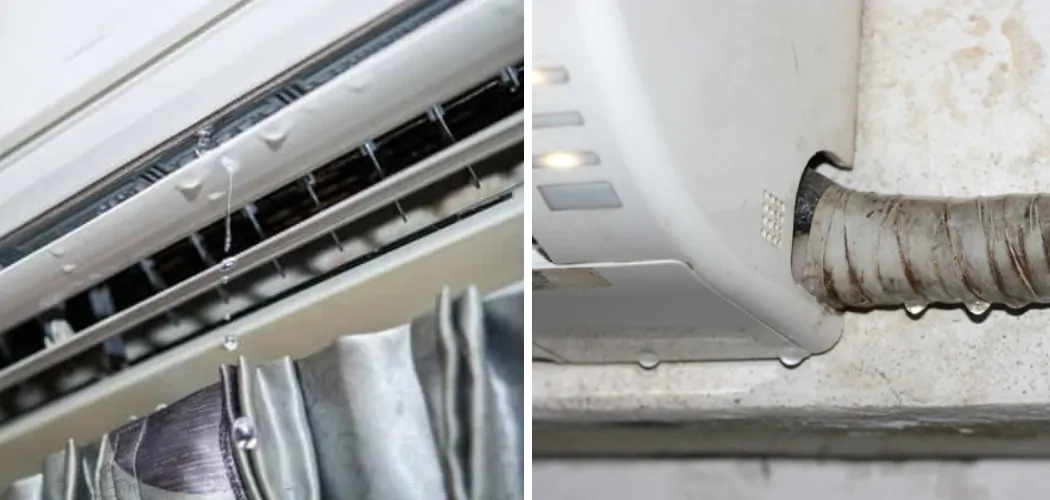
Wall air conditioners have become popular among homeowners who want to keep their indoor spaces cool during sweltering summers. But sometimes, these units may leak water and create a mess in your home. Not only is this frustrating, but it could also lead to water damage on your walls and floors.
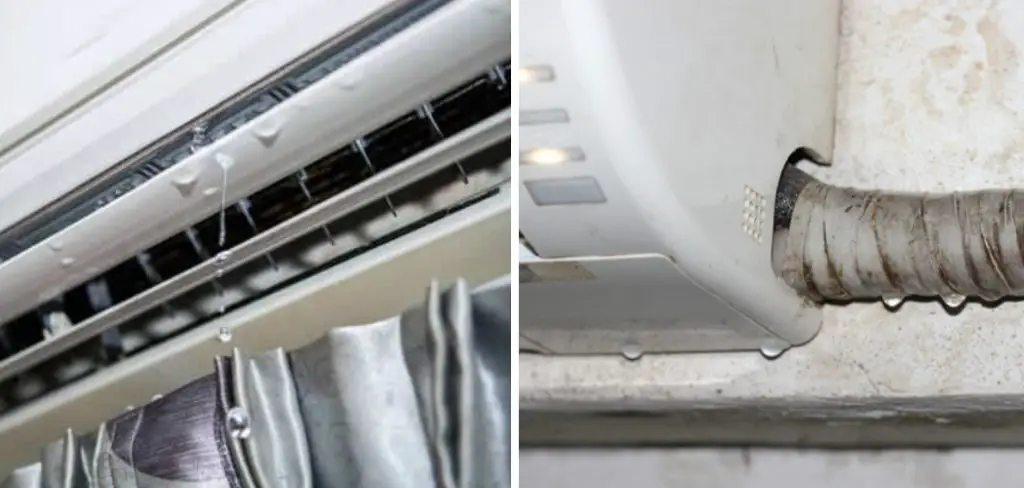
Fortunately, there are some simple steps that you can take to prevent your wall AC from leaking and keep your home comfortable and dry. In this post, we’ll discuss how to stop wall ac from leaking with some easy tips.
Can You Stop Wall AC from Leaking?
Picture this: a hot summer day, and your wall AC unit is leaking water all over your floor. Not only is this annoying, but it could also be causing damage to your home. The good news is that there are steps you can take to stop your wall AC from leaking.
First and foremost, make sure that the unit is properly installed and has a slight tilt towards the outside to help with drainage. Clean the filters regularly to prevent clogs and make sure there are no obstructions around the unit’s drain hole.
If these measures don’t work, it could be a sign of a more serious problem, and it’s best to call a professional. Don’t let a leaking AC unit ruin your summer – take action and keep your home cool and dry.
Why Should You Stop Wall AC from Leaking?
The sound of drips from a leaking air conditioning unit can be one of the most annoying things in a household. However, the impact of a leaking wall AC goes beyond just the annoyance factor. Not only does it waste energy and increase your electricity bill, but it also reduces the efficiency of your AC, leading to premature wear and tear.
Moreover, leaks can cause serious damage to the structure of your walls, causing rot and even mold growth, which can be hazardous to your health. So, if you want to save money, protect the longevity of your AC, and prevent potential health hazards, it’s time to stop wall AC from leaking.
7 Steps to Follow on How to Stop Wall AC from Leaking
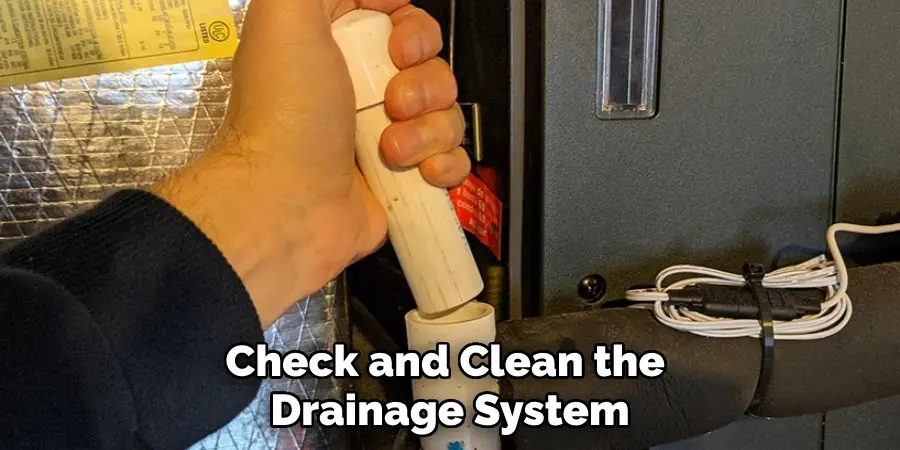
Step 1. Check the Drainage System
A clogged drainage system is one of the most common reasons for wall AC leaks. The condensation from the AC unit flows through a drainpipe or drain hose and is expelled outside. If this pipe or hose becomes clogged with dirt, debris, or algae, the water can back up into the unit and leak through the front panel. To prevent this, you must regularly check and clean the drainage system. If you see any signs of clogging, using a wet-dry vacuum or a hose to flush the pipe can help unclog it.
Step 2. Inspect the Seals Around the Unit
Another reason why your wall AC may be leaking is due to damaged or dry seals around the unit. Over time, these seals can crack or dry out, allowing water to seep into your home. To prevent this, you must inspect the unit’s seals and replace them if necessary. You can purchase new seals from your AC manufacturer or purchase them online. Simply remove the old seals, clean the area, and install the new ones correctly.
Step 3. Clean the Filter
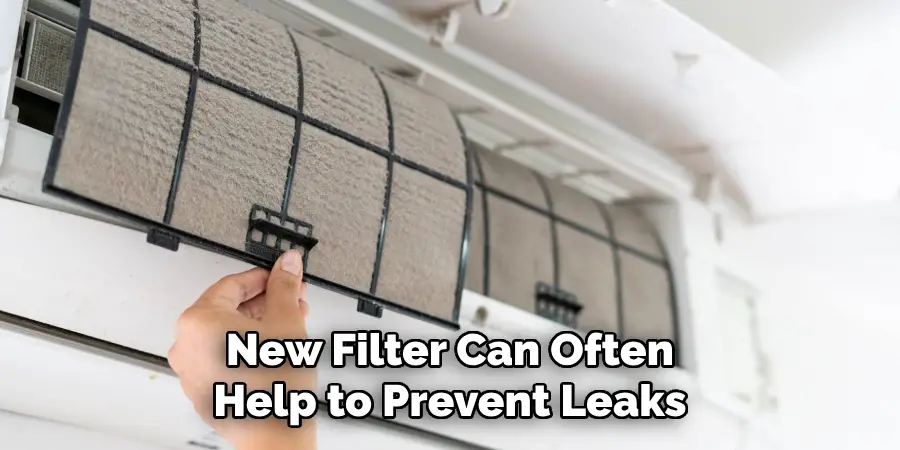
Dirty filters can also cause wall ACs to leak. When the filter becomes clogged with dirt, it restricts the airflow, causing the evaporator to freeze and melt repeatedly. This can lead to excess condensation and leakage. To prevent this, you need to clean or replace the filter regularly. Depending on your AC unit, you can either vacuum or wash the filter with soap and water. Be sure to check the manufacturer’s instructions for proper cleaning and maintenance.
Step 4. Inspect the AC Unit’s Tilt
Next, the tilt of your AC unit can also affect its ability to drain water effectively. If the unit tilts towards your home’s interior, water will pool inside and leak through the front panel. You need to raise the rear of your unit by using a leveling tool and checking the bubble. This will tilt the unit slightly backward, allowing the water to flow outwards and away from your home.
Step 5. Check the Vents and Louvers
The vents and louvers on your AC unit can also become clogged over time, causing water to build up inside the unit and leak through the front panel. To prevent this, you need to check these parts regularly and clean them as necessary. You can use a vacuum cleaner or a brush to clean the vents and louvers.
Step 6. Check for Leaks in the Hose or Tubing
The hose or tubing that carries condensation away from your AC can also become damaged over time, causing water to leak out of it. To prevent this, you need to inspect these parts regularly and replace any worn or cracked parts.
Step 7. Check for Drip Trays or Drains
Finally, you should also check for drip trays or drains that are located near the AC unit. If these are missing or clogged, water can build up and leak into your home. To prevent this, you need to make sure that there is an adequate drainage system in place and that it is free of any debris or obstructions.
That’s it! You’ve now learned how to stop wall AC from leaking. Regular maintenance and inspection are key to keeping your AC unit running smoothly.
5 Considerations Things When You Need to Stop Wall AC from Leaking
1. Check the Warranty
The first thing you should do when your wall AC starts leaking is to check the warranty. Most manufacturers offer a one-year warranty on their products, so if your unit is still under warranty, you may be able to get it repaired or replaced for free.
2. Inspect the Unit
Once you’ve checked the warranty, take a look at the unit itself to see if you can identify the source of the leak. If you see any cracks or holes in the unit, it’s likely that these are the cause of the leak.
3. Clean the Unit
If you don’t see any obvious signs of damage, the next step is to clean the unit. Wall AC units can sometimes develop leaks due to dirt and debris build-up, so giving it a good cleaning may solve the problem.
4. Replace the Filter
Another possible cause of leaks is a dirty or clogged filter. If your unit’s filter hasn’t been replaced in a while, it may be time to do so. A new filter can often help to prevent leaks by keeping dirt and debris out of the unit.
5. Call a Professional
If you’ve tried all of these things and your wall AC unit is still leaking, it’s time to call a professional. A qualified technician will be able to diagnose and fix the problem quickly and efficiently.
Benefits of Stop Wall AC from Leaking
Stop Wall AC from leaking can provide numerous benefits for your home or office. The first and most obvious is avoiding water damage. When your AC unit leaks, it can cause water stains on your walls and ceiling and, in severe cases, even mold growth. That can lead to costly repairs down the line. Aside from protecting your property, solving AC leaks can also improve indoor air quality.
When moisture is present, it can create the perfect environment for dust mites and bacteria to thrive, which can cause allergies and respiratory problems. Also, fixing an AC unit so it doesn’t leak can significantly save energy bills.
A well-functioning air conditioning system doesn’t need to work as hard to keep your space cool, which translates to lower energy consumption and costs. Don’t let a leaking AC unit inconvenience you. Take action today and reap the benefits of a dry, healthy, and energy-efficient environment.
4 Common Mistakes People Make When Trying to Stop Wall AC from Leaking
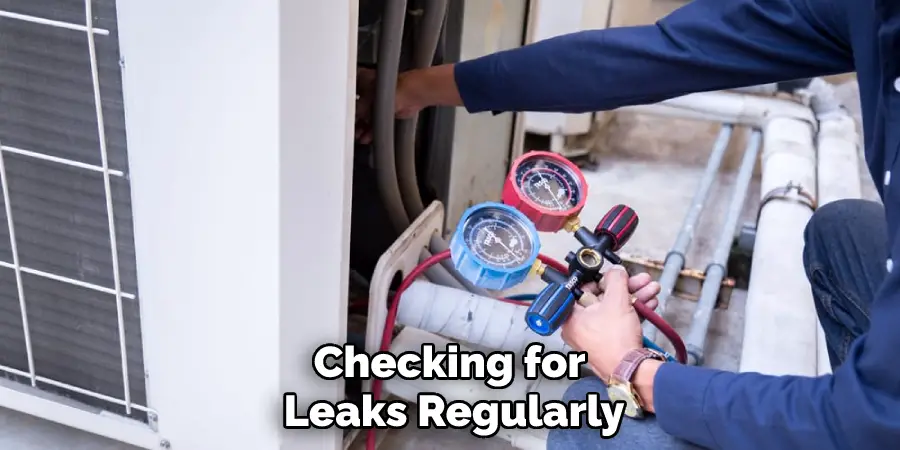
1. Not Checking for Leaks Regularly
One of the most common mistakes people make when trying to stop wall AC from leaking is not checking for leaks regularly. It’s important to check your AC unit for leaks at least once a month and more often if you live in an area with high humidity. If you don’t check for leaks regularly, you could end up with a serious problem that could be expensive to repair.
2. Ignoring Small Leaks
Another mistake people make is ignoring small leaks. While a small leak may not seem like a big deal, it can lead to a larger one if it’s not fixed. Ignoring a small leak can also cause damage to your AC unit, which will ultimately lead to a higher repair bill.
3. Not Repairing Leaks Promptly
If you do find a leak in your AC unit, it’s important to repair it promptly. The longer you wait to repair a leak, the worse it will get and the more expensive it will be to fix. Waiting too long to repair a leak can also cause damage to your AC unit, which will ultimately lead to a higher repair bill.
4. Failing to Maintain Your AC Unit
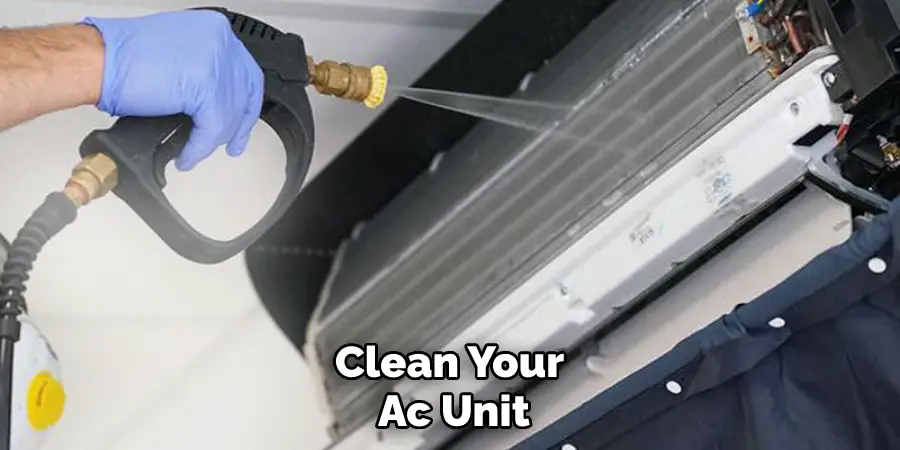
One of the most common causes of wall AC leaks is failing to maintain your AC unit. It’s important to clean your AC unit on a regular basis and change the filters frequently. Failing to do so can lead to dirt and debris build-up, which can eventually cause your AC unit to leak.
Conclusion
Follow these easy tips to prevent your wall AC from leaking and keep your home comfortable and dry during the summer. Regularly check the drainage system, seals, filters, and the tilt of your AC unit to ensure it is functioning correctly.
Remember, prevention is always better than a cure, and these easy steps will help you save money and avoid any water damage in your home. Don’t hesitate to reach out to a professional if you notice any persistent leaks or other issues with your unit! Thanks for reading our post about how to stop wall AC from leaking.

