Strapping a water heater is an essential step in ensuring safety and stability, particularly in seismic-prone areas. A properly secured water heater helps prevent damage during an earthquake or other disturbances, reducing the risk of leaks and potential hazards.
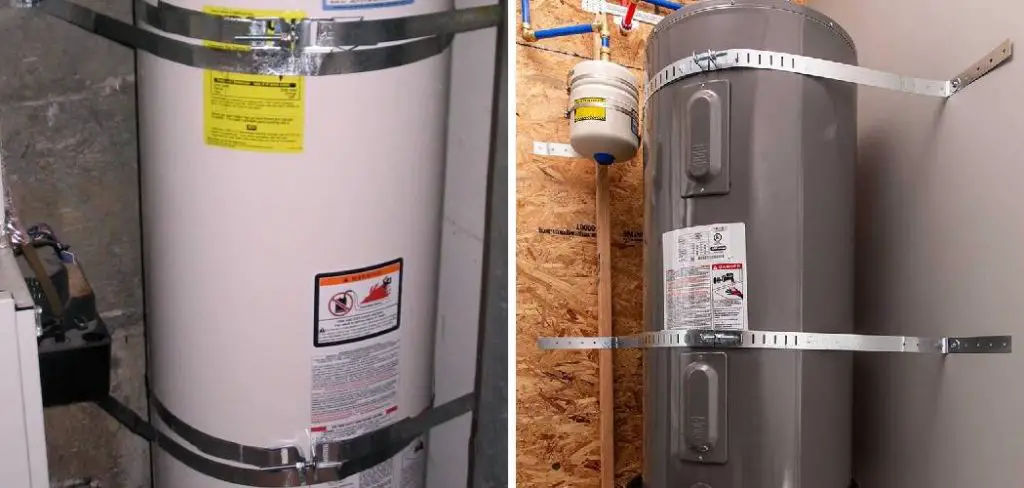
This guide on how to strap a water heater will walk you through the necessary materials, tools, and step-by-step instructions to effectively strap your water heater, keeping your home safe and compliant with local building codes. Whether you are a seasoned DIY enthusiast or a first-time homeowner, understanding this process is crucial for maintaining a secure environment.
Why Is Strapping a Water Heater Necessary?
As mentioned earlier, strapping a water heater is essential for safety and stability. In the event of an earthquake or other disturbance, an unsecured water heater can topple over, causing damage to your home and potentially harming individuals in its path. Additionally, gas or electrical connections can become damaged if the unit moves significantly.
Furthermore, many local building codes require water heaters to be securely strapped for compliance purposes. Failure to comply with these regulations may result in costly fines or even prevent you from selling your home in the future. Thus, it is vital to understand how to strap a water heater correctly.
Materials Needed
To strap a water heater effectively, you will need the following materials:
Metal Strapping:
The most commonly used material for strapping a water heater is metal. It comes in different sizes and can be purchased in rolls or pre-cut pieces. Metal strapping is durable, resistant to corrosion, and can withstand high tension, making it an ideal choice for securing a water heater.
3/8-inch Bolts:
Bolts are used to attach the metal straps to the wall or floor. They should be long enough to penetrate through the stud or concrete and secure the strap on the other side.
Washers:
Washers are necessary to distribute the pressure evenly and prevent damage to the water heater tank.
Nuts:
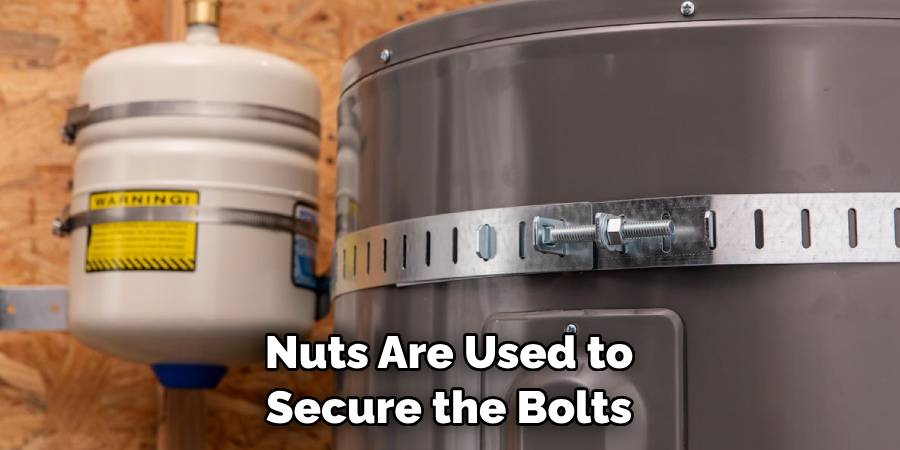
Nuts are used to secure the bolts after they have been inserted into the washers and straps.
8 Step-by-step Guidelines on How to Strap a Water Heater
Step 1: Choose the Location for Strapping
The first step in strapping a water heater is to identify the optimal location for the strapping. Ideally, the straps should be positioned approximately one-third of the way down from the top of the water heater tank and one-third of the way up from the bottom. This placement helps to balance the weight effectively and provides maximum stability.
Ensure that the selected location allows the straps to attach securely to either wall studs or a solid surface, as this will enhance the strapping’s effectiveness. Take into account any nearby plumbing or electrical connections to avoid potential damage during the installation process.
Step 2: Measure and Cut the Straps
Using a tape measure, measure the distance between the desired location of the straps and the attachment point on either side of the water heater. Add an extra inch to this measurement to account for any overlap required for securing the straps.
Once measured, cut two metal straps to this length using tin snips or heavy-duty scissors.
Step 3: Attach Bolts, Washers, and Nuts
Once you have cut the metal straps to the desired length, it’s time to attach the bolts, washers, and nuts. Begin by placing a washer onto each bolt; this helps to distribute the pressure on the tank and prevents damage.
Next, position the metal strap against the wall at the marked location and align it with the holes pre-drilled into the wall studs or other secure mounting surfaces. Insert the bolts through the holes in the metal strap, ensuring they penetrate into the studs or solid surface behind.
After the bolts are inserted, place a washer on the other side of the strap, followed by a nut. Tighten the nut securely with a wrench, ensuring the strap is firmly in place, but be careful not to overtighten and risk damaging the strap or tank. Repeat this process for the second strap on the other side of the water heater.
Step 4: Place the Straps on the Water Heater
With the metal straps securely attached to the wall or floor, it’s time to position them onto the water heater. Begin by threading one end of a metal strap through the slot on top of your water heater and pull it tightly against the tank. Then loop it around and bring it back towards its starting point.
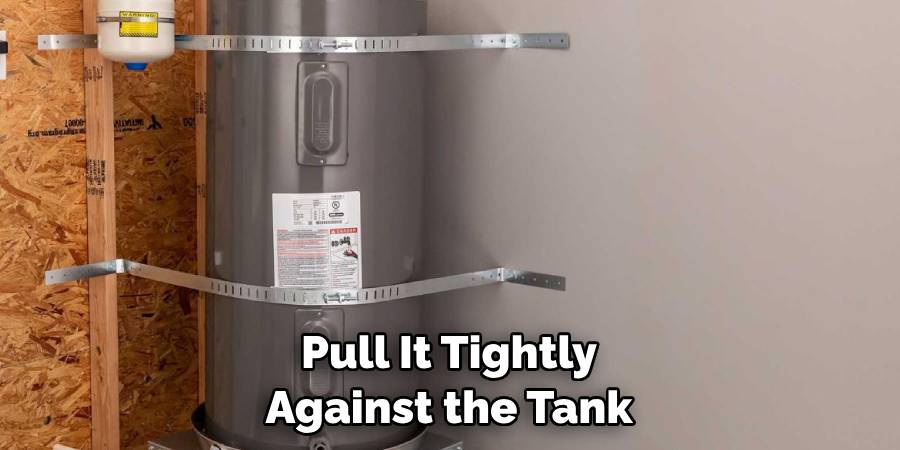
Repeat this process with the second strap, ensuring both straps are pulled taut against either side of the water heater.
Step 5: Secure Both Ends of Each Strap
To complete the strapping process, it is important to secure both ends of each strap effectively. Begin by taking the loose end of the first strap that you’ve threaded through the top of the water heater.
Pull it securely to eliminate any slack, ensuring the strap is snug against the tank. Now, use the remaining bolt, washer, and nut to fasten this end of the strap to the wall or floor. Insert the bolt through the strap and into the pre-drilled hole in the wall stud or secure mounting surface, then place a washer on the back side of the strap, followed by the nut.
Tighten everything down securely with a wrench, being cautious not to over-tighten. Repeat this same process for the second strap on the opposite side of the water heater, ensuring both straps are taut and properly secured. This will provide the necessary stability and support, keeping your water heater safe during any potential disturbances.
Step 6: Inspect the Straps
After securing both ends of each strap, it’s crucial to conduct a thorough inspection to ensure everything is properly installed. Begin by visually examining the straps for any signs of wear, bending, or incorrect alignment.
Check that the straps are taut and firmly holding the water heater in place without any visible slack. Next, gently shake the water heater to confirm that it remains stable and does not shift. Additionally, ensure that all bolts and nuts are tightly fastened, as loose connections could compromise the strapping’s effectiveness.
If any issues are identified during the inspection, address them immediately by readjusting or reinforcing the straps as needed. This final step is essential for guaranteeing the safety and security of your water heater installation.
Step 7: Consider Additional Support
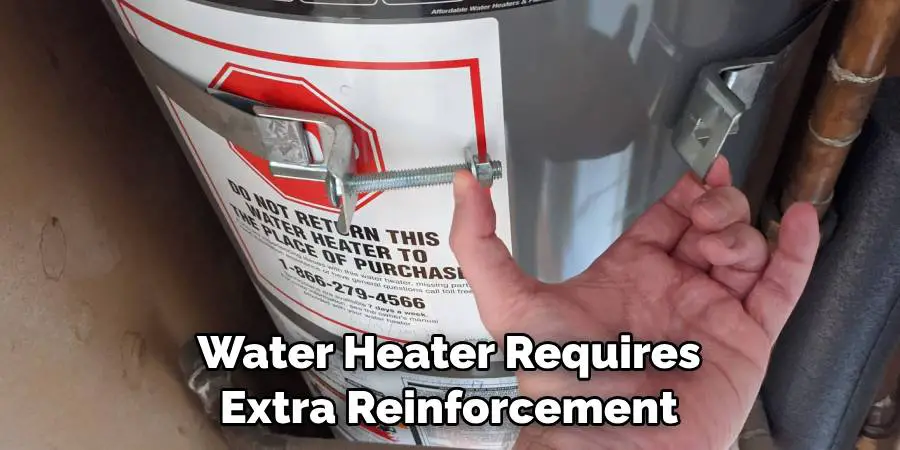
While metal strapping is generally sufficient for securing most water heaters, you may want to consider additional support for larger or heavier units. In these cases, it’s recommended to install a secondary support system using metal crossbars or braces.
These can be attached to the wall studs and then secured around the middle of the tank with bolts and washers, providing extra reinforcement against potential movement.
Step 8: Consult a Professional
If you are unsure about how to properly strap your water heater or encounter any challenges during the installation process, it is always best to consult a professional plumber or contractor. They have the necessary knowledge and experience to ensure that your water heater is safely and securely strapped, giving you peace of mind.
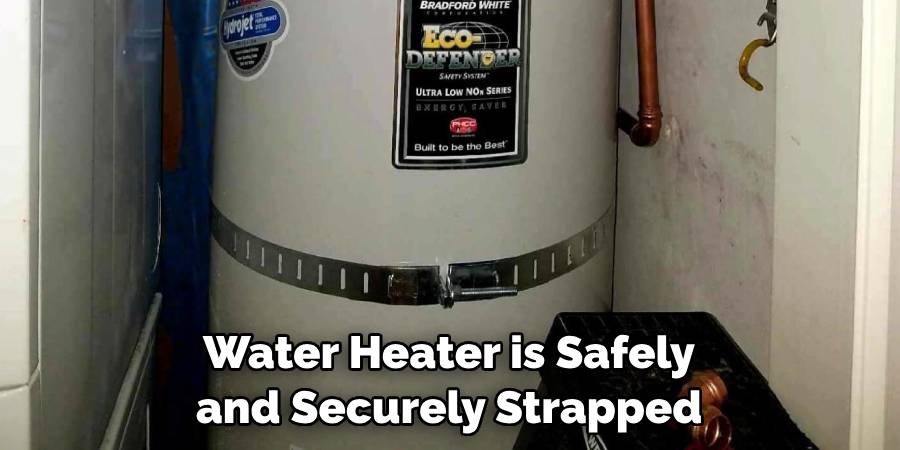
With these steps on how to strap a water heater, you can confidently strap your water heater to protect it from potential damage and ensure its longevity in your home. Remember to regularly inspect the straps for any signs of wear or loosening and make any necessary adjustments promptly to maintain their effectiveness. By following these guidelines and consulting a professional when needed, you can keep your water heater functioning properly for years to come.
Frequently Asked Questions
Q: Do I Need to Strap My Water Heater if It’s Located in the Garage or Basement?
A: Yes, it is recommended to strap your water heater regardless of whether it is located in the garage or basement. While these areas may seem less likely to experience earthquakes, they are still vulnerable to other types of disturbances like strong winds or even accidental bumps from vehicles or storage items. Properly strapping your water heater can prevent damage to both the unit and your home.
Q: Can I Use Nylon Straps Instead of Metal Straps?
A: We recommend using metal straps for maximum durability and strength. Nylon straps may stretch over time and may not hold up as well against potential disturbances. It’s best to consult a professional for their recommendation on the best type of strap for your specific water heater model and location.
Q: Is It Necessary to Install Additional Support for My Water Heater?
A: It depends on the size and weight of your water heater. If it is a larger or heavier unit, it may benefit from additional support in the form of metal crossbars or braces. Consult a professional for their recommendation on whether or not your specific water heater requires extra reinforcement.
Conclusion
In conclusion, properly strapping your water heater is a crucial step in ensuring its stability and safety within your home. By following the outlined steps on how to strap a water heater, from securing the straps to conducting a thorough inspection, you can effectively protect your unit from potential damage caused by various disturbances. Regular maintenance, including periodic checks for any signs of wear or loosening, is essential for maintaining the effectiveness of the straps.
Should you have any doubts or encounter challenges during installation, seeking professional assistance is always advised. Taking these precautions will help extend the lifespan of your water heater and provide peace of mind for you and your family.
