Removing a faucet may seem like a daunting task, but with the right tools and a clear approach, it can be straightforward. Whether you’re replacing an old faucet or performing maintenance, understanding the steps involved will save time and effort. This guide will walk you through the process of how to take a faucet off, ensuring you can complete the task efficiently and with confidence.
Common Types of Faucets
Before removing a faucet, it’s helpful to understand the type of faucet you are working with. Faucets come in a variety of designs, each with unique features and mechanisms. The most common types include:
Compression Faucets
These are the most traditional type and operate using two handles—one controlling hot water and the other cold. They function by tightening or loosening a washer to regulate water flow.
Ball Faucets
Typically found in kitchens, ball faucets are identified by their single handle that moves over a rounded ball-shaped cap. Inside, a system of seals, springs, and a rotating ball controls the water flow and temperature.
Cartridge Faucets
Recognizable by their smooth handle operation, cartridge faucets use a cartridge mechanism that slides up and down to control water flow. They can have one or two handles, commonly found in bathrooms.
Disc Faucets
These feature a modern style and advanced technology. With a single handle, they use ceramic discs within the valve to mix hot and cold water, offering durability and minimal maintenance issues.
Understanding the type of faucet you are dealing with will help you determine the tools and steps needed for removal.
Tools and Supplies You’ll Need
Before you begin the process of removing a faucet, make sure you have the following tools and supplies on hand for a smooth and efficient experience:
- Adjustable Wrench – To loosen and tighten bolts and connections.
- Basin Wrench – Ideal for reaching tight spaces under the sink.
- Screwdrivers – Both flathead and Phillips for removing screws.
- Bucket or Bowl – To catch any excess water that may leak during the process.
- Plumber’s Tape – Useful for sealing threads when reassembling components.
- Cleaning Supplies – Such as rags and mild detergent to clean the area once the faucet is removed.
- Replacement Parts (if needed) – Ensure you have new washers, cartridges, or other necessary components if you’re replacing or repairing parts.
Having all these tools ready will help make the faucet removal straightforward and reduce the risk of any unexpected issues or delays.
10 Methods How to Take a Faucet off
1. Turn Off the Water Supply First
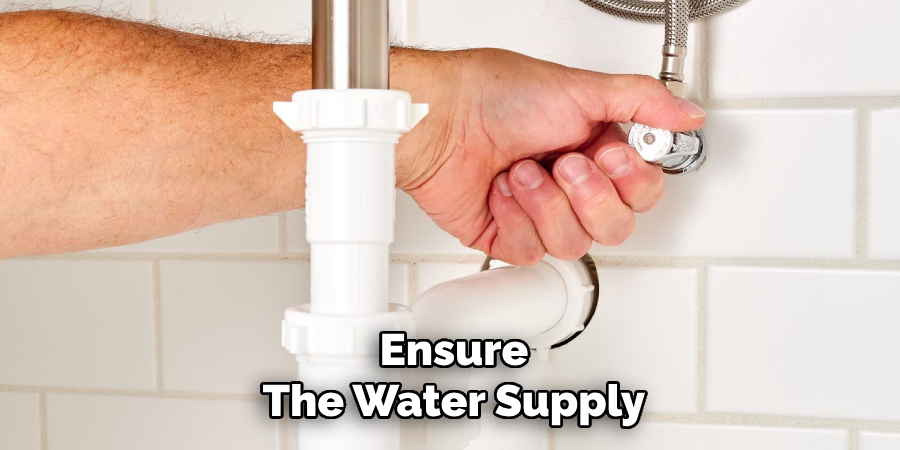
Before doing anything else, ensure the water supply to the faucet is completely shut off. Locate the shut-off valves under the sink—there should be one for hot and one for cold water. Turn both clockwise until they are fully closed. Open the faucet to relieve any pressure and to make sure no water continues to flow.
This simple but essential step prevents flooding, soaking cabinets, and other water-related accidents during removal. If your shut-off valves are old or stuck, use gentle pressure with pliers, being cautious not to break the stems.
2. Disconnect the Supply Lines
Once the water is off, the next logical step is disconnecting the water supply lines that feed the faucet. Use an adjustable wrench or basin wrench to loosen the nuts that connect the supply lines to the faucet’s underside.
Have a towel or small bucket ready to catch any remaining water that drips out during disconnection. If the nuts are corroded or stubborn, a few drops of penetrating oil can help loosen them. Remember to label or note which line is hot and which is cold to avoid confusion during reinstallation.
3. Clear Out the Sink Cabinet for Workspace
To avoid frustration and discomfort, clear the area under the sink before beginning any removal work. Move out cleaning supplies, trash bins, and anything else stored beneath.
Then place a mat or folded towel on the floor to kneel on. Working in cramped spaces is often the hardest part of faucet removal, so making room for yourself improves safety and efficiency. Use a flashlight or headlamp to illuminate the tight quarters and ensure better visibility of fasteners and hose connections.
4. Use a Basin Wrench for Tight Spaces
A basin wrench is an essential tool for removing faucets, especially those mounted in tight spots with hard-to-reach nuts. It’s specifically designed with a long handle and swiveling jaw to loosen the mounting nuts securing the faucet body to the sink or countertop.
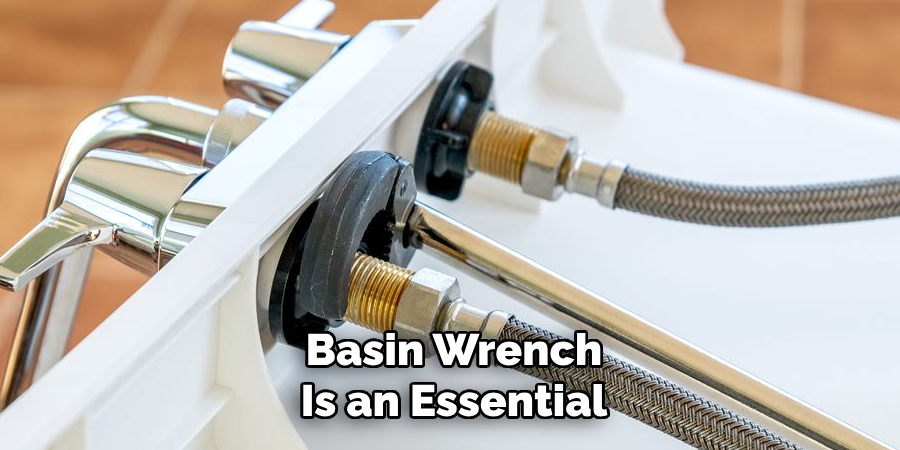
Position the wrench’s jaws over the nut and twist counterclockwise to loosen. This is particularly effective for older or rusted faucets where manual grip tools won’t fit.
5. Remove Mounting Nuts and Washers
Once the supply lines are disconnected and you’ve accessed the fasteners under the sink, remove the mounting nuts and washers. These secure the faucet body to the sink or countertop.
They may be plastic, metal, or brass. If they’re stuck or coated with grime, try spraying them with penetrating lubricant and letting it sit for a few minutes before attempting removal. As you detach these pieces, keep them in a safe place in case you need them for reference or future installation.
6. Detach Faucet from the Top
After the nuts and washers are removed, go back to the top of the sink and gently lift the faucet from the mounting holes. Sometimes, old faucets are sealed with plumber’s putty or silicone caulk, which can create a bond over time.
Use a plastic scraper or putty knife to carefully break this seal. Avoid using metal tools that could scratch porcelain or stainless steel. Once the seal is broken, the faucet should lift straight out.
7. Clean the Sink or Countertop Surface
After removing the faucet, you’ll likely find grime, mineral buildup, or old putty around the base. Before installing a new faucet or proceeding with repairs, take the time to clean this area thoroughly.
Use a non-abrasive cleaner or a mix of vinegar and baking soda to break down gunk and residue. This step ensures a clean, level surface for reseating a new faucet and gives your sink a refreshed appearance.
8. Remove Additional Components (If Needed)
Depending on your faucet style, there may be additional parts such as sprayer hoses, soap dispensers, or escutcheon plates that need removal. These are usually secured with screws or nuts similar to the main faucet assembly. Disconnect them using the appropriate tool and clean around these areas as well.
If your faucet has an integrated sprayer hose, trace it to where it connects under the sink and disconnect it as part of the overall removal process.
9. Address Corrosion or Stuck Parts
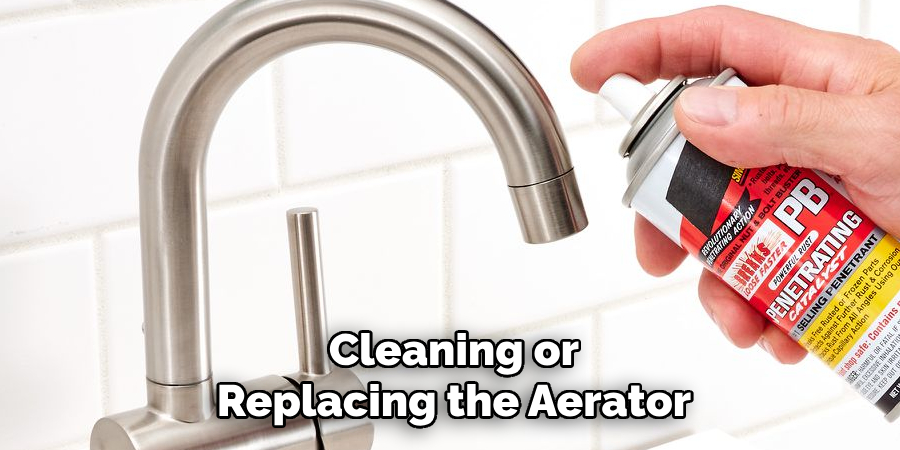
If you’re working with an old faucet, corrosion may prevent the components from loosening easily. Don’t force them aggressively, as this could damage surrounding plumbing. Instead, apply penetrating oil like WD-40 or PB Blaster to stuck nuts and give it time to work into the threads.
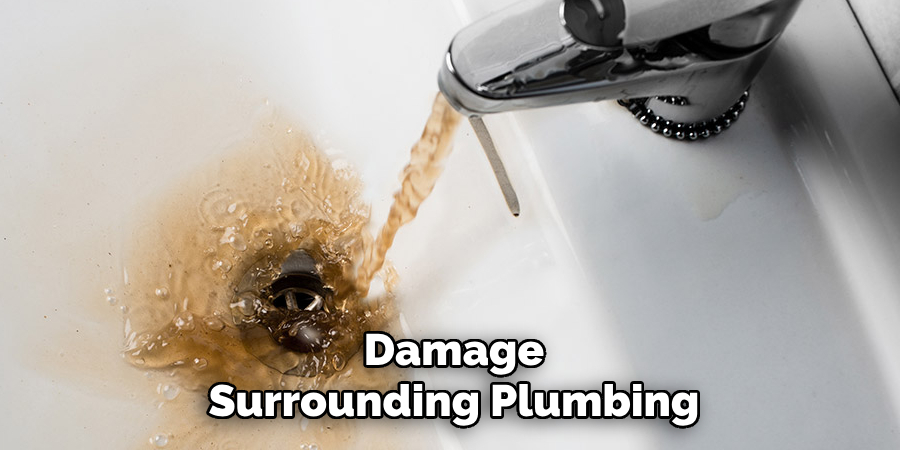
Tapping gently with a rubber mallet can also help break the seal without damaging parts. If all else fails, use a hacksaw or oscillating tool to cut through rusted fasteners—just ensure no pipes or important surfaces are nearby.
10. Consult Manufacturer Instructions for Specialty Faucets
Some designer or brand-specific faucets have unique installation and removal processes. Integrated systems or concealed mounting brackets may require a proprietary tool or specific technique. If you suspect your faucet falls into this category, consult the manufacturer’s manual or online resources before proceeding.
Most major faucet brands offer downloadable guides or videos that explain how to remove their products without damage. This can save you time and prevent mistakes, especially for modern faucets with hidden fasteners or proprietary clips.
Maintenance and Upkeep
Proper maintenance and regular upkeep of your faucet can significantly extend its lifespan and ensure optimal performance. Start by routinely cleaning the faucet with mild soap and warm water to remove mineral deposits, dirt, and grime. Avoid harsh cleaners or abrasive materials that can damage the finish.
For faucets in areas with hard water, consider using a vinegar solution to dissolve stubborn lime scale buildup. Periodically check for leaks or drips and replace worn-out washers or seals as needed to avoid water waste. Additionally, cleaning or replacing the aerator every few months can help maintain steady water flow and improve efficiency. By incorporating these simple practices into your routine, you can keep your faucet in excellent condition for years to come.
Conclusion
Taking off a faucet isn’t just about using muscle—it’s about understanding the configuration, applying the right tools, and working methodically. With these ten methods, you’re equipped to tackle virtually any faucet removal, whether you’re upgrading your fixtures, dealing with leaks, or preparing for a full sink replacement.
Always work with care, especially in tight spaces, and don’t hesitate to use protective materials to prevent scratching finishes. Thanks for reading our blog post on how to take a faucet off! We hope you found it helpful and informative.

