A faulty faucet cartridge can cause a variety of issues, from drips and leaks to problems with water pressure and temperature control. Identifying whether the cartridge is the source of your faucet troubles is crucial for maintaining your plumbing system and avoiding more significant water damage.
By understanding the signs of a bad faucet cartridge, you can quickly address the problem and ensure your faucet operates smoothly and efficiently. In this blogpost on how to tell if a faucet cartridge is bad, we’ll discuss the common symptoms of a faulty faucet cartridge and how to troubleshoot them.
What is a Faucet Cartridge?
Before we dive into identifying a bad faucet cartridge, let’s first understand what it is and how it works. A faucet cartridge is a small cylinder-shaped valve that controls the flow of water in your faucet. It sits inside the handle and connects to the spout, allowing you to turn on or off water and adjust temperature and pressure.
There are two types of faucet cartridges: compression cartridges and ceramic disk cartridges. Compression cartridges use rubber washers to seal the water flow, while ceramic disk cartridges use ceramic plates to control the flow. Both types can malfunction, leading to issues with your faucet.
Common Signs of a Bad Faucet Cartridge
Dripping or Leaking Faucet
One of the most common signs of a bad faucet cartridge is a dripping or leaking faucet. If you notice water continuing to drip from the spout even after the faucet has been turned off, the cartridge could be worn out or damaged. This issue typically arises because the seals inside the cartridge are no longer effectively containing the water flow, leading to continuous leakage. Dripping faucets not only wastes water but can also lead to higher utility bills and potential water damage over time. To address this problem, you may need to replace the faulty cartridge to restore proper function and prevent further leaks.
Low Water Pressure
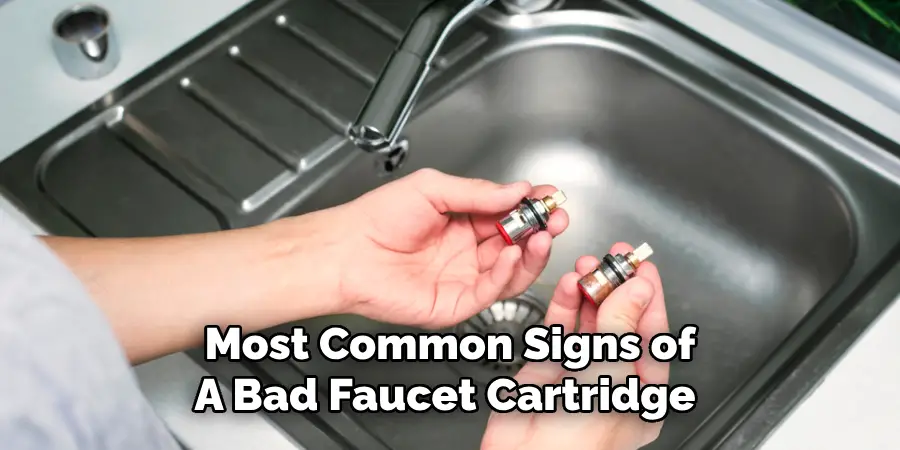
Another sign of a bad faucet cartridge is low water pressure. If you turn on your faucet and notice that the water is only trickling out, it could be due to a faulty cartridge. Over time, buildup such as mineral deposits, can clog the small openings in the cartridge, limiting the flow of water. Cleaning or replacing the cartridge should restore proper water pressure.
Inconsistent Water Temperature
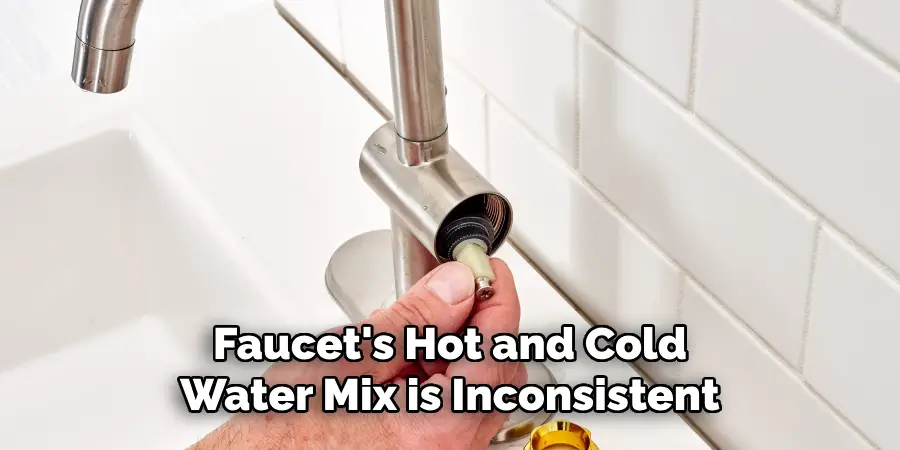
If your faucet’s hot and cold water mix is inconsistent, this could also indicate a problem with the faucet cartridge. A malfunctioning cartridge may not be able to properly regulate the temperature of the water flowing through it, causing fluctuations from hot to cold. This issue can be frustrating when trying to find just the right temperature for washing dishes or taking a shower. Replacing the faulty cartridge can help restore consistent water temperature control.
11 Step-by-step Guides on How to Tell if a Faucet Cartridge is Bad
Step 1: Turn Off the Water Supply
First, you’ll need to turn off the water supply to your faucet by closing the shut-off valves under the sink. This will prevent any water from flowing while you work on the cartridge. The shut-off valves are typically located on the pipes leading to the faucet. You may need to use pliers to turn them. It’s also a good idea to close the drain stopper in your sink to prevent any small parts from falling down the drain.
Step 2: Remove the Faucet Handle
Next, you’ll need to remove the faucet handle. This can usually be done by unscrewing a small screw at the base of the handle with a screwdriver or an Allen wrench. You may also need to use a handle puller if the handle is stuck. Although it may vary depending on the faucet model, most handles can be removed by lifting them straight up.
Step 3: Remove the Cartridge Retaining Clip
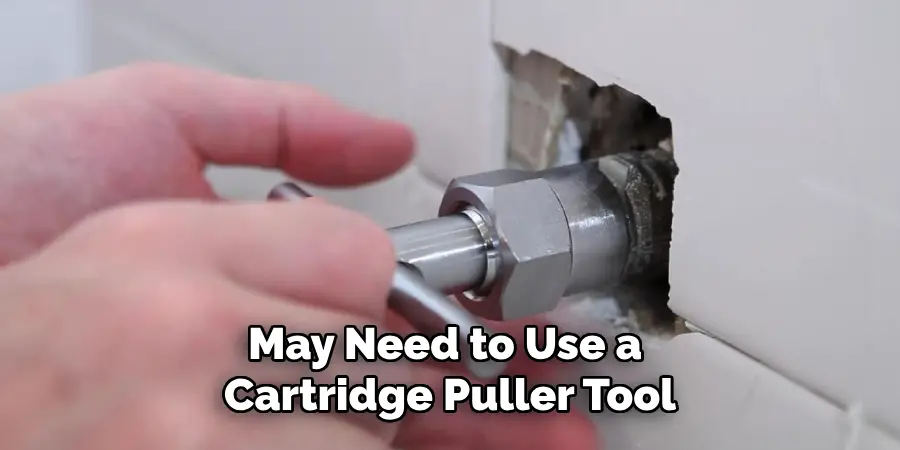
Once you’ve removed the handle, you’ll see a cartridge retaining clip or nut holding the cartridge in place. Use pliers to remove this clip or nut and set it aside. It’s crucial to remember the order of any parts you remove so that you can reassemble them correctly later. You may also need to use a cartridge puller if the cartridge is stuck in place.
Step 4: Pull Out the Cartridge
With the retaining clip or nut removed, gently pull out the cartridge from its housing using pliers. If it’s difficult to remove, you may need to use a cartridge puller tool specifically designed for this purpose. Be careful not to damage any other parts of your faucet during this step. It’s also helpful to take a photo of the cartridge before removing it so that you can compare it to the new one when replacing it.
Step 5: Inspect the Cartridge
Once you’ve removed the cartridge, inspect it for any signs of wear or damage. Look for cracks, tears, or mineral buildup that may be affecting its function. If you notice any issues, it’s a clear indicator that the cartridge needs to be replaced. There may also be a model number or brand name on the cartridge, which can help you find a suitable replacement.
Step 6: Check for Proper Water Flow
While the cartridge is out, turn on the water supply and see if water flows freely through the housing where the cartridge sits. If there are any obstructions or clogs in this area, it could also affect your faucet’s performance and indicate a faulty cartridge. You can use a small brush or toothbrush to clean any buildup in this area before reassembling.
Step 7: Replace with New Cartridge
If your inspection reveals that the cartridge is indeed faulty, it’s time to replace it with a new one. Make sure to purchase the correct type of cartridge for your faucet model and follow the manufacturer’s instructions for proper installation. It’s always a good idea to read the instructions beforehand, as some cartridges may require specific steps for replacement.
Step 8: Reassemble the Faucet
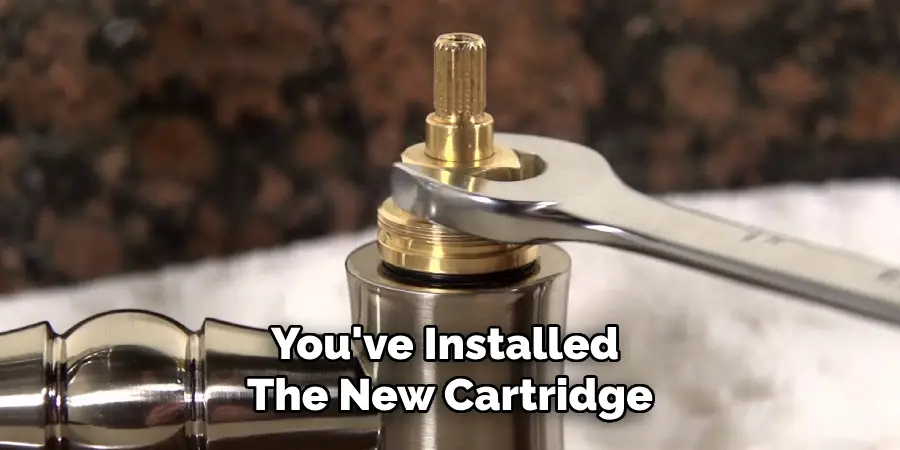
Once you’ve installed the new cartridge, carefully reassemble the faucet in reverse order. Remember to put back any retaining clips or nuts and secure them tightly. Double-check that all parts are in their correct positions before turning on the water supply again. But before doing so, it’s also a good idea to flush out the faucet by running water for a few minutes to remove any debris or air from the lines.
Step 9: Test for Leaks
With everything reassembled, turn on the water supply and test your faucet for any leaks. If there are no longer drips or leaks from the spout, then your problem has been solved! However, if you still notice leaks, it may indicate another issue with your faucet that will need to be addressed. The best course of action in this case would be to contact a professional plumber for further assistance. It’s always better to be safe than sorry.
Step 10: Clean and Maintain
To prevent future issues with your faucet cartridge, make sure to regularly clean and maintain it. This includes removing any buildup or debris from the cartridge and its housing. You can also use vinegar or a specialized cleaner to remove mineral deposits. You can also opt to install a water softener if you have hard water, which can prevent mineral buildup in your faucet and other plumbing fixtures.
Step 11: Seek Professional Help
If you are unsure about how to proceed or if you encounter any complications during the process, it’s best to seek professional help from a plumber. They have the knowledge and tools necessary to safely and effectively replace your faucet cartridge. It may cost a bit more, but it’s better than causing further damage to your faucet or creating a bigger problem for yourself. Plus, you’ll have peace of mind knowing that the job has been done correctly.
Following these 11 steps on how to tell if a faucet cartridge is bad can help you determine if your faucet cartridge is the source of any issues with your faucet and guide you through the process of replacing it. Remember to always exercise caution and follow instructions carefully to prevent further damage to your faucet. With proper maintenance, your new cartridge should provide years of smooth water flow without any problems. So, keep an eye out for signs of a bad cartridge and address them promptly to avoid potential water waste and damage in the future.
Troubleshooting and Replacing a Faucet Cartridge
If you’ve identified any of these signs in your faucet, it’s time to troubleshoot and replace the cartridge if necessary. Start by turning off the water supply to your faucet before disassembling the handle and removing the old cartridge. Inspect the cartridge for any visible damage or buildup and clean or replace it as needed.
It’s important to note that different types and models of faucets may use different cartridges, so make sure to purchase the correct replacement based on your specific faucet model. Additionally, if you’re not comfortable with DIY plumbing projects, it’s best to consult a professional plumber for assistance with replacing the cartridge.
Regular Maintenance for Your Faucet Cartridge
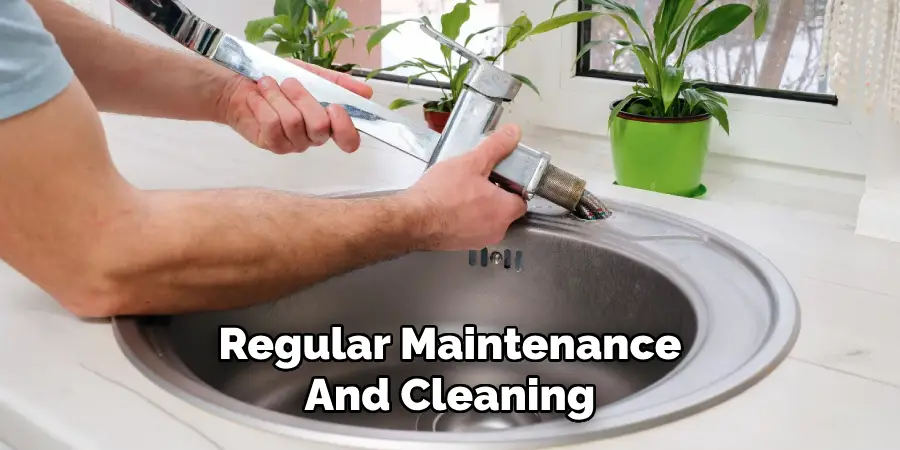
To prevent issues with your faucet cartridge, it’s essential to perform regular maintenance and cleaning. This includes checking for any visible damage or buildup on the cartridge, as well as regularly cleaning with vinegar and water solution to remove any mineral deposits.
In conclusion, a bad faucet cartridge can cause various problems with your faucet’s functionality, but by knowing the signs and how to troubleshoot and replace it, you can keep your plumbing system in top shape. Remember to perform regular maintenance on your faucet cartridge to prevent future issues, and don’t hesitate to seek professional help if needed. So keep an eye out for these signs mentioned above and take prompt action to ensure your faucet continues to function correctly! Happy plumbing.
Additional Maintenance Tips
Beyond regularly cleaning your faucet cartridge, there are other maintenance tips you can follow to prolong its lifespan and prevent malfunctions. These include:
- Avoid using harsh chemicals to clean your faucet, as they can damage the cartridge and other components.
- Tighten any loose screws or fittings on your faucet regularly to prevent wear and tear on the cartridge.
- Use a wrench or pliers instead of excessive force when turning off or adjusting your faucet, as this can also cause damage to the cartridge.
By following these additional maintenance tips on how to tell if a faucet cartridge is bad, you can help ensure your faucet cartridge lasts longer and functions properly. So remember to take care of your plumbing system by maintaining your faucet cartridge, and enjoy a smoothly running faucet for years to come!
Environmental Considerations
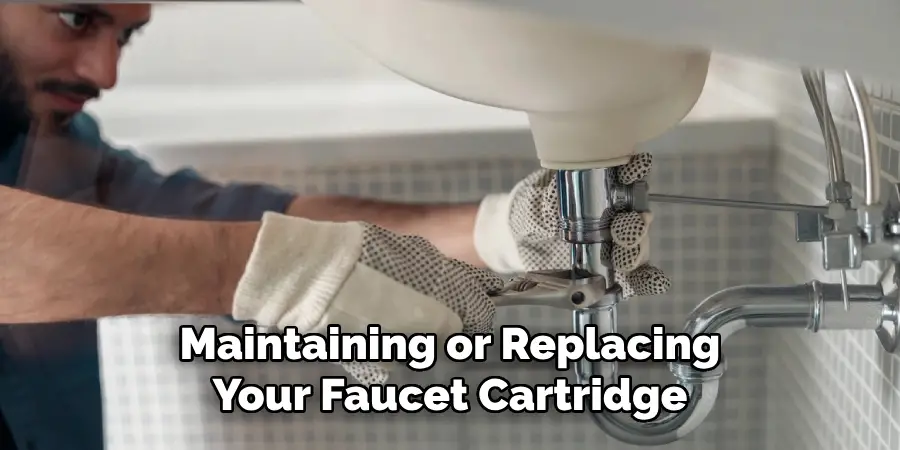
When maintaining or replacing your faucet cartridge, it’s important to consider the environmental impact of your actions. Proper disposal of old cartridges is crucial to minimize landfill waste. Many cartridges are made of materials that can be recycled, so check with your local recycling facility for options. Additionally, when purchasing new cartridges, look for products that are environmentally friendly and made from sustainable materials.
Using a water-efficient faucet cartridge can also significantly reduce water wastage, contributing to conservation efforts. Opt for cartridges that are designed to regulate water flow effectively, minimizing the amount of water used without compromising performance. Implementing these eco-friendly practices not only helps preserve our natural resources but also can reduce your water bill, detailing a win-win scenario for both the environment and your budget.
Finally, consider the broader implications of your plumbing maintenance. Reducing chemical use and selecting eco-friendly cleaning products can prevent harmful substances from entering the water system. By making these environmentally conscious choices, you are ensuring the sustainability and health of your local ecosystem.
When to Seek Professional Help?
While replacing a faucet cartridge can be a simple DIY project, there are instances where it’s best to seek professional help. These include:
- Suppose the cartridge is difficult to remove or install due to corrosion, rusting, or other complications. A plumber will have the specialized tools and experience necessary to handle these situations safely.
- If you have a complicated or unfamiliar faucet model that requires special knowledge or expertise to replace the cartridge correctly.
- If you’re uncomfortable with performing plumbing tasks and want to avoid any potential risks of causing further damage.
- If you’ve already attempted to troubleshoot or replace the cartridge on your own but have not been successful.
In these situations, it’s best to consult a professional plumber who can efficiently and effectively address any issues with your faucet cartridge. While it may require an additional cost, it can save you time, stress, and potential damage in the long run.
Frequently Asked Questions
Q: How Long Should a Faucet Cartridge Last?
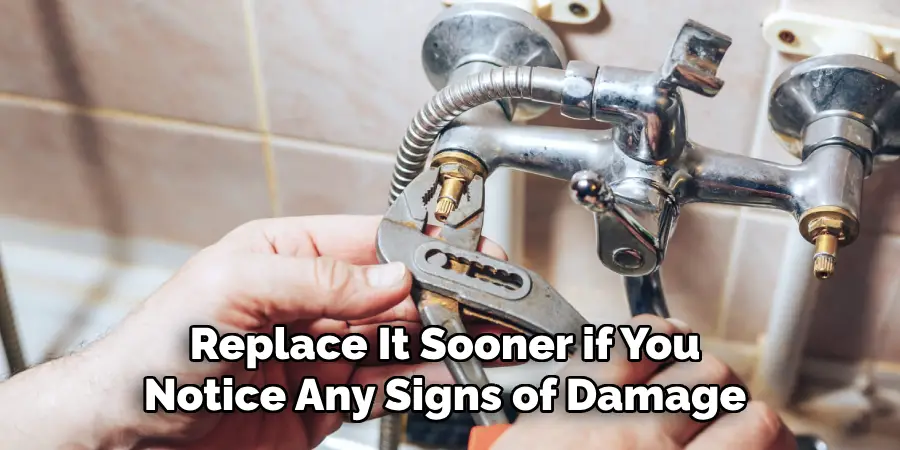
A: The lifespan of a faucet cartridge can vary depending on usage, water quality, and maintenance. On average, a good quality faucet cartridge can last anywhere from 5-10 years before needing replacement. You may need to replace it sooner if you notice any signs of damage or malfunction.
Q: Can a Bad Faucet Cartridge Cause Water to Be Discolored?
A: Yes, a bad faucet cartridge can cause your water to be discolored due to buildup or corrosion inside the cartridge. It’s essential to promptly address this issue as it can also impact the quality of your drinking water.
Q: Is It Possible to Repair a Bad Faucet Cartridge Instead of Replacing It?
A: In some cases, minor issues with a faucet cartridge can be repaired by cleaning or replacing certain components. However, if the damage is extensive or the cartridge is worn out, it’s best to replace it with a new one for optimal functionality.
Q: Will Replacing My Faucet Cartridge Be Costly?
A: The cost of a new faucet cartridge can vary depending on the brand and model of your faucet. However, it is generally an affordable and straightforward fix compared to potential water damage or high utility bills caused by a faulty cartridge. So don’t hesitate to replace a bad faucet cartridge when needed to save yourself from bigger expenses in the long run.
Conclusion
In this blog post on how to tell if a faucet cartridge is bad, we discussed how a faulty faucet cartridge could lead to various problems with your faucet’s functionality and the common signs to look out for. We also covered how to troubleshoot and replace a bad cartridge, as well as additional maintenance tips to keep your faucet cartridge in good condition.
Regularly maintaining your faucet cartridge can help you avoid costly repairs or replacements in the future, so make sure to incorporate these tips into your household maintenance routine. Remember, if you’re ever unsure or uncomfortable with DIY plumbing projects, it’s always best to seek professional help for proper and safe handling of your faucet cartridge. With these tips in mind, you can now confidently identify and handle any issues with your faucet cartridge. Happy plumbing!

