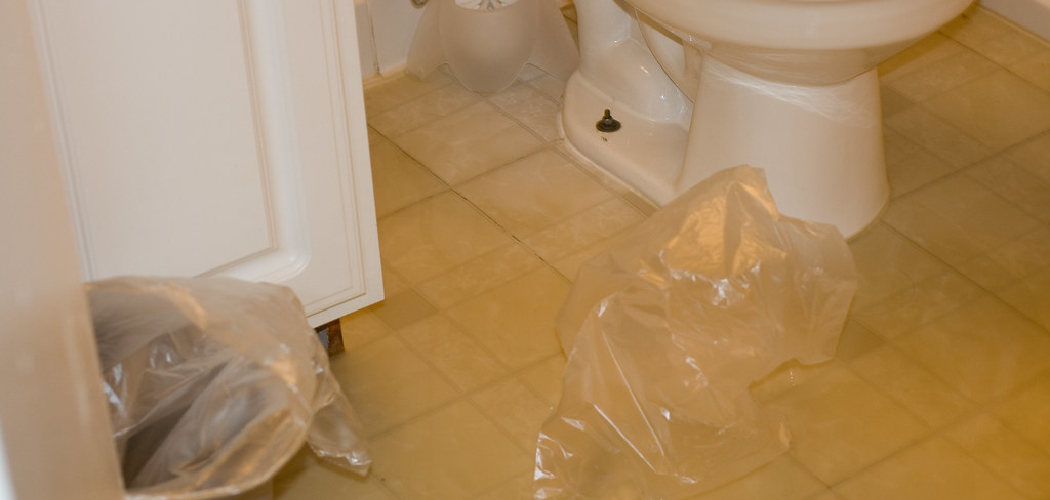
Are you worried about a possible toilet leak under your tiles? Toilet leaks are a common household issue that can damage floors and lead to other problems if left unchecked.
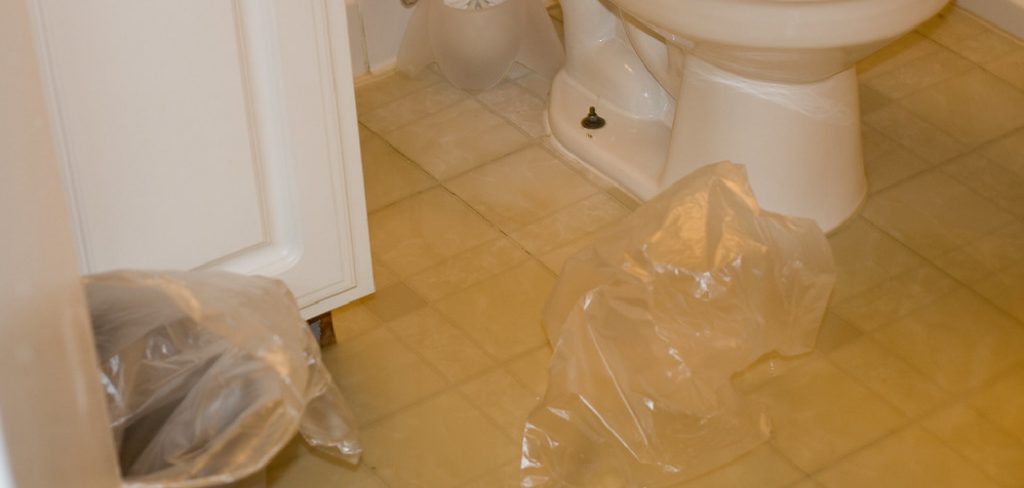
Detecting a leak from your toilet, mainly when hidden beneath tile flooring, can be a challenging yet crucial for maintaining your home. Undetected leaks can lead to significant water damage, mold growth, and costly repairs. The signs of a leak may be subtle, requiring vigilant observation and inspection. Common indicators include dampness or discoloration in the ceiling or walls beneath the toilet, an unusual increase in your water bill, or the sound of water running even when the toilet isn’t in use.
This guide will provide practical steps and tips on how to tell if toilet is leaking under tile, ensuring you can address any issues before they escalate.
What Will You Need?
Before you begin, gather the necessary materials to help with your investigation. These include:
- A flashlight
- Paper towels or a clean cloth
- A ruler or measuring tape
- Food coloring (optional)
Having these items on hand will make it easier to detect and identify any potential leaks.
10 Easy Steps on How to Tell if Toilet is Leaking Under Tile
Step 1: Check for Obvious Signs of Leakage
The first step is to inspect the visible areas around your toilet for any signs of leakage. Look for water stains, mold growth, or discoloration on the floor near the toilet’s base. You can also gently push on the bowl or tank to check for looseness. If there is movement, this could indicate a leak in the seals or connections.
Step 2: Flush the Toilet and Listen for Running Water
After examining the area for any visible signs of leakage, the next step is to flush the toilet and carefully listen for any continuous running water. Once you flush, the water should be refilled in the tank and stopped shortly after. If you can hear the sound of water running persistently, even after the tank has filled, this may indicate a leak from the toilet or through the supply line connected to it.

Additionally, check if the water level in the tank fluctuates or if it seems to take longer than usual to refill. These symptoms can further signal an issue that needs immediate attention. If you suspect a leak at this stage, it might be beneficial to closely observe your water meter over the next hour to see if there’s any movement while the toilet isn’t being used. This can provide further evidence of a hidden leak.
Step 3: Conduct a Food Coloring Test
If you suspect that your toilet might be leaking, a simple food coloring test can provide clarity. Begin by removing the tank lid and adding a few drops of food coloring into the toilet tank. Wait for about 15-30 minutes without flushing. After the waiting period, inspect the toilet bowl for any sign of colored water. If the water in the bowl changes color, it indicates that water is leaking from the tank into the bowl, which often points to a faulty flapper valve or other internal components. Be sure to flush the toilet afterward to clear any food coloring, returning the system to normal operation.
Step 4: Inspect the Wax Seal
Once you’ve checked for obvious signs of leakage and conducted the food coloring test, it’s time to inspect the wax seal that sits between the base of the toilet and the floor. Begin by carefully loosening the nuts that hold the toilet to the floor without completely removing it. Gently rock the toilet back and forth to reveal the wax seal underneath. Look for any wear, deterioration, or water pooling around the base. If the wax seal appears cracked or leaks, it may need to be replaced to prevent further water damage. Ensure proper procedures for removing and reinstalling the toilet if replacement is necessary.
Step 5: Examine the Supply Line
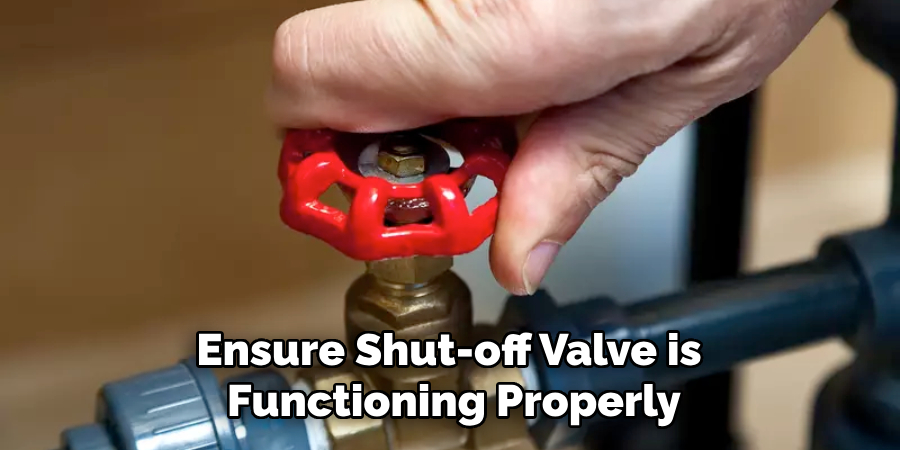
Next, it’s essential to inspect the supply line that feeds water to your toilet. Check for any visible leaks, corrosion, or loose connections at the shut-off valve and the toilet tank. If you notice any dampness around these areas or if the fittings seem loose, you may need to tighten them or replace the line altogether. Additionally, ensure that the shut-off valve is functioning properly by turning it off and observing whether water continues flowing into the tank. A consistent leak at the supply line can contribute to water damage under the tiles and should be addressed promptly.
Step 6: Monitor Your Water Bill
Another effective way to determine if your toilet is leaking is by monitoring your water bill over a few months. If you notice a sudden increase in your water bill without changing your water usage habits, this could indicate a hidden leak, mainly if other fixtures have remained unchanged. Pay attention to increases that do not correlate with seasonal changes in water use or additional household members. If you suspect a leak based on your water bill trends, it is advisable to follow up with further inspections or consult a professional plumber to verify any abnormalities.
Step 7: Check the Toilet Bowl for Cracks
After examining the supply line and monitoring your water bill, inspecting the toilet bowl for any cracks or damage is essential. Carefully examine the exterior and interior surfaces for visible signs of fractures. Even small cracks can lead to leaks that may escape your notice, mainly if they are located beneath the water line in the bowl. If you find any cracks, it may be necessary to replace the toilet to prevent ongoing water loss and potential damage to your flooring. Always consult a professional if you need clarification on the extent of the damage or the best course of action.
Step 8: Inspect the Flush Mechanism
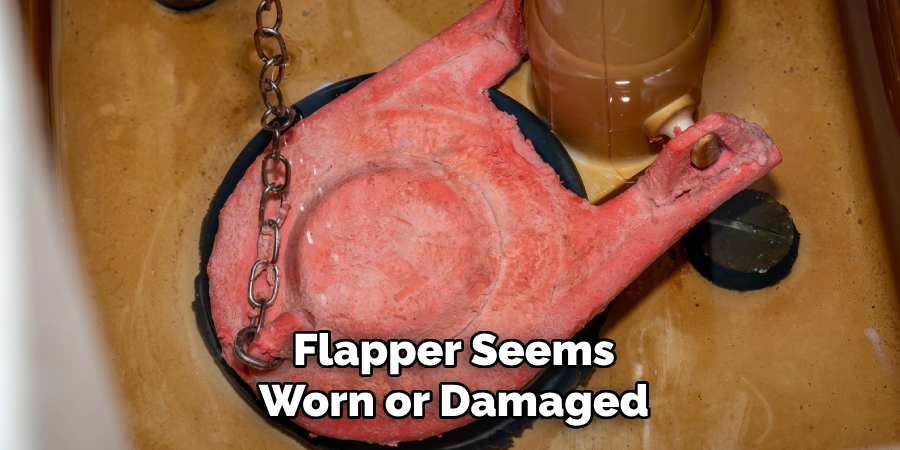
The next step is to check the flush mechanism inside the toilet tank. Start by removing the tank lid and examining the components, including the flapper valve, flush lever, and arm. Look for any signs of wear, misalignment, or debris that may prevent the flapper from sealing properly. If the flapper seems worn or damaged, it may not create a proper seal, resulting in water leakage into the bowl. Adjust or replace any faulty parts to ensure a proper flushing mechanism, as a malfunction here can contribute to ongoing leaks and increased water usage.
Step 9: Examine Tile Grout and Seams
Following the inspection of the flush mechanism, turn your attention to the tile grout and seams surrounding your toilet. Over time, grout can crack or deteriorate, allowing water to seep underneath the tiles. Press on the grout lines with your fingers to test for any softness or signs of water damage. If you discover any compromised grout, it is essential to repair these areas to prevent further water penetration. Consider regrouting or sealing any affected regions to enhance waterproofing and protect against future leaks.
Step 10: Seek Professional Help if Needed
If you have completed the previous steps and have not identified or resolved the leak, it might be time to consult a professional plumber. Experienced plumbers can perform thorough inspections, using specialized tools to detect leaks that may not be easily visible. They can also offer expert advice on repairs or replacements, ensuring that issues are addressed effectively and safely. Remember, addressing a leak promptly can save you money in the long run by preventing water damage and costly repairs.
By following these simple steps, you can quickly identify and fix a leaking toilet, saving both money and water. Regularly conducting these checks can also help prevent future leaks from occurring.
5 Things You Should Avoid
- Ignoring Small Signs: Don’t overlook minor indicators of a leak, such as small stains or dampness around the toilet’s base. If not addressed promptly, these can escalate into larger issues.
- Neglecting Regular Maintenance: Make sure to complete routine inspections of your toilet components. Regular maintenance can help identify potential leaks before they become significant problems.
- Relying Solely on Visual Checks: Visual inspections may not always reveal hidden leaks. Avoid relying only on what you see; consider combining checks with monitoring your water usage and bills.
- Delaying Repairs: If you suspect a leak, don’t postpone repairs in hopes the problem will resolve itself. Prompt action can prevent further damage and save you money on future repairs.
- Using Harsh Chemicals: Avoid using harsh cleaning chemicals near the toilet that can damage seals and components. Stick to gentle cleaners to ensure your toilet’s parts remain intact and functional.
Conclusion
In conclusion, how to tell if toilet is leaking under tile involves a thorough examination of multiple components, from the supply line to the toilet bowl itself.
Regularly monitoring your water bill, inspecting for visible cracks, and checking the flush mechanism are crucial steps in identifying potential leaks. It’s essential to promptly address minor signs of leaks to prevent them from escalating into more significant issues that could cause substantial water damage and costly repairs.
By being proactive with maintenance and repairs, you can ensure the longevity of your toilet and protect your home from the hidden dangers of water leaks. If ever in doubt, feel free to consult a professional to assist with your plumbing needs.

