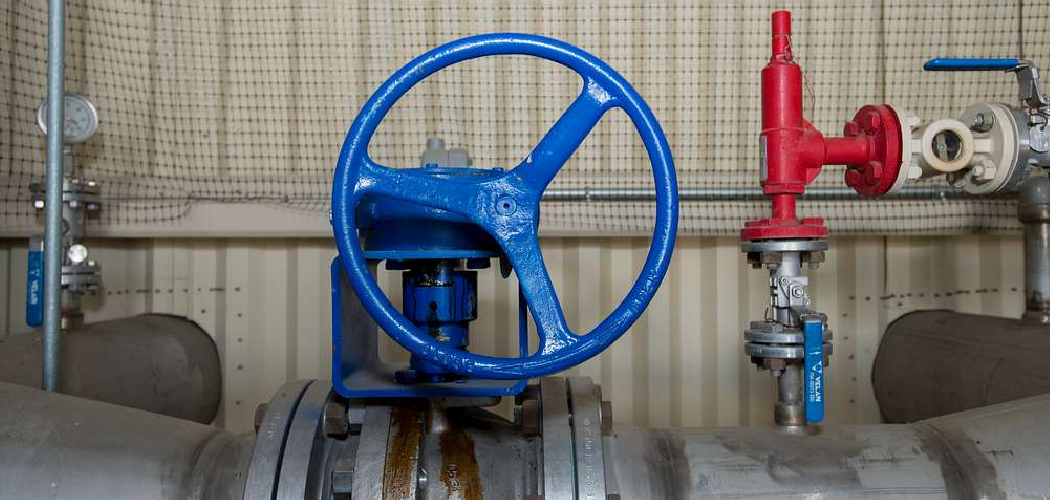
A ball valve is a widely used component in piping systems designed to control the flow of liquids or gases. It features a rotating ball with a hole through its center, allowing fluid to pass through when aligned with the pipe and stopping flow when turned perpendicular. Ball valves are prized for their durability, reliability, and effectiveness in creating a tight seal, even under high pressure.
Testing a ball valve is crucial to ensure it operates correctly and maintains the system’s integrity. Proper testing helps detect leaks, confirms smooth operation, and guarantees safety in applications where precise flow control is essential. Ignoring this process can lead to significant system failures or safety hazards.
The ball valve testing process involves several steps, such as checking for leaks, verifying functionality, and identifying any issues requiring maintenance. Knowing how to test a ball valve is key to promoting long-term system performance and safety.
Tools and Materials Needed
Essential Tools
You will need several essential tools to perform a thorough ball valve test. An adjustable wrench is vital for loosening or tightening connections, while a pressure gauge is necessary to accurately measure the system’s pressure. A screwdriver can help with minor adjustments, and pipe sealant is crucial for ensuring leak-proof connections during testing.
Materials for Testing
Having the right materials is also important for successful testing. Lubricants may be required to ensure smooth operation of the valve, mainly if it’s been in use for an extended period. Teflon tape is essential for sealing threaded joints, preventing potential leaks. Additionally, replacement parts, such as seals or washers, should be on hand in case any components need immediate repair or replacement during the testing.
Safety Equipment
Working with pressurized systems requires adherence to strict safety measures. Always use protective gloves to safeguard your hands from potential injury, and wear goggles to protect your eyes from debris or sudden fluid release. Appropriate footwear, such as steel-toe boots, is also recommended to protect against accidental drops or impacts while handling heavy components. Prioritizing safety ensures the testing process is both efficient and secure.
Preparing the System for Testing
Turning Off the Water or Gas Supply
Before beginning any testing procedure, shutting off the water or gas supply to the system is crucial. This step ensures that no accidental flow occurs during the test, which could compromise safety or lead to unexpected results. Locate the main shutoff valve for the system and close it completely. Verify that the supply has been securely turned off by checking for any residual flow at accessible endpoints.
Draining the Pipes (if applicable)
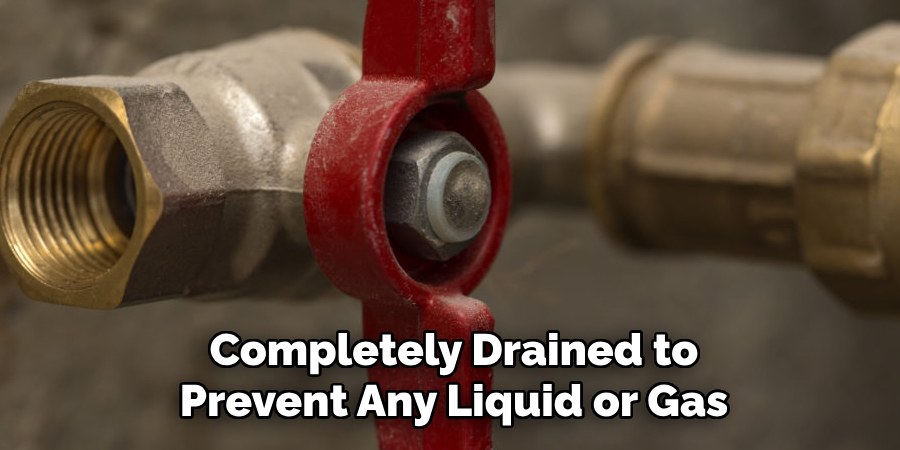
If the system involves pipes, they must be completely drained to prevent any liquid or gas from remaining inside during testing. Open all relevant valves and faucets to allow the contents to flow out fully. For gas systems, ensure that all residual pressure is released. Draining the pipes ensures a safer testing environment and allows for more accurate results by eliminating interference from trapped fluids or gas.
Safety Considerations
Conducting system testing often involves working with pressurized systems or hazardous materials. Proper ventilation must be ensured to prevent the buildup of harmful substances in enclosed spaces. Take precautions to avoid direct exposure to any residual chemicals or gases. Wearing protective gear, such as gloves and masks, provides an additional layer of essential safety during this preparatory phase.
Visual Inspection of the Ball Valve
Before proceeding with further testing or system operation, conducting a thorough visual inspection of the ball valve is crucial to ensure safety and functionality. This inspection process helps identify any visible issues that may jeopardize the system’s performance.
Checking for Physical Damage
Begin by carefully examining the valve body, handle, and connections for any signs of wear, cracks, or other forms of physical damage. Look for corrosion, especially if the valve has been exposed to harsh environmental conditions or corrosive substances. Damaged components, such as a bent handle or fractured body, must be addressed immediately to prevent operational failures during system use.
Ensuring Proper Valve Alignment
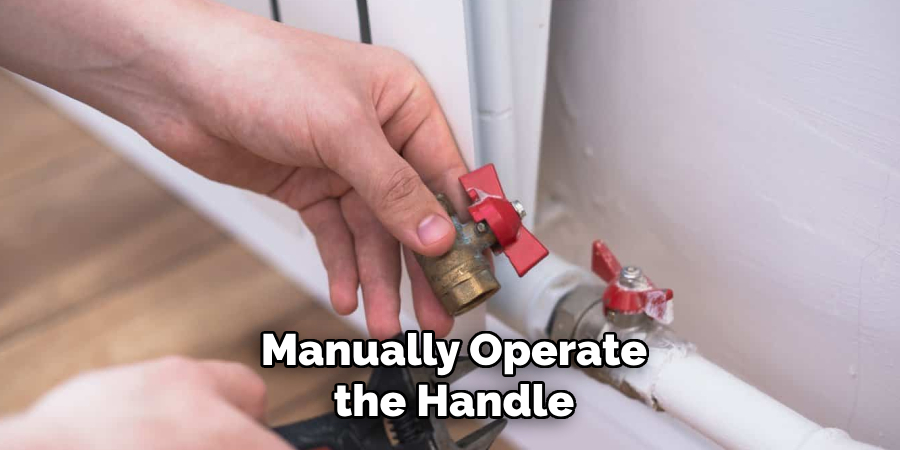
The alignment of the ball valve handle is critical for accurate flow control. Verify that the handle is positioned correctly to match the desired flow direction—either fully open, fully closed, or somewhere in between if throttling is intended. A misaligned ball or handle can lead to operational inefficiencies or even blockages. Manually operate the handle to ensure that it moves smoothly without resistance or unusual stiffness, as these could indicate internal issues within the valve.
Identifying Potential Leaks
Leaks around the valve’s seals or joints can be a major safety and performance concern. Carefully inspect all connection points for signs of dripping liquid or escaping gas. Look for residue, stains, or discoloration indicating a slow leak. Pay attention to the integrity of the seals, ensuring there are no visible gaps or damage. If the system allows, lightly pressurize the valve (following safety protocols) to check for any immediate signs of leakage. Identifying and addressing leaks early on can prevent costly repairs and ensure a safer system operation.
By performing a detailed visual inspection of the ball valve, you account for critical factors contributing to the system’s overall reliability and safety, helping to avoid unnecessary risks and ensuring optimal performance.
How to Test a Ball Valve: Performing the Manual Function Test
Turning the Valve Handle
Start the manual function test by rotating the valve handle a full 90 degrees to evaluate its opening and closing motion. This process helps confirm the functionality of the ball valve and ensures it can transition from the open position to closed and back without obstruction. Make sure the movement feels fluid and unrestricted, as any difficulty while rotating the handle may suggest internal wear, debris, or alignment issues that require attention.
Assessing Ease of Operation
When assessing the ease of operation, pay close attention to how the handle feels during rotation. The smooth and effortless motion indicates that the internal ball and seat alignment is intact. If the handle feels excessively stiff or jams midway, this may signal corrosion, wear, or contamination within the valve’s internal components. Regular lubrication or cleaning may mitigate minor stiffness, but severe resistance could require valve repair or replacement. A properly functioning valve should not require excessive force to operate.
Testing for Tightness
To verify that the valve is sealing properly, ensure it can close completely without resistance. Once in the closed position, inspect whether the handle remains firm and does not shift or move back. A securely closed ball valve ensures there are no gaps that could result in leaks or loss of system pressure. Turning the handle back to the open position should return easily without delay or difficulty, demonstrating a balance between the valve’s structural integrity and operational flexibility. Consistent performance during this test provides confidence that the valve will function reliably under regular operating conditions.
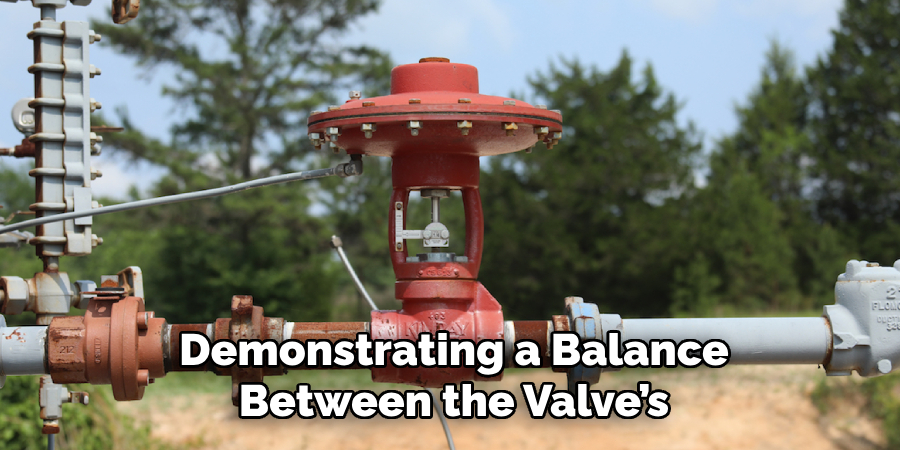
Conducting a thorough manual function test provides essential information about the condition of the ball valve. If any irregularities, such as resistance or incomplete closure, are observed, address these promptly to prevent potential system malfunctions. This step complements the visual inspection and leak assessment, contributing to the overall reliability and safety of the valve system.
Pressure Test
Setting Up the Pressure Test
Attach a pressure gauge or a compatible system capable of pressurization to evaluate the ball valve’s ability to withstand pressure. Ensure all connections are secure to prevent inaccuracies during the test. Gradually increase the pressure to the desired level, adhering to the valve’s specifications to avoid over-pressurization.
Monitoring for Leaks
With the system under pressure, carefully inspect the valve body, connection points, and surrounding areas for any visible signs of leakage. Common indicators include water droplets, audible hissing, or pressure gauge fluctuations. Maintain the pressure for a sufficient duration to detect even minor leaks.
Handling Any Leaks
If leaks are detected, identify the exact source, such as loose fittings or cracks in the valve body. Tighten connections if possible, but if the leak persists, assess whether it can be repaired effectively. For severe damage, replace the valve entirely to ensure system integrity and safety.
Testing for Flow
Checking Flow When the Valve is Open
To ensure there is unobstructed flow through the valve, fully open the ball valve and allow the fluid or gas to pass through the system. Monitor the flow rate using a flow meter or other measurement tools to verify that it aligns with expected performance levels. Inspect the output to confirm the flow is smooth and consistent, indicating no internal blockages or partial obstructions.
Verifying Flow When the Valve is Closed
Close the ball valve completely and confirm that no fluid or gas is passing through. Observe the downstream section for any signs of leakage or seepage, and use appropriate sensors or visual checks to verify a complete seal. This step is critical to ensure the valve’s functionality and safety under operational conditions.
Troubleshooting Flow Issues
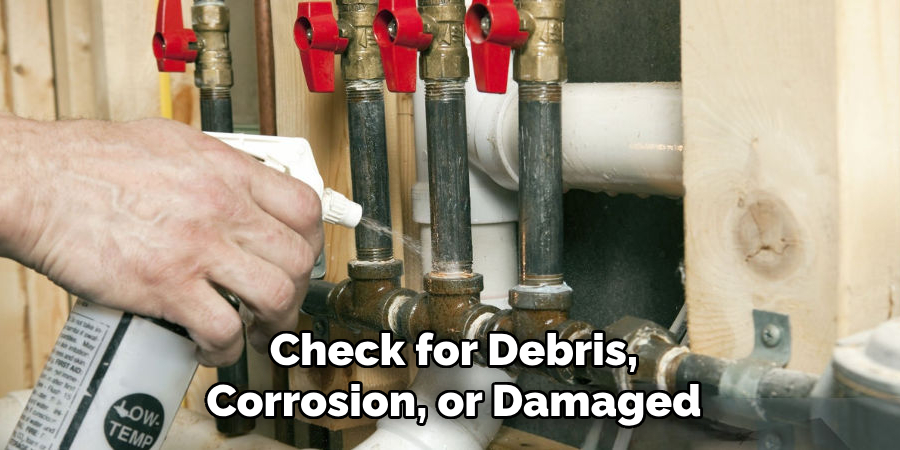
If any inconsistencies or blockages are detected, investigate the issue by disassembling the valve if necessary. Check for debris, corrosion, or damaged internal components obstructing proper flow. Clean or replace affected parts and retest the valve to confirm the resolution of the issue.
Conclusion
Testing a ball valve is critical to ensure its reliability and safety. Key steps include visual inspection to assess external conditions, manual operation to verify smooth movement, pressure testing to confirm its ability to handle system pressure, and flow testing to ensure unobstructed operation. Regular testing is essential to prevent costly repairs and maintain the valve’s integrity. For best results, check for leaks, lubricate the valve as needed, and replace worn components promptly. By following these guidelines on how to test a ball valve, you can maintain its functionality and longevity in any system.

