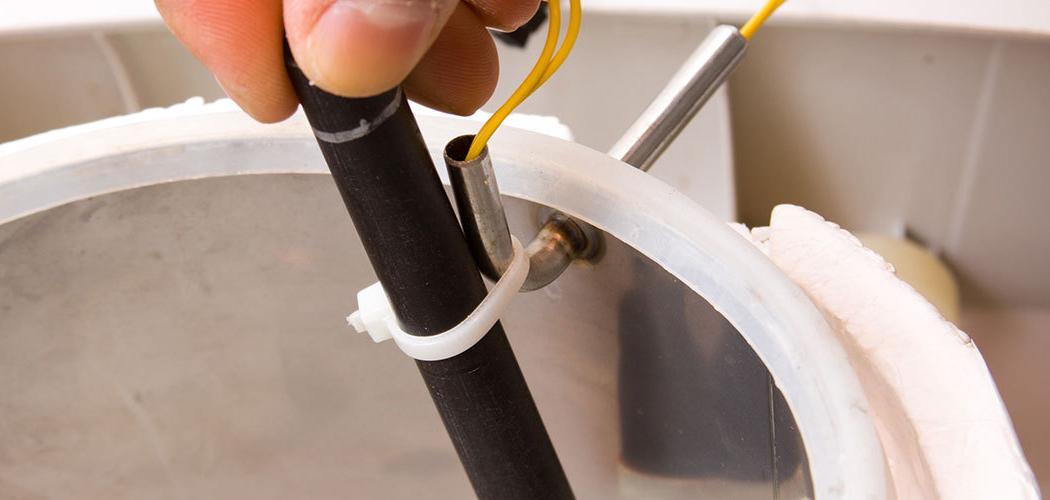
Are you experiencing issues with your float valve? Do you suspect it may not be working correctly?
Testing a float valve is essential to ensure the proper functioning of systems like toilets, water tanks, and other plumbing setups that rely on controlled water flow. A float valve regulates the water level within a reservoir, automatically shutting off the water supply once the desired level is reached.
Over time, float valves can wear out, become misaligned, or develop leaks, leading to inefficiencies or potential water waste. Regular testing helps identify issues early on, ensuring optimal performance and preventing larger problems.
This guide on how to test a float Valve will walk you through the steps needed to test a float valve effectively.
What Are the Benefits of Regular Float Valve Testing?
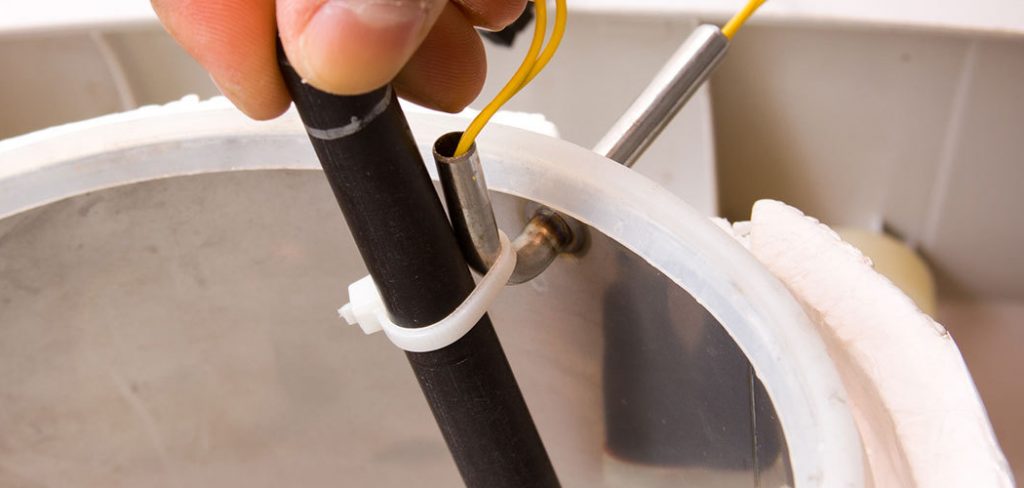
Regular testing of float valves offers several benefits, including ensuring efficient water usage and preventing potential leaks or malfunctions. By regularly checking and maintaining your float valve, you can save money on utility bills and avoid costly repairs in the future.
Moreover, regular testing can help extend the lifespan of your float valve by identifying any issues early on and addressing them promptly. This will save you money and ensure that your water supply is consistently regulated at the desired level.
What Will You Need?
To perform regular maintenance and testing on your float valve, you will need the following tools and materials:
- A screwdriver
- Replacement parts (if necessary)
- Cleaning solution
- Soft cloth or sponge
- Bucket or container for collecting water
It is important to note that the specific tools and materials needed may vary depending on the type of float valve you have. Refer to the manufacturer’s instructions for guidance.
8 Easy Steps on How to Test a Float Valve
Step 1. Turn Off the Water Supply
Before starting the process, ensure that the water supply to the float valve is completely turned off. Locate the main water control valve or the shutoff valve connected to the float valve and rotate it clockwise until no more water flows.
This step is crucial to prevent water from spilling or causing any damage while you work on testing or inspecting the float valve. If the shutoff valve is difficult to turn, use a wrench or apply gentle force, being careful not to damage the valve. Double-check that the water supply is off by trying to run water from the connected faucet or outlet; if no water comes out, you’re ready to proceed to the next step.
Step 2: Inspect the Float Valve
Carefully remove the cover or access panel to expose the float valve. Examine the valve and surrounding area for any visible signs of damage, such as cracks, corrosion, or debris buildup. Check that the float arm moves freely without sticking or resistance, as this could indicate obstructions or mechanical wear.
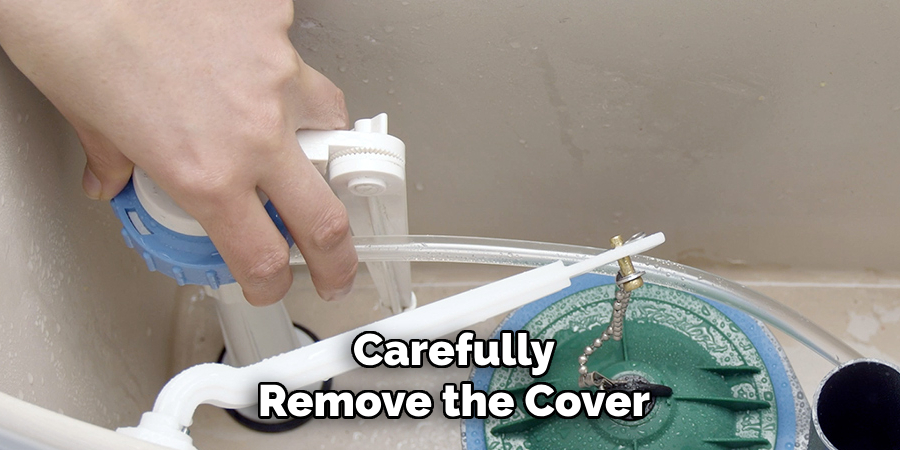
Use a clean cloth or a soft brush to clean the valve and remove any dirt or residue gently. If parts appear damaged, consider replacing the float valve or components to ensure proper functionality.
Step 3: Adjust the Float Valve
If the float valve appears intact, but the water level is too high or too low, you may need to adjust the float arm. Carefully bend the float arm downward to lower the water level or upward to raise it, depending on the desired adjustment.
Some float valves have an adjustment screw or clip for fine-tuning; refer to the manufacturer’s instructions for specific details. After adjusting, test the mechanism by refilling the tank and ensuring the water level stops at the appropriate mark. Repeat the process if necessary until the correct water level is achieved.
Step 4: Inspect for Leaks
Once the adjustments are complete and the water level is at the desired mark, carefully inspect the toilet tank for any leaks. Check the connection points of the fill valve, flush valve, and water supply line to ensure they are secure and watertight. If you notice any leaks, tighten the connections or replace faulty components as needed. Properly addressing leaks will prevent water wastage and ensure the toilet operates efficiently.
Step 5: Test the Flush
After inspecting for leaks, perform a test flush to ensure the toilet functions correctly. Press the flush handle and observe the water flow, providing the toilet flushes efficiently and refills to the appropriate water level. Listen for any unusual sounds or signs of irregular operation. If issues persist, adjust the components or consult a professional plumber for further assistance. Testing the flush ensures the toilet is operating smoothly and effectively.
Step 6: Clean Up the Area
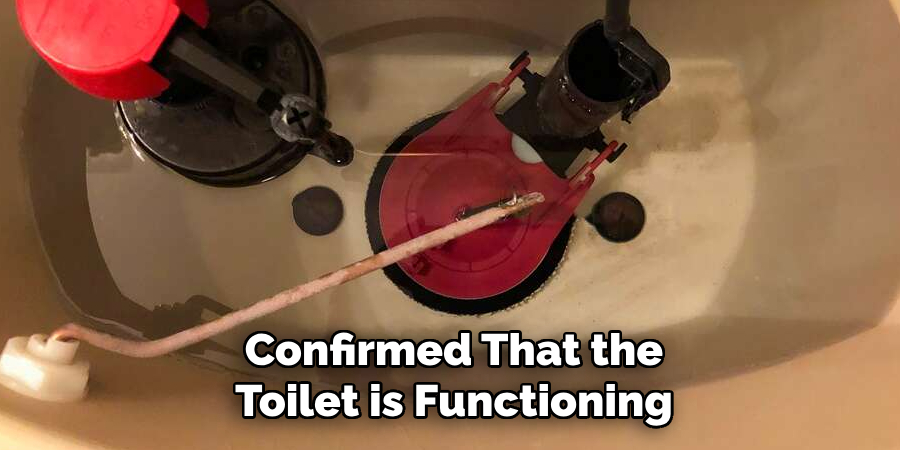
Once you have confirmed that the toilet is functioning properly, take a moment to clean up the surrounding area. Wipe down any surfaces that may have gotten wet or dirty during the repair process, and properly dispose of used materials like old seals, packaging, or paper towels. Keeping the area clean ensures a safe and hygienic environment while completing the project thoroughly.
Step 7: Perform a Final Inspection
After cleaning up, perform a final inspection of the toilet and surrounding area. Check for any signs of leaks, loose fittings, or other issues that may have been overlooked. Ensure that all components are securely in place and functioning as intended. This step provides peace of mind and ensures the repair was successful and long-lasting.
Step 8: Maintain Regular Checks
Regular maintenance is essential to keep your toilet in optimal condition and to prevent future issues. Periodically inspect all visible components, such as the tank, bowl, and fittings, for any signs of wear or potential problems. Be attentive to unusual sounds like constant running water, which may indicate a problem with the fill valve or flapper.
Additionally, check for leaks or water pooling around the toilet’s base, as this could signal a loose seal or faulty connections. Performing routine checks not only extends the life of your toilet but also helps catch minor issues before they escalate into costly repairs. Maintaining a monthly or quarterly inspection schedule is a proactive approach that ensures your plumbing system remains efficient and trouble-free.
By following these simple tips and performing regular maintenance, you can keep your toilet functioning correctly for years.
5 Things You Should Avoid
- Applying Excessive Force on the Float: Avoid using too much force when testing a float valve when adjusting or moving the float. Excessive pressure can damage the mechanism or misalign the float, compromising functionality.
- Ignoring Proper Water Supply Shutoff: Always ensure the water supply is turned off before beginning any tests on the float valve. Skipping this step can lead to water spills or make the testing process unnecessarily messy.
- Neglecting to Check the Manufacturer’s Instructions: Each float valve may have specific guidelines for testing and maintenance. Ignoring these instructions could result in improper testing, potentially causing harm to the valve or other parts of your plumbing system.
- Using Sharp Tools or Objects: Avoid using sharp tools to manipulate the float valve as this can puncture or scratch the components, leading to leaks or malfunctioning parts. Handle the valve gently and use appropriate tools when necessary.
- Assuming the Issue Lies Only with the Valve: When testing a float valve, don’t overlook the possibility of other factors causing the problem, such as sediment buildup, blockages, or issues with the water pressure. A comprehensive inspection is essential to accurately diagnose and resolve any issues.
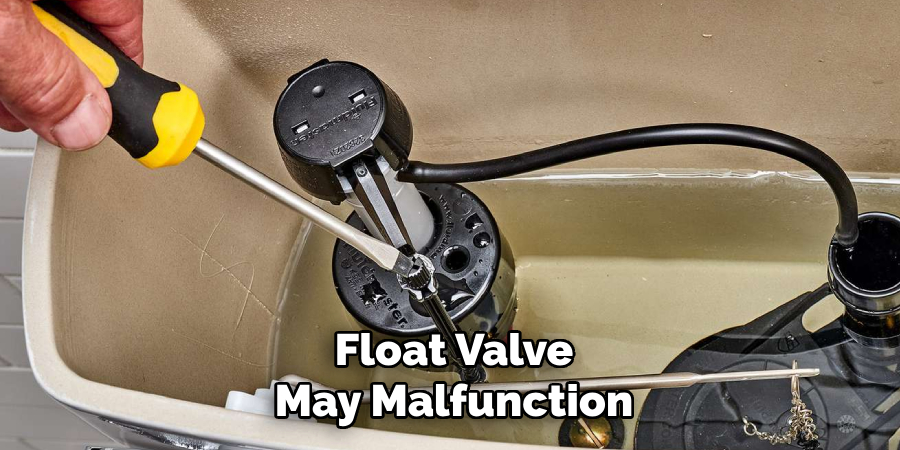
What are the Causes of Float Valve Malfunctions?
There are various reasons why a float valve may malfunction, including:
- Sediment Buildup: Over time, minerals and debris can accumulate in the valve, causing it to clog or operate less efficiently.
- Blockages: Any obstructions in the water supply line can prevent the float valve from functioning properly. This could be due to dirt, debris, or even small animals or insects.
- Water Pressure Issues: If there is low water pressure in your plumbing system, it can affect the performance of the float valve. It may result in insufficient water entering the tank or too much water overflowing.
- Damaged Components: As mentioned earlier, any scratches or damages on the float valve components can interfere with their proper functioning. Over time, these components may also wear out due to constant use and need to be replaced.
- Incorrect Installation: If the float valve is not installed correctly, it can lead to various problems, such as water leakage and operational issues. Following the manufacturer’s instructions carefully while installing a float valve is essential.
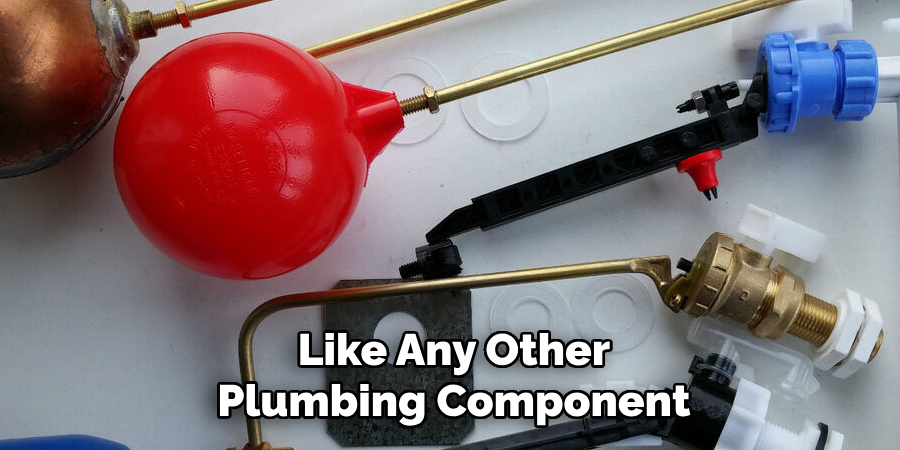
- Maintenance Neglect: Like any other plumbing component, the float valve requires regular maintenance. Neglecting this can cause a build-up of mineral deposits or corrosion, leading to malfunctions.
- Age and Wear: Float valves have a limited lifespan; over time, they will naturally become less effective due to wear and tear. It is essential to check and replace old or damaged float valves regularly.
Conclusion
How to test a float Valve is a straightforward yet essential process to ensure it functions optimally.
Begin by turning off the water supply and inspecting the valve for any visible signs of wear, damage, or debris. Next, manually move the float arm to verify that it moves smoothly and without obstruction. Restore the water supply and observe the float valve, checking if it effectively stops water flow when the float reaches the desired level. If there are any signs of leakage, improper closure, or irregular water control, the float valve may require cleaning, adjustment, or replacement.
Regular testing and maintenance will help prolong the valve’s lifespan and prevent potential plumbing issues.

