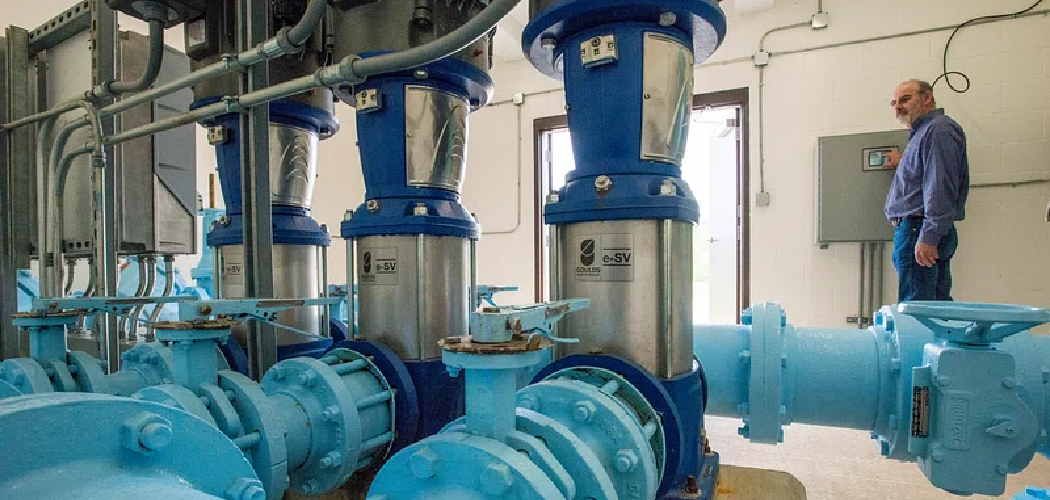
Ensuring your submersible water well pump functions efficiently and reliably is crucial for maintaining a consistent water supply. Regular testing is essential to prevent issues that could disrupt access to water, such as low water pressure or inconsistent flow.
There are several situations where testing becomes necessary, including diagnosing performance problems, identifying unusual noises, or conducting routine maintenance to prolong the pump’s lifespan.
This article provides a comprehensive guide on how to test a submersible water well pump, detailing the tools and materials required, as well as important safety precautions to consider before proceeding.
You will be taken through a step-by-step process, starting from checking electrical connections to analyzing pressure and current readings, ensuring you have the knowledge to effectively troubleshoot and maintain your pump. By understanding the testing process, you can protect your investment and ensure optimal performance from your well pump.
Safety Precautions Before Testing
Turn Off the Power to the Pump
Turning off the circuit breaker that powers the pump is critical before starting any testing procedures. This precaution helps prevent electrical hazards, ensuring that you can work safely without the risk of shocking or injuring yourself while handling the pump’s components.
Wear Protective Gear
Always wear appropriate safety gear, including gloves and goggles, when working with electrical components. This protective equipment will help safeguard against cuts, abrasions, and electrical shocks, providing an added layer of security during maintenance activities.
Ensure Proper Ventilation
If you are performing tests in a confined space, such as a well pit, ensure adequate ventilation. Proper airflow is essential to dissipate potentially harmful fumes or gases, ensuring a safe working environment as you assess your pump.

Tools and Materials Needed
To effectively test a submersible water well pump, you will need several essential tools and materials:
- Multimeter: This device checks electrical continuity and voltage levels within the pump’s wiring and connections. It allows you to diagnose potential electrical issues that could affect performance.
- Amp Clamp Meter: This tool measures the pump motor’s current draw, providing insights into its operational efficiency. By assessing the current, you can identify whether the pump is drawing too much or too little power, indicating possible mechanical issues.
- Pressure Gauge: A pressure gauge is necessary for checking water pressure at various points in the system. It helps determine if the pump maintains adequate pressure and reveals any fluctuations that may need addressing.
- Water Flow Meter (Optional): While not always required, a water flow meter can be beneficial for measuring the flow rate. This information is valuable for assessing the pump’s efficiency and ensuring optimal performance.
How to Test a Submersible Water Well Pump: Step-by-Step Guide
Step 1: Check Electrical Connections
Start by inspecting the wiring from the control box to the pump. Look for any loose, frayed, or corroded connections, as these can disrupt power to the pump, affecting its operation. Ensure all connections are tight and corrosion-free, cleaning contacts as necessary. Next, use a multimeter to check the voltage at the control box.
Set the multimeter to the AC voltage setting and connect the probes to the corresponding terminals. Compare the measured voltage with the pump’s specifications; it should be within the manufacturer’s recommended range. If the voltage is too low or too high, it could indicate issues with the circuit breaker or other electrical components, requiring further investigation.
Step 2: Test the Pump Motor with an Amp Clamp Meter
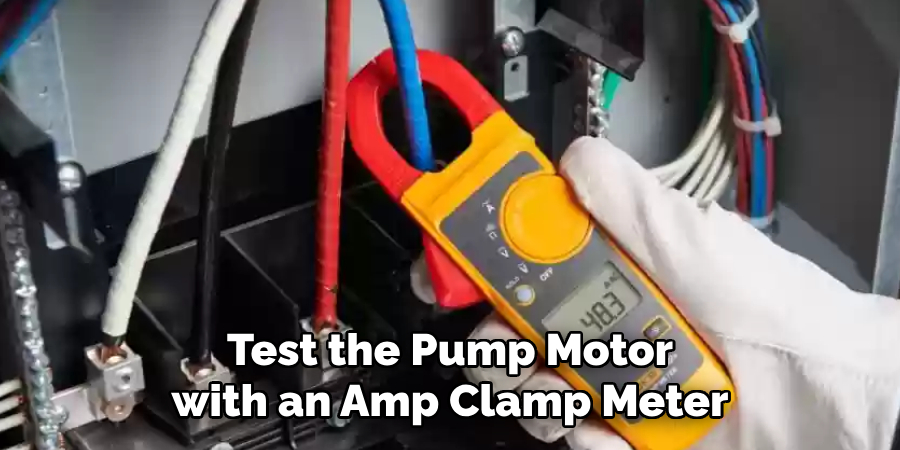
Once the electrical connections are confirmed to be in good condition, proceed to test the pump motor’s current draw using an amp clamp meter. Place the amp clamp meter around one of the power supply wires leading to the pump with the pump running. The meter will display the current draw in amps.
Compare this reading to the pump’s rated current draw, typically found on the pump’s nameplate.
If the current draw significantly exceeds the rated value, this may suggest a mechanical issue, such as a seized bearing or impeller blockage. Conversely, if the reading is below the rated current, it may point to problems such as motor underperformance or an electrical deficiency.
Step 3: Check Water Pressure
You’ll need to check the water pressure to evaluate the pump’s performance effectively. Start by attaching a pressure gauge to a hose bib or spigot located close to the pressure tank. Ensure the gauge is securely fastened to avoid any leaks. With the gauge in place, turn on the pump and observe the pressure reading displayed on the gauge. It’s important to note the pressure during the pump’s on-and-off cycles. Ideally, the pressure should stabilize within the manufacturer’s recommended range, typically between 40 to 60 psi.
If the gauge indicates lower pressure, this may indicate issues such as a leaking pipe, a waterlogged pressure tank, or problems within the pump itself. Assessing the pressure readings accurately is crucial for determining the pump’s reliability and efficiency, as consistent water pressure is essential for a properly functioning water system.
Interpreting Test Results
Normal vs. Abnormal Voltage Readings
Interpreting the voltage readings from your multimeter is crucial to diagnosing potential issues with your well pump. Normal voltage readings should generally fall within the manufacturer’s specified range, typically around 120 to 240 volts, depending on the pump type. If the readings are consistently low, this could indicate a problem with the electrical supply, such as poor connections or an issue with the circuit breaker.
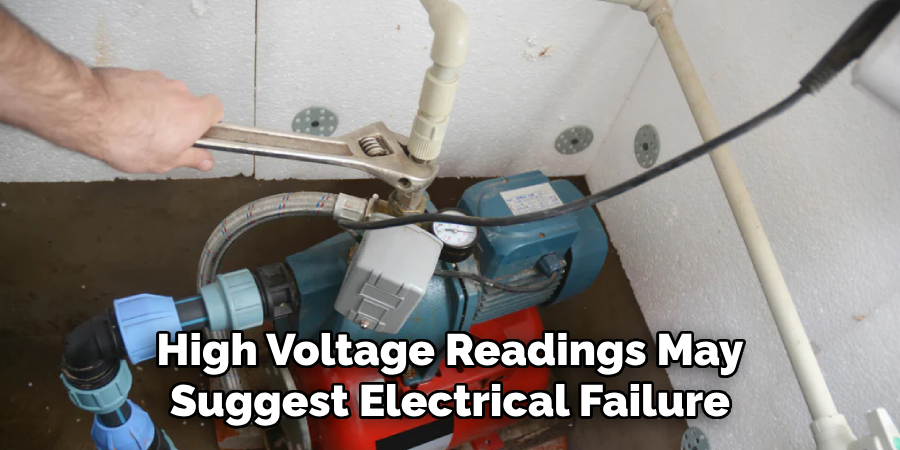
Conversely, high voltage readings may suggest electrical failure, which can lead to overheating or damage to the motor. Monitoring these values closely is important; any significant deviation from the norm warrants further investigation.
Current Draw Analysis
Analyzing the current draw measurement taken with the amp clamp meter helps identify the condition of the pump motor. A reading that exceeds the pump’s rated current draw can indicate that the pump is struggling, potentially due to a clog or mechanical issue like a seized bearing. In contrast, a reading that falls below the normal range may suggest that the motor is not operating at full capacity, potentially pointing to an electrical deficiency or worn-out components. Understanding these readings allows you to determine whether the pump is functioning efficiently or if repairs are needed.
Pressure Test Results
Interpreting the results from the pressure gauge is essential for assessing the overall performance of your water system. Consistent pressure readings within the manufacturer’s recommended range indicate that the pump and pressure tank function properly. However, observing fluctuating pressure could signify a malfunctioning pressure switch or issues with the pressure tank itself. A pump that struggles to maintain pressure may also indicate a larger problem, such as wear and tear or blockages in the system. Keeping a close eye on pressure readings will help you ensure the reliability of your water supply.
Troubleshooting Common Issues
Low or Inconsistent Water Pressure
Low or inconsistent water pressure can significantly impact daily activities. Common causes include a clogged intake screen, which can restrict water flow or a malfunctioning pressure switch that fails to signal the pump to turn on or off appropriately. Additionally, a partially blocked pipe caused by corrosion or debris buildup can hinder water movement. To address these issues, start by inspecting and cleaning the intake screen for any obstructions. If the pressure switch appears faulty, consider testing or replacing it. For blocked pipes, thorough flushing or professional plumbing assistance may be needed to restore proper flow.
Pump Not Running or Turning On
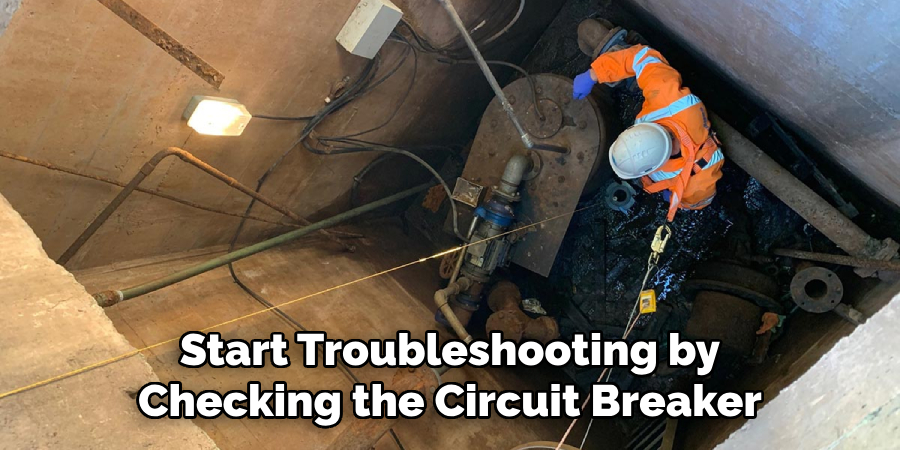
If the pump is unresponsive and does not run, start troubleshooting by checking the circuit breaker. An overload or tripped breaker may cut off power to the pump, necessitating a reset or replacement. Next, inspect the pressure switch; ensure it’s not stuck in the ‘off’ position, as this may prevent power from reaching the pump. Lastly, examine the control box for visible signs of damage or loose connections. If these components are functional, consider consulting a professional to evaluate the pump motor.
Pump Runs Continuously
A pump that runs continuously can indicate several underlying issues. One common reason is a stuck pressure switch; if the switch fails to detect sufficient pressure, it won’t cycle off, causing the pump to run indefinitely. Another potential cause is a waterlogged pressure tank, which can fail to provide the necessary air cushion, increasing run times. Similarly, a leaky pipe can cause a drop in water pressure, prompting the pump to operate continuously to compensate. For resolution, first test and replace a faulty pressure switch, then check the pressure tank’s air charge. Fixing any leaks in the system will also help ensure proper operation.
Preventive Maintenance Tips
Regular maintenance is key to prolonging the life and efficiency of your well pump system. You can avoid costly repairs and ensure reliable performance by implementing a few preventive measures.
Regular Electrical Inspections
Conduct routine inspections of the pump’s wiring and electrical connections to prevent potential issues. Look for signs of wear, corrosion, or loose connections, as these can lead to electrical failures or hazards. Keeping these components in good condition is crucial for safe and efficient operation.
Annual Pressure Tank Checks
It’s advisable to check the pressure tank at least once a year. This includes verifying that it is properly pressurized and not experiencing waterlogging. Regular checks ensure optimal functionality, helping to maintain consistent water pressure and system stability.
Periodic Flow and Pressure Testing
Perform periodic flow rate and pressure testing to detect any emerging issues early on. Monitoring these metrics helps maintain pump efficiency and allows for proactive interventions before minor problems escalate. This practice can significantly enhance the longevity of your system.
When to Call a Professional
Electrical Problems
When dealing with complex electrical issues, it is crucial to call a professional. If you notice persistent low or high-voltage readings that could indicate potential electrical failure, do not attempt to rectify these problems yourself. Electrical system failures can lead to dangerous situations, including fire hazards or further damage to the pump. A qualified technician will have the expertise to safely diagnose and repair these concerns, ensuring the continued safe operation of your well pump system.
Major Mechanical Issues
Mechanical problems, such as a seized motor or a pump that must be pulled from the well for inspection or replacement, should also warrant a call to a professional. These tasks often require specialized tools and knowledge that the average homeowner may lack. Attempting to address these issues without proper expertise can lead to further damage or injury. A skilled technician can efficiently handle the mechanical intricacies, ensuring a thorough and safe resolution to the problem.
Conclusion
In summary, knowing how to test a submersible water well pump is vital for ensuring a reliable water supply. Start by checking electrical connections, ensuring there are no frayed wires or loose terminals that could hinder performance. Regularly measure voltage and current readings to confirm the pump’s operational efficiency.
Additionally, pressure gauges should be monitored to interpret whether the system functions within the recommended parameters. Always prioritize safety by disconnecting power before inspections, especially when working with electricity and water. If any issues arise that seem beyond your expertise, do not hesitate to seek professional help. Staying proactive with your pump maintenance can help extend its lifespan and prevent costly repairs in the long run.
Remember, consistent checks and immediate attention to signs of trouble are key to maintaining a well-functioning water system.

