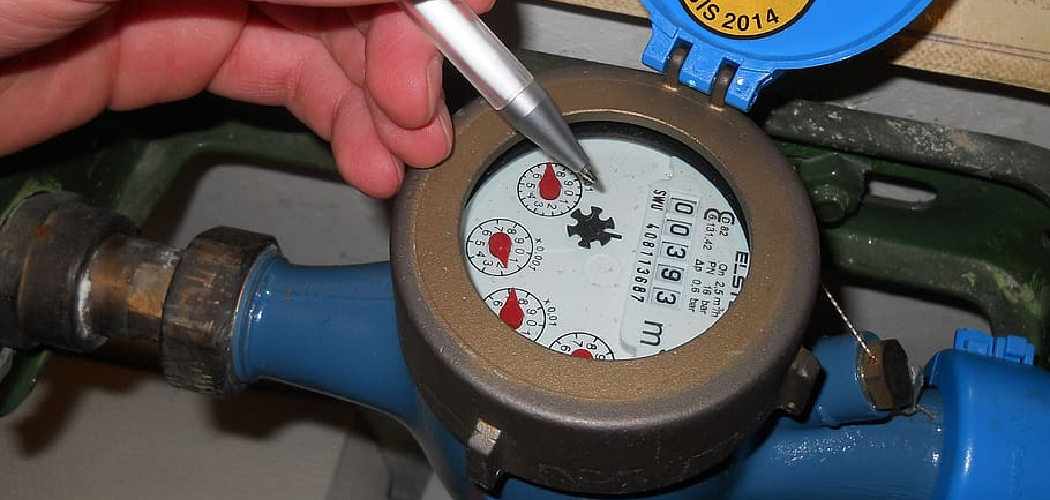
Testing a water meter is an important part of maintaining and ensuring the accuracy of your home’s water system. Water meters measure the amount of water being used in a given area, and any problems with the meter can lead to inaccurate readings, resulting in incorrect bills or usage amounts.
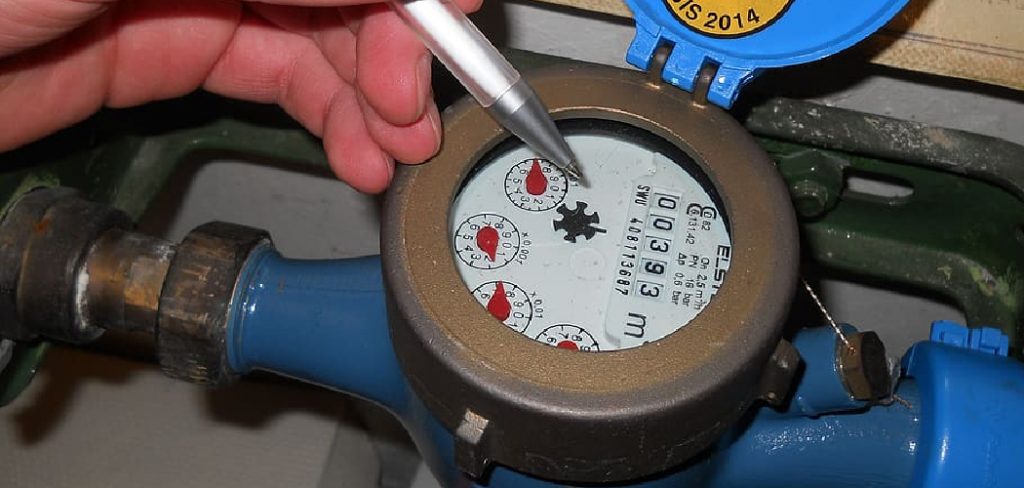
One of the major advantages of testing a water meter is it allows you to gauge and monitor your usage accurately. By being able to see exactly how much water has been used in a given period, it makes it easier for you to make changes or adjustments to conserve water when needed.
Testing also helps identify malfunctions with the meter so that repairs or replacements can be made before the issue becomes larger. In this blog post, You will learn in detail how to test a water meter.
Step-by-Step Processes for How to Test a Water Meter
Step 1: Inspect the Meter
Before you begin testing, it is important to visually inspect the water meter for any signs of damage or wear. Check for loose connections and ensure no obstructions block the flow of water through the meter.
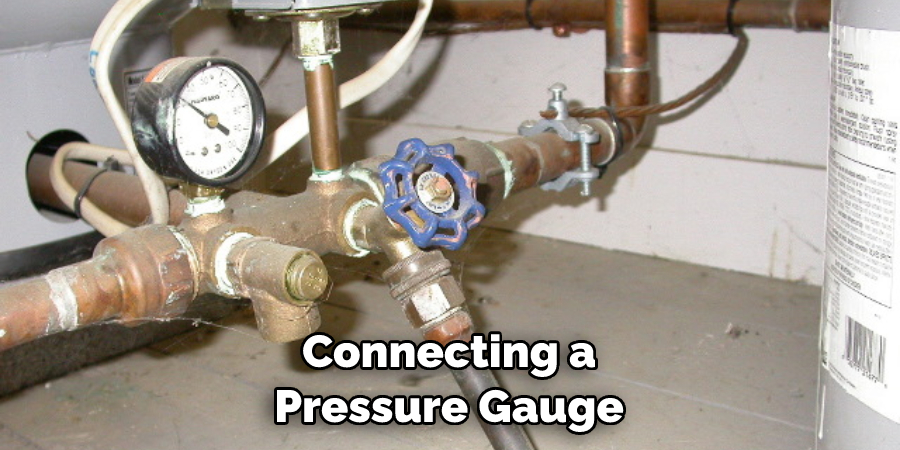
Step 2: Connect a Pressure Gauge
Start by connecting a pressure gauge to the meter’s inlet pipe. This allows you to measure the pressure of the incoming water and make sure it is within an acceptable range. Next, you’ll need to test the accuracy of the meter by running a known volume of water through it. To do this, fill up a 5-gallon bucket with water and use the meter to measure how much water has been dispensed.
Step 3: Check the Rotational Speed
After testing the accuracy of the meter, you should also check its rotational speed by connecting a tachometer to it. This will allow you to determine whether or not there is an issue with the speed of the meter. To test the temperature sensitivity, you’ll need to fill up a bucket with cold water and then measure how much water has been dispensed using the meter.
Then, repeat this process using hot water. The results should be within an acceptable range for accuracy.
Step 4: Inspect the Connections
After completing the tests, it is important to make sure that all of the connections on the meter are properly secured and free from any debris. This will help ensure that there are no leaks or weak spots in the system. It is also important to inspect for corrosion on the meter’s interior and exterior. If there is any corrosion present, it should be addressed as soon as possible in order to prevent any further damage from occurring.
Step 5: Make Necessary Adjustments
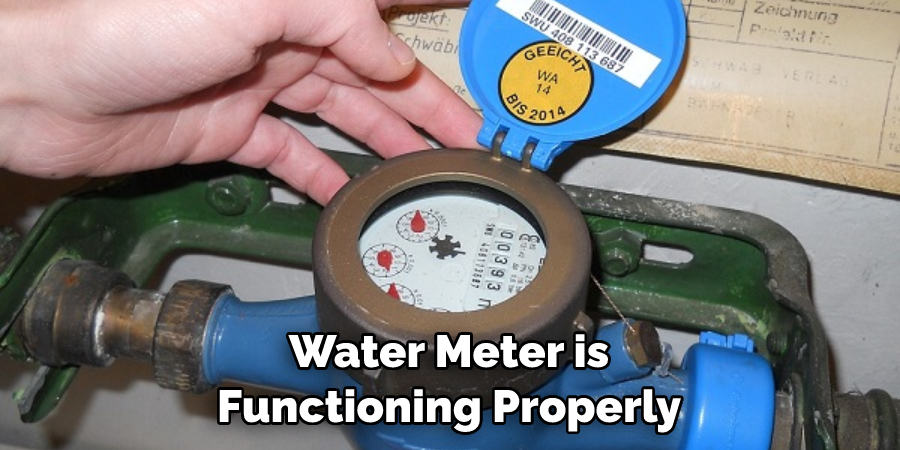
You’ve completed all of the tests and inspections, you can make any necessary adjustments to ensure that the water meter is functioning properly. After making any adjustments, you should re-test the meter to make sure that it is still accurate and within an acceptable range for pressure and temperature sensitivity.
Step 6: Re-Install the Meter
Finally, once all of your tests are complete, and any necessary adjustments have been made, you can re-install the meter back into its original position. Make sure to check for any leaks and ensure that all of the connections are properly tightened before completing your work.
By following these steps, you can ensure that your water meter is functioning properly and accurately measuring the amount of water passing through it. If you’re having any issues with your water meter, it is important to contact a professional for help to prevent any costly mistakes.
Safety Tips for How to Test a Water Meter
- Make sure to wear the appropriate personal protective equipment (PPE): long pants, closed-toe shoes, gloves, hairnet or hat, and safety goggles in order to protect yourself from any hazardous materials that may be present during the testing process.
- Familiarize yourself with the water meter by studying its components, instructions, and safety protocols before testing it.
- Make sure to turn off the power to the water meter prior to beginning any testing process.
- Use a multimeter or other appropriate tools for testing a water meter in order for accurate results.
- Ensure that all connections are securely connected before turning on the power of the water meter again after testing.
- Regularly inspect the water meter and its components for any signs of wear or damage before, during, and after tests.
- Conduct testing in a well-ventilated area to prevent any hazardous fumes from accumulating in the space.
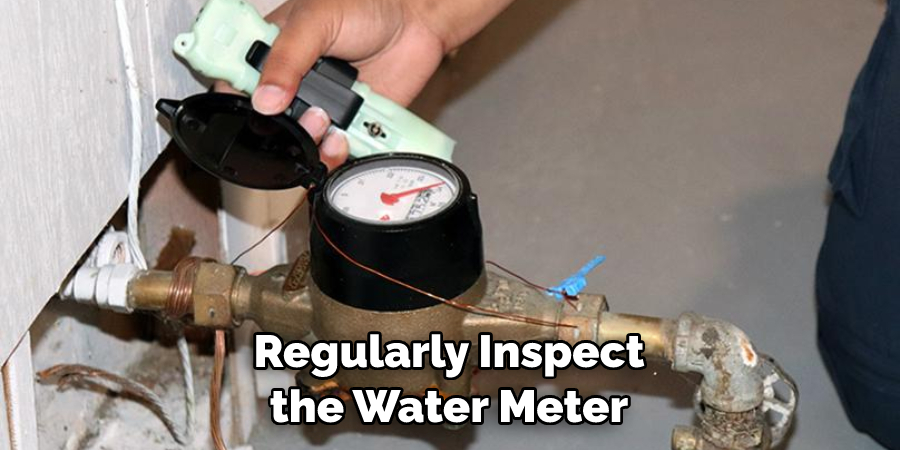
By following these safety tips for testing a water meter, it is possible to ensure that the testing process is completed safely and effectively.
How Should You Prepare for the Test?
Before you begin testing your water meter, be sure to take the necessary precautions. First and foremost, turn off the main water valve in your home or building before proceeding with any tests. This will help prevent any accidents from occurring during the testing process. Once everything is shut off, it is important to gather all of the supplies that are needed for the.
These can include a meter wrench, an adjustable spanner, and any other tools needed to access and manipulate the water meter.
It is also important to ensure all of the system’s valves are working properly before starting the test. Once everything is ready, you can begin testing your water meter. The most common method of testing a water meter is to use a calibrated measuring device such as an electronic flow meter or a bucket test. You will need to connect the electronic flow meter to your water supply and run the test.
This will measure the amount of water that is flowing through your system and compare it to what should be expected.
What Maintenance is Required to Keep a Water Meter Accurate and in Good Working Order?
To ensure that your water meter remains accurate and in good working order, you can take a few maintenance steps. Firstly, make sure to regularly clean the outside of the meter with warm water and mild detergent. This will help eliminate any dust or debris that could interfere with its accuracy. Secondly, check to see if the meter has any loose connections or faulty seals.
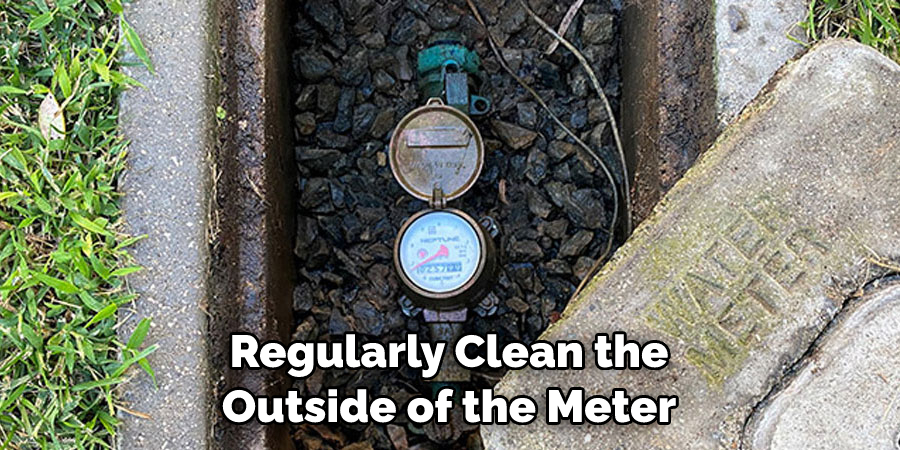
If so, these should be repaired as soon as possible in order to avoid inaccurate readings. Finally, make sure that you check the mechanical components of the water meter regularly for signs of damage or wear and tear, replacing them if necessary. Following these steps should help ensure that your water meter is always accurate and in good working order.
In addition to regular maintenance, it is also important to test a water meter at least once a year to ensure that it still provides accurate readings. Testing is relatively simple and involves measuring the amount of water flowing through the meter against a known rate. If there are any discrepancies between the two rates, then this could indicate that the meter needs to be repaired or replaced.
If left unchecked, inaccurate readings could lead to costly water bills for the homeowner and business owner.
Where Can You Find More Information About How to Test a Water Meter?
Fortunately, there are many resources available online to assist you in testing a water meter. The American Water Works Association (AWWA) has an extensive library of articles related to water meters, including those covering proper installation and testing methods. Many manufacturers of water meters provide product-specific instructions on how to test their meters.
Additionally, local municipalities often have information available to the public, such as step-by-step instructions on how to proceed with testing a water meter. These resources can be incredibly helpful if you are unfamiliar or unsure of the testing process.
When testing a water meter, it is important to adhere to any safety guidelines that may be included in your instruction manual or provided by your municipality. Some meters may require a licensed professional to conduct the test, and it is important to follow local regulations to ensure accurate results.
If you have additional questions about testing a water meter, contact your local water company or a qualified plumber for more information.
What Can Be Done to Prevent Errors During Testing?
When testing a water meter, taking the necessary precautions to avoid errors is important. Here are some tips that can help ensure accuracy and efficiency when testing a water meter:
- Use the Right Tools: Make sure you have all of the right tools for the job, such as a multimeter, pliers, screwdrivers, and other necessary tools.
- Take Your Time: Testing a water meter should not be rushed. Make sure to allow yourself enough time to do the job properly. Spending extra time can help you avoid errors and make sure that the readings are accurate.
- Verify Accuracy: After testing the water meter, verify the accuracy of the readings by comparing them to previous records and checking for any discrepancies.
- Follow Instructions: Make sure that you are following all the instructions provided in order to test the water meter properly. Even if you think you know what you’re doing, it’s important to double-check that everything is done correctly.
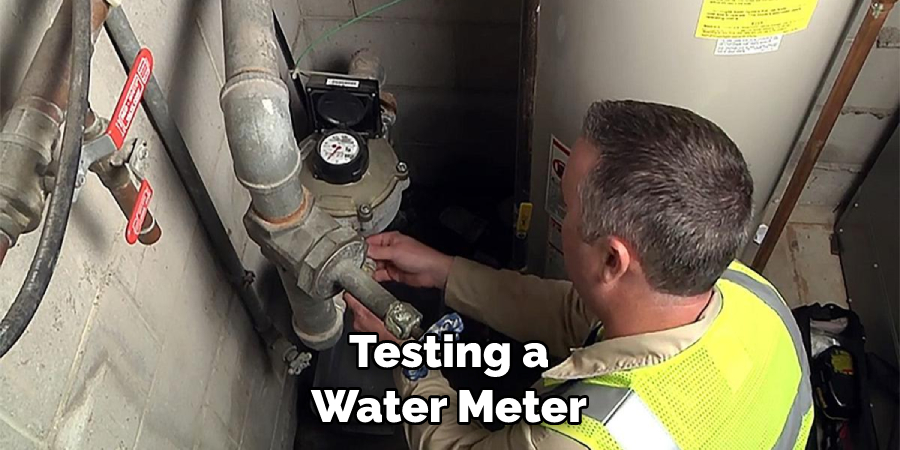
By taking the necessary precautions when testing a water meter, you can help ensure that the readings are accurate and that there aren’t any errors in the process. This will save you time and resources in the long run.
Conclusion
One of the disadvantages of testing a water meter is that it can be costly and time-consuming. Testing the accuracy of a water meter requires specialized equipment and trained personnel, which can add substantially to the cost of the test. In addition, depending on the type of water meter being tested, it may take several hours or even days to complete the test.
In conclusion, testing a water meter is an important process that can help you identify any potential issues with your home’s water supply. While the process may seem complicated, it doesn’t have to be – by following some basic steps and using the right tools, you can easily test your water meter yourself.
If the results show that your water meter isn’t working properly, it’s best to contact a professional for assistance. Doing so can help you ensure that your home and family are safe from any potential water-related issues. I hope this article has been beneficial in learning how to test a water meter. Make Sure the precautionary measures are followed chronologically.

