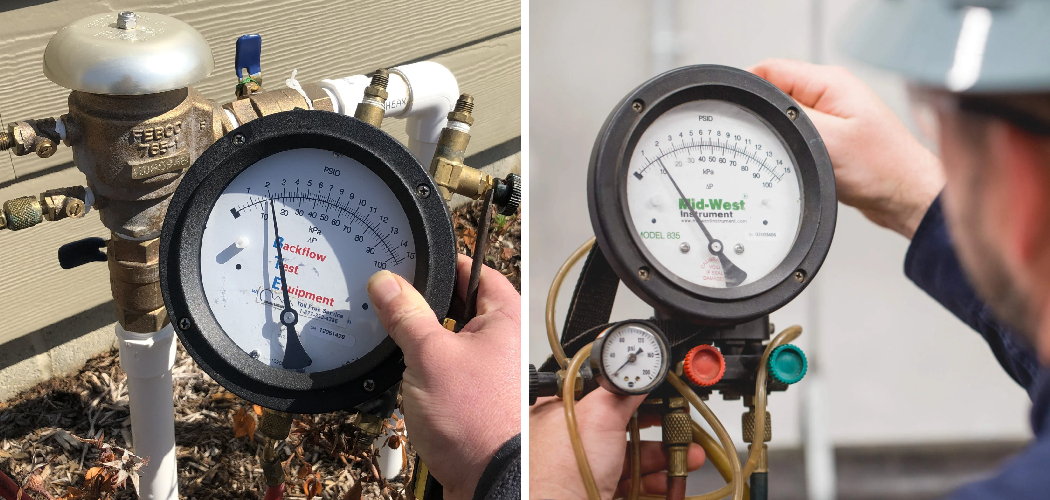
Are you worried about the safety and quality of your water supply? A backflow preventer can help protect your drinking water from contamination. But like any other mechanical device, it needs to be tested regularly to ensure it functions properly.
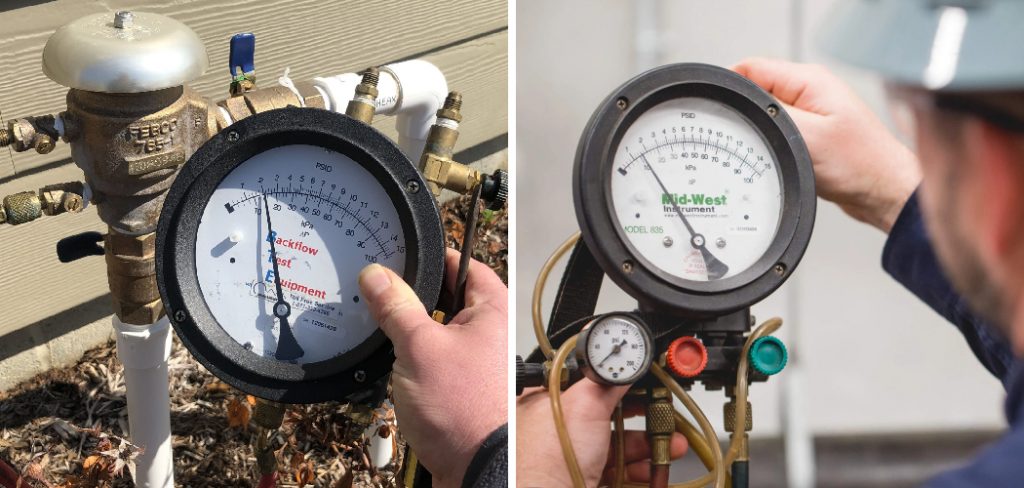
Testing a backflow preventer is a crucial step in maintaining the safety and functionality of water systems. Backflow preventers are designed to ensure that water flows in the correct direction, preventing contaminated water from entering clean water supplies. Over time, these devices can wear out or become faulty, posing a risk to public health. Regular testing helps to identify potential issues early and ensures that the backflow prevention system is operating effectively.
This guide on how to test backflow preventer will provide an overview of the testing process, essential tools, and key steps to follow for accurate results.
What Are the Benefits of Testing Backflow Preventers?
- Ensures Public Safety: The primary benefit of testing backflow preventers is to ensure public safety. These devices are responsible for preventing the contamination of clean water supplies, which can pose a significant health risk if left unchecked.
- Maintains Compliance: Another advantage of testing backflow preventers is to maintain compliance with local and state regulations. Most jurisdictions require annual testing of these devices to ensure they meet the necessary standards and regulations.
- Avoid Costly Repairs: Regular testing can also help prevent them. Backflow preventers are complex systems with many moving parts that can wear out over time.
- Prevents Water Contamination: The primary purpose of backflow prevention systems is to protect the water supply from contamination. Without proper maintenance and testing, these devices may fail to detect backflow events, which can lead to contaminated water entering the drinking water supply.
What Will You Need?
To properly test and maintain backflow preventers, you will need the following equipment:
- A Gauge Tester: This is used to measure the pressure of the water system.
- A Valve Key: This tool is used to turn valves on and off.
- A Test Cock Adapter: This allows for easy attachment of a hose to the test cocks of the backflow preventer.
- A Hose with a Gauge: This is used to check for proper pressure levels in the system.
- Replacement Parts: If, during testing, any parts are found to be damaged or worn, they will need to be replaced.
Once all the necessary equipment has been gathered, the backflow preventer can be tested.
9 Easy Steps on How to Test Backflow Preventer
Step 1. Turn Off the Water Supply:
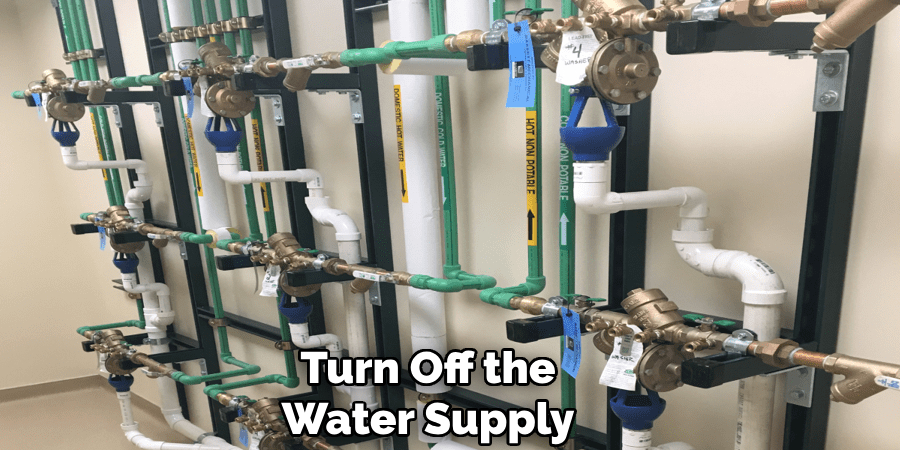
Before beginning the backflow preventer test, it is crucial to shut off the water supply to prevent pressure or water flow from interfering with the process. Locate the main shut-off valve for the system, which is usually located near the water meter or along the main water line. Turn the valve clockwise until it is completely closed.
Ensure there is no water running from adjacent fixtures or taps by checking for drips or flow, confirming the system is fully isolated. This step ensures a safe and accurate testing environment, safeguarding both the device and nearby plumbing components from potential damage during the procedure.
Step 2. Relieve Pressure in the System:
To relieve pressure in the system, open the faucet or fixture nearest to the area you are working on. This releases any residual water and pressure that may still be present in the pipes, ensuring a safer and more efficient working environment. Allow the water to flow until it completely stops and the pressure is fully dissipated.
Additionally, you may need to use a pressure relief valve if one is installed in the system, as this provides a controlled method of releasing built-up pressure. It is crucial to ensure that all pressure is removed before proceeding to prevent any accidental water discharge or damage to the plumbing system. Taking the time to relieve pressure fully safeguards the system and reduces the likelihood of complications during the following steps.
Step 3. Attach the Test Kit:
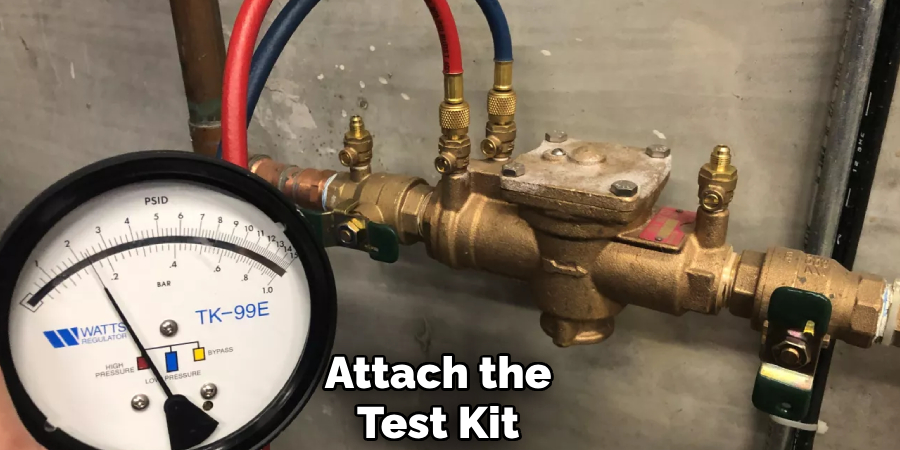
To attach the test kit properly, begin by ensuring you have the correct test kit that is compatible with your system. Check that all components are included and undamaged before proceeding. Locate the designated test access point on the system, which is typically a threaded connection or valve designed for this purpose.
Clean the access point to remove any debris or residues that could interfere with a secure seal. Carefully screw or connect the test kit to the access point, following the manufacturer’s instructions. Use a wrench or an appropriate tool to tighten the connection, but avoid over-tightening, as this can damage the fitting or cause leaks. Ensure the test kit is securely attached to maintain a reliable seal for accurate results during the testing process.
Step 4. Open the Test Cocks:
Once the test kit is securely connected, locate the test cocks on the backflow prevention device. These small valves are designed to allow testing equipment to measure pressure and detect any malfunctions in the assembly. Begin by slowly opening the test cocks in the sequence recommended by the manufacturer’s guidelines.
Typically, this involves opening the test cock closest to the water supply first, followed by the subsequent ones in order. Opening them gradually helps to prevent sudden pressure changes that could damage the device or the testing equipment.
Step 5. Check for Leaks:
Once the test cocks are open, carefully inspect the device and the surrounding area for any signs of leaks. Leaks may appear as water dripping, pooling, or misting near joints, seals, or connections. Pay particular close attention to the valves and any areas where components join, as these are common points of failure.
If a leak is detected, it is crucial to identify its source and assess the severity. Small leaks can often be resolved by tightening a connection, while significant leaks may require replacing a damaged component or seal. Document any issues found during this step and, if necessary, pause the testing process to carry out repairs or consult with a qualified technician. Thoroughly checking for leaks ensures that the system operates efficiently and prevents further complications or water waste.
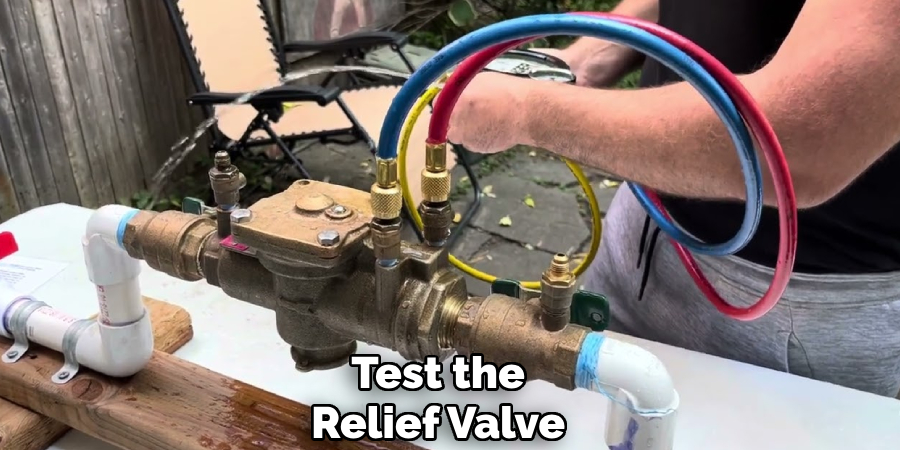
Step 6. Test the Relief Valve:
Testing the relief valve is a crucial step to ensure the system’s safety and proper functioning. Begin by carefully locating the relief valve, which is typically designed to release pressure if it becomes too high and prevent potential damage or hazardous situations.
Before conducting the test, consult the manufacturer’s guidelines for specifics on the valve’s operation and maintenance. Slowly lift or turn the valve handle as instructed to release a small amount of pressure, and observe whether water or air escapes as expected. If the valve fails to release pressure or does not seal properly after testing, it may indicate wear, corrosion, or a buildup of debris.
Step 7. Test the Check Valves:
Check valves are essential components in a system that ensure the proper flow direction of liquids or gases, preventing backflow that could cause damage or contamination. To test the check valves, first identify their location within the system and ensure that the system is depressurized and safe to work on.
Begin by visually inspecting the check valve for any signs of wear, damage, or leaks around the seals. Next, remove the valve if necessary and manually press the internal mechanism to ensure it moves freely and without obstructions. Examine for any debris, corrosion, or buildup that could impair its functionality.
Step 8. Evaluate the Results:
After completing the inspection and testing of the check valves, carefully evaluate the results to determine their condition and functionality. If the internal mechanism moves freely without resistance and there are no visible signs of damage or leaks, the valve is likely in good working order. However, if the valve shows any signs of wear, corrosion, or mechanical failure, it may need to be repaired or replaced to ensure the system operates effectively.
Document your findings, including any maintenance performed or required, as this will help track the valve’s performance over time and identify patterns of wear in the system. This documentation is also critical for compliance with safety and operational standards.
Step 9. Restore the Water Supply:
After completing the inspection and any necessary maintenance or repairs to the valve, it’s time to restore the water supply. Begin by gradually opening the main water valve to allow water to flow back into the system. Take care to open the valve slowly to prevent a sudden surge of pressure, which could cause unnecessary wear on the system or disturb sediment that may have settled in the pipes.
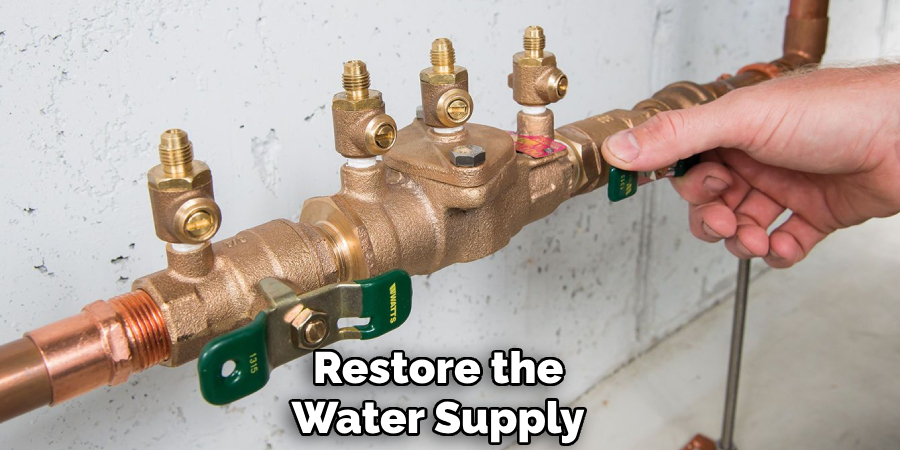
Monitor the system closely as water flow resumes, checking for any unusual sounds, leaks, or pressure fluctuations that may indicate an unresolved issue. If you detect any abnormalities, promptly shut off the water supply again and address the problem before proceeding.
By following these steps, you can effectively test your backflow preventer and ensure its reliability in protecting the water supply from contamination.
Conclusion
How to test backflow preventer is crucial for maintaining the safety and integrity of your water supply.
By conducting regular inspections and following proper testing procedures, you can ensure that the device functions as intended, preventing contaminants from entering the potable water system. Staying proactive with maintenance and addressing any issues promptly will help safeguard public health and comply with regulatory standards.
Always consult a professional if you are unsure about any aspect of the testing process to guarantee accurate results and reliable system performance.

