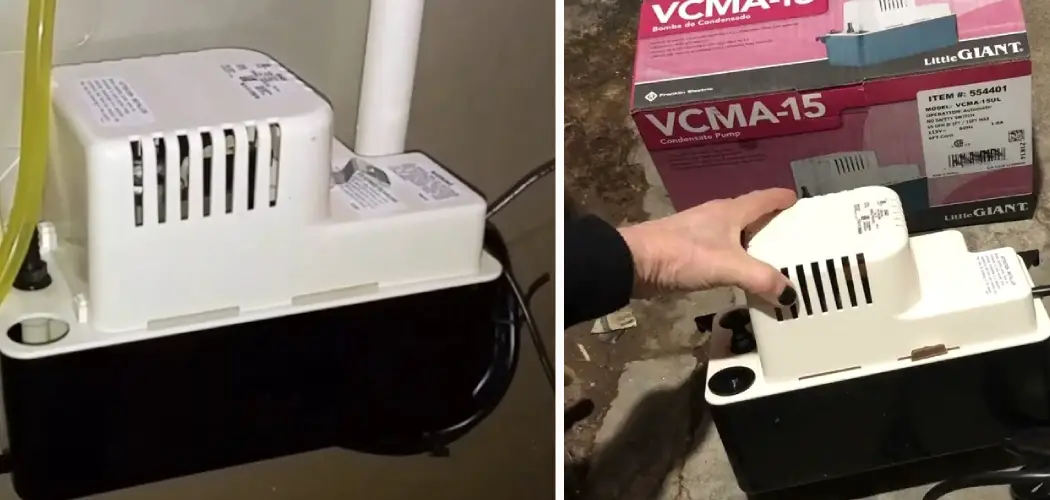
Testing a condensate pump is an important maintenance task that every homeowner should know how to do. A functioning condensate pump helps remove excess moisture from your air conditioning unit, preventing damage and prolonging its lifespan. Neglecting this routine check-up can lead to costly repairs or replacements down the line.
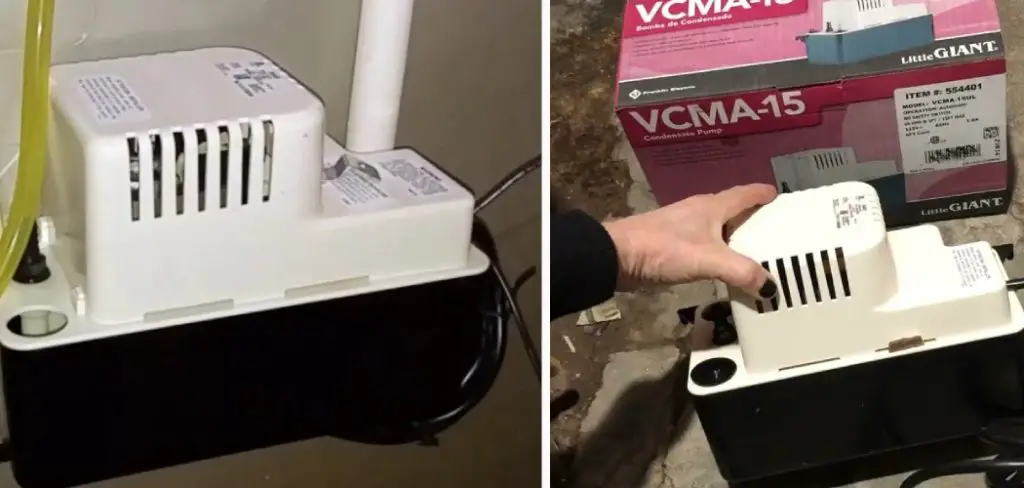
The main advantage of knowing how to test a condensate pump is that you can save time and money by troubleshooting and fixing the problem yourself. This means you don’t have to wait for a professional technician to come and diagnose the issue, which can often be expensive.
Additionally, if you are familiar with testing a condensate pump, you may be able to identify potential problems early on, preventing them from turning into major issues that could require costly repairs. In this blog post, You will learn in detail how to test condensate pump.
Step by Step Processes for How to Test Condensate Pump
Step 1: Inspect the Condensate Pump
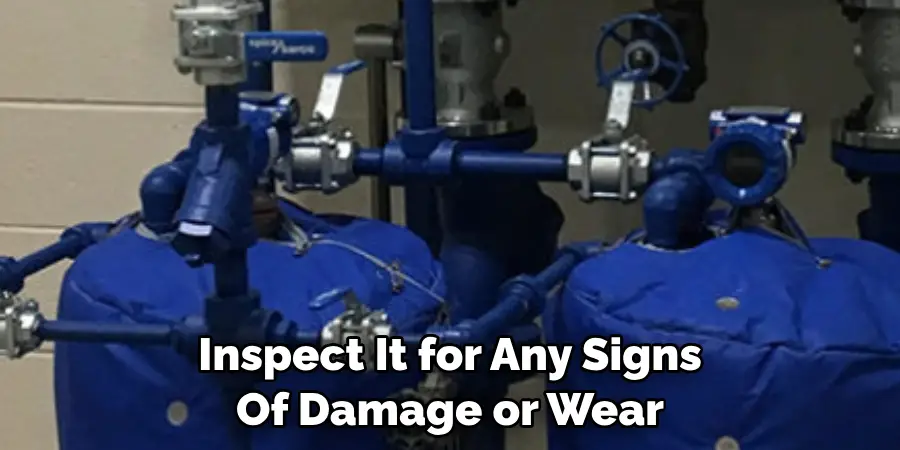
Before you begin testing the condensate pump, it is important to visually inspect it for any signs of damage or wear. Look for cracks, leaks, or loose connections that may affect its performance. The float switch is an essential part of the condensate pump as it senses when water has reached a certain level in the pump. Make sure it is clean and free of debris or obstructions that could interfere with its operation.
Step 2: Verify Power Supply
Ensure that the power supply to the condensate pump is turned on and functioning properly. If there are any issues with the power supply, it may affect how the pump operates. The motor is the main component of the condensate pump and it is responsible for pumping out the water. Make sure that there are no unusual sounds or vibrations coming from the motor and that it is running smoothly.
Step 3: Test the Float Switch
To test the float switch, fill up the pump with water until it reaches the level where it should activate the switch. If the pump does not turn on, the float switch may be faulty and needs to be replaced. Once you have confirmed that all components are in good working condition, it is time to test the actual function of the pump. Pour water into the drain pan and see if the pump turns on and removes the water.
Step 4: Check for Leaks
While the pump is running, inspect all connections and joints for any signs of leaks. If you notice any leaks, tighten the connections or replace any damaged parts before proceeding. To ensure that the pump is functioning at its full capacity, measure the discharge rate by timing how long it takes for the pump to remove a gallon of water. The time should be consistent with the manufacturer’s specifications.
Step 5: Test Backup Pump (if applicable)
If your condensate pump has a backup pump, make sure to test it as well by repeating the above steps. This is especially important if you rely on the backup pump during emergencies or power outages. Testing the condensate pump should be done regularly as part of routine maintenance. It is recommended to test it at least once a year or more frequently if you live in an area with high humidity levels.
By following these step-by-step processes, you can ensure that your condensate pump is in good working condition and will effectively remove excess water from your HVAC system. Regular maintenance and testing will also help prevent any potential issues or malfunctions, saving you from costly repairs or replacements in the future.
Safety Tips for How to Test Condensate Pump
- Before starting the testing process, ensure that the power supply to the condensate pump is turned off. This will prevent any electrical accidents during the testing procedure.
- Use personal protective equipment (PPE) such as gloves and safety glasses while handling the condensate pump to protect yourself from potential hazards.
- Make sure that all connections and wires are properly secured and insulated before starting the testing process.
- Check for any signs of moisture or water leakage around the pump, as this could indicate a problem with the pump’s operation.
- Keep a fire extinguisher nearby in case of any electrical fires during the testing process.
- Do not touch any electrical components without proper training and knowledge to avoid getting shocked or causing damage to the condensate pump.
- If you are uncertain or uncomfortable with testing the condensate pump, it is best to seek professional help from a licensed technician.
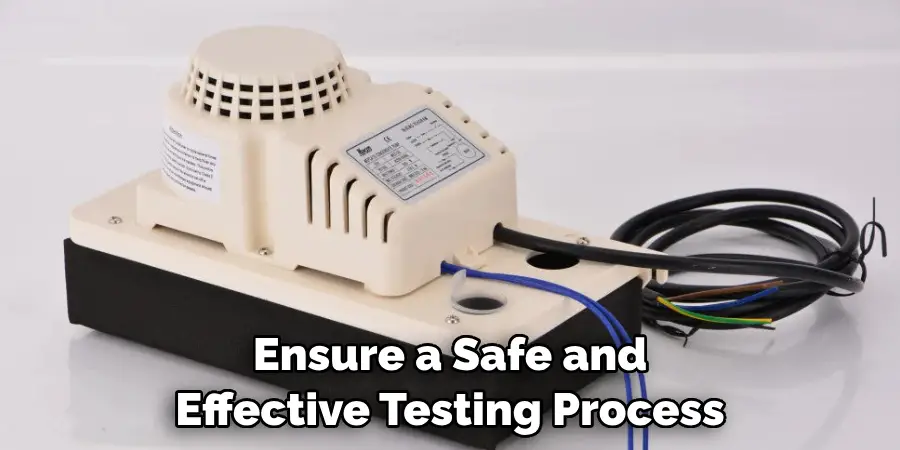
By following these safety tips, you can ensure a safe and effective testing process for your condensate pump. It is also important to regularly test your condensate pump to ensure it is functioning properly and prevent potential issues in the future.
What Are the Potential Risks of Not Testing Your Condensate Pump Regularly?
Having a well-functioning condensate pump is essential for maintaining your HVAC system and preventing water damage to your home. But what happens if you neglect to test your condensate pump regularly? Let’s explore some of the potential risks that come with not testing this crucial component.
1. Clogged Drain Line
A clogged drain line is one of the most common issues that can arise from not testing your condensate pump. When the drain line becomes blocked, it can cause water to back up and overflow from the unit. This can lead to water damage, mold growth, and even electrical malfunctions within your HVAC system. Regular testing can help identify any clogs and prevent this risk from occurring.
2. Pump Malfunction
Over time, the condensate pump can experience wear and tear, just like any other mechanical component. If it is not tested regularly, you may not notice when the pump starts to malfunction. This could result in water not being properly pumped out of the unit, causing water damage and potentially affecting the efficiency of your HVAC system.
3. Air Quality Issues
A functioning condensate pump helps prevent excess moisture from accumulating in your HVAC system. Without regular testing, a malfunctioning pump can lead to increased humidity levels, which can create an ideal environment for mold and bacteria growth. This can not only cause unpleasant odors but also lead to potential health issues for you and your family.
4. Costly Repairs
As with any mechanical component, the longer it goes without being tested and maintained, the more likely it is to break down. Regular testing of your condensate pump can help identify any issues early on before they escalate into costly repairs or replacements. It’s much more cost-effective to catch and fix a small issue than to wait for it to become a major problem.
5. Decreased Efficiency
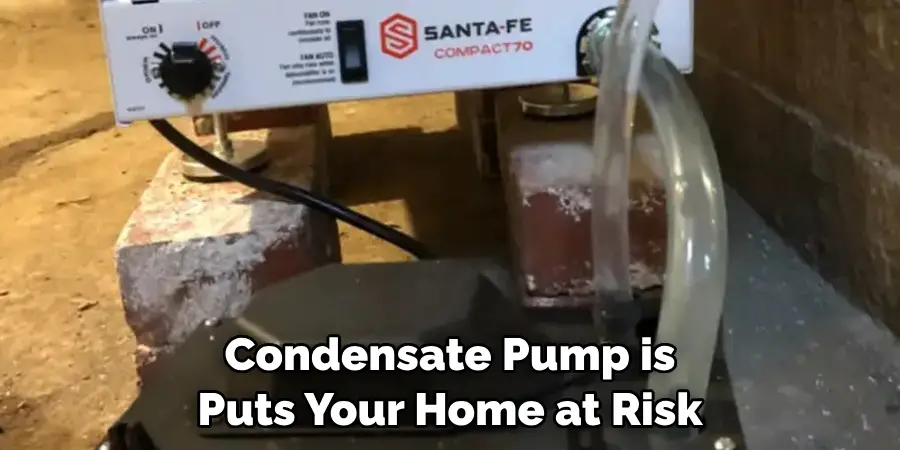
A malfunctioning condensate pump not only puts your home at risk, but it can also affect the efficiency of your HVAC system. When excess moisture is not properly removed, it can cause your system to work harder to maintain a comfortable temperature. This can lead to increased energy consumption and higher utility bills.
Is There Any Maintenance or Cleaning Required After Testing a Condensate Pump?
Once you have successfully tested your condensate pump, you may be wondering if there is any maintenance or cleaning required. The short answer is yes, regular maintenance and cleaning are necessary to keep your condensate pump functioning properly. Firstly, it is important to regularly check the level of water in your condensate pump’s reservoir. If the water level is too high, it could indicate a clog in the discharge line or a malfunctioning pump. If this is the case, be sure to address the issue promptly and thoroughly clean out any clogs.
Additionally, you should check and clean your condensate pump’s float switch. The float switch is responsible for turning the pump on and off as needed. If it becomes stuck or malfunctions, your pump may not operate correctly. To clean the float switch, simply remove any debris or buildup and ensure that it can freely move up and down. It is also important to regularly clean the condensate pump’s discharge line. Over time, algae and other debris can build up in this line, causing clogs and hindering the flow of water. You can use a mixture of water and bleach to clean the discharge line, or purchase a specifically designed condensate pump cleaner.
Are There Any Troubleshooting Steps to Follow in Case the Pump Fails the Test?
If the condensate pump fails any of the above tests, there are a few troubleshooting steps you can follow to identify and fix the issue.
- Check for Power Supply: Before starting any troubleshooting, make sure that the pump is receiving power. Check if the circuit breaker is tripped or if there is an issue with the outlet.
- Inspect Drainage Line: If the pump is receiving power but still not working, check for any blockages in the drainage line. Debris or dirt can often clog the line and prevent proper water flow.
- Clean the Pump: If there are no visible blockages, it may be necessary to clean the pump itself. Use a small brush or pipe cleaner to remove any buildup or debris from the pump’s inlet screen and impeller.
- Check Float Switch: The float switch is responsible for turning the pump on and off as needed. If it is stuck, the pump may not be able to turn on even when there is water present. Gently move the float up and down to see if it triggers the pump to turn on.
- Adjust or Replace Switch: If the float switch is damaged, it may need to be adjusted or replaced. Consult the manufacturer’s instructions for proper adjustment techniques or contact a professional for replacement.
- Test with Water: After troubleshooting and making any necessary repairs, test the pump again with water to see if it passes the previous tests.
Remember to always turn off power to the pump before performing any troubleshooting or repairs. If the pump continues to fail the tests, it may be necessary to contact a professional for further assistance. Regular maintenance and testing of your condensate pump can help prevent future issues and ensure proper functionality.
Conclusion
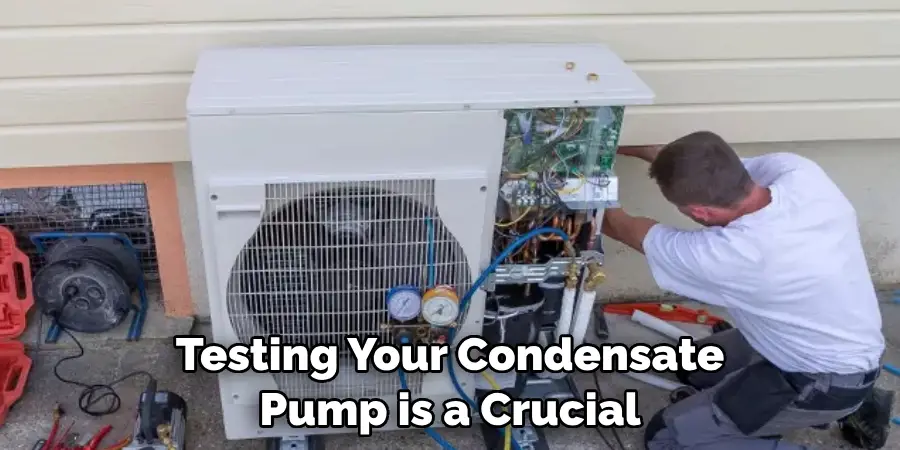
In conclusion, testing your condensate pump is a crucial step in ensuring the proper functioning of your HVAC system. It allows you to identify any potential issues and address them before they become major problems. To recap, the first step in testing your condensate pump is to locate it within your HVAC system. This can usually be found near the base of the unit or attached to the main drain line. Next, you will need to disconnect the power supply to the pump to ensure your safety.
Once the power is disconnected, you can begin testing the pump by pouring water into the reservoir and observing its function. If the pump is working properly, it should turn on and start pumping out the water. If it does not start or there are any unusual sounds, this may indicate an issue with the pump that needs to be addressed. I hope this article has been beneficial for learning how to test condensate pump. Make Sure the precautionary measures are followed chronologically.

