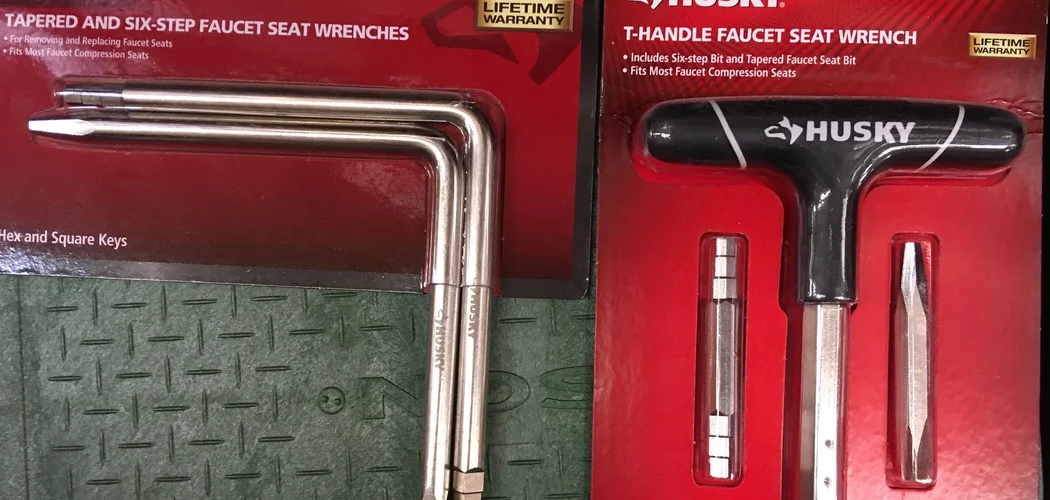
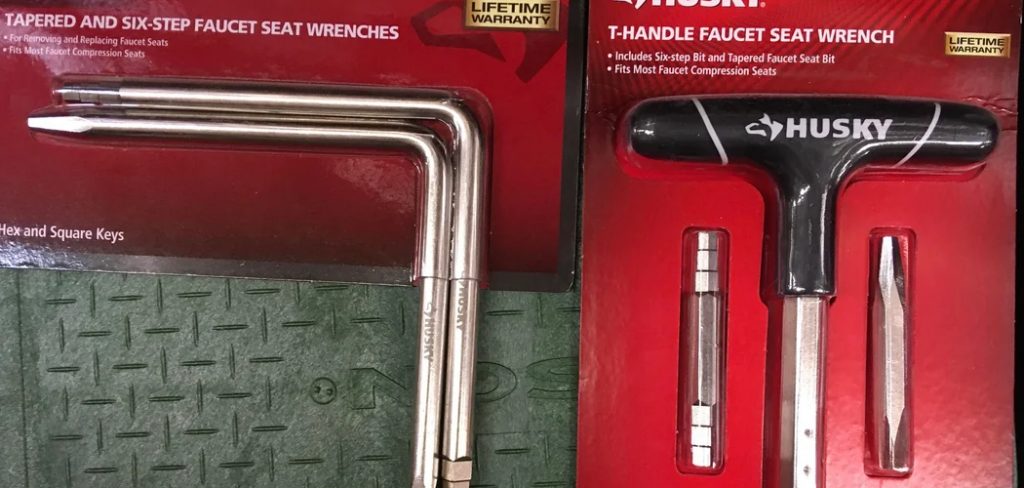
Faucet seat wrenches are specialized tools designed to remove and replace faucet seats, which are critical components in addressing leaks within faucets. These wrenches play a crucial role in maintaining and repairing plumbing systems by providing the precision needed to work with these small but essential parts.
However, ensuring that faucet seat wrenches fit properly, function effectively, and are durable is crucial to avoiding damage to plumbing components and ensuring a successful repair. Testing these tools before use is a simple yet vital step that can save time, money, and frustration in the long run. This article aims to guide you through the process of how to test faucet seat wrenches for proper fit, functionality, and overall reliability to guarantee safe and efficient plumbing work.
Understanding Faucet Seat Wrenches
What is a Faucet Seat?
A faucet seat is the part of a faucet where the washer seals against to prevent water from leaking. Over time, these seats can become worn, corroded, or damaged, which often leads to persistent leaks. Proper maintenance and occasional replacement of faucet seats are essential to ensure a leak-free faucet and efficient water usage.
Types of Faucet Seat Wrenches
- Fixed-seat wrenches: These are standard tools designed for specific seat types. They are durable and reliable, but may require you to use the correct type that matches the faucet seat you’re working on.
- Adjustable-seat wrenches: These are versatile, allowing users to work with various faucet styles. They provide flexibility and can be especially useful for handling a wide range of plumbing tasks.
Why Proper Testing Matters
Testing faucet seat wrenches before use is crucial to maintaining the integrity of your faucet. Proper testing helps prevent stripping or damaging the faucet seat, which can lead to more serious issues or costly repairs. Additionally, it ensures smoother removal and installation of the seat, saving valuable time and effort while reducing frustration during plumbing work.
Tools and Setup Needed for Testing
Items Required
- Different sizes and types of faucet seat wrenches.
- Old or spare faucet bodies for safe testing.
- Lubricant (optional) for stubborn faucet seats.
Preparation Steps
- Clean the Test Faucet Seat Area Thoroughly
Before beginning the test, ensure the faucet seat and the surrounding area are completely clean. Removing debris and grime helps prevent unnecessary wear or damage during testing.
- Inspect the Faucet Seat and Wrench
Carefully examine both the faucet seat and the wrench for any visible defects, such as cracks, rust, or bending. Any imperfections may affect testing accuracy or lead to improper seat removal.
- Prepare the Wrenches
Organize all wrench sizes and types to ensure you have the correct tool for the faucet seat. Having a variety of wrenches readily available allows for a smoother process and ensures compatibility.
- Apply Lubricant if Necessary
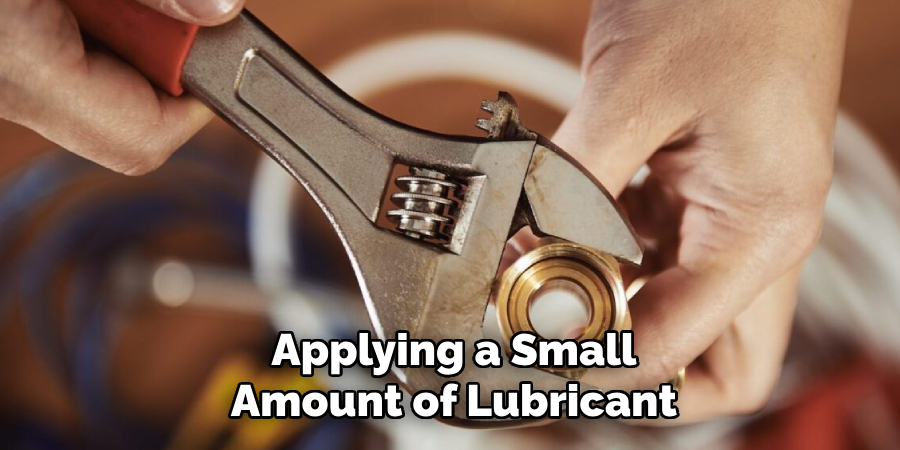
For particularly stubborn faucet seats, applying a small amount of lubricant can help loosen the threads without damaging the seat or the wrench. Always wipe away any excess lubricant before proceeding to avoid slipping.
By following these preparation steps and gathering the proper tools, you can conduct accurate and efficient testing while preserving the quality of both your tools and the faucet seat.
How to Check for Proper Fit
Step 1: Matching Wrench Size to Seat
Insert the seat wrench into the faucet body and carefully attempt to align it with the faucet seat. You should feel for a snug fit where the wrench fits securely into the grooves of the seat. This initial step is critical to avoid damaging the seat or the wrench during testing or removal.
Step 2: Testing Different Angles
Once the seat wrench is inserted, gently rotate it back and forth at slight angles. This movement helps ensure that the wrench catches the grooves properly without slipping. If the wrench seems to catch securely at multiple angles, it indicates that the size and shape are a good match.
Step 3: Confirming Stability
To confirm the proper fit, apply light pressure and check for any signs of wobbling. The wrench should engage the faucet seat firmly and remain stable as you test its position. A perfectly stable connection is crucial for successfully loosening or tightening the seat without causing damage.
Signs of Poor Fit
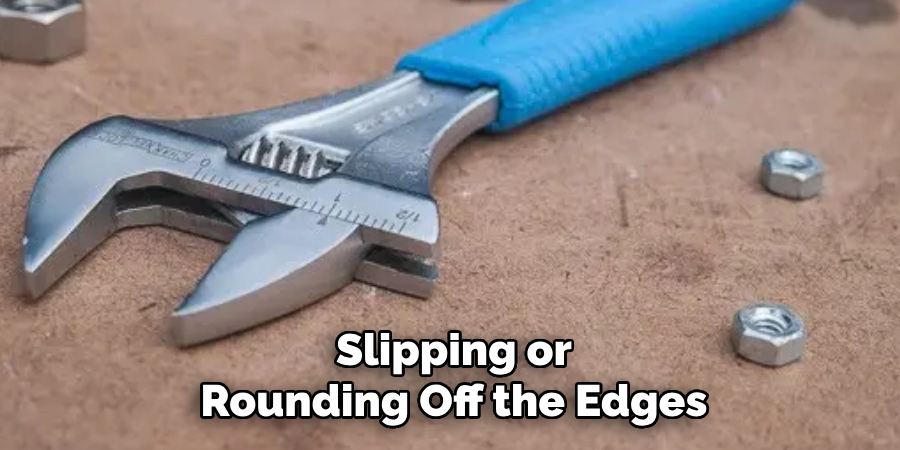
If you notice the wrench slipping or rounding off the edges of the seat, it is a clear sign of a poor fit. Additionally, being unable to grip the seat firmly or experiencing excessive movement may indicate that you need to try a different wrench size or inspect the seat for wear and tear. Ensuring the correct fit will save time and effort and prevent unnecessary damage to the components.
How to Test Faucet Seat Wrenches: Testing Torque and Strength
Step 1: Applying Moderate Force
Begin by turning the wrench both clockwise and counterclockwise to assess the removal resistance of the seat. Apply a moderate amount of force, ensuring you maintain a steady grip on the tool. This helps determine the level of torque required to either loosen or tighten the seat without overexerting or risking damage to the wrench or the components.
Step 2: Observing for Bending or Slipping
Closely monitor the wrench during force application to identify any signs of bending or slipping. An adequately designed wrench should remain rigid and firmly grip the seat, even under moderate pressure. If the tool begins to flex noticeably or slips off frequently, it may indicate that the wrench is either unsuitable for the task or made of inferior materials. Slipping can also suggest improper alignment or a poor fit with the seat, which should be corrected promptly.
Step 3: Testing Material Durability
After using the wrench, inspect it for any visible signs of wear, bending, or damage. High-quality wrenches are built to withstand repeated use without showing significant wear and tear. A durable tool ensures reliability and longevity, making it safer and more effective for repeated applications. If the wrench shows visible signs of damage after moderate use, it’s best to consider replacing it with a higher-quality model that can meet the task’s demands.
Testing Adjustable Faucet Seat Wrenches
Step 1: Adjusting to Seat Size
Begin by calibrating the adjustable faucet seat wrench to the exact size of the faucet seat. This step is critical for ensuring a snug fit, allowing the wrench to grip the seat securely without excessive force or slippage. Use the adjustment mechanism to fine-tune the grip, ensuring the wrench clamps the seat firmly without damaging its material.
Step 2: Performing Grip Test
Once the wrench is adjusted, conduct a grip test to verify the tightness of the adjustable components. Apply pressure while holding the seat to check if the wrench remains securely in place without slipping. A reliable adjustable wrench should maintain a strong grip even under moderate torque, making adjustments or extractions more efficient.
Step 3: Stability Check During Use
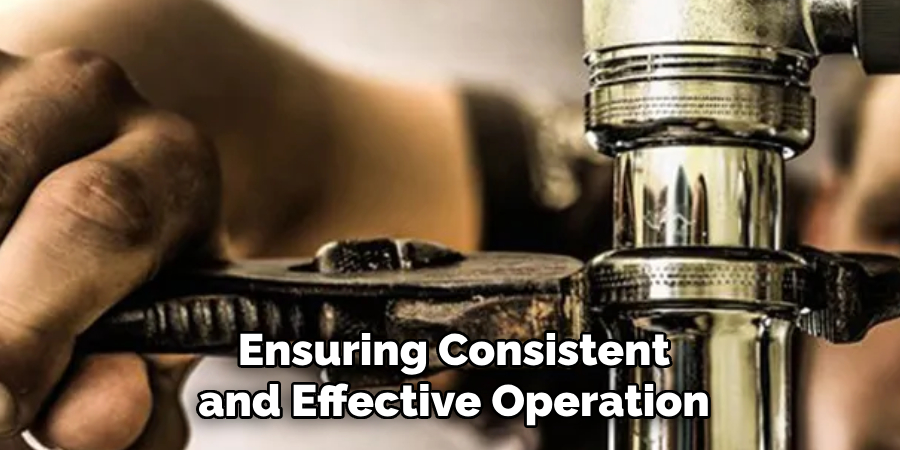
To confirm the wrench’s performance and durability, test it by performing a few removal and insertion simulations on the faucet seat. During this process, pay attention to any signs of instability or movement in the adjustable parts. A high-quality wrench should exhibit minimal to no instability during use, ensuring consistent and effective operation across various tasks. If instability or performance issues are noticed, consider upgrading to a more durable model.
Troubleshooting Common Issues
Problem: Wrench Slips or Skips
One common issue encountered is the wrench slipping or skipping during use. This often occurs due to a few potential causes, such as using the wrong size wrench for the faucet seat, worn or damaged wrench edges, or a poorly maintained or corroded faucet seat. Slipping can not only hinder your progress but also damage the faucet seat further, making repairs more challenging.
Solutions:
To solve this, ensure that you are using a properly sized wrench that fits the faucet seat snugly. If you notice worn or rounded edges on the wrench, it may be time to replace it with a new, higher-quality tool. Additionally, inspect the faucet seat for corrosion or damage, and clean or replace it as necessary for smoother operation.
Problem: Wrench Bends Under Pressure
Another issue to look out for is the wrench bending under pressure. This is typically an indication of low-quality materials or the application of excessive force during use. A bending wrench is not only inefficient but can also pose a safety hazard.
Solutions:
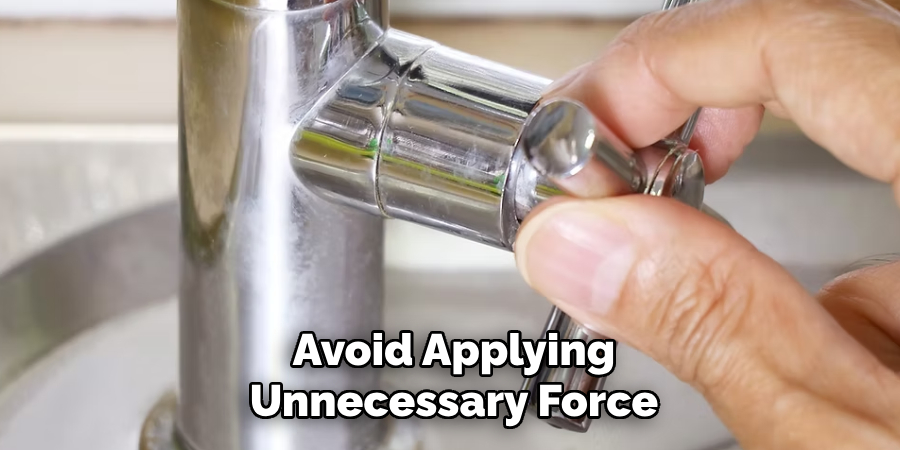
Invest in a durable, high-quality wrench made from sturdy materials to prevent bending. Avoid applying unnecessary force by loosening tight faucet seats incrementally. If overtightening or excessive force becomes a habit, reevaluate your technique to ensure a safer and more efficient approach to faucet repairs.
Conclusion
Understanding how to test faucet seat wrenches is essential for any plumbing repair. Ensuring your tools fit securely and function effectively helps prevent damage to faucet components and minimizes the risk of injuries caused by subpar tools. Investing in high-quality seat wrenches and testing each new tool before use can save you time and avoid costly mistakes in the long run.
Proper tool testing not only extends the lifespan of your plumbing equipment but also makes future repairs more straightforward and safer, giving you peace of mind for every project.

