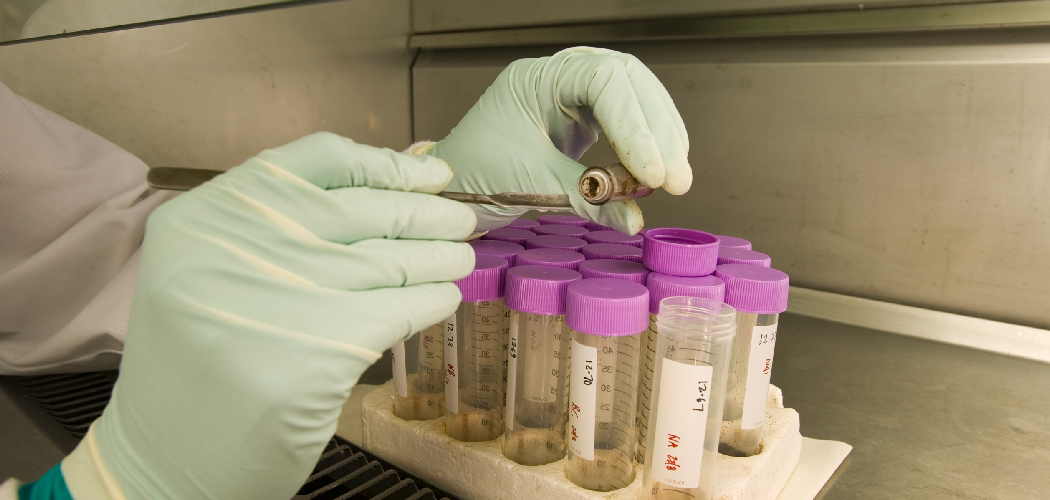
Testing water for sewage contamination is a critical process that ensures the safety and quality of drinking water supplies, as well as the overall health of ecosystems. Contaminated water can pose significant health risks, leading to serious diseases and environmental damage.
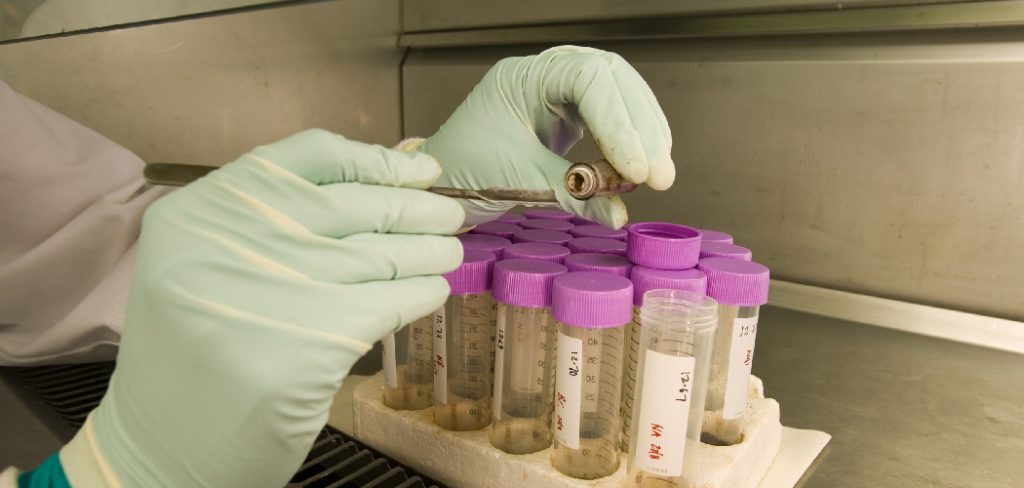
This guide on how to test water for sewage will outline the essential steps for testing water samples, including the necessary tools and methods, as well as interpretation of results. Understanding how to effectively identify sewage in water sources is essential for homeowners, environmental health professionals, and community planners to maintain public health and protect natural resources.
What is Sewage Contamination?
Sewage contamination refers to the presence of human or animal waste, along with associated pathogens and pollutants, in water bodies. This type of contamination can occur when sewage systems are damaged or improperly maintained, leading to leaks or overflows that release untreated waste into the environment.
Additionally, agricultural runoff, which may contain manure and other organic waste, can contribute to sewage contamination in nearby water sources.
The presence of sewage in water can result in harmful microorganisms, such as bacteria and viruses, which pose significant health risks to humans and wildlife. Understanding sewage contamination is crucial for implementing effective water quality management practices and protecting public health.
Tools and Methods for Testing Water for Sewage
Before beginning the testing process, it is essential to gather the necessary tools and equipment. The following are common items used in water testing for sewage contamination:
Sampling Bottles:
These are containers specifically designed for collecting and storing water samples. It is essential to use bottles made of inert materials such as glass or plastic to prevent contamination during the sampling process.

GPS Device:
A Global Positioning System (GPS) device can be used to record the exact location where a sample was taken. This information is crucial for identifying potential sources of contamination and monitoring changes in water quality over time.
Test Kits:
Test kits are commercially available and contain all the necessary reagents and instructions for performing various tests on water samples. These tests may include measuring pH, turbidity, and bacterial presence.
Laboratory Testing:
In some cases, it may be necessary to send water samples to a certified laboratory for more advanced testing. This method provides accurate results but may be more time-consuming and expensive.
7 Steps on How to Test Water for Sewage
Step 1: Identify the Sampling Location
The first step in testing water for sewage contamination is to carefully select the sampling location. It is crucial to choose sites that are likely to reflect potential sources of contamination, such as near septic systems, sewage treatment facilities, or agricultural runoff areas.
Additionally, factors such as water flow and proximity to populated areas should be considered when determining the sampling site.
Document any observable features of the location, such as the presence of standing water or unusual smells, as these can provide context for the analysis. Using a GPS device to record the location ensures accurate documentation for follow-up assessments and helps in tracking changes in water quality over time.

Step 2: Collect the Water Sample
Once the sampling location has been identified, the next step is to collect the water sample. Begin by wearing appropriate personal protective equipment, such as gloves, to avoid contamination and protect yourself from potential hazards. Open the sampling bottle and hold it by the neck to prevent any contact with the bottle’s interior.
Submerge the bottle at least 6 to 12 inches below the water surface to capture a sample that accurately represents the water body. Make sure to face the opening upstream to avoid capturing any debris or sediment that could affect the results.
After filling the bottle to the appropriate level, securely close the lid to ensure that no contaminants can enter. Label the bottle clearly with the date, time, and location of the sample collection to maintain precise records for further analysis. Proper handling and storage of the sample before testing are crucial for obtaining reliable results.
Step 3: Measure pH Levels
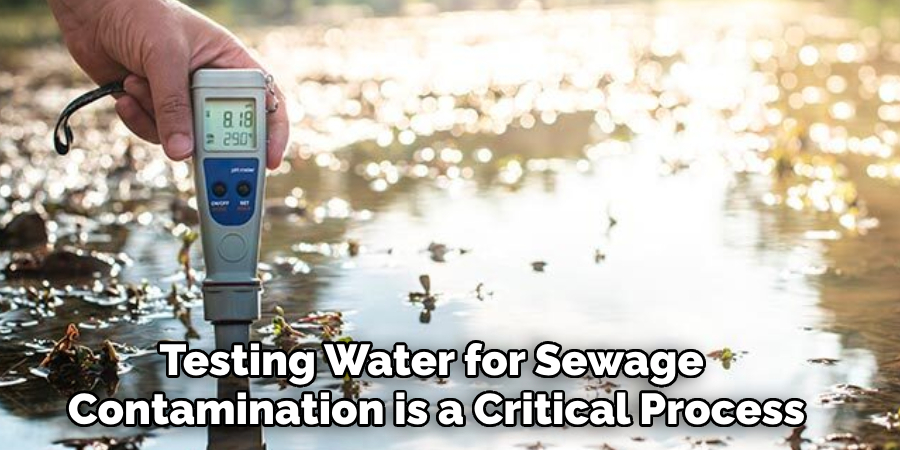
Measuring the pH level of the water sample is an essential step in assessing sewage contamination. pH is a key indicator of water quality, with values typically ranging from 0 to 14, where seven is considered neutral. To measure the pH, use a calibrated pH meter or pH strips, both of which are commonly included in water testing kits.
If using a pH meter, first ensure it is properly calibrated according to the manufacturer’s instructions. Submerge the probe in the water sample and allow it to stabilize before recording the pH reading. If using pH strips, dip the strip into the sample and compare the resulting color against the provided scale to determine the pH value.
A pH reading outside the range of 6.5 to 8.5 may indicate potential contamination or ecological stress. If the pH level is significantly low or high, further investigation may be warranted, as extreme pH levels can affect the viability of aquatic life and suggest the presence of pollutants associated with sewage. Document the pH measurement along with other sampling data to establish a comprehensive profile of the water quality.
Step 4: Measure Turbidity Levels
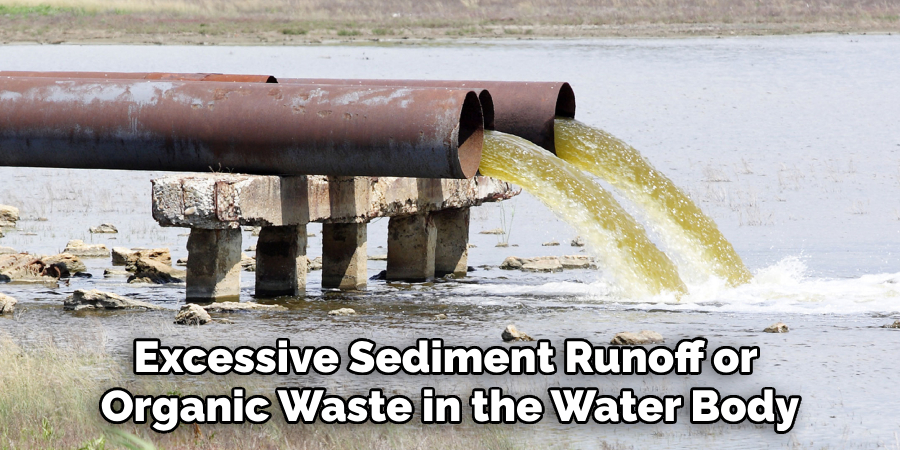
Turbidity, or the cloudiness of water, can provide insights into the presence of suspended particles and pollutants. High turbidity levels can indicate excessive sediment runoff or organic waste in the water body.
Measuring turbidity is also essential for assessing the effectiveness of sewage treatment processes. One common method for measuring turbidity is using a Secchi disk, which is a circular disc that is lowered into the water until it disappears from view. The depth at which the disk becomes invisible provides an approximation of the water’s turbidity level.
Alternatively, electronic devices such as nephelometers are available for more precise measurements. Record all measurements and note any unusual findings, such as water clarity changes or visible debris in the sample.
Step 5: Conduct Bacterial Analysis
Bacterial contamination is a significant concern when testing for sewage in water bodies. The presence of harmful bacteria can pose serious risks to human health and ecological balance.
One commonly used test for bacterial contamination is the coliform test, which measures the levels of E.coli and other coliform bacteria in the water sample. These bacteria are found in the digestive systems of warm-blooded animals, making them an indicator of fecal contamination.
To perform this test, a sterile container is used to collect a water sample and add it to a coliform test kit, following the manufacturer’s instructions. Incubate the sample at the recommended temperature and time, then observe for any change in color or growth. A positive result indicates the presence of coliform bacteria and suggests possible sewage contamination.
Step 6: Test for Nitrates and Phosphates
Nitrates and phosphates are important indicators of water quality, particularly in relation to sewage contamination and nutrient pollution. Elevated levels of these substances can promote algal blooms, which can deplete oxygen in the water and harm aquatic life.
To test for nitrates and phosphates, you can use a water testing kit specifically designed for these parameters, which typically includes reagents that react with the contaminants to produce a color change.
Begin by collecting a water sample using the same procedures outlined in Step 2. Add the appropriate reagents to the sample as per the kit instructions, ensuring you follow safety precautions. After allowing the reaction to occur, compare the resulting color against the provided scale to determine the concentrations of nitrates and phosphates in the sample.
Record your findings diligently, as these levels can be crucial for understanding the broader environmental impacts of sewage and agricultural runoff in the water body. If either nitrate or phosphate levels exceed the safe thresholds, further investigation and remediation measures may be necessary to protect the ecosystem and public health.

Step 7: Interpret and Document Results
Once all necessary tests have been conducted, it is essential to interpret the results in context and document them accurately. Comparing your findings against established water quality standards can provide insights into any potential issues with sewage contamination.
Additionally, tracking changes in water quality over time can help identify trends and inform management strategies for mitigating sewage pollution. Properly documenting all test results and sampling procedures is crucial for maintaining accurate records and understanding the overall health of the water body.
Following these steps on how to test water for sewage can help you effectively test for sewage contamination in water bodies and provide valuable information for protecting human and aquatic health.
Remember to always follow safety precautions when handling potentially contaminated water samples and properly dispose of all materials used during the testing process. With careful data collection and analysis, we can work towards preventing and mitigating sewage pollution to safeguard our environment for future generations.
Frequently Asked Questions
Q: What Are the Potential Consequences of Sewage Pollution in Water Bodies?
A: Sewage pollution can have severe impacts on both human and aquatic life. Exposure to contaminated water can lead to various health issues, including gastrointestinal diseases and infections. Additionally, sewage pollution can harm aquatic ecosystems by depleting oxygen levels and causing algal blooms that block sunlight and disrupt the food chain.
Q: How Often Should Water Testing for Sewage Be Conducted?
A: The frequency of water testing for sewage contamination depends on several factors, including the location and specific concerns about potential sources of contamination. In general, it is recommended to test at least once a month in areas where sewage treatment plants are present or suspected and more frequently near beaches or recreational areas where human contact with contaminated water is more likely.
Q: Can I Use Home Testing Kits to Test for Sewage in Water?
A: While there are some home testing kits available on the market, they may not be as reliable or accurate as professional laboratory testing. It is best to consult with a water testing company or local health department for guidance on appropriate testing methods and procedures.
Conclusion
In conclusion, testing water for sewage contamination is a critical process that ensures the safety of both human health and aquatic ecosystems. By following the outlined steps on how to test water for sewage—from collecting samples and measuring turbidity to conducting bacterial analyses and testing for nitrates and phosphates—individuals and organizations can gather essential information to assess water quality.
Regular monitoring and accurate documentation of results not only help identify immediate problems but also track long-term trends, enabling effective management and remediation strategies. As we strive to protect our water bodies, it is vital to remain vigilant and proactive in addressing sewage pollution, thereby safeguarding the environment for future generations.

