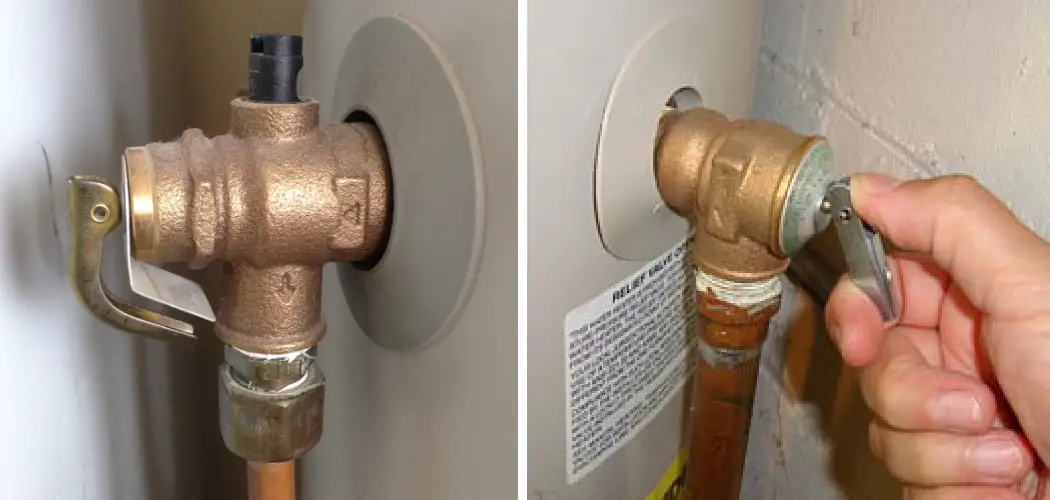
A pressure relief valve (PRV) on a water heater is a crucial safety device designed to release excess pressure, thereby preventing the water heater tank from overheating or, in worst-case scenarios, exploding. Regularly testing the PRV is essential to ensure it is functioning correctly and maintaining the overall safety of your water heater system. This task should not be overlooked, as a faulty PRV can lead to significant hazards, including potential water damage and safety risks.
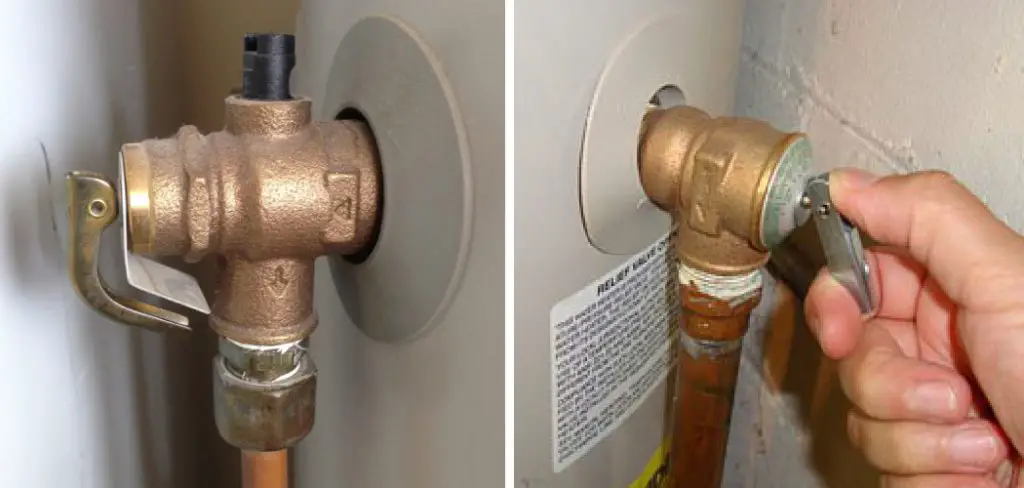
In this guide, we will walk you through how to test water heater pressure relief valve with detailed steps, including preparation, execution, and troubleshooting any issues that may arise during the process. Proper maintenance and testing of the PRV will help ensure the longevity and safety of your water heater.
Safety Precautions
Ensuring your safety is paramount when testing a water heater pressure relief valve. It is crucial to follow these steps to avoid any potential hazards.
Turn Off the Power Supply
- For Electric Water Heaters: Turn off the power at the circuit breaker to cut off electricity to the unit. This prevents the risk of electric shock during the testing process.
- For Gas Water Heaters: Set the gas control valve to the “pilot” or “off” position to stop the heater from igniting whilst you conduct your test.
Let Water Cool
- Allow the Water to Cool: Give the water heater a few hours to cool down before starting the test. This step is necessary to prevent any risk of scalding yourself when releasing pressure from the PRV. It is recommended to perform this step overnight or during a time when the water heater hasn’t been in use for a while.
By following these safety precautions, you’ll create a safe environment for testing the water heater pressure relief valve effectively and minimize any unforeseen risks.
Gather Necessary Tools
Proper preparation is key to ensuring a smooth and safe process when testing your water heater’s pressure relief valve. Make sure you have the following tools on hand:
- Bucket or Container: This is essential to catch any water that discharges from the valve during testing, preventing water damage to your floor.
- Towel or Rag: Use these to wipe up any stray drips or spills.
- Safety Gloves and Goggles: These will protect your hands and eyes from hot water or debris that may be expelled during the test.
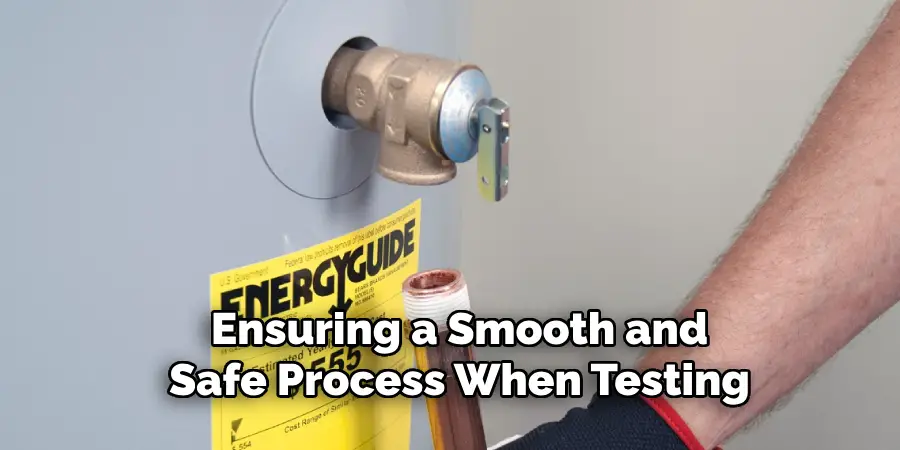
By gathering these tools beforehand, you’ll be ready to proceed with the testing safely and efficiently.
Locate the Pressure Relief Valve
Identify the PRV
The pressure relief valve (PRV) is usually situated on the top or side of the water heater, making it accessible for routine maintenance checks. It typically features a lever handle, which distinguishes it from other water heater components.
- Attach Discharge Pipe:
- Verify the presence of a discharge pipe connected to the PRV. This pipe directs any expelled water to a safe location, typically towards the floor or a designated drain. Ensuring the discharge pipe is properly attached is crucial to prevent any unexpected water damage.
By accurately identifying the PRV and confirming the attachment of the discharge pipe, you set the stage for a successful and safe testing procedure.
How to Test Water Heater Pressure Relief Valve: Test the Pressure Relief Valve
1. Position the Bucket
- Place a bucket or container under the discharge pipe to catch any water that may be released during testing.
- Ensure the container is large enough to hold the expected amount of water.
2. Lift the Lever
- Put on safety gloves and goggles.
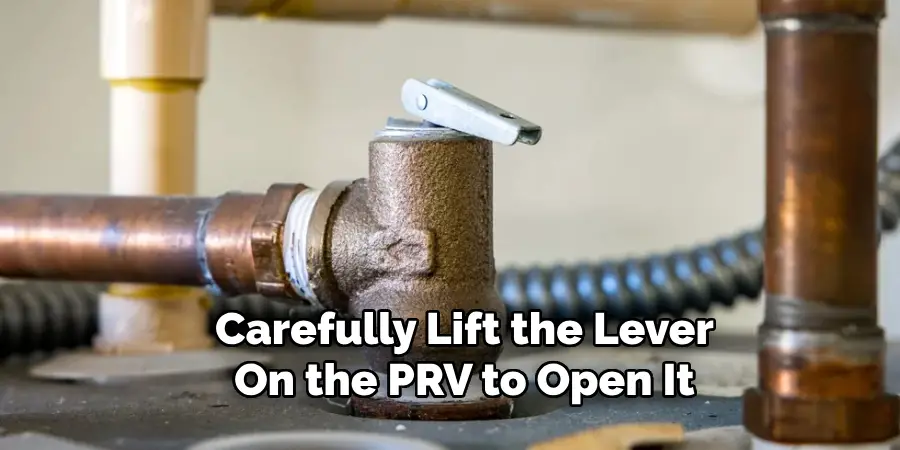
- Carefully lift the lever on the PRV to open it. You should hear a rush of air or see water begin to flow out of the discharge pipe.
- Keep the lever lifted for a few seconds to allow a small amount of water to discharge.
3. Observe the Water Flow
- Check for a steady flow of water from the discharge pipe. This indicates that the valve is functioning correctly.
- If no water flows or if the flow is weak, the valve may be stuck or faulty.
4. Release the Lever
- Slowly release the lever to close the valve.
- Ensure that the water flow stops completely after releasing the lever.
5. Inspect for Leaks
- After closing the valve, inspect the discharge pipe and the area around the PRV for any signs of leaks.
- If there is any dripping or continuous flow of water, the valve may need to be replaced.
Address Any Issues
Stuck or Faulty Valve
- If the PRV does not release water or continues to leak after testing, it may be stuck or faulty.
- Consult the water heater’s manual for instructions on how to replace the PRV, or contact a professional plumber for assistance.
Replace the PRV
- Turn off The Water Supply to the water heater. This prevents any new water from entering the tank during the replacement process.
- Drain the Water Heater to below the level of the PRV. This step is crucial to avoid water spillage when removing the old valve.
- Use a Pipe Wrench to carefully remove the old valve. Unscrew it slowly to prevent damage to the tank threads.
- Install a New PRV according to the manufacturer’s instructions. Make sure it is securely tightened, but avoid over-tightening, which could damage it.
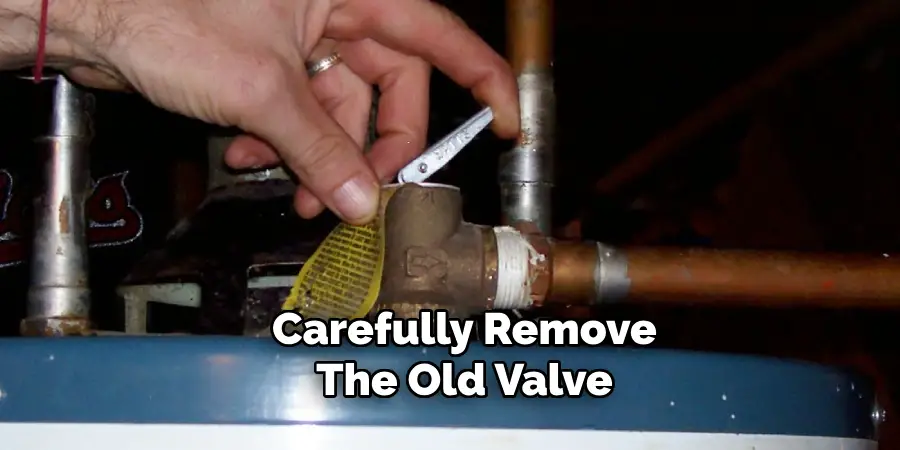
After replacing the PRV, restore the water supply and turn the power back on. Conduct a new test to ensure the valve is working correctly and there are no leaks. Proper installation and functioning of the PRV are vital for the safety and effectiveness of your water heater system.
Final Check and Cleanup
Final Inspection
- After addressing any issues, perform a final inspection to ensure the PRV and discharge pipe are secure and leak-free.
- Check the surrounding area for any signs of moisture or water damage, as even small leaks can lead to significant problems if left unattended.
- Ensure that all connections are tight and that the discharge pipe is properly directed toward the floor or a designated drain.
Restore Power
- For electric water heaters: Turn the power back on at the circuit breaker to restore electricity to the unit.
- For gas water heaters: Reset the gas control valve to the “on” position or to your preferred setting, allowing the heater to relight and commence operation.
Cleanup
- Clean up any spilled water from the testing process using towels or rags.
- Remove the bucket or container from under the discharge pipe, ensuring it is emptied and stored properly for future use.
- Dispose of any used safety gloves or other disposable items according to your local waste disposal guidelines.
- Conduct a final walkthrough of the area to ensure all tools and materials have been put away, leaving the space clean and orderly.
Completing these final steps ensures that the water heater is back to full operational status and that your workspace remains safe and tidy.
FAQs About Testing Your Water Heater’s Pressure Relief Valve
Q: Why Is It Important to Test the Pressure Relief Valve?
A: Testing the pressure relief valve is crucial for safety. The PRV ensures the water heater does not build up excessive pressure, which can lead to dangerous situations such as tank explosions or significant water damage.
Q: How Often Should I Test the Pressure Relief Valve?
A: The pressure relief valve should be tested at least once a year to ensure proper function. Regular testing helps identify potential issues early and maintains the water heater’s overall efficiency and safety.
Q: What Should I Do if there are No Water Flows when Testing the PRV?
A: If no water flows when you lift the lever on the PRV, the valve may be stuck or faulty. It is important to address this issue immediately. Reference your water heater’s manual for troubleshooting steps or contact a professional plumber for assistance.
Q: Can I Replace the PRV Myself?
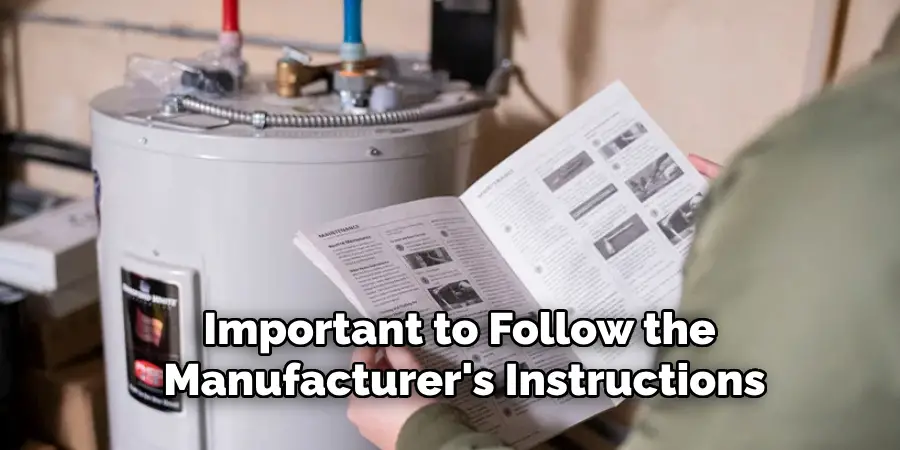
A: While it is possible to replace the PRV yourself, it is important to follow the manufacturer’s instructions precisely. If you are not comfortable performing this task, it is advisable to hire a professional plumber to ensure the replacement is done correctly.
Q: What Should I Do if The PRV Continues to Leak After Testing?
A: If the PRV continues to leak after testing, it may indicate a faulty valve that needs replacement. Turn off the water supply to the heater and consult the manual or a professional for guidance on how to replace the PRV to prevent ongoing leakage and potential damage.
Q: Can I Still Use My Water Heater if The PRV Is Faulty or Leaking?
A: It is not advisable to use your water heater if the PRV is faulty or leaking. A malfunctioning PRV compromises the safety of your water heater system. Address any issues with the valve promptly to avoid hazards and maintain the integrity of the heater.
Conclusion
In summary, testing your water heater’s pressure relief valve involves gathering the necessary tools, locating the valve, positioning a bucket under the discharge pipe, lifting the lever to release some water, observing the water flow, and inspecting for leaks. Address any issues by replacing a faulty valve, ensuring you follow the proper safety procedures throughout the process.
The PRV plays a crucial role in maintaining the safety and efficiency of your water heater. It prevents excessive pressure build-up, which could lead to tank damage or even explosions, making it an essential component that needs regular attention.
Test the PRV at least once a year to ensure your water heater operates safely and effectively. If you encounter any issues or feel uncertain about any part of the process, do not hesitate to seek professional assistance. By regularly learning how to test water heater pressure relief valve, you safeguard your home and prolong the life of your water heater.

