Frozen pipes can be a major inconvenience, causing disruptions to daily routines and potentially leading to expensive damages. The most common cause of frozen pipes is exposure to extremely cold temperatures, which can cause water within the pipes to freeze and expand. This expansion puts pressure on the walls of the pipe, increasing the risk of it bursting.
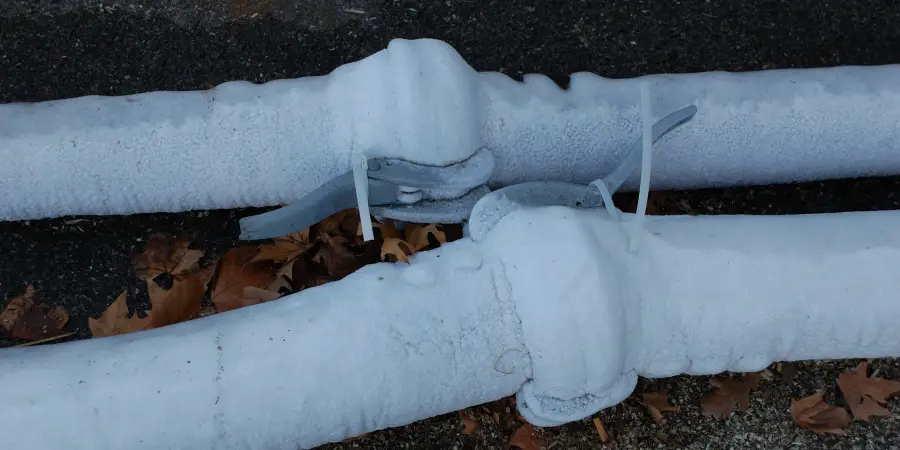
The main advantage of thawing frozen pipe in wall is that you can effectively prevent any damage caused by the freezing water. Frozen pipes are a common problem during winter and if not properly addressed, they can burst and cause flooding. By learning to thaw frozen pipe in wall, you can save yourself from costly repairs and potential property damage. In this blog post, You will learn in detail how to thaw frozen pipe in wall.
Step-by-step Instructions for How to Thaw Frozen Pipe in Wall
Step 1: Inspect the Frozen Pipe
Before attempting to thaw a frozen pipe in your wall, it is important to first inspect the area and assess the situation. Look for any visible signs of damage, such as cracks or bulging sections of pipe. Additionally, check to see if there is any water leaking from the pipe.
Step 2: Turn off Water Supply
Once you have identified the frozen pipe, locate the main water shut-off valve and turn off the water supply to your home. This will prevent any further damage in case of a burst pipe. Next, open all faucets connected to the frozen pipe. This will allow any built-up steam or pressure to escape as you begin thawing the pipe.
Step 3: Gather Necessary Supplies
Before starting the thawing process, gather all necessary supplies. This may include a hair dryer, heat lamp, or towels to catch any water that may leak out. Using a hair dryer or heat lamp, apply heat to the frozen section of pipe. Start from the end closest to the faucet and work your way down. Be sure to keep the heat source moving along the pipe, rather than focusing on one spot.

Step 4: Use a Towel
Place a towel around the pipe where you are applying heat. This will help to absorb any water that may start to leak out as the ice thaws. After a few minutes of applying heat, check to see if the ice has started to thaw. If so, continue moving along the pipe until you reach the end closest to the faucet.
Step 5: Apply More Heat
If there are still sections of ice that have not thawed, apply more heat and continue moving along the pipe until it is completely defrosted. Once the pipe is completely thawed, turn the water supply back on and let the faucet run for a few minutes. This will help to flush out any remaining ice or debris in the pipe.
Step 6: Inspect for Damage
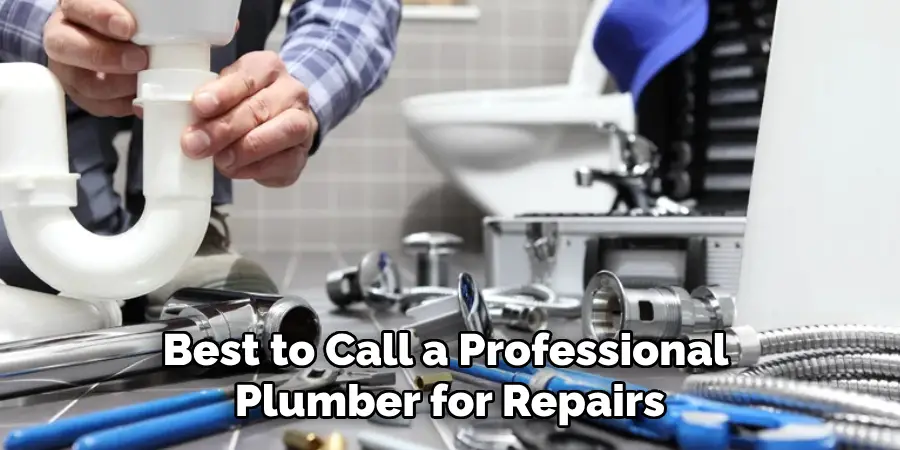
After completing the thawing process, inspect the pipe again for any signs of damage. If there are cracks or other issues, it is best to call a professional plumber for repairs.
By following these step-by-step instructions, you can safely and effectively thaw a frozen pipe in your wall. Remember to always use caution when dealing with frozen pipes and if you are unsure or uncomfortable with the process, it is best to seek help from a professional plumber.
Safety Tips for How to Thaw Frozen Pipe in Wall
- This should be the very first step before attempting to thaw a frozen pipe inside your wall. Shutting off the water supply will prevent water from gushing out once you start thawing the pipe.
- Before you start trying to thaw a pipe, it’s essential to determine which one is actually frozen. You can do this by checking all the pipes in your home for signs of frozen water, such as visible frost or a complete absence of water flow.
- Always use caution when handling any electrical appliances near frozen pipes. If possible, try to avoid using electrical devices altogether and stick to other methods of thawing.
- Wear protective gear, including gloves and safety glasses, when attempting to thaw a frozen pipe. This will protect you from potential accidents and injuries.
- Use a hairdryer or heat gun to slowly and carefully thaw the frozen pipe. Do not use an open flame or high heat source as this can cause damage to your pipes.
- If your wall is insulated, it’s important to remove the insulation in order to access the frozen pipe. Be sure to replace the insulation once you have successfully thawed the pipe.
- If you are unsure or uncomfortable with attempting to thaw a frozen pipe on your own, it’s best to call a professional plumber. They will have the necessary tools and experience to safely and effectively handle the situation.
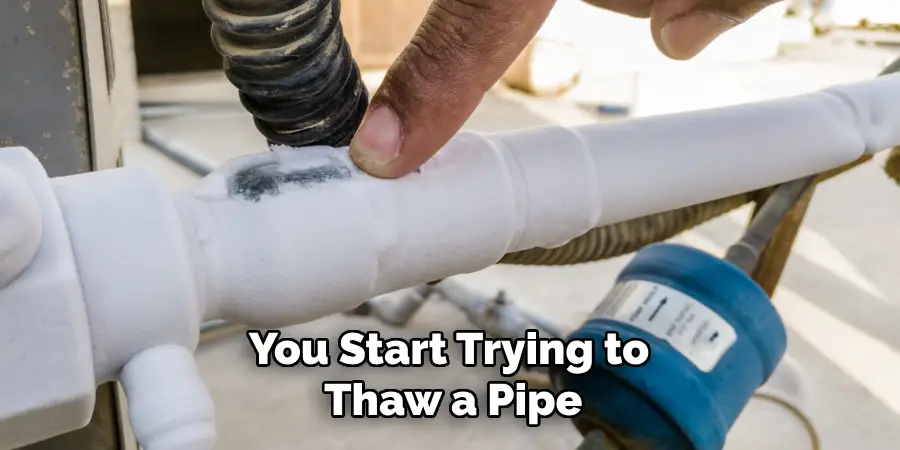
How Can You Prevent Frozen Pipes in Your Walls in the Future?
Frozen pipes in walls can be a major problem for homeowners, causing water damage and leading to costly repairs. If you have experienced frozen pipes in your walls before, or want to prevent them from happening in the future, there are some preventative measures you can take.
1. Insulate Your Pipes
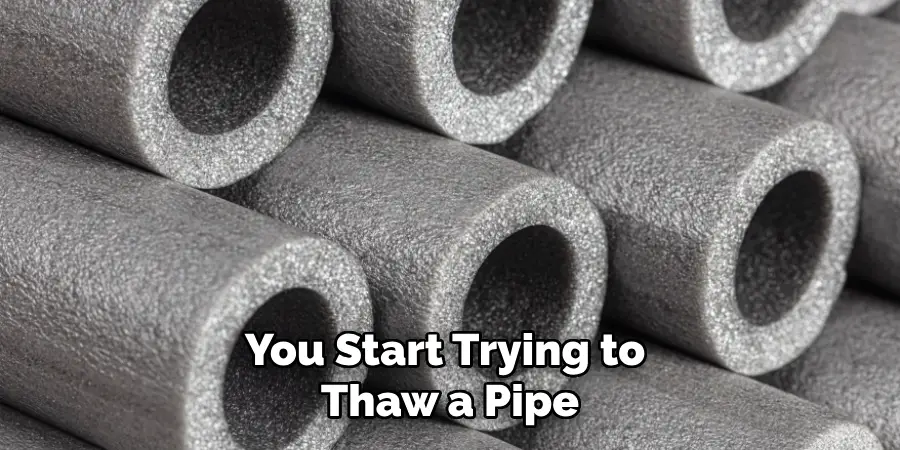
One of the most effective ways to prevent frozen pipes in your walls is by properly insulating them. This keeps the heat in and the cold out, reducing the risk of frozen pipes. You can purchase foam pipe insulation at your local hardware store and easily install it yourself.
2. Seal Up Cracks and Holes
Another way to prevent frozen pipes is by sealing up any cracks or holes in your walls that could allow cold air to enter. Check for any gaps around windows and doors, as well as cracks in the walls or foundation. Use caulk or weather stripping to seal up these areas.
3. Keep Your Home Warm
During cold winter months, it’s important to keep your home at a consistent temperature to prevent pipes from freezing. Set your thermostat to a minimum of 55 degrees Fahrenheit and make sure all rooms in your home are receiving heat.
4. Let Faucets Drip
On particularly cold nights, it can be helpful to let your faucets drip slightly. This relieves pressure in the pipes and prevents them from freezing. It’s especially important to do this for any exterior faucets or pipes that may be more exposed to the elements.
5. Open Cabinet Doors
If you have pipes running through cabinets, open the doors to allow warm air to circulate around them. This can help prevent frozen pipes and is especially important for kitchens and bathrooms where there may be more plumbing.
6. Drain Outdoor Water Sources
Before winter hits, be sure to drain any outdoor water sources such as sprinkler systems or hoses. This will help prevent frozen pipes in your walls and save you from costly repairs.
With these preventative measures in place, you can reduce the risk of frozen pipes in your walls and avoid potential water damage. If you do experience frozen pipes, be sure to thaw them properly using methods such as applying heat with a hairdryer or using warm towels.
Are There Any Warning Signs That Indicate a Potential Frozen Pipe Situation in Your Wall?
One of the biggest issues that homeowners face during the winter months is frozen pipes. This can be particularly concerning when it comes to pipes located inside your walls, as it can cause extensive damage to your home. Knowing how to thaw a frozen pipe in your wall is crucial for preventing these types of emergencies. But before we dive into the steps on how to thaw a frozen pipe in your wall, it’s important to be aware of warning signs that indicate a potential frozen pipe situation. These include:
- Limited or no water flow from faucets: If you turn on a faucet and only a small trickle of water comes out, this could be a sign of a frozen pipe in your wall.
- Strange noises coming from pipes: If you hear banging or rattling noises coming from your pipes, this could be a sign that the water inside is frozen and expanding.
- Unpleasant smells: If you notice a foul smell coming from your drains, this could be due to a blocked or frozen pipe.
- Frost on exposed pipes: This may seem obvious, but if you see frost on any of your exposed pipes, it’s likely that the pipes inside your walls are also frozen.
If you notice any of these warning signs, it’s important to take action immediately to thaw the frozen pipe and prevent further damage.
What Are the Potential Risks of Improperly Thawing a Frozen Pipe in a Wall?
When dealing with a frozen pipe in a wall, it is important to take the proper precautions to safely thaw out the pipe. Improperly thawing a frozen pipe can lead to potential risks that could result in further damage or harm. First and foremost, there is a risk of causing further damage to the already frozen pipe.
If hot water or open flame is used to thaw out the pipe too quickly, it could cause the frozen water inside to expand rapidly and potentially burst the pipe. This will only add to the damage and increase repair costs.
Secondly, there is a risk of injury if proper safety measures are not taken while attempting to thaw a frozen pipe in a wall. For example, using an open flame near combustible materials or standing on slippery surfaces while attempting to reach the frozen pipe can lead to accidents and injuries.
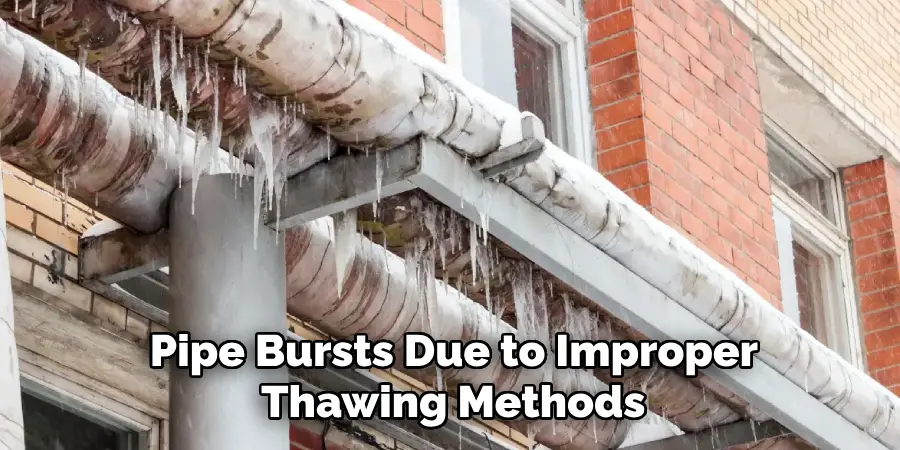
In addition, improperly thawing a frozen pipe in a wall could also result in water damage. If the pipe bursts due to improper thawing methods, it could cause flooding or leaking inside the walls which could then lead to mold growth and structural damage.
Conclusion
In conclusion, a frozen pipe in the wall is an unfortunate and common problem that can happen to any homeowner. While it may seem daunting, there are several steps you can take to safely thaw a frozen pipe. Remember to never use an open flame or electrical appliance near the frozen pipe, as this can lead to serious damage or even fire.
Instead, use gentle heat sources such as a hairdryer or heating pad, and take your time to allow the pipe to thaw slowly. It is also important to locate and fix any potential sources of cold air that may have caused the freeze in the first place. I hope this article has been beneficial for learning how to thaw frozen pipe in wall. Make Sure the precautionary measures are followed chronologically.

