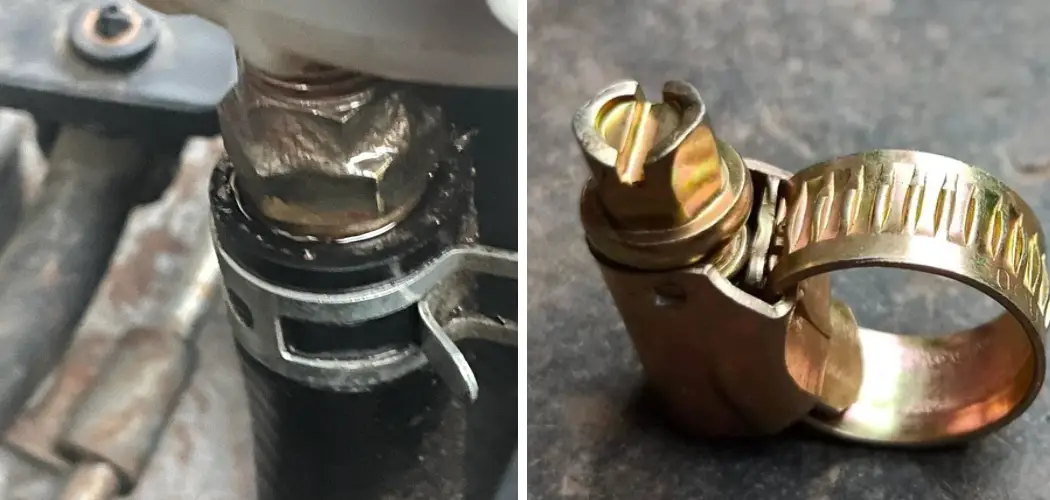
Tightening a hose clamp is a fundamental yet crucial task in maintaining the integrity of various systems, including automotive engines, household plumbing, and industrial machinery. Hose clamps are designed to secure hoses over fittings, preventing leaks and ensuring a tight seal under pressure. Whether dealing with worm-drive clamps, spring clamps, or ear clamps, the process of tightening them correctly is essential for avoiding leaks and ensuring reliable operation. Improperly tightened hose clamps can lead to leaks, system failures, and potential damage to the equipment.
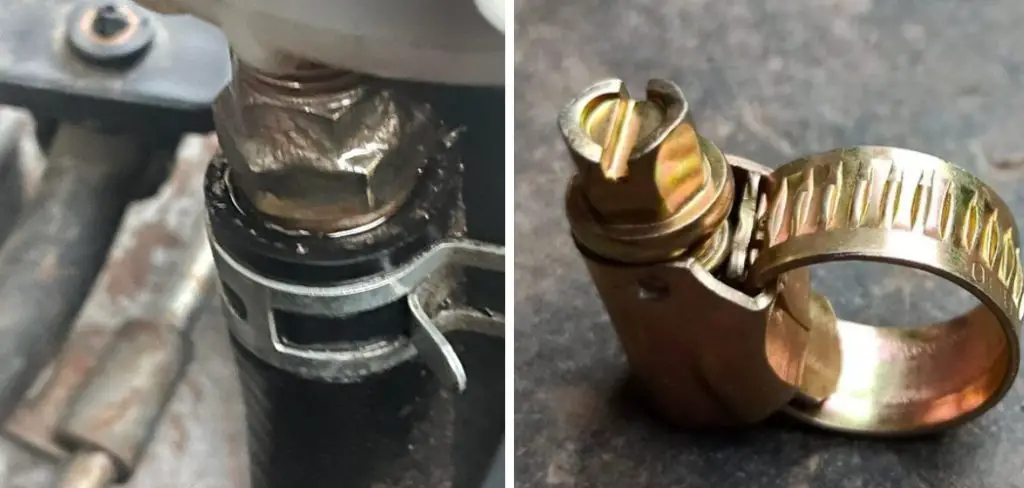
This guide will walk you through the essential steps to tighten hose clamps effectively, including selecting the right type of clamp for your application, preparing the hose and fitting surfaces, and using the correct tools to achieve the appropriate tension. By following these steps on how to tighten hose clamp, you can ensure a secure, leak-free connection, extending the life and performance of your hoses and the systems they support.
Understanding Hose Clamps
Hose clamps come in various designs and materials, each suited for specific applications and environments. The most common types include:
Worm-Drive Clamps
Worm-drive clamps, also known as screw clamps, feature a band with screw threads cut into it. A screw or bolt acts as a worm drive, engaging with the slots in the band to adjust the clamp diameter. These clamps are highly versatile and can be used in automotive, household, and industrial settings due to their adjustable size and robust construction.
Spring Clamps
Spring clamps are made from a flexible metal that applies constant pressure on the hose and fitting as the temperature and pressure conditions change. These clamps are ideal for applications where fluctuating temperatures might cause expansion and contraction of hose materials, such as in automotive cooling systems.
Ear Clamps
Ear clamps, also known as Oetiker clamps, consist of a stainless steel band with one or more “ears” that are crimped to tighten the clamp. These clamps are often used for securing hoses in low-pressure applications and are prized for their ease of installation and tamper resistance.
T-Bolt Clamps
T-bolt clamps provide a high-strength alternative to worm-drive clamps, making them suitable for heavy-duty applications such as turbocharged automotive systems or industrial machinery. These clamps feature a T-bolt tightened by a hex nut, ensuring a uniform and secure clamping force.
Pinch Clamps
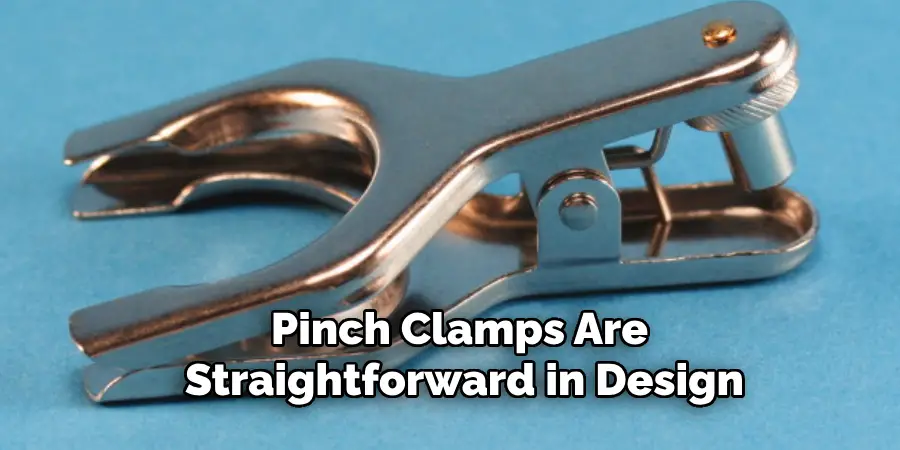
Pinch clamps are straightforward in design, utilizing a band with protruding tabs that are pinched together to tighten. These are often used in low-pressure applications like air or fluid lines in laboratory settings and small appliances.
Understanding the unique characteristics and appropriate applications of each type of hose clamp is essential for selecting the right clamp for your specific needs. By choosing the correct clamp type, you can ensure a secure and reliable connection for your hoses and fittings.
10 Methods How to Tighten Hose Clamp
1. Using a Screwdriver
One of the most common tools for tightening hose clamps is a screwdriver. To begin, select a screwdriver that matches the screw head of the hose clamp, typically either flathead or Phillips. Position the hose clamp around the hose and fitting, ensuring it is seated correctly without any twists or kinks. Insert the screwdriver into the clamp screw and turn it clockwise. Apply consistent pressure and tighten the screw until the clamp feels snug and secure around the hose. Be careful not to overtighten, as this can damage the hose or fitting.
2. Using a Nut Driver
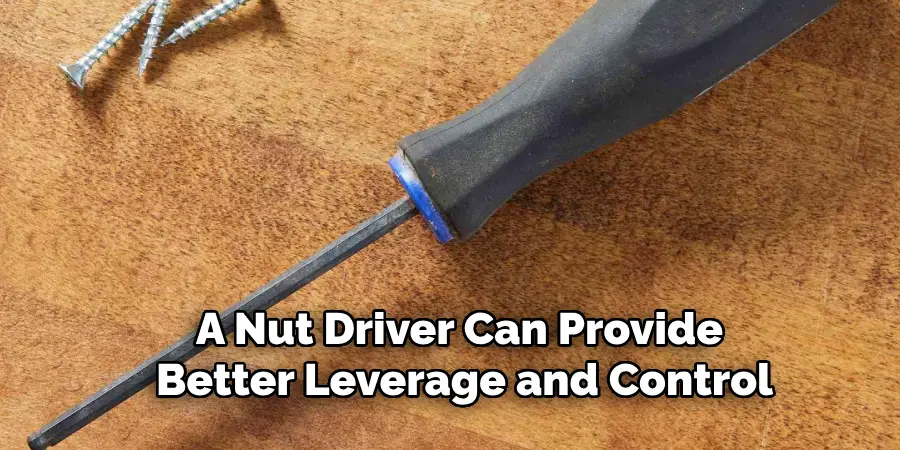
A nut driver can provide better leverage and control than a screwdriver, making it a preferred tool for tightening hose clamps. Choose a nut driver that fits the hex head of the hose clamp screw. Place the hose clamp around the hose and fitting, positioning it about a quarter-inch from the end of the hose for optimal sealing. Insert the nut driver onto the clamp screw and turn it clockwise. Apply even pressure and tighten the screw until the clamp is secure, checking for any signs of over-compression on the hose.
3. Using a Ratchet and Socket
For added torque and ease of use, a ratchet and socket set can be employed to tighten hose clamps. Select a socket that fits the clamp screw and attach it to a ratchet handle. Position the hose clamp around the hose and fitting, ensuring it is correctly aligned. Place the socket onto the clamp screw and turn the ratchet clockwise. Use short, controlled movements to tighten the clamp, ensuring the hose is secure without being overly compressed. This method is particularly useful in tight spaces where other tools might be difficult to maneuver.
4. Using a Torque Wrench
To achieve precise tightening and avoid damaging the hose or fitting, a torque wrench can be used. Check the manufacturer’s specifications for the recommended torque setting for the hose clamp. Attach a socket that fits the clamp screw to the torque wrench and set it to the specified torque. Position the hose clamp around the hose and fitting, aligning it properly. Place the socket onto the clamp screw and turn the wrench clockwise. The torque wrench will click or indicate when the desired torque is reached, ensuring the clamp is tightened to the correct specification.
5. Using Pliers
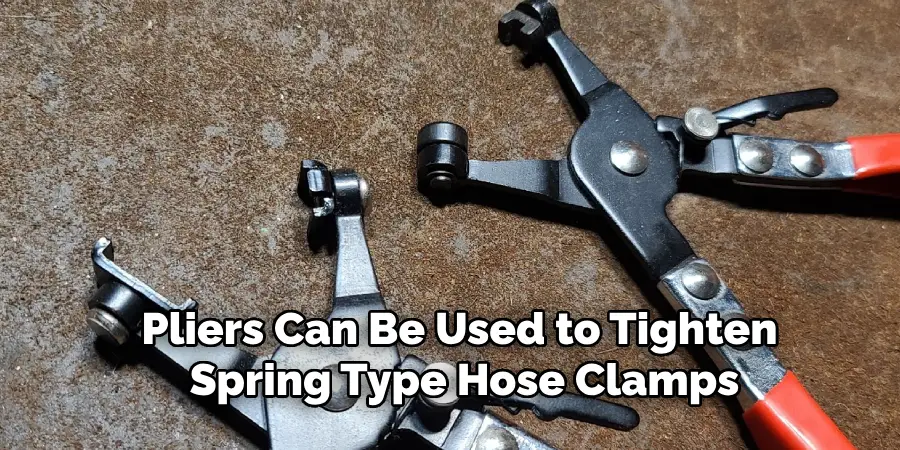
Pliers can be used to tighten spring-type hose clamps, which do not have a screw mechanism. Select a pair of pliers that fit the size of the clamp. Squeeze the clamp tabs together with the pliers to expand the clamp, then position it around the hose and fitting. Release the pliers slowly, allowing the clamp to compress around the hose. Ensure the clamp is seated correctly and provides a secure seal. This method requires careful handling to avoid pinching or damaging the hose.
6. Using a Hose Clamp Pliers
Specialized hose clamp pliers are designed to provide a secure grip and precise control when tightening hose clamps, particularly for spring-type clamps. Choose hose clamp pliers that match the size and type of your clamp. Position the clamp around the hose and fitting, then use the pliers to compress the clamp tabs. With the clamp expanded, slide it into place and release the pliers to secure the clamp around the hose. This tool provides better leverage and reduces the risk of damaging the hose compared to standard pliers.
7. Checking for Uniform Tightness
Ensuring uniform tightness around the hose clamp is crucial for an effective seal. After initially tightening the clamp with your chosen tool, use a torque wrench to double-check the tightness if possible. Rotate the hose and visually inspect the clamp for even compression around the entire circumference of the hose. If any sections appear looser than others, adjust accordingly. Ensuring uniform tightness prevents leaks and prolongs the lifespan of both the hose and the clamp.
8. Avoiding Over-Tightening
Over-tightening a hose clamp can damage the hose, causing it to crack or deform, which can lead to leaks or hose failure. To avoid over-tightening, use tools that allow for precise control, such as a torque wrench or a nut driver. Tighten the clamp gradually, checking the hose for any signs of compression or deformation. If using a torque wrench, adhere to the manufacturer’s recommended torque settings. Always aim for a snug fit that securely holds the hose without causing damage.
9. Double-Checking Alignment
Proper alignment of the hose clamp is essential for an effective seal. After positioning the clamp around the hose and fitting, check that the clamp is evenly seated and parallel to the hose end. Misalignment can cause uneven pressure distribution and potential leaks. Adjust the clamp as necessary to ensure it is straight and properly positioned. Double-check the alignment after tightening to confirm that the clamp has not shifted during the process.
10. Inspecting the Seal
After tightening the hose clamp, it is important to inspect the seal to ensure there are no leaks. Pressurize the system, whether it’s a cooling system, fuel line, or another type of fluid system, and observe the area around the hose clamp. Look for any signs of fluid escaping, which would indicate an incomplete seal.
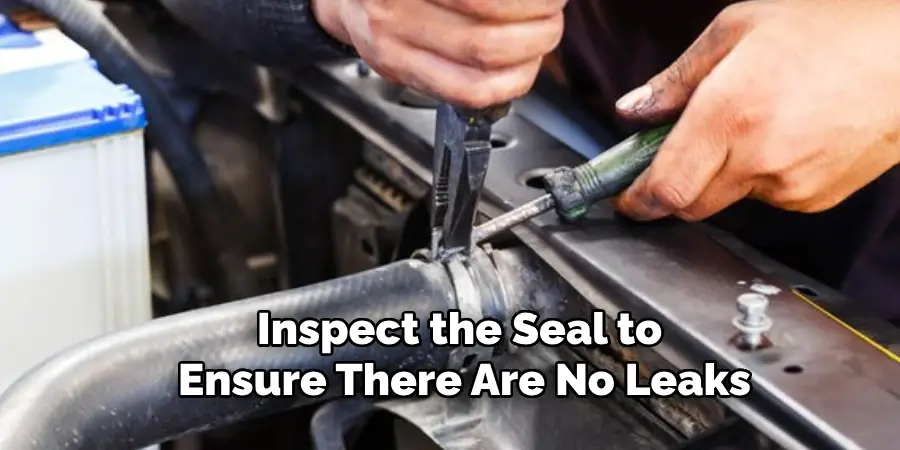
If a leak is detected, re-tighten the clamp slightly and recheck. In some cases, it may be necessary to reposition the clamp or replace it with a new one if the seal cannot be achieved.
Conclusion
Tightening hose clamps properly is a crucial step in ensuring the reliability and efficiency of various fluid systems. Each method described above offers specific advantages and is suited for different types of hose clamps and applications. From using basic tools like screwdrivers and pliers to employing more precise instruments like torque wrenches and specialized hose clamp pliers, understanding and applying these methods can help achieve secure and leak-proof connections.
By following these comprehensive guidelines, technicians and DIY enthusiasts alike can maintain the integrity of their systems, prevent leaks, and extend the lifespan of hoses and clamps. Thanks for reading our blog post on how to tighten hose clamp! We hope you found it helpful and informative.

