There are several reasons why you might need to tighten pipe fittings, including leaks, loose connections, and general maintenance. Tightening pipe fittings is an important skill to have, especially if you regularly work with pipes or have a plumbing system in your home.
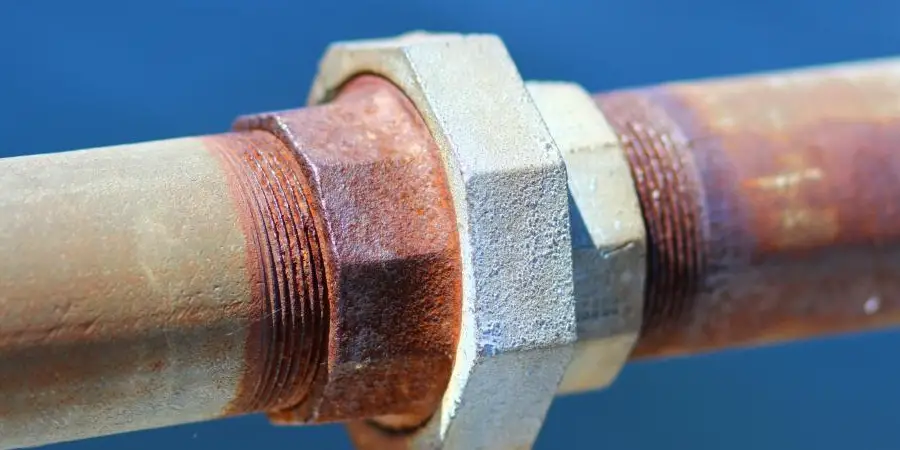
The main advantage of knowing to tighten pipe fittings is that it can save you time and money. Properly tightened pipe fittings prevent leaks, which not only waste water but also cause damage to your plumbing system. By learning to tighten pipe fittings, homeowners can take care of minor plumbing issues themselves instead of hiring a professional plumber. Read this blog post to learn how to tighten pipe fittings.
Tools You Will Need
- Pipe Wrench
- Adjustable Wrench
- Pliers
- Teflon Tape
- Pipe Dope
- Plumbers’ Putty
- Thread Sealant
- Rubber Gloves
- Safety Glasses
- Dust Mask
Now that you have all the necessary tools for tightening pipe fittings, let’s dive into how to use them. Tightening pipe fittings is an essential skill for any homeowner or DIY enthusiast, as it can save you time and money by preventing leaks and ensuring your plumbing system runs smoothly.
Step by Step Processes for How to Tighten Pipe Fittings
Step 1: Inspect the Fitting
Before you begin tightening a pipe fitting, it’s important to inspect it first. Make sure there are no cracks or damage to the fitting that may cause leaks in the future. If there are any irregularities, replace the fitting before proceeding.
Step 2: Clean the Area
Clean and prepare the area around the fitting. Remove any debris or dirt that could interfere with the tightening process. This will ensure a tight and secure fit for your pipe. Make sure you have all the necessary tools to tighten the fitting properly. This may include an adjustable wrench, pliers, or a pipe wrench depending on the type of fitting.

Step 3: Identify the Type of Fitting
There are different types of pipe fittings, and each may require a different approach for tightening. Make sure you know the type of fitting you are working with before proceeding. For maximum control and stability, use two wrenches to tighten the fitting. One wrench should hold the fitting in place while the other turns the nut or bolt on the opposite side.
Step 4: Avoid Over-tightening
It’s important to tighten the fitting firmly, but avoid over-tightening. This can damage the fitting and cause leaks in the future. To ensure a tight seal, wrap Teflon tape around the threading of the pipe before attaching the fitting. This will also make it easier to tighten the fitting.
Step 5: Tighten in a Cross Pattern
If you are tightening multiple fittings, it’s important to do so in a cross pattern. This will evenly distribute the pressure and prevent any one fitting from being over-tightened. Once all the fittings are tightened, test for leaks by running water through the pipes. If you notice any leaks, tighten the fitting a little more until it is secure.
Step 6: Recheck and Monitor
After tightening the fittings, recheck them periodically to ensure they are still tight and there are no leaks. This will prevent future problems and keep your pipes in good condition.
By following these steps, you can effectively tighten pipe fittings and prevent any potential leaks or damage. Remember to always inspect the fitting, clean the area, use the correct tools, and avoid over-tightening for a secure and long-lasting fit.
Safety Tips for How to Tighten Pipe Fittings
- Always wear protective gear such as gloves, safety glasses and closed-toe shoes when working with pipes and fittings.
- Before tightening any pipe fitting, make sure the surrounding area is clear of any debris or clutter to avoid tripping hazards.
- Use the appropriate tools for the job. Using wrenches that are too big or too small can cause damage to both the fitting and the pipes.
- Before tightening, make sure the fittings are properly aligned and seated in place. Misaligned fittings can lead to leaks and damage.
- Apply lubricant or pipe joint compound on the threads of both the pipe and fitting before tightening to ensure a tight seal.
- Do not over tighten the fittings as this can cause them to crack or break, resulting in leaks and potential hazards.
- If using a torque wrench, make sure to follow the manufacturer’s recommended torque settings for the specific fittings being used.
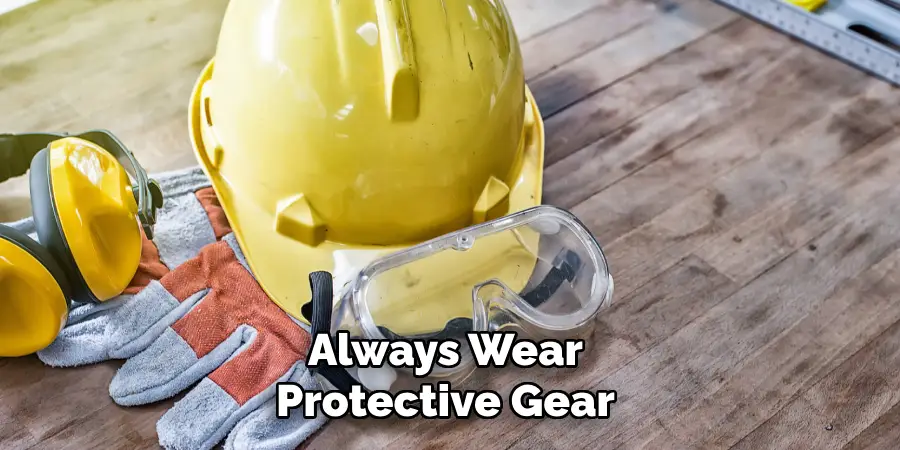
Properly tightening pipe fittings is crucial for ensuring a safe and leak-free plumbing system. Whether you are working on a DIY project or as a professional plumber, following these safety tips and precautions can help prevent accidents and ensure the longevity of your pipes and fittings.
What Are the Most Common Mistakes People Make When Trying to Tighten Pipe Fittings?
When it comes to tightening pipe fittings, there are a few common mistakes that people tend to make. These mistakes can lead to leaks, damage to the fittings, and even potential hazards. In this section, we will discuss some of the most common mistakes and how to avoid them.
1. Over-tightening
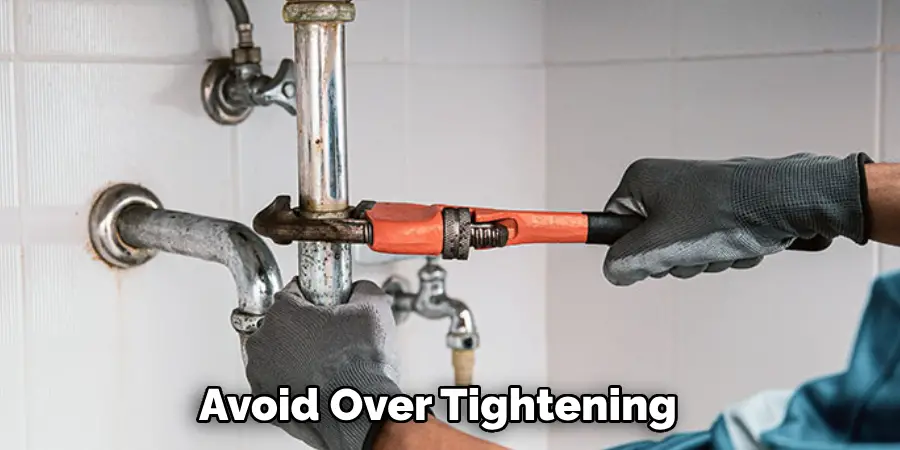
One of the most common mistakes when trying to tighten pipe fittings is over-tightening them. It may seem like the tighter the fitting, the better it will seal. However, this is not always the case. Over-tightening can actually cause damage to both the fitting and the pipes, resulting in leaks or even cracks. Additionally, over-tightening can make it difficult to remove the fittings in case you need to replace them in the future.
To avoid over-tightening, it is important to use a torque wrench and follow the recommended tightening torque for your specific fitting. If you do not have a torque wrench, you can also tighten the fittings by hand until they are snug and then give them an extra quarter turn.
2. Uneven Tightening
Another mistake that people often make when trying to tighten pipe fittings is uneven tightening. This means that one side of the fitting is tightened more than the other, resulting in an uneven and potentially weak seal. Uneven tightening can also lead to leaks and cause damage to both the fittings and pipes.
To avoid this mistake, it is important to use a torque wrench or tighten the fittings by hand evenly on both sides until they are snug. It is also helpful to alternate between tightening each side, rather than fully tightening one side before moving on to the other.
3. Using the Wrong Tools
Using the wrong tools to tighten pipe fittings is another common mistake that can lead to issues. For example, using pliers or a wrench that does not fit properly on the fitting can cause damage and result in leaks. It is important to use the right size and type of tool for your specific fitting to ensure a proper and secure seal.
4. Not Using Thread Sealant
Thread sealant, such as Teflon tape or pipe dope, is essential when tightening pipe fittings. This creates a tight seal between the threads of the fitting and prevents any leaks from occurring. Many people make the mistake of not using thread sealant, which can result in leaks and cause damage over time.
5. Not Checking for Leaks After Tightening
Even if you follow all the proper steps for tightening pipe fittings, it is important to always check for leaks afterwards. This will ensure that the fittings are properly sealed and there are no issues. It is recommended to turn on the water and let it run for a few minutes, then check for any leaks. If you do notice a leak, you can try tightening the fitting again or using additional thread sealant.
Are There Any Maintenance Tasks You Can Do to Prevent Loosening of Pipe Fittings?
So, let’s dive into some simple maintenance tasks that you can perform to prevent loosening of pipe fittings:
1. Check for Leaks Regularly
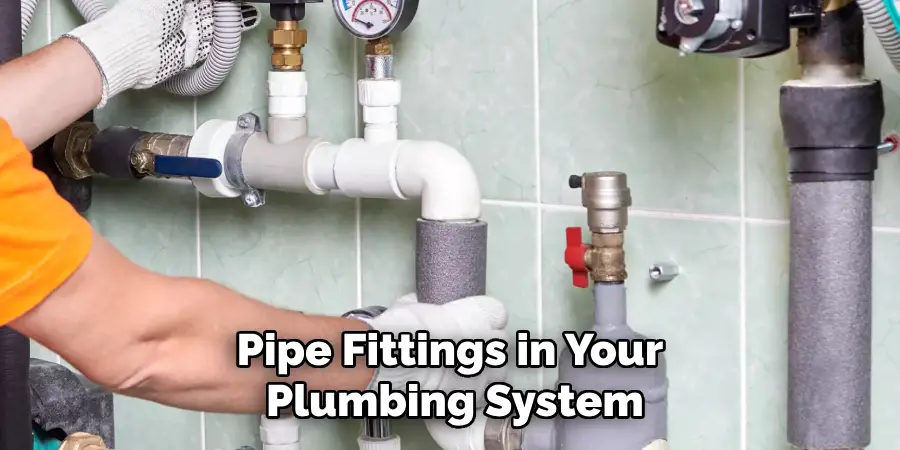
Make it a habit to regularly inspect all the pipe fittings in your plumbing system for any signs of leakage. Even small drips or drops can be an indicator of loose fittings that need tightening.
2. Use Thread Seal Tape
When installing new pipe fittings, make sure to apply thread seal tape on the threads before screwing them together. This tape helps to create a tight seal and prevents the fittings from loosening over time.
3. Tighten Fittings With a Wrench
For existing pipe fittings that seem loose, use a pipe wrench or an adjustable wrench to tighten them. Be careful not to overtighten as it can cause damage to the fittings.
4. Consider Using Thread Locking Compound
In cases where vibration is the main cause of loosening, you can use thread locking compound on the fittings before tightening them. This compound helps to create a strong bond and prevents the fittings from coming loose due to vibrations.
5. Use Pipe Hangers or Supports
Excessive vibration or movement of pipes can also lead to loosening of fittings. To prevent this, you can install pipe hangers or supports at regular intervals to provide stability and reduce movement.
By performing these simple maintenance tasks, you can prevent the hassle of dealing with loose pipe fittings. Regularly checking for leaks and tightening fittings when needed can save you time, money and potential property damage.
Conclusion
In conclusion, knowing to tighten pipe fittings is an essential skill for any homeowner or DIY enthusiast. It not only saves you money on expensive plumbing repairs but also ensures the safety and efficiency of your household plumbing system.
Remember, always start by identifying the type of fitting and selecting the appropriate tools for the job. Use a wrench to secure compression fittings, while threaded fittings require two wrenches to tighten in opposite directions.
Regular maintenance of your plumbing system, including checking and tightening pipe fittings when necessary, can help prolong its lifespan and save you from potential headaches in the long run. Overall, learning to tighten pipe fittings is a valuable skill that can come in handy in various situations. I hope this article has been beneficial for learning how to tighten pipe fittings. Make Sure the precautionary measures are followed chronologically.

