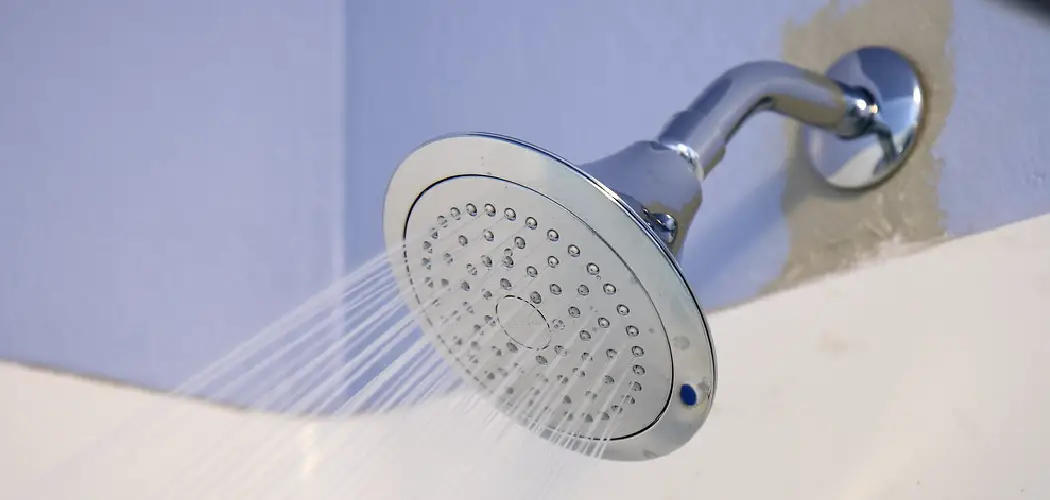
As a homeowner, there may be times when you need to tighten things up around the house. One such instance is when your shower arm seems to be loose and keeps wobbling. It’s easy to understand how a shower arm can loosen over time.
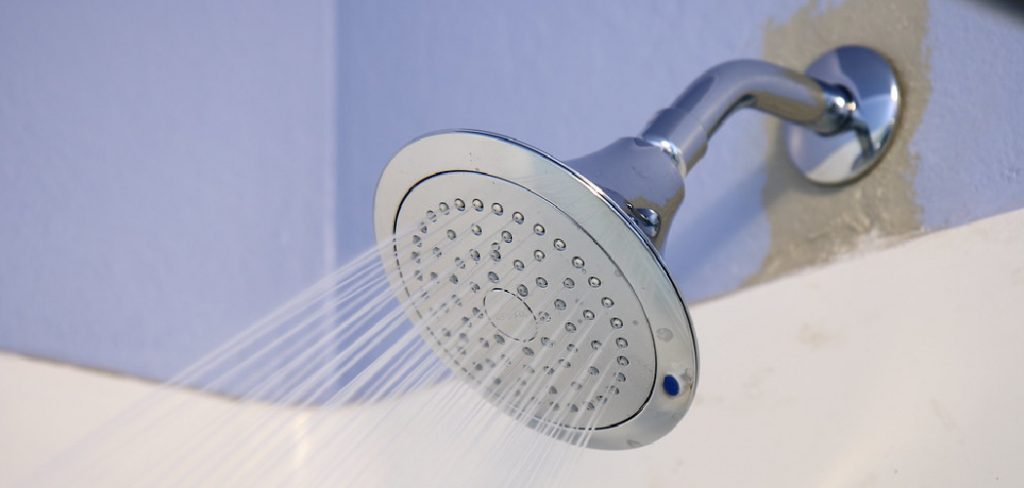
Constant use and exposure to water can wear away at the threads, making it difficult to keep the shower arm in place. If your shower arm is loose, don’t worry – there are several ways you can tighten it up again. In this blog post, we’ll discuss how to tighten shower arm. We’ll also provide some tips for preventing future loosening. Read on to learn more!
How Do You Tighten a Shower Arm without Scratching It?
When tightening a shower arm, it’s important to do so without scratching or damaging the surrounding surfaces. The best way to do this is by using a pair of channel locks. Channel locks are adjustable pliers with a wide range of gripping power.
They can be used to grip and tighten the shower arm without causing any damage. The first step in tightening your shower arm is to make sure that you don’t scratch it. You should use a cloth or towel around the threads before attempting to tighten them up. This will prevent any metal shavings from getting scratched off and causing damage. Once you have done this, it’s time to get to work!
9 Methods How to Tighten Shower Arm
1. Use a Wrench
A wrench is a great way to tighten the shower arm without damaging it. You should make sure that you use the appropriate size wrench for the job – one that fits snugly around the shower arm. Once you have it in place, simply turn it clockwise to tighten the shower arms. You may need to use some elbow grease to get it tight enough. However, be sure not to overtighten it – this could cause damage or breakage.
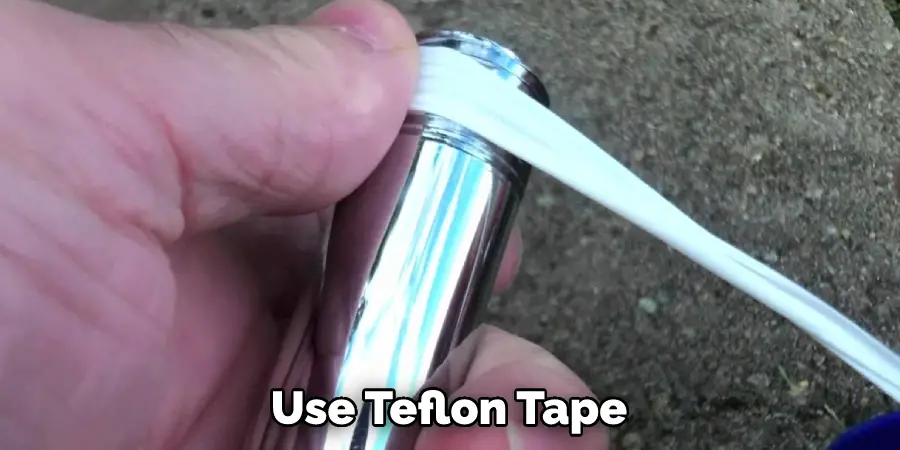
2. Use Teflon Tape
Another way to tighten a loose shower arm is to use Teflon tape. To do this, start by turning off the water supply to the shower. Then unscrew the shower arm and remove it from the wall. Wrap Teflon tape around the threads of the shower arm. When wrapping the tape, be sure to wrap it in the same direction as you’ll be screwing it in. Finally, screw the shower arm back into the wall and turn on the water supply. If done properly, this method should solve the problem and make the shower arm fit more securely.
3. Use Plumber’s Putty
If the shower arm is leaking, you can try to seal it using a plumber’s putty. When applying a plumber’s putty to the shower arm, it is important to use enough to create a tight seal that will last for years. Start by wiping down the area around the shower arm and removing any dirt or debris that may be blocking the seal. Then, knead a small amount of putty into a rope-like shape and wrap it around the shower arm. Make sure that the putty is evenly distributed and that it’s snugly against the base of the shower arm. Allow it to set overnight before using the shower again.
4. Use a Pipe Clamp
Fixing a wobbly pipe is a simple job that only requires basic tools. Using a pipe clamp is the easiest way to secure a loose pipe in place. If a pipe clamp is not available, then use two large adjustable wrenches and some thick rubber padding to secure the connection. Make sure that the rubber padding is thick enough to provide adequate cushioning for the pipe. After the clamp or wrenches are in place, tighten them gradually until the joint feels secure. Finally, check for any leaks around the area to ensure everything is sealed tight. This simple fix should keep your pipes in place for a long time.
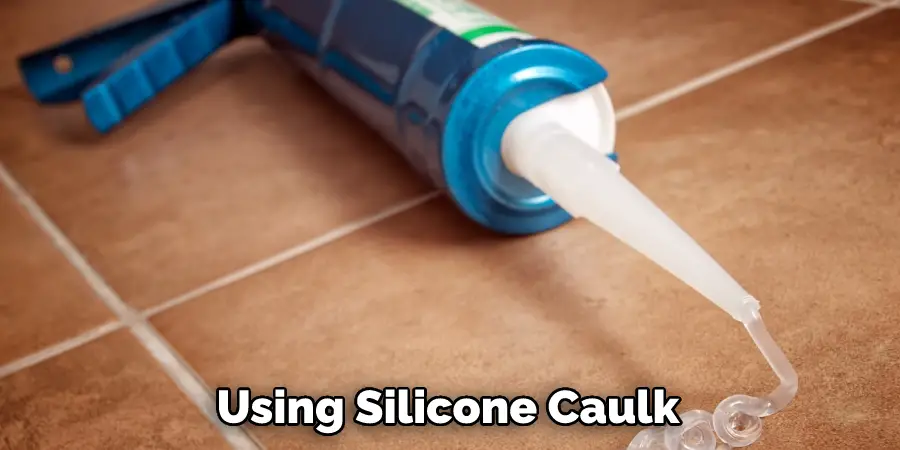
5. Use Silicone Caulk
While some of the other methods may be more permanent, they might not always be suitable for every situation. In those cases, using silicone caulk can help you temporarily seal up cracks, gaps, and small holes. This can be done by cleaning the area of dirt and debris before applying a thin layer of caulk. To apply the caulk, you can use a caulking gun or an applicator nozzle to fill in the gap or hole. Once the caulk has been applied, it should be left to dry for a few hours before use.
6. Use Plumber’s Putty Tape
Plumbers putty tape is a must-have for any plumbing job. It helps seal pipe threads, create watertight seals and prevent leaks. Plumbers’ putty tape comes in different thicknesses and widths, so make sure to buy the right size for your project.
This is an inexpensive way to ensure that all of your plumbing connections are tight and properly sealed. Be sure to follow the manufacturer’s instructions for proper application. Plumbers putty tape should also be used whenever you need to seal a threaded joint. It’s easy to use and helps create a watertight seal that will last for many years.
7. Use Heat Shrink Tubing
Heat shrink tubing is a great way to protect and organize your wires. It’s flexible, easy to use, and comes in various sizes and colors that are perfect for a multitude of applications. Just slide the tubing over your cables, and use a heat gun or hair dryer to shrink it into place.
Be sure to make sure that you get the proper size for the cables you’re using – too large, and it won’t fit properly; too small, and it could damage your wires. It’s also important to make sure that you don’t shrink the tubing too much, as this could restrict the movement of your cables and wires. By using heat shrink tubing, you’ll be able to keep your cables and wires organized and protected.
8. Use PVC Cement
In addition to the use of sandpaper and adhesives, it is also important to use PVC cement for more permanent connections. This type of cement bonds two pieces of PVC pipe together permanently, creating a watertight seal between the two pipes.
It is important to understand how this product works so that you can ensure that the connection will be properly made and sealed. When using PVC cement, it is important to apply the product liberally to both pieces of pipe before sliding them together.
9. Apply Plumber’s Grease
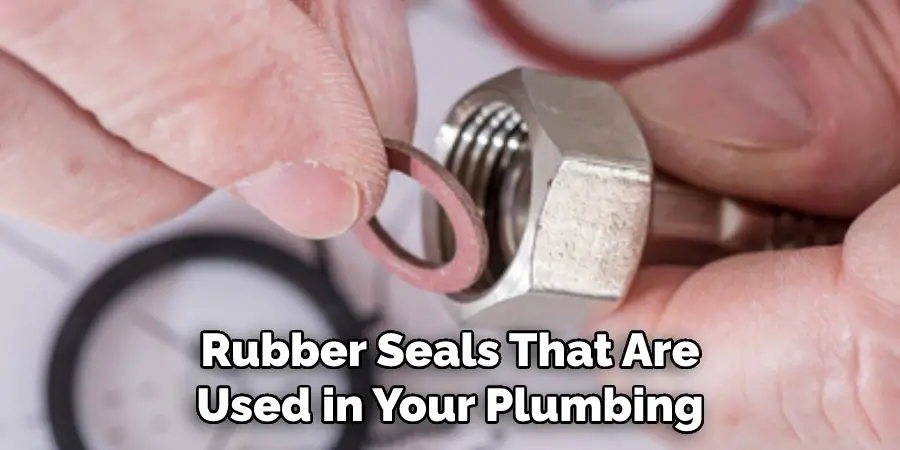
In addition to lubricating the threads of your bolts and nuts, you should also apply the plumber’s grease to any rubber seals that are used in your plumbing system. This will help them last longer and will keep them from becoming brittle over time. It will also help ensure that your water flow is running smoothly and efficiently throughout the plumbing system. When applying the grease, make sure to use a light layer and avoid getting it on the threads of your bolts and nuts.
These are some of the ways you can tighten a loose shower arm. With the right tools and knowledge, you can easily repair or replace your own shower arm. However, it is always recommended that you hire a professional to complete any complex plumbing repairs or replacements. Good luck!
Secret Tips When Tightening Shower Arm
- Make sure to use the right tools and materials for the job
- Use sandpaper or adhesives to help seal any cracks or gaps
- Apply silicone caulk to temporarily fill in any small holes or cracks
- Use plumber’s putty tape to make sure all pipe threads are watertight
- Use heat shrink tubing to protect and organize your plumbing wires
- Apply PVC cement for more permanent connections
- Apply plumber’s grease to any rubber seals in the system
- Hire a professional for any complex repairs or replacements
- Make sure to follow all safety precautions when working with plumbing fixtures and materials.
What Does Shower Arm Screw into?
The shower arm screws into the flange of your shower head to secure it in place. This flange is typically made of brass or stainless steel and has a tapered thread that matches the shower arm. The shower arm is secured in place by tightening or loosening the screws on either side of the flange. If you are installing a new shower head, be sure to choose one with the proper size flange for your existing shower arm.
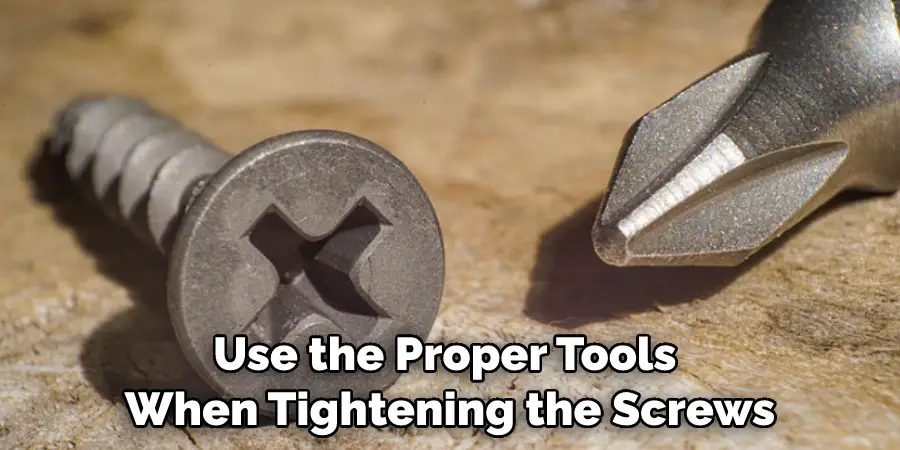
Taking time to properly measure this before purchasing helps ensure that your shower arm is secured properly. Not doing so could result in a loose connection and potentially lead to water leakage. It is also important to use the proper tools when tightening the screws, such as an adjustable wrench or pliers. Doing so will help ensure that your shower arm stays secure and doesn’t come loose over time. Following these tips will help ensure that your shower arm stays secure and your shower head is properly secured in place.
Conclusion
While tightening the shower head is a daunting task, it can be easily accomplished with the right tools, knowledge, and patience. Using sandpaper or adhesives to create a watertight seal between pieces, along with applying silicone caulk, plumber’s putty tape, and plumber’s grease, can help ensure that your plumbing job is done correctly.
Now that you know how to tighten shower arm, you can do it yourself the next time it becomes loose. Just remember to turn off the water before you begin and use caution when working with tools. With these easy instructions, you’ll have your shower back in working order in no time!

