Are you having trouble with a leaking sink faucet? Is it frustrating to see wasted water, wasting money on your monthly water bill, and simply being annoyed by the sound of a dripping faucet? It is important to know how to tighten sink faucet. If so, then this blog post can help.

In this article, we will discuss how to tighten the seals around your sink faucet so that it does not leak anymore. We’ll go through everything from gauging whether or not the issue is actually due to tightness in the seal. Here is a complete step-by-step instruction for tightening those seals and getting back in full operation soon!
Tools You Will Need
- Flathead screwdriver
- Adjustable wrench
- Damp rag
Top 4 Easy Steps Guide on How to Tighten Sink Faucet
Step 1: Shut Off the Water Supply
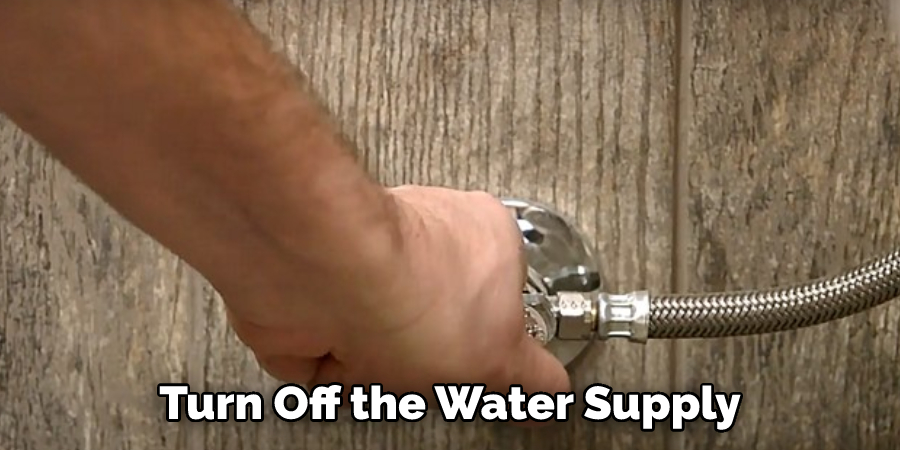
This can be done by turning off the valves underneath the sink or using a shutoff valve located in front of your house. Doing this will ensure that you have no water coming into your sink while you complete the repair.
Starting a sink repair can be an intimidating task, but by first shutting off the water supply, you can be comfortable knowing that the project is safe and manageable. The best way to do this is to turn off the valves underneath the sink or use a shutoff valve located in front of your house.
It’s important to remember to finish this step because if you don’t, it will risk flooding your kitchen when you start repairs. Once the water is shut off from the sink, you can begin handling the repair with confidence!
Step 2: Pry Off the Handle of Your Faucet
You may need to use some force and leverage to get them undone. Once they are removed, you will be able to access the seals from which the water is leaking.
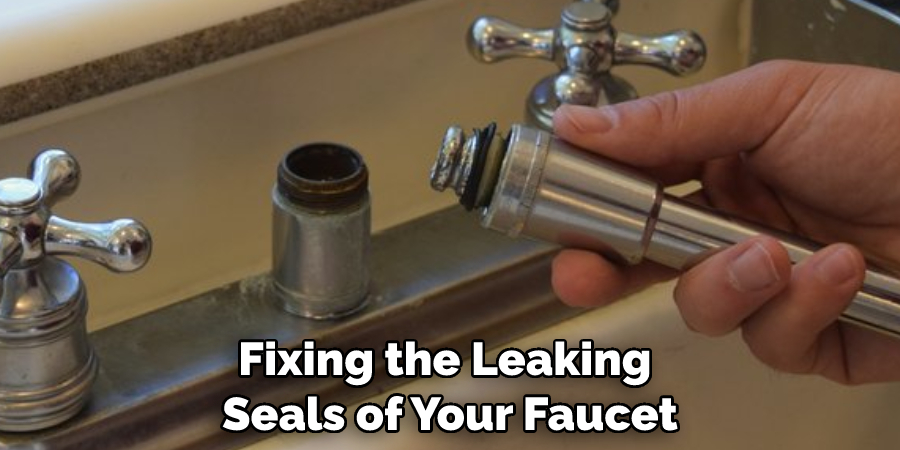
Before you can begin fixing the leaking seals of your faucet, you need to find them by taking off the handle. To do so, use a flathead screwdriver; press it underneath the handle with enough force to create some leverage and pry it carefully away.
This should reveal the underlying nuts and bolts – these will have to be undone before you can access the seals themselves. With these removed, you’ll be able to locate the problem area quickly and begin repairs promptly.

Step 3: Carefully Tighten
If the leak persists after this process, then it may be necessary to replace the entire faucet.
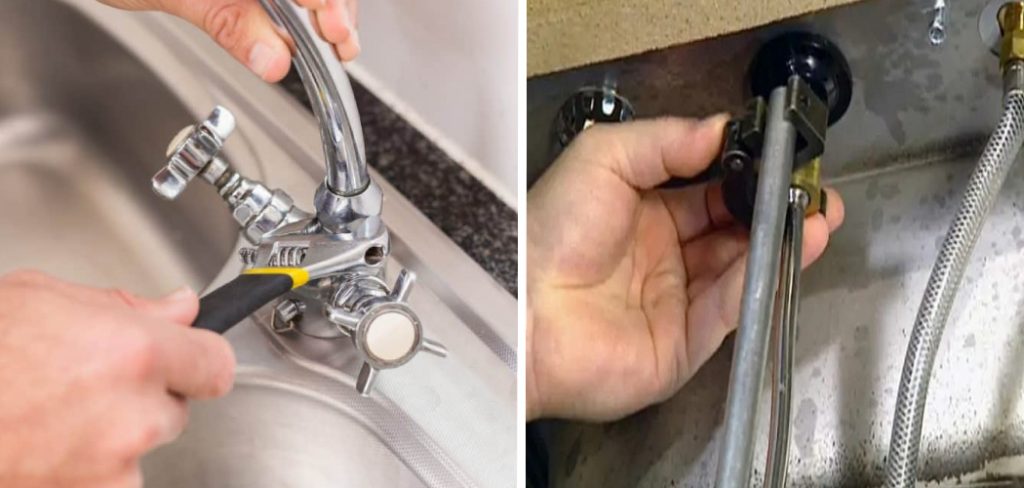
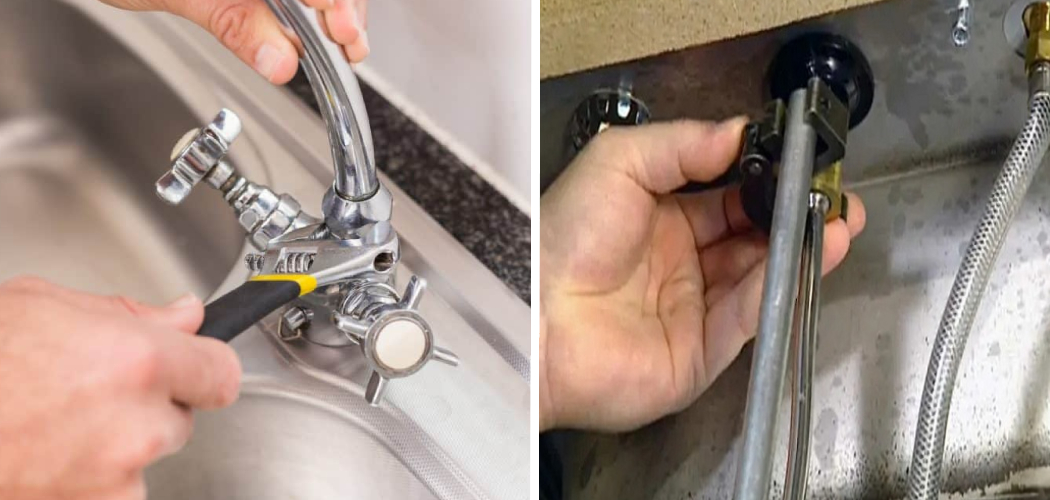
Tightening seals may initially appear to be a tedious and complicated task, but with the right tools, it can be quite simple. An adjustable wrench is a go-to tool for this job, as it will allow you to precisely set the pressure level on the seal. Important note: before putting too much force on any seal’s threading, make sure it is moving in the appropriate direction by checking that everything lines up correctly.
Once you have securely tightened all of your seals, run some water through your faucet and see if there are any signs of leakage. If there are still signs of leakage present after this process, it might be due to wear and tear or an aged seal which would require replacing the entire faucet.
Step 4: Replace the Handle
Test out the faucet to check that it is functioning properly and not leaking anymore. If all works as expected, then congratulations! You have successfully tightened your sink faucet.
Now that all of the seals have been tightened and there are no more leaks, it is time to replace the handle and turn the water back on. Once this is completed, it is important to test out the faucet to ensure that everything works as expected and there are not any further issues or leaks.
If all runs smoothly, then congratulations – you have successfully finished tightening your sink faucet! This can be a difficult task so it’s best to take your time to check that everything is functioning properly.
Now that you know how to tighten a sink faucet, be sure to check in now and then to make sure it is still functioning properly. This will save you time, energy, and money in the long run! Good luck with your plumbing repairs!

By following these steps, you will be able to quickly and easily tighten any leaking sink faucet. Be sure to use all of the safety precautions
9 Additional Tips for Tightening Sink Faucet
- If your sink faucet is loose, the first thing you should do is check to see if the nuts that secure the faucet to the sink are loose. These nuts are usually located under the sink. If they are loose, simply tighten them with a wrench.
- Another potential cause of a loose sink faucet is a broken washer. The washer is a small, round piece of rubber that helps to create a watertight seal between the faucet and the sink. If the washer is damaged, it will need to be replaced.
- In some cases, a loose sink faucet may be caused by a problem with the supply lines. The supply lines are the pipes that connect the water supply to the faucet. If there is a leak in one of these pipes, it can cause the faucet to become loose.
- If you cannot find the source of the problem, or if tightening the nuts and replacing the washer does not fix the issue, you may need to replace the entire faucet. This is a relatively easy process that can be completed in just a few minutes.
- Begin by shutting off the water supply to your sink. This will prevent any water from spilling out when you remove the old faucet.
- Next, use a wrench to remove the old faucet from the sink. Be sure to keep track of all of the parts as you remove them so that you can easily install the new faucet later on.
- Once you have removed all of the parts from the old faucet, it is time to install the new one. Start by attaching the new supply lines to your new faucet using plumbing tape and/or pipe dope.
- Next, attach your new faucet to your sink using plumbers putty or silicone caulk around the base of the spout and under mounting nuts. Hand-tighten each nut until snug using an adjustable wrench then finish tightening with channel locks or vise grips. Wipe away any excess plumbers’ putty or silicone caulk before continuing.
- Finally, turn on your water supply and test out your new faucet!

Frequently Asked Questions
How to Tighten the Sink Faucet if It’s Loose?
A loose sink faucet can be a major annoyance, making it difficult to properly wash dishes or get just the right water temperature. Fortunately, you don’t need any special tools or plumbing skills to tightening it up; all you need is an adjustable wrench.
To start, locate the nuts on either side of your sink faucet and place the wrench around them. Then turn both nuts clockwise to tighten the faucet and secure it in its place. Check that everything is tight after tightening the nuts to make sure nothing will come loose over time.
With a few turns of the wrench, you can easily have a secure sink faucet for years of worry-free use!
How to Tighten the Sink Faucet if There is a Leak?
Tightening a faucet that is leaking can be an easy way to practice DIY plumbing. To carry out such a task, you will need an adjustable wrench, some white thread-seal tape, and a few minutes of your time.
Begin by adjusting the settings on the adjustable wrench to fit the nut at the base of the sink faucet. Securely hold onto the faucet handle where you will feel resistance when tightening, and then turn it in a clockwise motion using the wrench.
When finished, wrap some white thread-seal tape around each organ pipe thread for extra support. After doing so, give the sink handles a few more turns and if no water appears from underneath, you should consider your job completed!
How to Remove the Old Sink Faucet and Install a New One?
Replacing an old sink faucet with a new one is a relatively simple home improvement project that can help update the look of your bathroom, kitchen, or utility room.
The first step in replacing a sink faucet is to turn off the water supply and use a basin wrench to disconnect the existing faucet from the sink. You will then need to remove any debris on the counter surface before you place and secure your new faucet with silicone caulk.

Finally, you will need to connect the hot and cold lines to secure the faucet in place. By following these steps, you can quickly change out a tired old sink faucet for an updated look that adds value to your home.
Conclusion
Is your faucet giving you a hard time every time you turn it on or off? Chances are, it needs to be tightened. You should carefully determine how to tighten sink faucet. Fortunately, this is an easy task that you can do yourself in less than 5 minutes. Just follow the steps above and you’ll have a perfectly functioning sink faucet in no time!
You can prevent further damage to your sink and keep it in good condition for many years to come. Do you have any tips on how to maintain a sink? Share them with us in the comments below!

