Are you tired of constantly dealing with water leaks in your home? One common cause of these leaks is loose water supply line connectors. These small pipes connect your household appliances, such as toilets and sinks, to the main water supply.
Properly tightening water supply line connectors is essential in maintaining a leak-free plumbing system. Whether you’re installing new fixtures, replacing old connectors, or addressing a minor leak, ensuring that the connectors are tightened correctly can prevent water damage and extend the lifespan of your pipes and fixtures.
This guide on how to tighten water supply line connectors will walk you through the tools, techniques, and tips needed to securely tighten water supply line connectors without overtightening, which can lead to damage or reduced efficiency.
What Are the Causes of a Loose Water Supply Line Connector?
There are a few common causes of loose water supply line connectors.
- Initial Installation: If the connectors were not installed with enough force or correctly aligned, they can come loose over time.
- Age and Wear: As pipes and fixtures age, they can become worn or corroded, causing them to loosen.
- Water Pressure Changes: Sudden changes in water pressure can strain connectors, causing them to become loose.
- Temperature Fluctuations: Extreme temperature changes can cause the expansion and contraction of pipes and connectors, which can lead to loosening.
What Will You Need?
To fix a loose pipe or fitting, you may need the following tools and materials:
- Pipe wrench
- Adjustable wrench
- Pliers
- Screwdriver
- Plumbers tape
- Plumbers putty or sealant
- Replacement connectors or fittings (if necessary)
- Cleaning supplies (such as sandpaper or wire brush) if corrosion occurs.
It is essential to have these tools on hand before attempting any repairs. You may also want to wear gloves and eye protection for safety. In addition, it’s a good idea to shut off the water supply before beginning any work. This will prevent any potential flooding or accidents while repairs are being made.
9 Easy Steps on How to Tighten Water Supply Line Connectors
Step 1. Turn Off the Water Supply
Make sure to locate the main water shut-off valve before beginning any repairs. This valve is typically found near your water meter or where the main water line enters your home. Turn the valve clockwise to shut off the water supply completely.
Double-check by turning on a nearby faucet to ensure no water flows out. If the water continues to run, the shut-off valve may need to be adjusted or repaired. Properly shutting off the water supply is a crucial step to prevent flooding or water damage while you work on tightening the water supply line connectors.
Step 2: Loosen the Connectors
Once the water supply is shut off, locate the connectors on the affected line. Use an adjustable wrench to carefully loosen the connectors by turning them counterclockwise. Place a towel or bucket beneath the area to catch any residual water that may drip out.
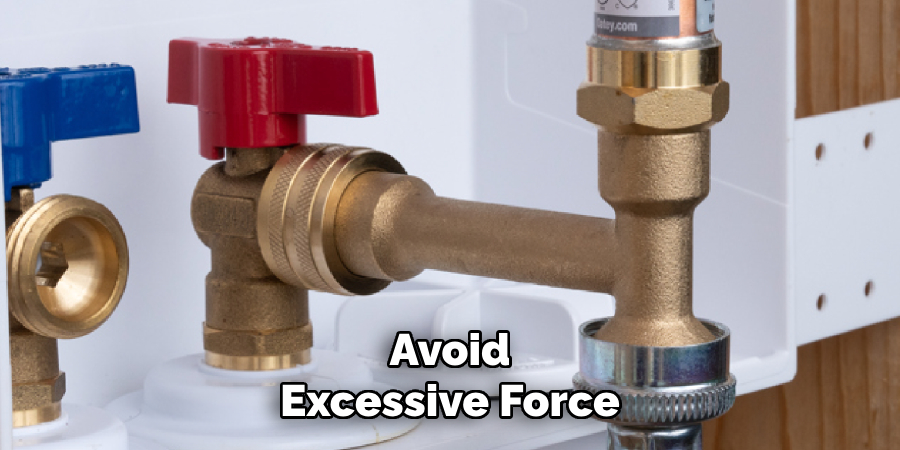
Avoid excessive force, as it could damage the connectors or the surrounding pipes. Take your time during this step to ensure the connectors are adequately loosened without causing any unintended harm to the plumbing system.
Step 3: Remove the Water Supply Line
Once the connectors have been loosened, carefully detach the water supply line from the fixture and the wall valve. Inspect both ends of the disconnected line for signs of wear, buildup, or damage, such as cracks or corrosion. If the line appears compromised, it should be replaced before reconnecting the system to ensure proper function and prevent future leaks.
Take note of the condition of the connectors’ threads, as damaged threads can result in an improper seal. Before proceeding, clean the area around the valve and fixture to remove any debris or residue that could interfere with installation or create additional issues. If replacing the water supply line, ensure that the new line is of adequate length and compatible with the existing fixtures for a secure and efficient connection.
Step 4: Secure the New Connections
Once the preparation is complete, carefully attach the new water supply line to the valve and fixture. Hand-tighten the connectors at first, ensuring they align correctly and thread smoothly to avoid cross-threading. Afterward, use an adjustable wrench to tighten the connections an additional quarter to half turn.
Be cautious not to overtighten, as this may damage the threads or the fittings. Finally, turn on the water supply slowly and inspect for any signs of leaks. If necessary, make minor adjustments to the connections to ensure a leak-free installation.
Step 5: Test the Fixture
Test the fixture for proper functionality once the connections are secure and leak-free. Turn on the fixture and allow the water to flow at various pressures to ensure consistent operation. If applicable, check both hot and cold water settings to confirm the appropriate temperature mixing.
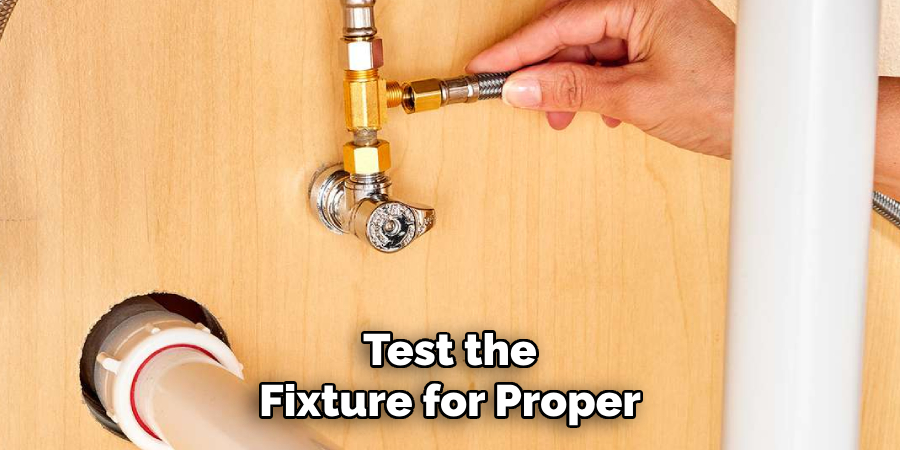
Observe the fixture and surrounding area for any drips, unusual noises, or irregularities in water flow. If any issues are detected, revisit the connections to troubleshoot and resolve the problem. Ensure everything operates smoothly before completing the installation.
Step 6: Final Inspection and Cleanup
Once the fixture is operating correctly, conduct a final inspection to ensure all components are securely installed and functioning as expected.
Check for any leaks around the connections and verify that no tools or debris are left behind. Clean the work area thoroughly and ensure the fixture’s surface is free of fingerprints, water spots, or other marks. Inform the user of any key maintenance tips for the fixture, and ensure they are satisfied with the installation before considering the project complete.
Step 7: Apply for Necessary Permits and Approvals
Before beginning any plumbing fixture installation, it is crucial to ensure you have obtained all necessary permits and approvals from local authorities. This may include building or construction permits, as well as approval from the homeowner’s association or other governing bodies.
Failing to secure the proper permits and approvals can result in fines or penalties, so it is crucial to research and comply with all regulations before starting any work. Additionally, obtaining permits and approvals can help protect you from liability in case of any issues that arise during or after the installation process.
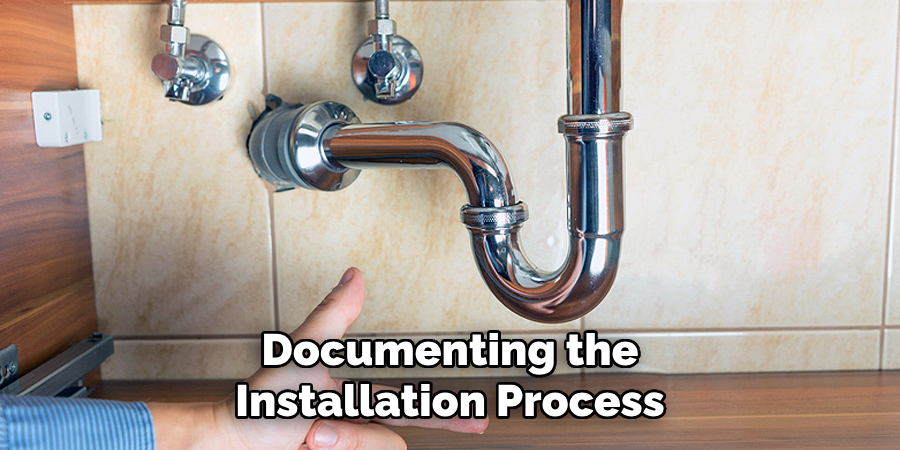
Step 8: Document the Installation Process
Documenting the installation process is important for several reasons. First, it serves as a detailed record of the work that has been done in case any questions or issues arise later on. Second, it can be helpful for future reference if any maintenance or repairs are needed.
When documenting the installation process, include details such as the date and time of each step, any challenges encountered, and how they were resolved. Take photos or videos throughout the process to provide visual documentation as well.
It’s also a good idea to keep track of all the materials used during the installation process and their respective costs. This can come in handy when creating a budget for future projects or determining the cost effectiveness of different materials.
Step 9: Ensure Safety Measures are Followed
In any installation process, safety should always be a top priority. This is especially important with electrical or plumbing installations.
Make sure to follow all safety guidelines and regulations provided by the manufacturer of the materials being used. It’s also crucial to wear proper protective gear, such as gloves, goggles, and masks.
If necessary, enlist the help of a professional electrician or plumber to ensure that all safety measures are being followed correctly.
By following these safety precautions, you can reduce the risk of accidents and ensure a successful installation process.
5 Things You Should Avoid
- Over-Tightening the Connector
Applying too much force when tightening the connector can damage the threads or deform the fitting, leading to leaks or the need for replacements.
- Using the Wrong Tools
Avoid using improper tools like pliers or damaged wrenches, as they can strip the connector or fail to provide the proper grip required for secure tightening.
- Skipping Sealant or Tape
Failing to apply plumber’s tape or thread sealant can compromise the seal, increasing the chance of leaks over time.
- Ignoring Manufacturer Instructions
Disregarding the specific guidelines provided by the manufacturer can lead to incorrect installation and potential issues with the connector’s functionality.
- Tightening Without Checking for Alignment
Make sure the connector is correctly aligned before tightening. Misaligned fittings can cause uneven pressure, which may lead to leaks or damage.
By avoiding these common mistakes, you can ensure proper installation and prevent potential problems with your plumbing system.
Conclusion
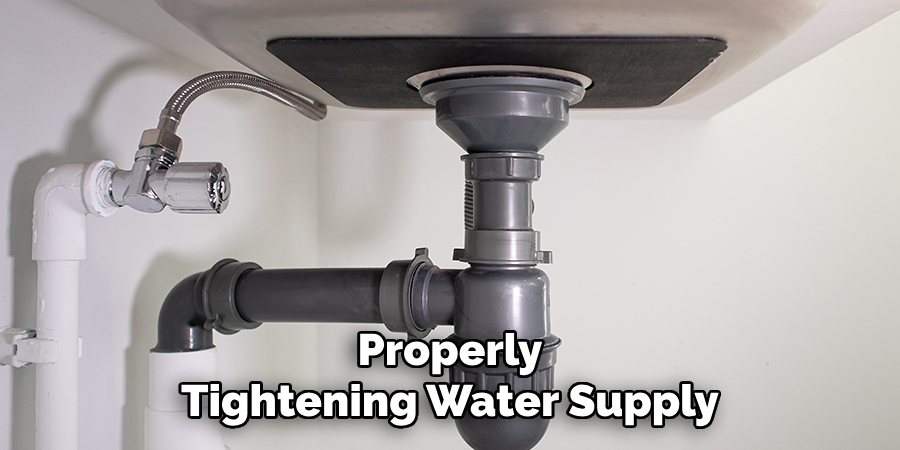
Properly tightening water supply line connectors is essential for maintaining a leak-free and efficient plumbing system.
By carefully following the manufacturer’s guidelines, ensuring proper alignment, and avoiding overtightening, you can prevent common issues such as leaks, damage to the fittings, or compromised functionality. Taking the time to perform this task correctly can save you from costly repairs and ensure the longevity of your plumbing components.
Hopefully, the article on how to tighten water supply line connectors has provided you with the knowledge and confidence to tackle this DIY project.

