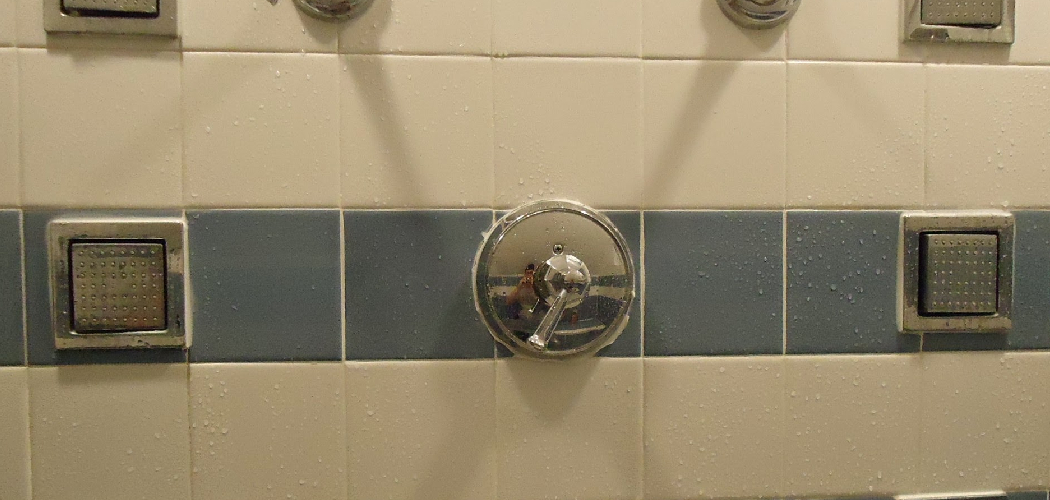
Tiling around a shower valve is a crucial step in any bathroom renovation project, as it not only enhances the aesthetic appeal but also protects the walls from moisture damage. This process requires careful planning and execution to ensure a professional finish.
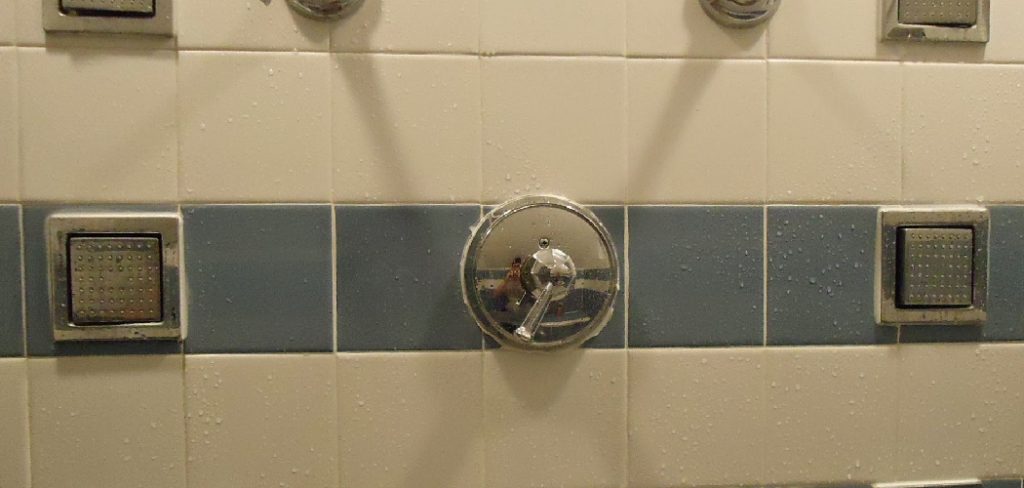
In this guide on how to tile around shower valve, we will walk you through the essential steps and tips for successfully tiling around a shower valve, making sure your installation looks both polished and durable. Whether you are a seasoned DIYer or a beginner, our straightforward instructions will help you achieve beautiful results that stand the test of time.
Why is Tiling Around Shower Valve Important?
Tiling around a shower valve serves two main purposes:
Aesthetic Appeal:
The presence of exposed valves can detract from the overall look of your bathroom, which is why tiling around them is essential to achieve a seamless and cohesive design. By covering the valve with tiles, you can create a clean and modern look that enhances the visual appeal of your bathroom.
Moisture Protection:
The wet and humid environment of a shower can cause serious damage to the walls if not properly protected. Tiling around the shower valve creates a waterproof barrier, preventing any water from seeping into the walls and causing mold or mildew growth. This not only protects your walls but also ensures a long-lasting installation.
Needed Materials:
Before you begin tiling around your shower valve, make sure you have all the necessary materials. These may include:
Tiles of Your Choice:
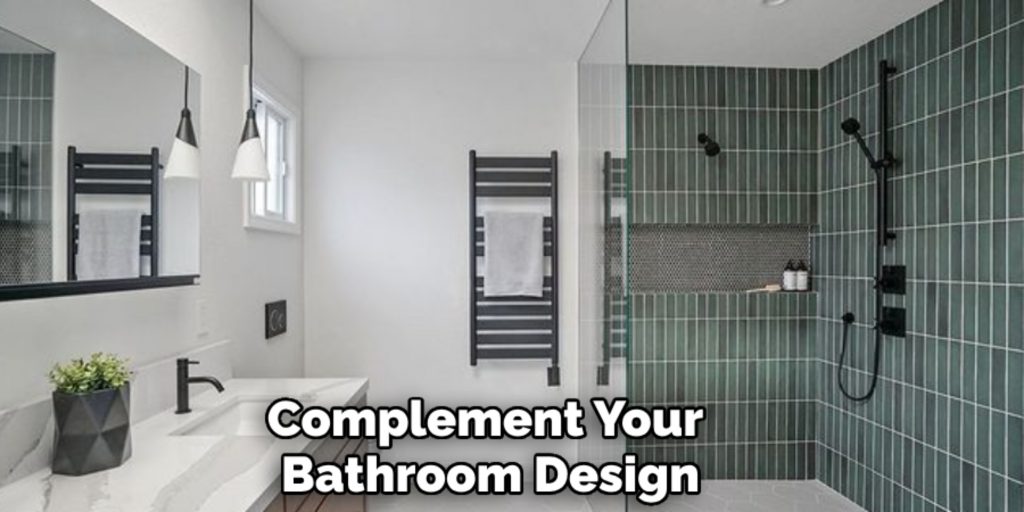
Choose tiles that complement your bathroom design and are suitable for wet areas. Ceramic or porcelain tiles are recommended as they are water-resistant and easy to maintain. Also, consider the size and shape of the tiles to ensure a proper fit around the valve.
Tile Adhesive:
This is used to stick the tiles onto the wall. Make sure you choose an adhesive that is suitable for your tile material and can withstand moisture.
Notched Trowel:
A notched trowel is needed to evenly spread the adhesive on the wall.
Grout:
Grout fills in the gaps between tiles and provides a finished look. Choose a grout color that complements your tiles.
Tile Spacers:
These are small plastic pieces that help create even spacing between tiles for a professional finish.
Caulk:
Caulk is used to seal the edges of the tiles and prevent water from seeping in.
Tools:
You may also need a tile cutter, level, measuring tape, and sponge for cleaning.
8 Step-by-step Guides on How to Tile Around Shower Valve
Step 1: Prepare the Area
Before you begin tiling, it’s essential to prepare the area around the shower valve thoroughly. Start by removing any old tiles, adhesive, or caulk to ensure a clean and smooth surface for the new installation. Inspect the wall for any signs of damage, such as mold or rot, and address these issues before proceeding.
Next, clean the surface to remove dust and debris, as this will help the adhesive bond better. It’s also a good idea to turn off the water supply to the shower for safety. Finally, measure the area around the shower valve to determine the layout of your tiles, marking the measurements with a pencil to guide your installation. This preparation will set a solid foundation for the rest of the tiling process.
Step 2: Cut the Tiles
Once you have prepared the area, the next step is to cut the tiles to fit around the shower valve. Begin by measuring the spaces where the tiles will be placed, taking note of any specific angles or curves around the valve. Use a tile cutter to make precise cuts, ensuring that each piece is the correct size to create a smooth, continuous flow around the valve.
If you encounter any irregular shapes, a wet saw can make intricate cuts easier and more accurate. Always wear safety goggles to protect your eyes from any debris while cutting. Once all tiles are cut, lay them out dry around the shower valve to confirm the fit before applying adhesive. This step is crucial for achieving a professional-looking installation.

Step 3: Apply Adhesive
With your tiles cut and ready for installation, it’s time to apply the adhesive. Using a notched trowel, spread the tile adhesive on the prepared wall area around the shower valve in a thin, even layer.
Start from the bottom and work your way up, applying only as much adhesive as you can cover with tiles in about 15 to 20 minutes to prevent it from drying out. Make sure to hold the trowel at a consistent angle to create uniform ridges, which will help ensure that the tiles sit evenly.
Once the adhesive is applied, press the first tile into place, twisting it slightly to create a solid bond. Continue placing the tiles around the valve, using tile spacers to maintain even gaps between each piece.
This step is crucial for ensuring that the tiles adhere properly and set correctly, paving the way for a durable and visually appealing finish.
Step 4: Cut and Fit Tiles as Needed
As you progress with your tiling installation, you may find that some tiles will require additional cutting to fit snugly around the shower valve and that there may be irregular contours in your wall.
Carefully measure the spaces where tiles will be placed, particularly around the edges of the valve and any other obstacles, such as plumbing fittings. Use your tile cutter or wet saw for precision; remember to measure twice and cut once to minimize waste.
After cutting, dry-fit the tiles in place to ensure they align seamlessly with the surrounding tiles and the valve. Adjust as needed by trimming further if the pieces do not fit perfectly. This meticulous attention to detail will ensure a polished and professional finish in your shower area.
Step 5: Let the Adhesive Dry
At this stage, it’s essential to let the adhesive dry completely before moving on to the next step. The drying time will vary depending on the type of adhesive used, humidity levels, and temperature.
Follow the manufacturer’s instructions for specific guidelines; typically, it takes at least 24 hours for full curing. During this drying period, avoid touching or disturbing the tiles to prevent them from shifting out of place and compromising the installation.
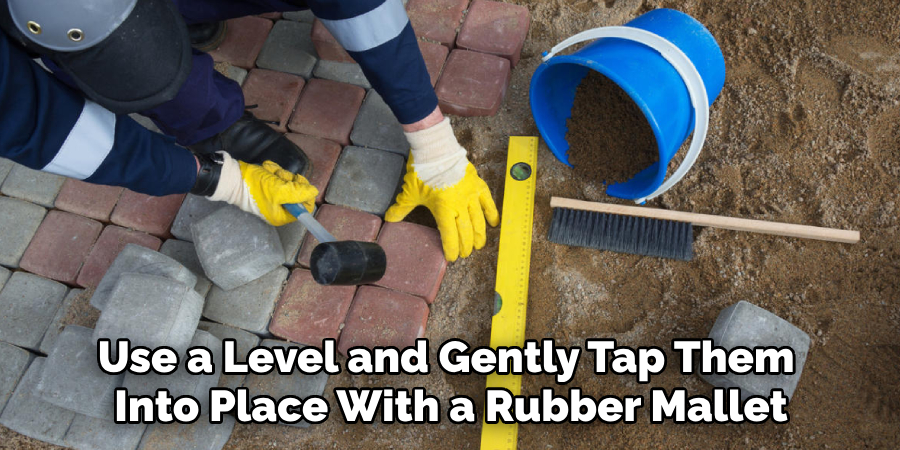
If you encounter any uneven tiles during the drying process, use a level and gently tap them into place with a rubber mallet or wood block to ensure they are even and flush with the rest of the tiles. This step is crucial for achieving a professional-looking finish in your shower area.
Step 6: Apply Grout
Once the adhesive has fully cured and the tiles are securely in place, it’s time to apply the grout. Start by carefully removing the tile spacers, ensuring that they do not disturb the tiles themselves.
Prepare your grout according to the manufacturer’s instructions, mixing it to the right consistency; it should be smooth and spreadable but not too runny. Using a rubber float, apply the grout diagonally across the tiles, pressing it firmly into the joints to fill any gaps.
Work in small sections to prevent the grout from drying out before you have a chance to smooth it over. After filling the joints, use the edge of the float to scrape off any excess grout from the tile surfaces, holding the float at about a 45-degree angle. Allow the grout to set for the specified time, usually around 15 to 30 minutes, before proceeding to the next step.
Step 7: Clean and Seal
Once the grout has been set, use a damp sponge to clean off any remaining residue from the tile surfaces. Rinse the sponge frequently in clean water and keep it as flat as possible to avoid removing too much grout from the joints.
Continue until all tiles are clean, then leave them to dry for another 24 hours before applying a sealer. The sealer will protect your grout from moisture damage and help maintain its color and durability over time. Apply it according to the manufacturer’s instructions, usually with a foam brush or roller.
Step 8: Reattach Shower Trim
Finally, after all of the tiling work is complete, you can reattach the shower trim. Use a screwdriver to secure any loose screws and make sure all components are firmly in place. Turn the water supply back on, and test your newly tiled shower for any leaks or issues.
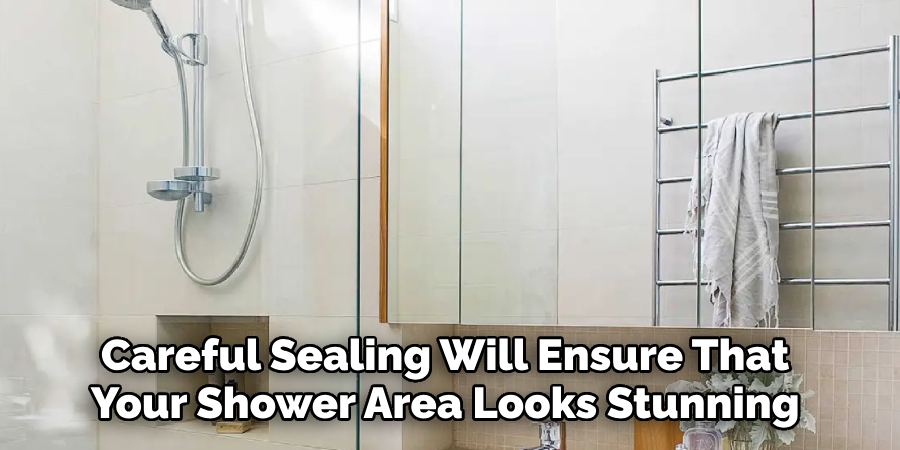
Congratulations! You have successfully installed tiles around your shower valve, creating a beautiful and functional addition to your bathroom. Proper preparation, precise cutting, diligent application of adhesive and grout, and careful sealing will ensure that your shower area looks stunning for years to come.
Keep these tips on how to tile around shower valve in mind for future tiling projects and enjoy the satisfaction of completing a professional-quality installation yourself.
Additional Tips
- It’s always best to overestimate tile quantities rather than running
- Keep a few extra tiles on hand in case of any mistakes or breakage during installation
- Use waterproof and mildew-resistant materials to prevent damage and discoloration over time
- Consider using tile edging or trim pieces for a clean and polished look around the shower valve
- Regular cleaning and maintenance will help prolong the life of your tiled shower area, including wiping down tiles after each use to prevent soap scum buildup
- If you are not confident in your tiling skills, consider hiring a professional for more complicated installations or for assistance with the cutting and fitting process
- Don’t be afraid to get creative with tile patterns and layouts to add a unique touch to your shower area. Just make sure to plan and measure carefully before starting any tiling project.
Conclusion
Tiling around a shower valve may seem like a daunting task, but with careful planning and attention to detail, it can be accomplished successfully. By following the outlined steps on how to tile around shower valve—from preparation and installation to finishing touches—you can achieve a visually appealing and durable shower space that enhances your bathroom’s overall aesthetic.
Remember, the key to a successful tiling project lies in meticulous measurement, proper adhesive application, and thorough cleaning and sealing processes. Embrace the satisfaction of transforming your bathroom with your own hands, and don’t hesitate to explore your creativity in future projects. With the right tools and techniques, the possibilities are endless. Enjoy your newly tiled shower and the expertise you’ve gained along the way!

