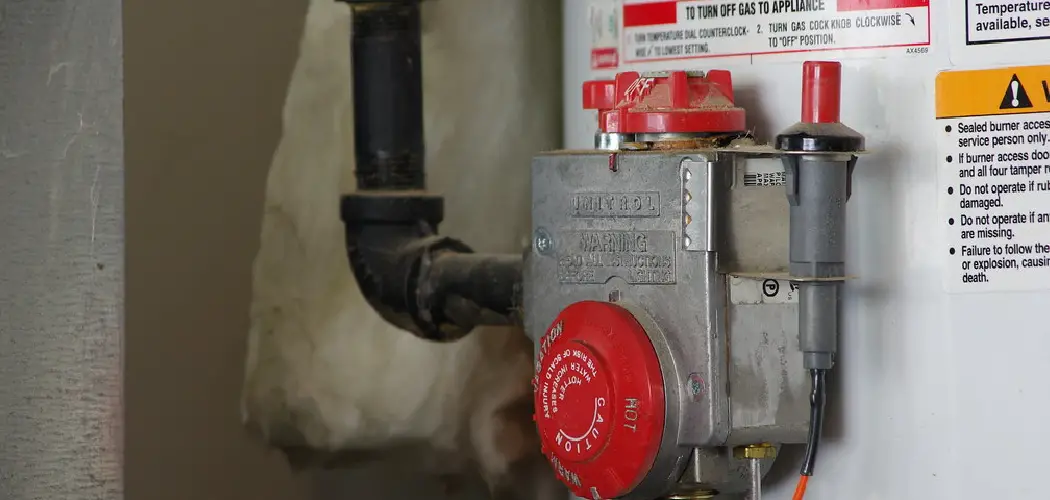
A leaking water heater can lead to significant water damage to floors, walls, and other structures in your home. Additionally, the constant leak can cause a spike in your utility bills as water continuously flows.
Water and electricity are a dangerous combination. A leaking water heater can pose serious safety risks, including the potential for electrical shock or fire if water comes into contact with electrical components.
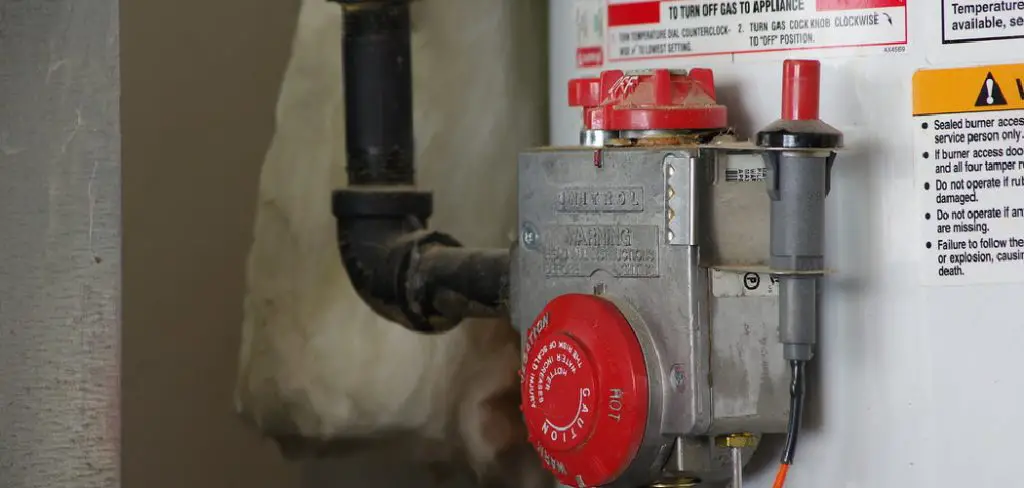
This guide aims to equip you with the knowledge of how to turn off leaking water heater safely and efficiently. By following this detailed process, you can minimize damage and reduce the risk of injury while addressing the issue.
Identifying the Source of the Leak
Common Leak Sources:
- Tank Leak:
- A tank leak is typically a serious issue indicating corrosion or damage to the tank’s inner lining. Unfortunately, when the tank itself is leaking, it usually means the water heater needs to be replaced. This can occur due to age, wear and tear, or lack of regular maintenance.
- Pipe Fittings and Connections:
- Leaks can also originate from the pipe fittings and connections around the water heater. These leaks are often more manageable, as they might only require tightening or replacing the defective fittings. Inspect all the connections, including the cold water inlet and hot water outlet pipes.
- Temperature and Pressure Relief Valve:
- The temperature and pressure (T&P) relief valve is designed to release water if the tank’s temperature or pressure becomes too high. If water leaks from this valve, it might be due to excess pressure or temperature in the tank. Sometimes, it’s also indicative of a faulty valve that needs replacement.
- Inspecting the Heater:
- Visual Inspection:
- Begin by performing a thorough visual inspection of the entire water heater. Look for any obvious signs of water accumulation or dripping. Check around the tank base, the areas around the pipe fittings, and the T&P valve.
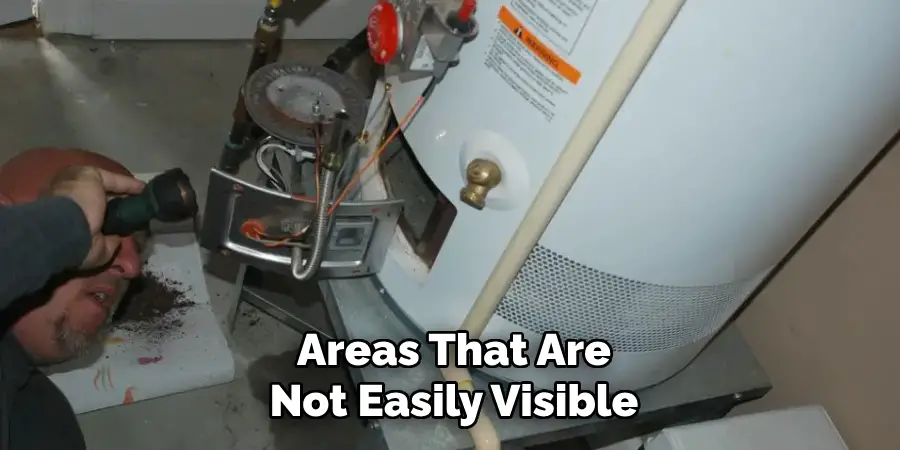
- Using a Flashlight:
- In some cases, leaks might be in areas that are not easily visible. Using a flashlight can help you examine hard-to-reach places and low-light areas around the heater. Shine the light closely along the seams, fittings, and unit base to help spot any hidden leaks. This thorough inspection will help you accurately identify the source of the leak and determine the appropriate next steps.
Safety Precautions
Electrical Safety:
- Turning Off Power:
- How to Safely Turn Off the Power Supply at the Circuit Breaker:
- Before attempting any work on your leaking water heater, it is crucial to ensure the power is completely turned off. Locate your home’s main electrical panel and find the circuit breaker corresponding to the water heater. Flip the breaker switch to the ‘off’ position to cut off the electricity supply to the unit. This step eliminates the risk of electrical shock and ensures your safety during the inspection and repair process.
- Using a Voltage Tester:
- Confirming Power is Off to Avoid Electrical Shock:
- After switching off the circuit breaker, it is advisable to use a voltage tester to confirm there is no electrical power running to the water heater. Carefully touch the tester to the heater’s electrical components; the tester should read zero, indicating the power is securely off. This double-check mechanism adds an extra layer of safety, preventing any accidental electrocution while you attend to the leaking water heater.
- Gas Safety (for Gas Heaters):
- Turning Off the Gas Supply:
- Steps to Locate and Turn Off the Gas Valve:
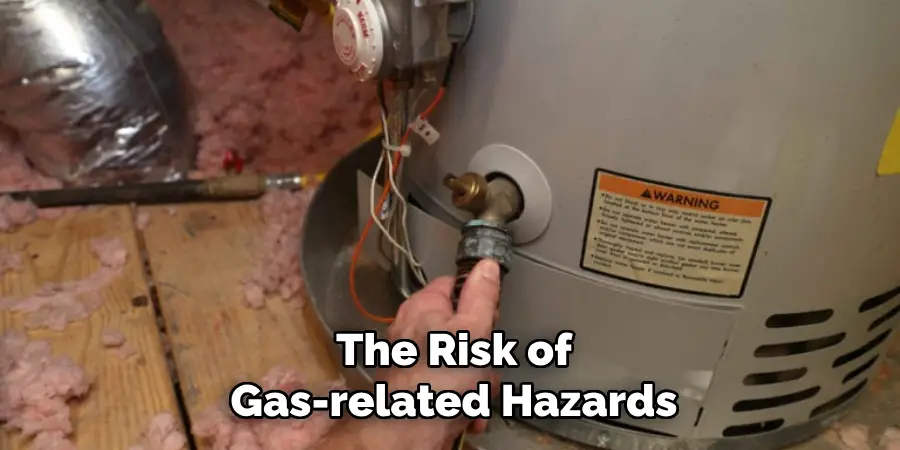
- Turning off the gas supply is equally important for gas water heaters to prevent gas leaks and potential explosions. Locate the gas shut-off valve, typically found along the gas line leading to the water heater. This valve is usually a lever or knob that can be turned. Rotate the valve a quarter turn (90 degrees) to be perpendicular to the pipe, effectively stopping the gas flow. Once the gas supply is off, you can address the leak without the risk of gas-related hazards.
How to Turn Off Leaking Water Heater: Turning Off the Water Supply
Locating the Cold Water Supply Valve:
- Identification:
- The cold water supply valve is typically found near the top of the water heater, attached to the cold water inlet pipe. This valve controls the flow of cold water into the heater and is essential for shutting off the water supply in the event of a leak. Look for a pipe that leads directly to the top of your water heater, and you should see the valve either on the pipe itself or on the tank. It is usually a lever or a round handle.
- Turning Off the Valve:
- Clockwise Turn:
- To shut off the water supply to your leaking water heater, you need to turn the cold water supply valve clockwise. Grip the handle securely and rotate it to the right, following the old adage “righty-tighty.” This action will gradually close the valve, stopping the water flow into the heater. It’s crucial to turn the valve completely to ensure no water can enter the tank, minimizing the potential for additional leaking.
- If the Valve is Stuck:
- Using Pliers or a Wrench:
- Sometimes, the cold water supply valve might be stuck due to rust, mineral deposits, or infrequent use. If you find that the valve is difficult to turn by hand, you can use pliers or a wrench to free it. Place the tool securely around the valve handle, ensuring a firm grip to avoid slipping. Apply gentle pressure and gradually increase it until the valve begins to turn. Be careful not to apply too much force simultaneously, as this could damage the valve or the piping. Once the valve is loosened, you should be able to close it completely by hand.
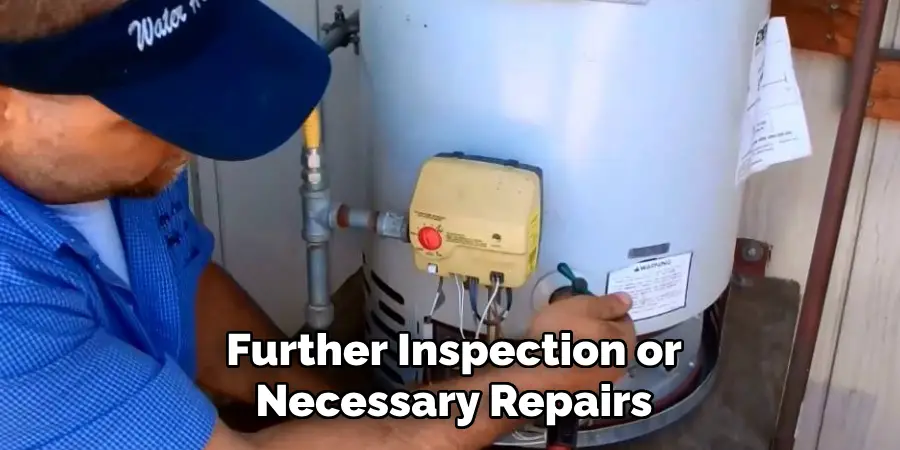
- Shutting off the cold water supply effectively halts any new water from entering the tank, allowing you to focus on addressing the existing leak. This step is crucial in mitigating potential water damage and preparing the heater for further inspection or necessary repairs.
How to Turn Off Leaking Water Heater: Draining the Water Heater
Attaching a Hose to the Drain Valve:
- Hose Connection:
- You will need a standard garden hose to begin draining your water heater. Start by locating the drain valve, usually near the bottom of the tank. Carefully screw the end of the garden hose onto the drain valve, making sure it is securely attached to prevent any leaks. Hand tightening should be sufficient, but ensure the connection is firm to avoid accidental disconnections during draining.
Positioning the Hose:
- Directing Water Flow:
- Once the hose is securely attached, position the other end of the hose to a safe drainage location. This can be an outside area, a floor drain, or a large bucket capable of holding a substantial amount of water. Ensure the hose is free of kinks or obstructions that could impede water flow. Doing so helps to direct the water away from your work area and prevents potential water damage.
Opening the Drain Valve:
- Slow Release:
- When everything is set, you can begin to open the drain valve. It is essential to do this slowly to control the release of water and prevent sudden spurts that could cause splashing or mess. Using a pair of pliers, gently turn the valve counterclockwise. Start with a small turn to gradually increase the flow, and open it slowly until water drains steadily through the hose.
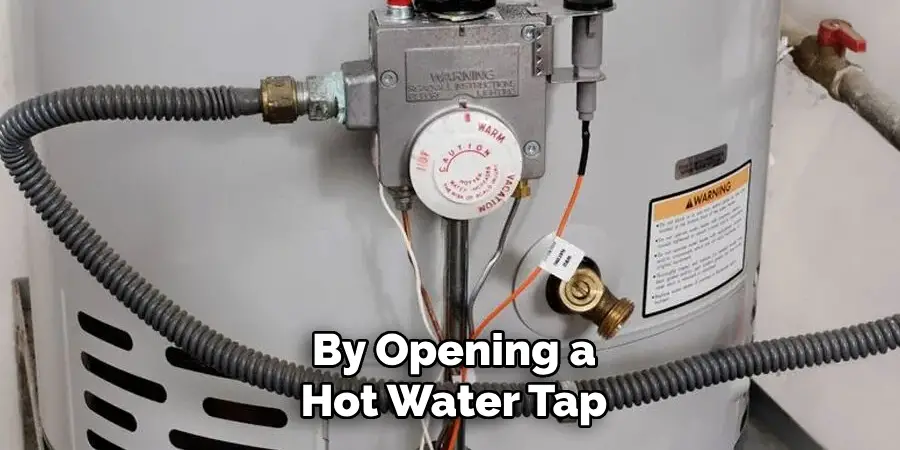
Opening a Hot Water Tap:
- Preventing Vacuum Lock:
- Opening a hot water tap inside your home is crucial to facilitating smoother drainage. This step is key in preventing a vacuum lock, which can restrict water from flowing out of the heater. By opening a hot water tap, you allow air to enter the system, which helps equalize pressure inside the tank and ensures that the water drains out completely. Choose a tap that is closest to the water heater for the best results.
Draining the Tank:
- Complete Drainage:
- Allow the water to drain from the tank completely. This process might take some time, depending on the size of your water heater and the amount of water inside. Monitor the drainage periodically to ensure the water continues to flow and the hose remains in position. If the flow slows down or stops prematurely, you can slightly reopen the drain valve or adjust the hose to improve water flow. Complete drainage is necessary to carry out subsequent repairs or maintenance effectively.
- Once the tank is drained, close the hot water tap and remove the garden hose from the drain valve. Be prepared for some remaining water as you disconnect the hose. A handy bucket or towel can help manage any residual water that may spill. After ensuring the tank is fully drained, you can inspect the interior or perform any necessary repairs safely.
Addressing the Leak
Temporary Solutions:
- Using a Bucket:
- As an immediate, short-term measure, place a bucket or a large container directly under the leak to catch the dripping water. This step helps to contain the water and prevent it from causing damage to your floors or surrounding areas. Regularly empty the bucket to ensure it does not overflow.
- Tightening Fittings:
- Sometimes, a leak can be resolved by simply tightening loose fittings. Use a wrench to gently tighten any connections around the leaking area, such as pipes or valves. Be careful not to over-tighten, as this could cause further damage or strip the threads. Additional steps will be necessary if the leak persists after tightening the fittings.
- Professional Assistance:
- When to Call a Plumber:
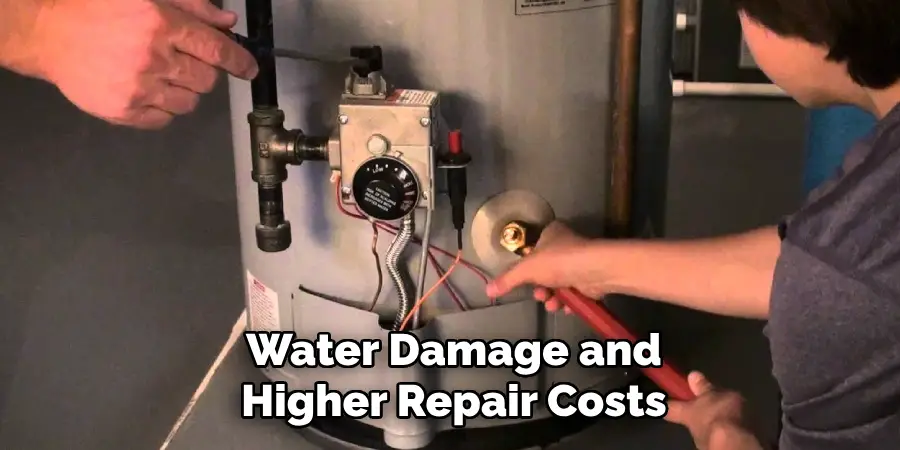
- There are certain indicators that signal the need for professional help. If you notice that the leak originates from complex components like the tank, internal heating elements, or inaccessible pipes, it is best to contact a licensed plumber. Additionally, seeking professional assistance is advisable if you have attempted temporary solutions and the leak continues or worsens. A plumber has the expertise to diagnose and fix the underlying issues, ensuring that the repair is both effective and long-lasting. Neglecting to address significant leaks promptly can lead to extensive water damage and higher repair costs, making professional intervention essential for maintaining the safety and functionality of your water heater system.
Repairing or Replacing Components
Temperature and Pressure Relief Valve:
- Checking for Issues:
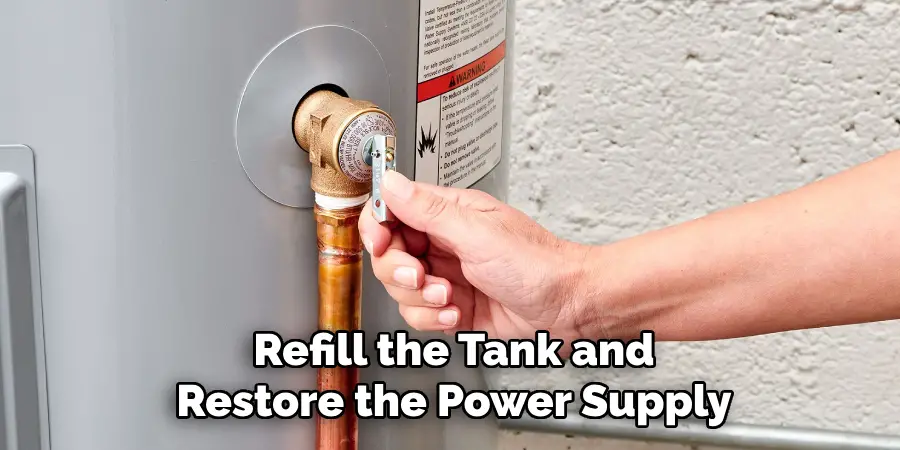
- The temperature and pressure (T&P) relief valve is a crucial safety component of your water heater. It is designed to release pressure if the tank overheats or exceeds a certain pressure threshold, preventing potential explosions. To inspect the T&P valve, locate it on the tank’s side, usually near the top. Lift the test lever on the valve to check if water releases through the discharge pipe. If no water flows or if the valve leaks continuously after testing, it indicates a faulty valve that requires replacement.
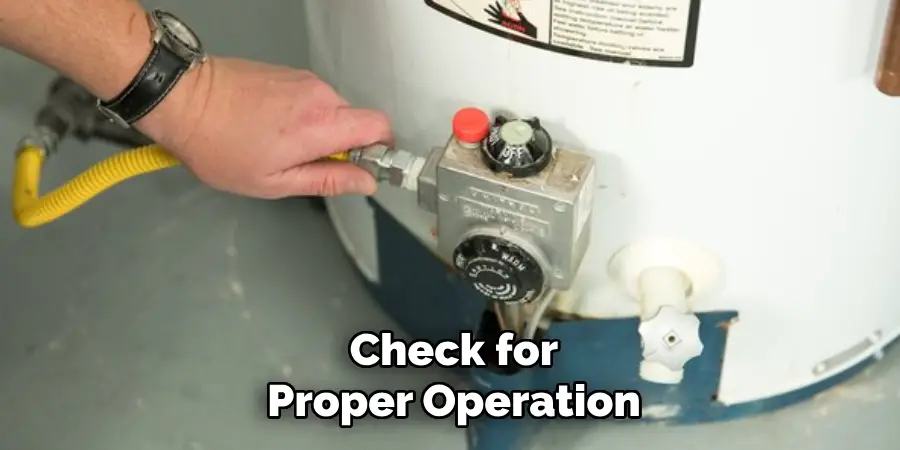
- To replace the T&P valve, first, shut off the water supply and drain some water from the tank to lower the water level below the valve. Use a wrench to unscrew the old valve and remove any debris from the opening. Apply the plumber’s tape to the threads of the new valve and screw it into place, making sure it is tight. After replacing the valve, restore the water supply and check for proper operation.
- Pipe Fittings:
- Inspecting for Leaks:
- Leaky pipe fittings are a common source of water heater leaks. Inspect all visible pipe connections around the tank for any signs of moisture or corrosion. Tighten any loose fittings with a wrench, but be cautious not to over-tighten as this can cause damage. If tightening the fittings does not resolve the leak, you may need to replace the affected fittings.
- To replace a fitting, first, shut off the water supply and drain the water from the pipe. Use a pipe cutter or wrench to remove the leaky fitting. Clean the pipe threads and apply the plumber’s tape to the new fitting before screwing it into place. Reconnect the pipe and restore the water supply, checking for any remaining leaks.
- Tank Replacement:
- When Necessary:
- In some cases, the water heater tank itself may have extensive corrosion or damage that repair cannot fix, necessitating a full tank replacement. Indications that your tank needs replacing include persistent leaks from the tank’s body, rusty water, or significant sediment build-up despite regular maintenance.
- To replace the tank, turn off the water supply, power, and gas (if applicable) to the water heater. Drain the tank completely and disconnect all plumbing and electrical connections. Remove the old tank and position the new one in place. Reconnect the plumbing and electrical connections, ensuring tight and secure fittings. Fill the new tank with water, restore the power, and check for proper operation. A new tank can significantly improve the efficiency and reliability of your water heating system.
Preventing Future Leaks
Regular Maintenance:
Annual Inspection:
Regular inspections and maintenance are essential in preventing future leaks and ensuring the longevity of your water heater. Conducting an annual inspection allows you to identify and address potential issues before they escalate into significant problems. During the inspection, check all components, including the tank, valves, and pipe fittings, for signs of wear, corrosion, or leaks.
Ensure that the temperature and pressure relief valve is functioning correctly by testing it and observing for proper discharge. Additionally, inspect for any unusual noises or inefficiencies in the heater’s operation, which could indicate underlying issues. Keeping a log of your inspections and any maintenance performed can help track the condition of your water heater over time.
Flushing the Tank:
Removing Sediment:
Over time, sediment and mineral deposits can accumulate at the bottom of your water heater tank, reducing its efficiency and potentially causing damage. Flushing the tank regularly helps prevent sediment buildup and prolongs the heater’s lifespan. To flush the tank, start by turning off the power supply to the heater and closing the cold water inlet valve. Attach a garden hose to the tank’s drain valve and direct the other end to a suitable drainage location.
Open a hot water tap nearby to allow air into the system, then open the drain valve to let the water and sediment flow out. Once the tank is empty, briefly open the cold water inlet valve to flush out any remaining sediment. Close the drain valve, remove the hose, and restore the water and power supply to the heater. Performing this procedure annually helps maintain optimal performance.
Checking Anode Rods:
Replacing Anode Rods:
Anode rods play a crucial role in preventing tank corrosion by attracting corrosive elements into the water, thus extending the life of your water heater. Checking the condition of the anode rod every few years can help prevent leaks caused by corrosion. To inspect the anode rod, turn off the water supply and power the heater. Locate and unscrew the anode rod from the top of the tank using a suitable wrench.
Examine the rod’s condition; if it appears significantly corroded or reduced in size, it’s time to replace it. To install a new anode rod, wrap the threads with the plumber’s tape and screw it into place until it is tight. Refill the tank and restore the power supply. Regularly replacing anode rods can significantly enhance the durability and efficiency of your water heater, preventing future leaks and costly repairs.
Conclusion
Summarizing how to turn off leaking water heater begins with identifying and closing the cold water supply valve and shutting off the power supply to the unit. Next, drain the tank by attaching a hose to the drain valve and directing the water to a suitable location. Disconnect the plumbing and electrical connections, and remove the old tank if replacement is necessary.
Throughout the process, always prioritize safety. Ensure the power supply is off before performing any maintenance, and use the proper tools to avoid injury. Familiarize yourself with the location of shut-off valves and emergency tools.
Regular maintenance is crucial in preventing future leaks and ensuring the efficiency of your water heater. Conducting annual inspections, flushing the tank, and checking anode rods can significantly extend the life of your water heater and reduce the likelihood of costly repairs.

