Have you ever turned on the water to do dishes or wash your hands only to realize the sink was already full, and now you’re desperately trying to turn the water off as it overflows out of the basin and onto your floors? If this has happened to you, I’m sure you can commiserate with the panic and frustration that comes with a sink stuck on full blast. Have you been there? Thought so.
Well, fret no more because in this post, I’m going to share with you some simple tricks and tips for how to turn off water to sink when stuck, and that faucet is unleashing an uncontrollable torrent of H20. Read on to arm yourself with solutions the next time you encounter a watery crisis! Let’s get started!
What Will You Need?
The good news is that you probably won’t need much at all to stop the water from drenching your bathroom or kitchen. In fact, there’s a good chance you already have everything you’ll need within arm’s reach. Here are some everyday household items that will come in handy:
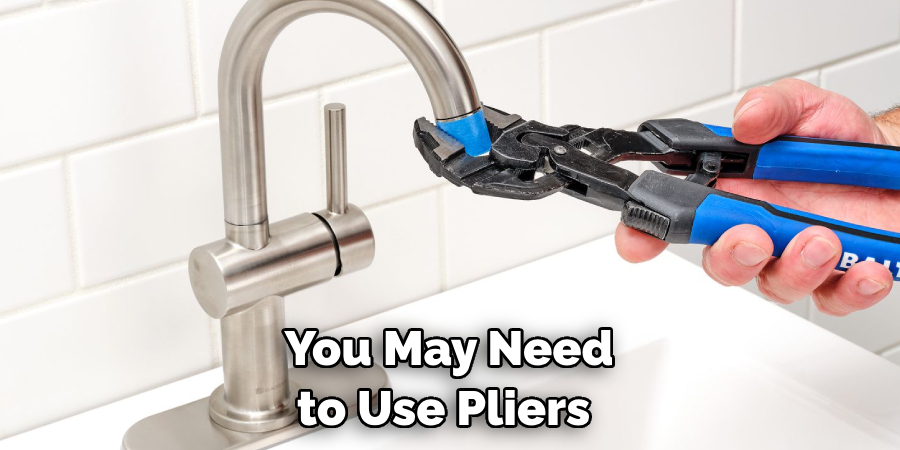
- A pair of pliers
- An adjustable wrench
- A flathead screwdriver
- A towel or rag
Once you have these items on hand, it’s time to get to work.
10 Easy Steps on How to Turn Off Water to Sink When Stuck
Step 1. Locate the Water Supply Valve:
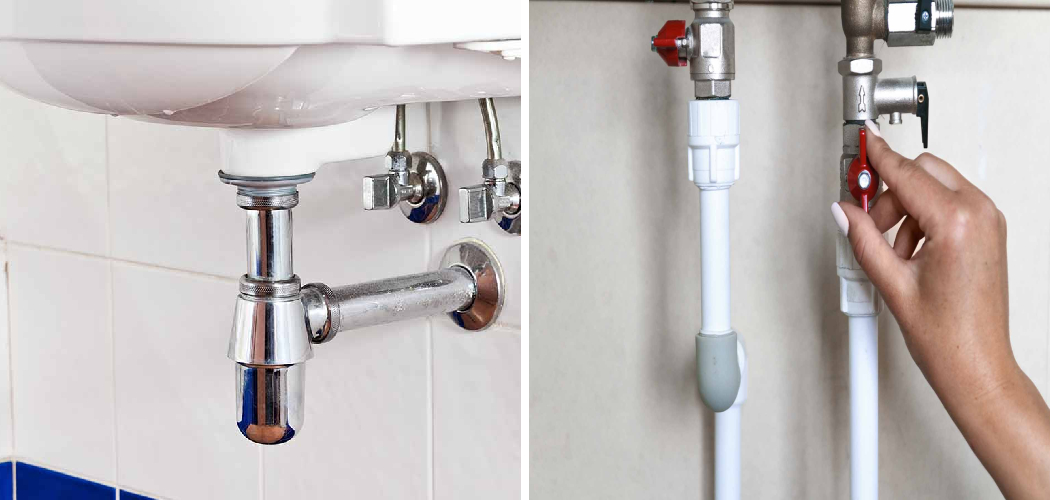
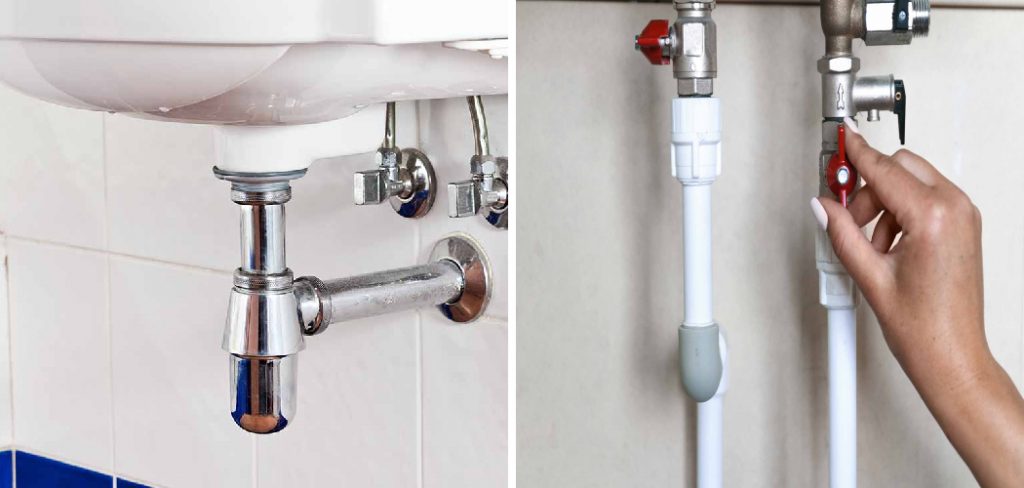
This is typically located under the sink. It may be a single valve or two separate ones for hot and cold water. If the valve is stuck, you may need to use pliers or an adjustable wrench to turn it. Be careful not to turn too hard, as you could break the valve.
Step 2. Turn off the Water Supply:
With your tool in hand, turn the valve clockwise (to the right) to cut off the water supply. Remember, ‘righty tighty, lefty loosey.’ If you have both hot and cold water valves, you’ll need to shut off both. Turning the valve may require some force, especially if it hasn’t been turned in a long time. However, be gentle enough to avoid causing any damage.
Step 3. Check the Faucet:
Once you’ve turned off the water supply, go back to your sink and check the faucet. If you’ve properly shut off the valves, the water flow should have stopped or significantly decreased. It’s important to remember that there might still be water in the pipes, so don’t be alarmed if it takes a few seconds for the water to completely stop. If the water continues to flow, it may indicate that the valves are not completely closed, or there might be a problem elsewhere in your plumbing system.
Step 4. Confirm the Problem:
If water is still flowing despite having turned off the valves, then the issue likely lies elsewhere in your plumbing system. It could be a problem with the stop valve not fully closing or perhaps a more significant plumbing issue. In this case, you may need to shut off the main water supply to your house. This is usually located outside your home or in the basement.
Use your wrench or pliers to turn the main water valve clockwise until fully closed. After closing the main water supply, recheck your sink. If the water stopped, the problem was likely with your sink’s local shut-off valves.
Step 5. Diagnose and Address the Issue:
Now that you’ve successfully stopped the water flow diagnosing the problem is time. Carefully inspect the faucet and valves for any visible damage or leaks. The issue could be a worn-out washer, a broken valve, or a faulty tap. If you can identify the cause, you may be able to fix it yourself with the right tools and replacement parts.

However, if the problem seems complicated or you have any doubts, it may be best to call a professional plumber at this stage to prevent further damage to your plumbing system. Always remember, it’s better to be safe than sorry when dealing with plumbing issues.
Step 6. Fix or Replace the Problematic Part:
If the problem is with a worn-out washer, you can usually unscrew the faucet handle using your flathead screwdriver, remove the old washer, and replace it with a new one. If the valve is broken, you may need to replace it entirely. Remember to turn off the main water supply before removing any parts of your faucet or valve.
Once you’ve replaced the broken or worn-out part, reassemble the faucet. Note it’s important to place each part back in the same order you removed them. If you’re unsure, taking photos as you disassemble might be helpful so you can refer back to them.
Step 7. Test the Sink:
After you’ve replaced the faulty component and reassembled the faucet, it’s time to test your sink. Slowly turn on the water supply valves under the sink (turn counter-clockwise). Then, carefully turn on your faucet to check if the water flow is back to normal and the issue is resolved. It’s crucial to have your towel or rag ready at this point in case there are any leaks from the areas you’ve worked on.
If everything is functioning as it should and there’s no leakage, congratulations! You’ve successfully fixed your stuck sink. If the problem persists, seek professional help, as there might be more serious issues with your plumbing system.
Step 8. Clean Up and Restore Your Area:
Once the issue is resolved and your sink is functioning properly, it’s time to clean up your workspace. Wipe down the area under the sink and around the faucet to ensure there’s no residual water from any leaks. Put away your tools and dispose of any old parts you replaced.
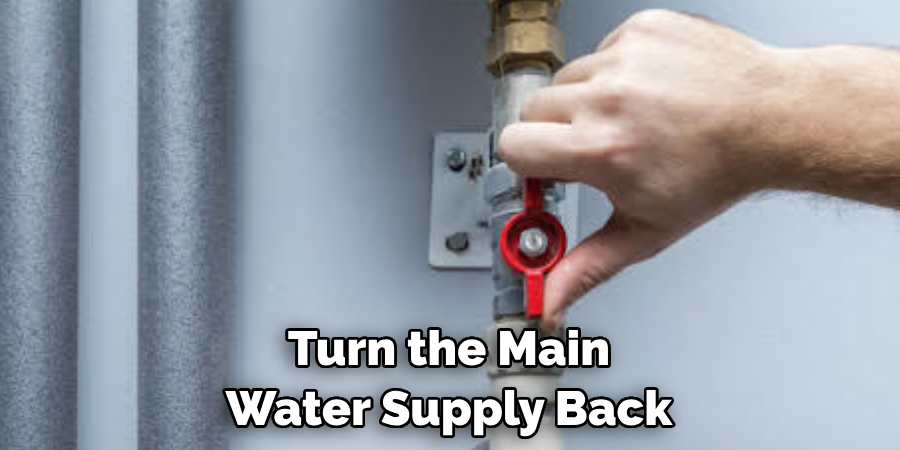
Finally, remember to turn the main water supply back on if you had turned it off earlier. You’ve now successfully navigated how to turn off the water to a sink when stuck and rectified the issue, saving yourself a possibly hefty plumber’s bill. Pat yourself on the back for a job well done!
Step 9. Regular Maintenance:
Regular maintenance is one of the best ways to prevent future issues with your sink. This includes frequently checking the valves and faucets for any signs of wear and tear and replacing any components as soon as damage is noticed. It’s also recommended to regularly turn the valves under the sink to keep them functioning smoothly.
They may become stiff or stuck if left untouched for long periods. Regular maintenance will not only prevent future surprises but also prolong the lifespan of your plumbing system.
Step 10. Emergency Contact:
Despite regular maintenance, unforeseen emergencies can arise at any time. It’s essential to always have the contact details of a trusted professional plumber at hand. A timely response to a plumbing crisis can save substantial damages and costs.
Additionally, it’s worthwhile to familiarize yourself with your home insurance policy regarding plumbing issues so you’re prepared in the event of a major problem. Remember, while DIY solutions are a great way to handle minor issues, don’t hesitate to call in the professionals when needed.

By following these steps, you’ll be well-equipped to handle any future stuck sink situations and know how to turn off the water to a sink when stuck, saving yourself time, money, and potential headaches.
5 Additional Tips and Tricks
- Check for Shutoff Valves: Before attempting to turn off the water, ensure that there are shutoff valves under your sink. These are commonly located on the water supply lines leading to the faucet.
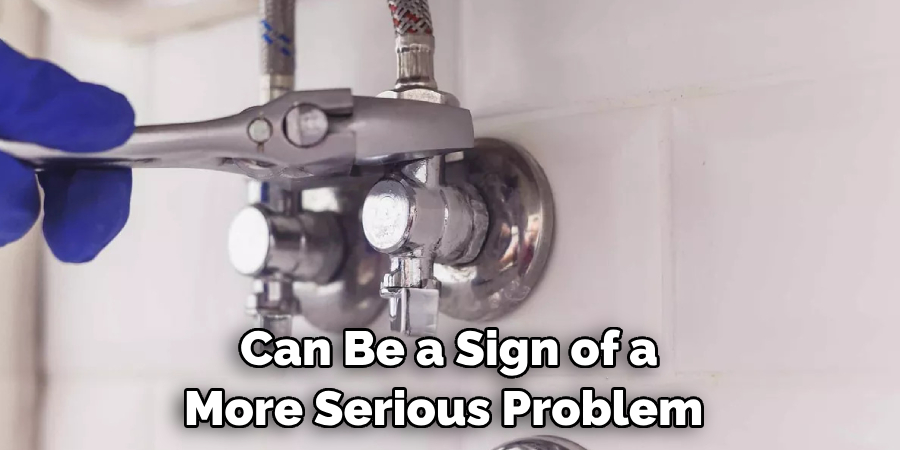
- Use a Wrench or Pliers: If the valves are stuck, use a wrench or pliers to gain a better grip. But remember, do not apply too much force as it may damage the valve.
- Apply Penetrating Oil: If the valve is still stuck, apply a penetrating oil such as WD-40. Spray the oil around the valve and wait for a few minutes to let it soak in and loosen the rust or sediment.
- Rotate the Valve in Both Directions: If the valve remains stuck, try rotating it in both directions. Sometimes, moving it back and forth can help to break the rust or sediment that’s causing the valve to stick.
- Call a Plumber: If you still can’t turn off the water, it may be time to call a professional. A stuck water valve can be a sign of a more serious problem requiring a certified plumber’s skills.
With these tips and tricks, you should be able to turn off the water to your sink even if it’s stuck. However, if you struggle with a stubborn valve or any other plumbing issue, it’s always best to seek help from a professional.
5 Things You Should Avoid
- Avoid Forcing the Valve: One of the most common mistakes is to apply too much force when the valve is stuck. This can cause more damage and may lead to costly repairs. Always use gentle, steady pressure when trying to turn a valve.
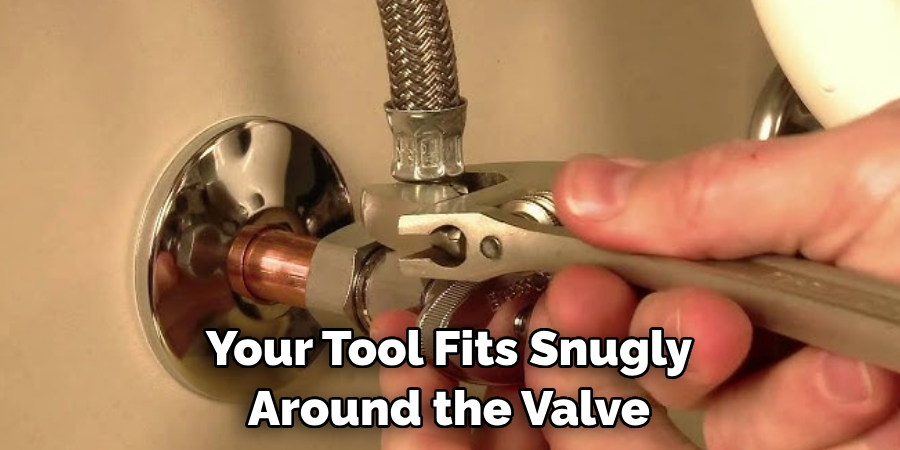
- Don’t Use an Oversized Wrench: A wrench too big for the valve can strip the edges, making it even more challenging to turn. Ensure that your tool fits snugly around the valve.
- Avoid Delaying Action: If your valve is stuck, wait to address the issue. Leaving it can lead to more serious problems, such as water damage or a burst pipe.
- Don’t Ignore Safety Measures: Always wear safety glasses when working with stuck valves, especially if you are using penetrating oil. This will protect your eyes from any potential sprayback.
- Avoid DIY If Unfamiliar: If you’re unfamiliar with plumbing tasks, don’t attempt to fix a stuck valve alone. Sometimes, a simple problem can turn into a major one if not handled correctly. It’s better to call a professional to avoid any unnecessary complications.
By avoiding these common mistakes, you can effectively turn off the water to your sink when it’s stuck and prevent any potential damage or accidents.
Why is My Shut Off Valve Not Stopping Water?
There are a few possible reasons why your shut-off valve may not stop the water flow. Some common causes include a damaged or worn-out valve, excessive buildup of sediment or rust, or an issue with the water pressure. If you’ve tried turning off the valve and it’s still not working, it’s best to call a professional plumber to diagnose and resolve the issue.
Attempting to fix it yourself may cause further damage or safety risks. Remember, it’s always better to be safe than sorry when it comes to plumbing issues.
So, if you find yourself in a situation where you can’t turn off the water to your sink when it’s stuck, don’t hesitate to seek professional help. Following these tips and avoiding common mistakes can ensure a smooth and hassle-free experience with your plumbing system.
Conclusion
In conclusion, knowing how to turn off water to sink when stuck is a crucial life skill that can save you from countless headaches and expensive repair bills. From identifying the location of your main shut-off valve to using alternate methods in case of an emergency, we have covered the necessary steps to tackle this common household problem.
Now is the time to take action and put these tips into practice. Don’t wait until you are faced with a burst pipe or a leaky faucet to figure out how to turn off the water supply. Take control of your home maintenance and be prepared for any plumbing mishaps that may arise.
By staying informed and equipped with the right knowledge, you can conquer any challenge that comes your way and keep your home running smoothly. So go ahead and give it a try. Turn off your water supply today and see just how easy it is! Trust us, you’ll feel like a superhero when you save yourself from a potential plumbing disaster.
Don’t forget to share this valuable information with friends and family so they too, can become water shut-off experts. Thanks for reading, and happy plumbing!

