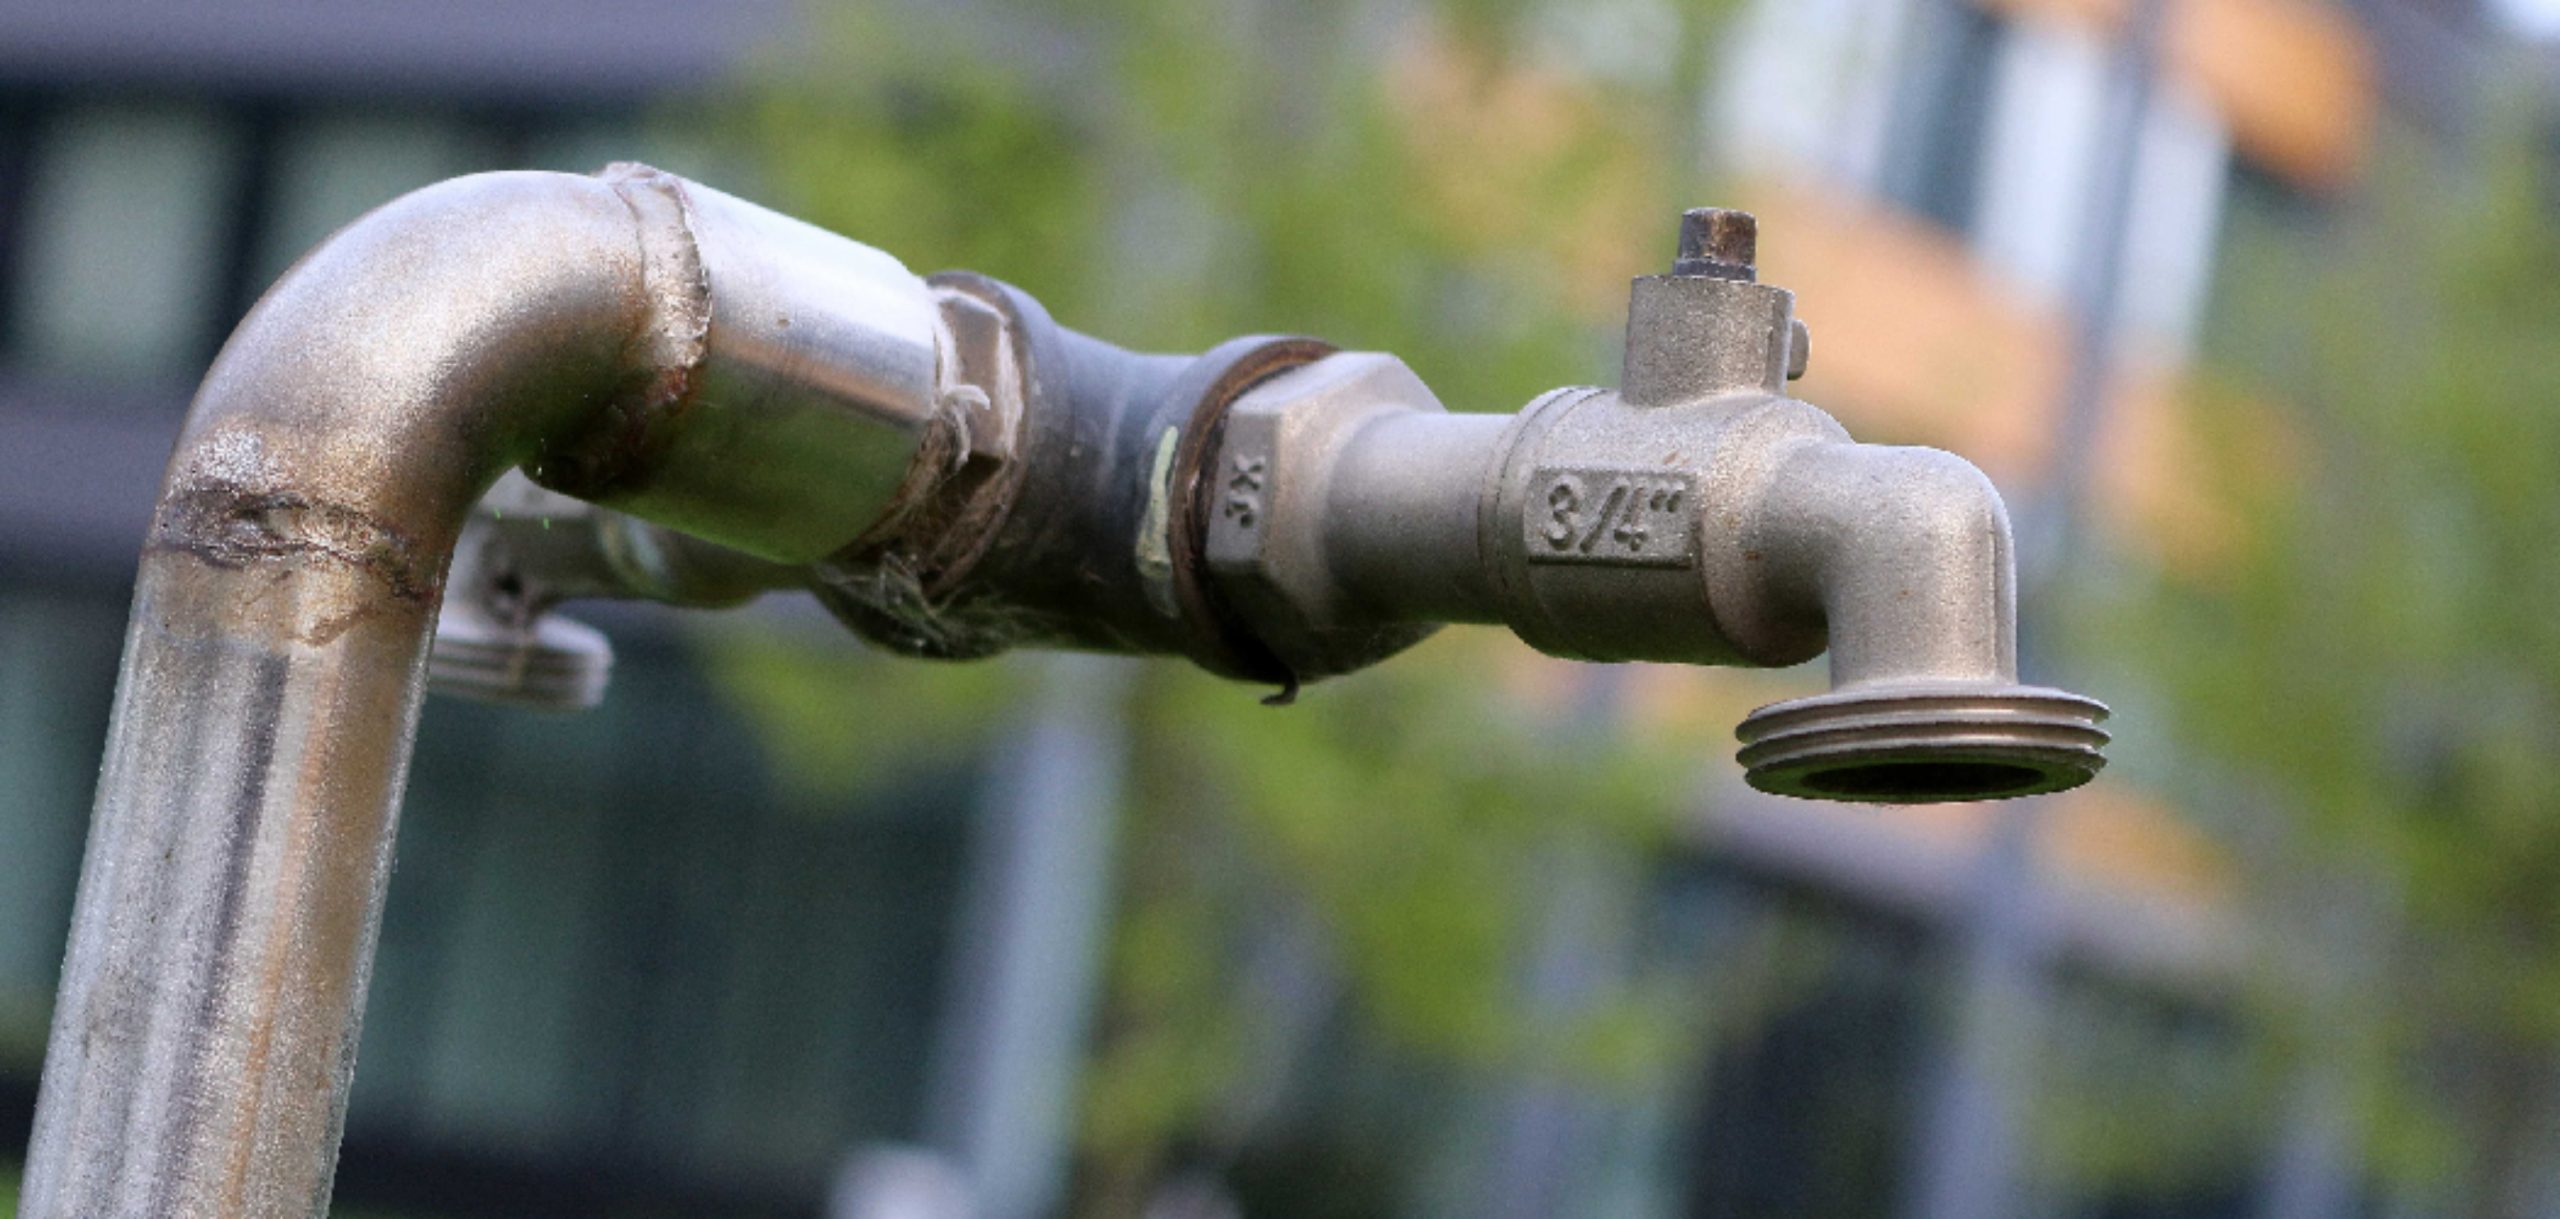
Turning on an outside water faucet is a simple yet essential task, especially during warmer months when gardens and lawns require regular watering. Whether you’re preparing to tend to your plants, wash your car, or fill a kiddie pool, knowing how to properly operate the outdoor faucet ensures that you can efficiently access water for various outdoor activities.
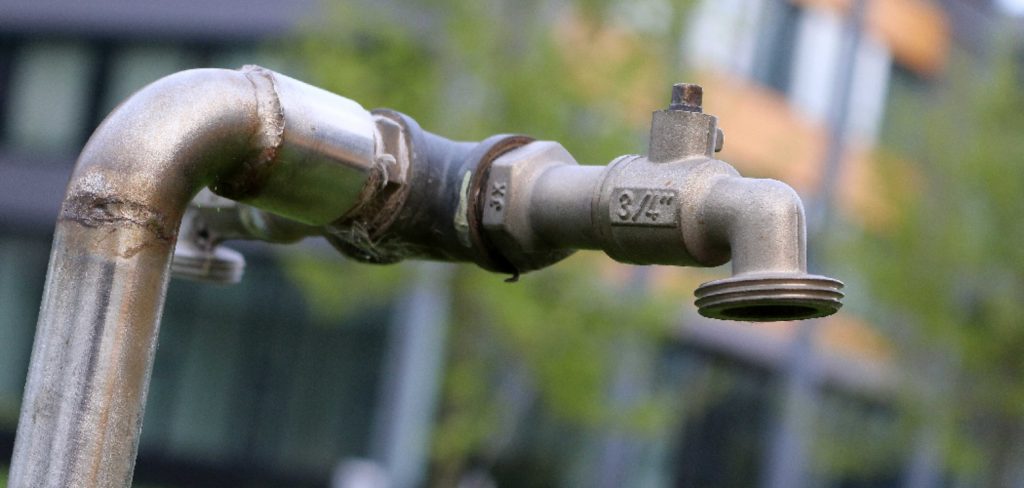
This guide will walk you through how to turn on outside water faucet, helping you to maintain a healthy and vibrant outdoor space.
Types of Outside Water Faucets
There are several types of outside water faucets, each designed for specific needs and applications. Here are some common types:
- Standard Hose Bib: This is the most common type of outdoor faucet, typically found in residential areas. It is used to connect garden hoses and is operated by turning a knob or lever.
- Frost-Free Faucet: Designed to prevent water from freezing in colder climates, this faucet has a long stem that allows the shut-off valve to be located inside the house. This design helps avoid burst pipes during winter.
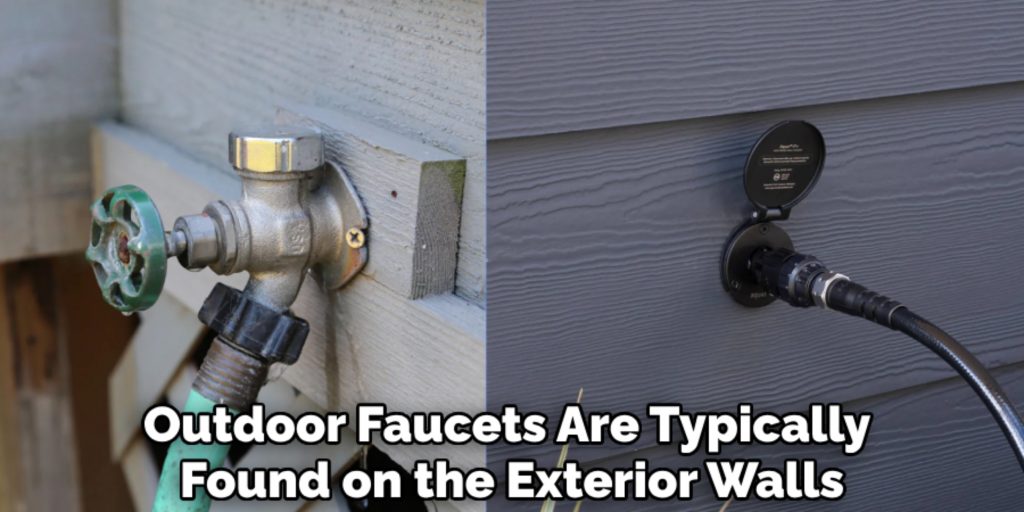
- Wall-Mounted Faucets: These faucets are mounted directly to the exterior wall of a house and are often used for convenience in gardens or yards. They can come in various styles, including those with built-in backflow preventers.
- Automatic or Sensor Faucets: Increasingly popular for garden irrigation systems, these faucets can automatically turn on and off based on moisture levels in the soil or through sensor activation.
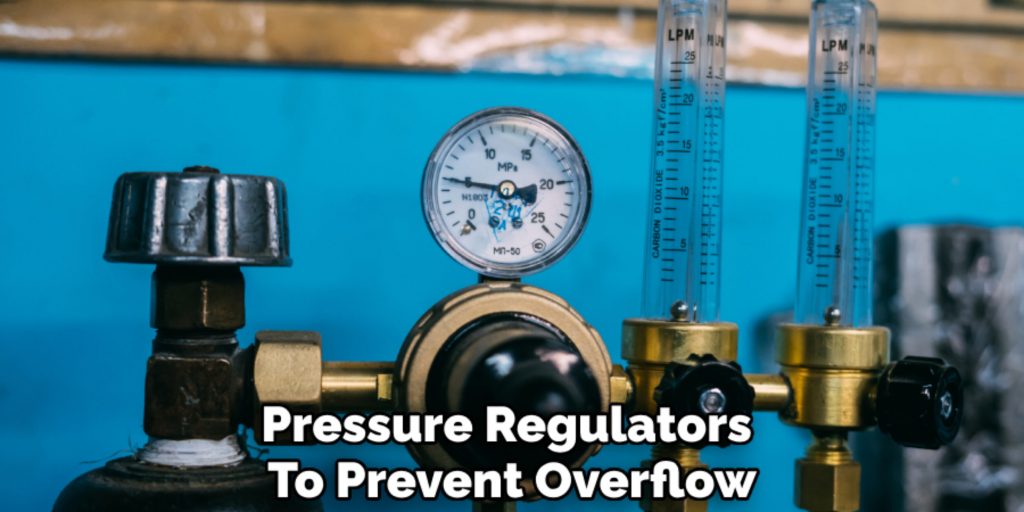
- Spigot with Pressure Regulator: Ideal for high-pressure systems, these faucets are equipped with pressure regulators to prevent overflow and damage to garden hoses or irrigation systems.
Understanding the various types of outside water faucets can help you choose the right one for your specific outdoor watering needs.
Tools and Materials Needed
To effectively turn on an outside water faucet and perform any related tasks, it’s important to have the right tools and materials at your disposal. Here’s a list of items you may need:
- Garden Hose: A standard garden hose allows you to easily transport water to various areas of your yard or garden.
- Hose Wrench: A hose wrench can help you tighten or loosen connections without damaging the fittings.
- Adjustable Wrench: Useful for securing or disconnecting fittings and ensuring a leak-free connection.
- Teflon Tape: This tape is helpful for sealing threaded connections to prevent leaks.
- Bucket or Watering Can: Ideal for collecting water directly from the faucet for smaller tasks.
- Pressure Regulator (if needed): If you have a high-pressure water source, a pressure regulator will help protect hoses and watering systems from damage.
- Gloves: Wearing gloves can protect your hands while handling hoses and fittings, especially in wet conditions.
Having these tools and materials ready will streamline the process of utilizing your outside water faucet, making your outdoor tasks more efficient.
10 Methods How to Turn on outside Water Faucet
1. Locate the Outdoor Faucet and Its Shut-Off Valve
The first step in turning on an outside water faucet is to locate both the faucet itself and its associated shut-off valve. Outdoor faucets are typically found on the exterior walls of homes, often near gardens, driveways, or patios.
The shut-off valve for the faucet is usually located inside the home, in an area such as the basement, crawl space, or utility room. This valve controls the flow of water to the outdoor faucet. Identifying both the faucet and shut-off valve is crucial, as you may need to adjust or inspect them during the process.
2. Inspect the Outdoor Faucet for Damage
Before turning on the water, inspect the outdoor faucet for any visible signs of damage or wear. Look for cracks, leaks, or corrosion that could affect the faucet’s performance.
If you notice any damage, such as a cracked handle or a loose spout, address these issues before turning on the water to prevent further damage or leaks. Repair or replace any damaged components to ensure that the faucet operates correctly and does not cause any issues once the water is turned on.
3. Check the Shut-Off Valve for Proper Function
The shut-off valve inside your home controls the water flow to the outdoor faucet. Before turning on the faucet, check that this valve is fully open. Turn the valve counterclockwise to open it completely.
Ensure that the valve handle is in the open position, allowing water to flow to the outdoor faucet. If the valve is partially closed or stuck, it may need to be adjusted or repaired to ensure a smooth flow of water to the faucet.
4. Turn On the Outdoor Faucet Slowly
Once you’ve verified that the shut-off valve is open and the outdoor faucet is in good condition, it’s time to turn on the faucet itself. Start by turning the faucet handle slowly in a counterclockwise direction.
This gradual approach helps to prevent any sudden pressure changes that could cause leaks or damage. If the faucet has a separate hot and cold handle, turn on the cold water first to check for proper flow. Gradually adjust the handle to achieve the desired water temperature and flow rate.
5. Check for Leaks Around the Faucet
After turning on the outdoor faucet, carefully inspect the area around the faucet for any signs of leaks. Look for water dripping from the faucet spout, around the base, or where the faucet connects to the exterior wall. If you notice any leaks, turn off the faucet and tighten any loose connections or fittings.
Leaks can often be resolved by adjusting or replacing washers, O-rings, or other sealing components. Addressing leaks promptly helps to prevent water waste and potential damage to your home.
6. Ensure Proper Water Pressure
Once the faucet is turned on and free of leaks, check that the water pressure is adequate for your needs. Low water pressure can be caused by a variety of issues, including blockages in the faucet or issues with the shut-off valve.
If you experience low pressure, try removing and cleaning the faucet aerator, which can become clogged with debris. If cleaning the aerator does not resolve the issue, you may need to inspect the shut-off valve or consult a plumber for further assistance.
7. Inspect the Hose Bib if Connected
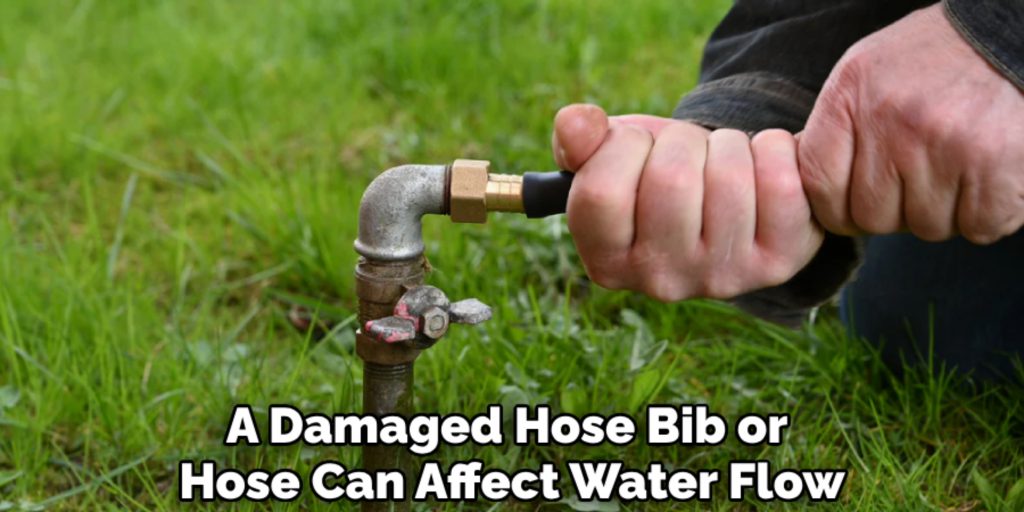
If you have a hose connected to the outdoor faucet, inspect the hose bib (the threaded connector where the hose attaches) for any signs of damage or leaks. Ensure that the hose is securely attached and that there are no kinks or blockages in the hose itself. A damaged hose bib or hose can affect water flow and may need to be repaired or replaced. Check that the hose is properly connected and that there are no leaks at the connection point.
8. Prepare for Seasonal Changes
Depending on the time of year, you may need to take additional steps to prepare your outdoor faucet for seasonal changes. In colder climates, it’s important to ensure that the faucet and connected pipes are protected from freezing temperatures.
If you’re turning on the faucet after winter, check that the pipes are not frozen and that there are no signs of frost damage. You may need to install an insulated cover or take other precautions to protect the faucet during the colder months.
9. Perform Routine Maintenance
To keep your outdoor faucet in good working condition, perform routine maintenance as needed. This includes checking for leaks, inspecting the faucet and shut-off valve for damage, and cleaning the aerator or hose bib.
Regular maintenance helps to prevent issues and ensures that the faucet operates smoothly throughout the year. Consider creating a seasonal maintenance checklist to stay on top of any necessary tasks and keep your outdoor faucet in optimal condition.
10. Address Any Persistent Issues
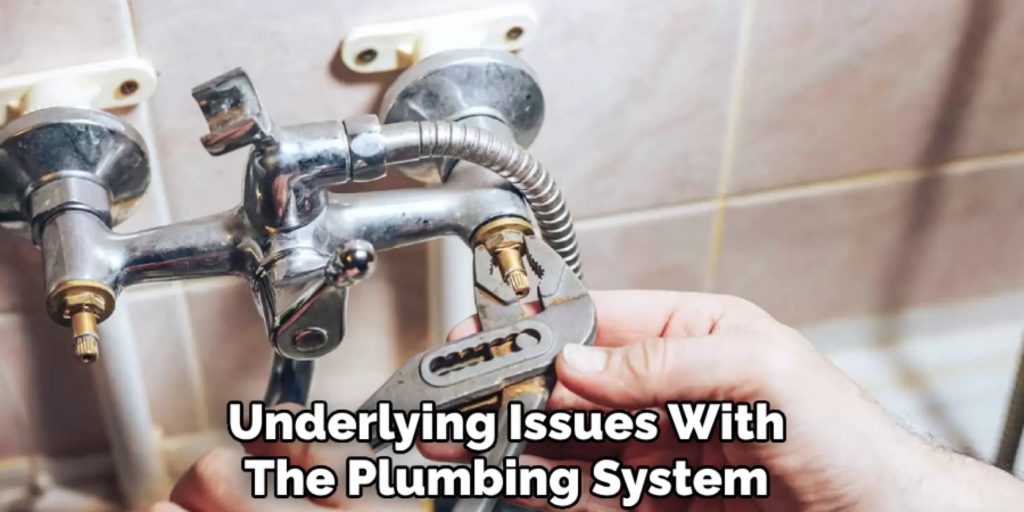
If you encounter persistent issues with the outdoor faucet, such as ongoing leaks, low water pressure, or difficulty turning the faucet on, it may be necessary to seek professional help.
Persistent problems could indicate underlying issues with the plumbing system or the faucet itself. In such cases, contact a licensed plumber to diagnose and address the problem. A professional can provide expert assistance and ensure that any repairs or replacements are done correctly.
Conclusion
Turning on an outside water faucet involves a series of careful steps to ensure proper operation and avoid potential issues. From locating and inspecting the faucet and shut-off valve to addressing any leaks or pressure problems, each method plays a crucial role in the process.
By following these ten methods, you can successfully turn on your outdoor faucet and ensure that it functions effectively for your needs. Regular maintenance and prompt attention to any issues will help keep your outdoor faucet in excellent condition and prevent future problems.
Hopefully, this article gave you some helpful tips about how to turn on outside water faucet successfully, so now that you have the proper knowledge on how to get the job done, why not give it a try today?

