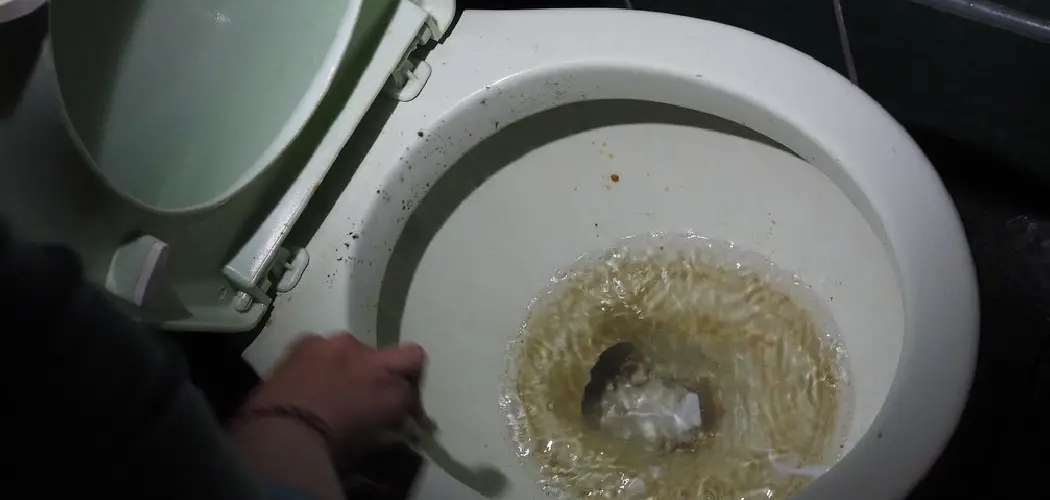
Are you dealing with a clogged toilet full of poop? Don’t worry; it’s a common problem and can be easily fixed with some essential tools and techniques.
Dealing with a clogged toilet can be one of the most unpleasant household challenges, especially when it’s filled with waste. Understanding how to unclog a toilet full of poop not only saves time but also prevents potential plumbing issues and unpleasant odors. In this guide, we will walk you through steps to safely and effectively clear the blockage, using tools you may already have at home while minimizing your contact with germs.
Whether you’re facing a minor clog or a more severe blockage, the right techniques can quickly restore your toilet’s functionality.
What Will You Need?
You’ll need the following items before you start:
- A Plunger: Choose a sturdy rubber with an extension flange designed to fit effectively into toilets’ bottom openings. They are readily available at most hardware stores if you don’t have one at home.
- Rubber Gloves: To protect your hands from germs or bacteria in the toilet bowl.
- Plastic Bags: To dispose of any waste or debris removed during unclogging.
- Baking Soda and Vinegar: Natural cleaning agents that help break down stubborn clogs and eliminate foul odors.
- A Toilet Auger: This tool is helpful for more severe blockages that cannot be cleared with a plunger. It is also available at most hardware stores.
Once you have all the necessary tools, let’s get started!
10 Easy Steps on How to Unclog a Toilet Full of Poop
Step 1: Prepare the Area
Before you begin the unclogging process, preparing the area around the toilet is essential. Start by clearing away any items that may get splashed or affected, such as bath mats or towels. Lay down some old newspapers or towels on the floor to absorb any spills.
Ensure that your rubber gloves are on and all your tools are within reach. Taking these precautions will help you manage the situation more effectively and maintain cleanliness while tackling the clog.
Step 2: Use the Plunger
Begin by positioning the plunger in the toilet bowl, ensuring that the rubber part covers the opening completely.
This creates a good seal, which is essential for effective plunging. With a firm grip on the handle, gently push down on the plunger to expel any air, then plunge vigorously in an up-and-down motion. The goal is to create suction and pressure to dislodge the clog.
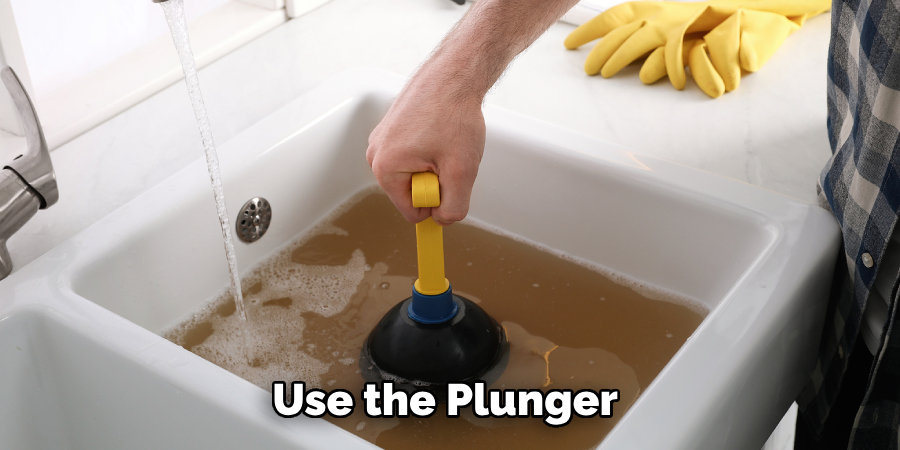
Continue this motion for about 20-30 seconds, then pull the plunger out quickly to release the pressure. Check if the water in the bowl begins to drain; if not, repeat the plunging process a few more times.
Step 3: Assess the Situation
After attempting to unclog the toilet with the plunger, it’s essential to assess whether the blockage has cleared. Look for signs of drainage in the bowl; if the water lowers significantly or empties completely, you’ve likely made progress. However, if the water level remains unchanged or continues to rise, indicating a persistent clog, don’t panic.
Take a moment to gather your thoughts and decide whether to continue with the plunger or move on to other methods for clearing the blockage. Always remember to proceed cautiously to avoid any overflow.
Step 4: Try Baking Soda and Vinegar
If the plunger hasn’t worked, it’s time to turn to some natural cleaning agents. Start by pouring about one cup of baking soda into the toilet bowl, ensuring it reaches the clogged area.
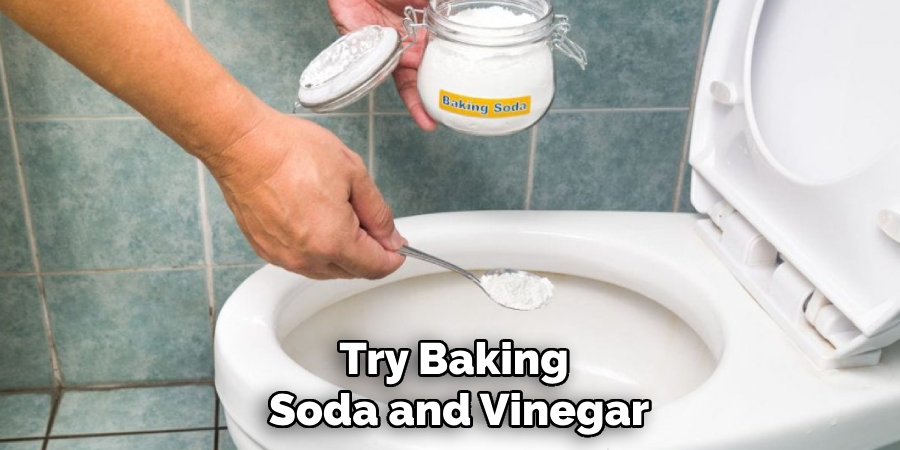
Then, follow this with one to two cups of vinegar. You’ll notice some fizzing and bubbling as the two ingredients react, which can help break down softer clogs.
Allow the mixture to sit without flushing for about 30 minutes to an hour. This waiting period allows the solution to penetrate the clog further.
After the time has passed, attempt to flush the toilet. If the water drains properly, the clog may have cleared; don’t worry, more options are available.
Step 5: Use the Toilet Auger
If the baking soda and vinegar method does not yield results, it’s time to employ a toilet auger. Begin by inserting the drill’s flexible wire end into the toilet bowl and carefully pushing it into the drain to reach the blockage. Once the wire is fully extended, rotate the auger handle carefully while applying gentle pressure, allowing it to break through or hook onto the clog.
If you can feel resistance, keep turning and pushing until you break through the obstruction or retrieve the debris. After using the drill, flush the toilet to check if the water drains properly. If the blockage remains, repeat the process as necessary.
Step 6: Flush the Toilet
Once you have successfully cleared the clog, it’s crucial to test the toilet’s functionality by flushing it. Begin by carefully checking the water level in the toilet bowl; if it appears to be draining correctly, proceed with a full flush.
Watch closely to see if the water flows smoothly without lingering clogs. If the water drains as expected, congratulations—you’ve unclogged your toilet!
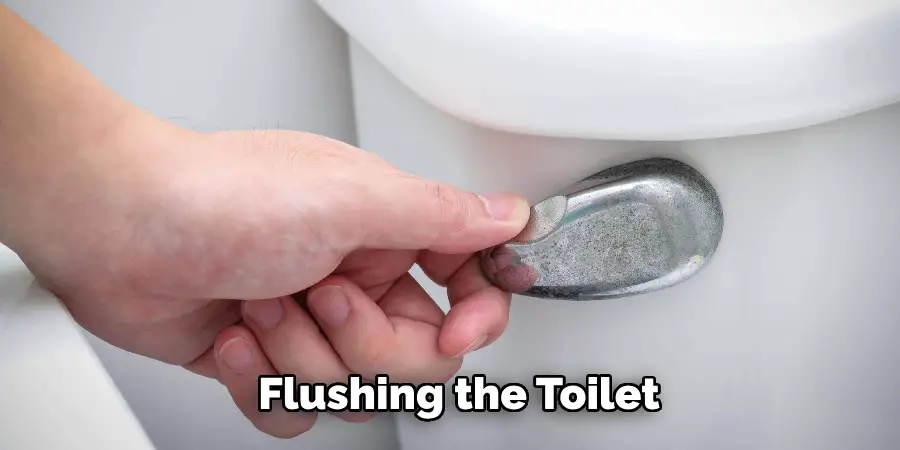
However, the blockage may still be present if the bowl fills again or drains slowly. In that case, you might need to revisit the previous steps or consider contacting a professional plumber for further assistance. Remember to flush regularly to maintain proper waste flow and prevent future clogs.
Step 7: Clean Up
After successfully unclogging the toilet, it’s time to clean the area to ensure everything is sanitary. Start by carefully removing the old newspapers or towels you laid down earlier. Dispose of any waste or debris that may have accumulated in the plastic bag you prepared during the unclogging process.
Next, remove and properly clean your rubber gloves, discarding them if they’re disposable or washing them thoroughly with soap and hot water if they’re reusable. Finally, give the toilet bowl a good scrub with a toilet brush and some disinfectant cleaner to remove any remnants and bacteria, leaving the area clean and fresh.
Step 8: Prevent Future Clogs
To avoid dealing with clogged toilets in the future, consider adopting some preventive measures. First, educate everyone in the household on what can and cannot be flushed down the toilet. Items such as wipes, sanitary products, and excessive amounts of toilet paper should always be disposed of in the trash.
Additionally, it can be helpful to periodically use a routine maintenance solution, like a mixture of baking soda and vinegar, to keep the pipes clear and free from buildup. Regularly cleaning the toilet and ensuring that its components, like the flapper and fill valve, are in good working condition can also prevent future clogs. These proactive steps can save you from the hassle and stress of an unexpected toilet blockage.
Step 9: Know When to Call a Professional
While many clogs can be resolved with DIY methods, there are situations when it’s best to seek professional help. Suppose you’ve tried multiple methods without success and the toilet continues to clog. In that case, it may indicate a more significant issue in your plumbing system, such as tree root intrusion, severe pipe damage, or a main sewer line blockage.
Additionally, if you notice plumbing backups in other fixtures, such as sinks or showers, it may signify a broader problem that requires a plumber’s expertise. Don’t hesitate to contact a licensed plumber if you’re unsure or if the situation seems beyond your control. They have the tools and knowledge to diagnose and fix complex issues efficiently, ensuring your plumbing systems function correctly.
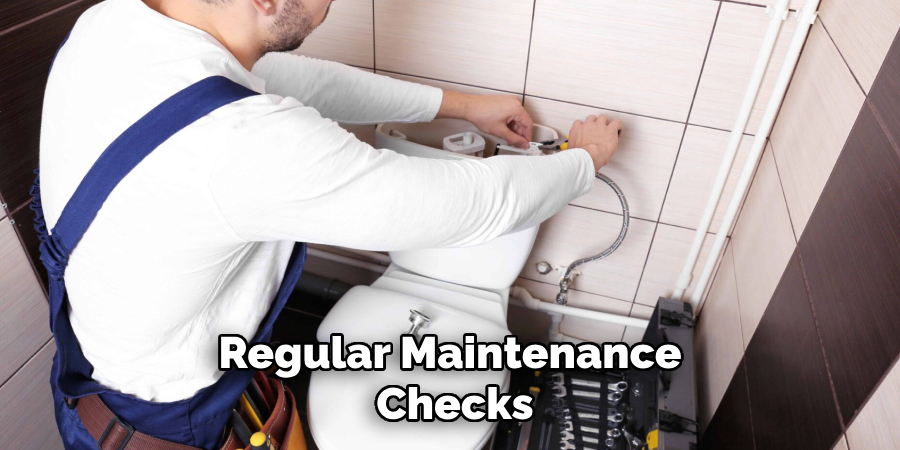
Step 10: Regular Maintenance Checks
It’s essential to conduct regular maintenance checks to ensure your toilet functions properly and prevent future clogs. Start by inspecting the toilet components for any signs of wear or damage, such as cracks in the tank or bowl, and ensure that the flapper is sealing correctly.
Check for leaks around the base, which could also indicate a need for tightening or replacement of seals. Additionally, consider scheduling a routine plumbing inspection every few years to assess the condition of your home’s plumbing system. These proactive measures can help identify potential issues early and contribute to a smooth and efficient plumbing experience.
By following these steps, you can unclog your toilet effectively and cost-effectively.
Conclusion
How to unclog a toilet full of poop can be a daunting task, but with the right approach and tools, it can be managed effectively.
You can address the blockage with minimal stress by following the outlined steps—starting with using a plunger, trying baking soda and vinegar, and utilizing a toilet drill. Maintaining cleanliness throughout the process and taking preventive measures to avoid future clogs, such as being mindful of what gets flushed, is essential. If home remedies do not resolve the issue, remember that professional plumbers are equipped to handle more complex problems.
Regular maintenance checks and clear household communication about toilet usage help ensure your bathroom remains functional and stress-free. These practices will also better prepare you for any toilet troubles that may arise.

