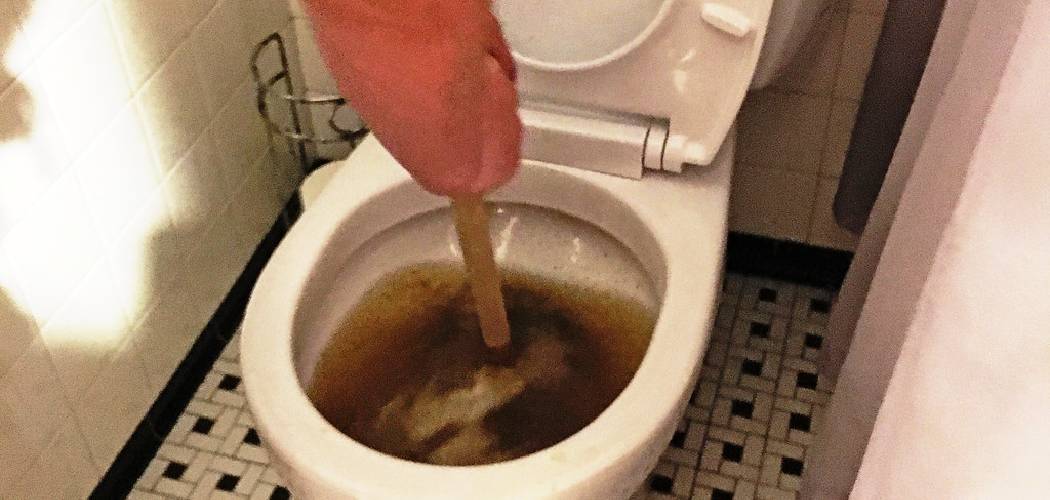
Are you getting frustrated with your toilet clogging every time you flush? Have you been using flushable wipes and now your toilet is completely backed up?
Clogged toilets are a common household headache, and one of the leading culprits behind these plumbing problems is the use of flushable wipes. While marketed as safe for flushing, many products do not break down as easily as toilet paper and can create stubborn blockages in your pipes. Understanding how to unclog toilet clogged with flushable wipes is essential for every homeowner.
In this guide, we will explore practical methods to tackle this issue, from simple DIY solutions to when it’s time to call in a professional. Whether you’re facing a minor inconvenience or a major blockage, timely and correct action can save you from costly repairs and restore your toilet to full working order.
What Will You Need?
Before attempting to unclog your toilet, gathering all the necessary tools and materials is essential. Here are some items that will come in handy:
- Plunger: This is an essential tool most people use in their homes. Make sure you have a sturdy rubber plunger with a flange on the bottom, as this will provide better suction.
- Rubber Gloves: To protect your hands from coming into contact with any unsanitary water or debris.
- Bucket: You may need this to drain excess water before plunging. It can also catch any overflow from the toilet bowl.
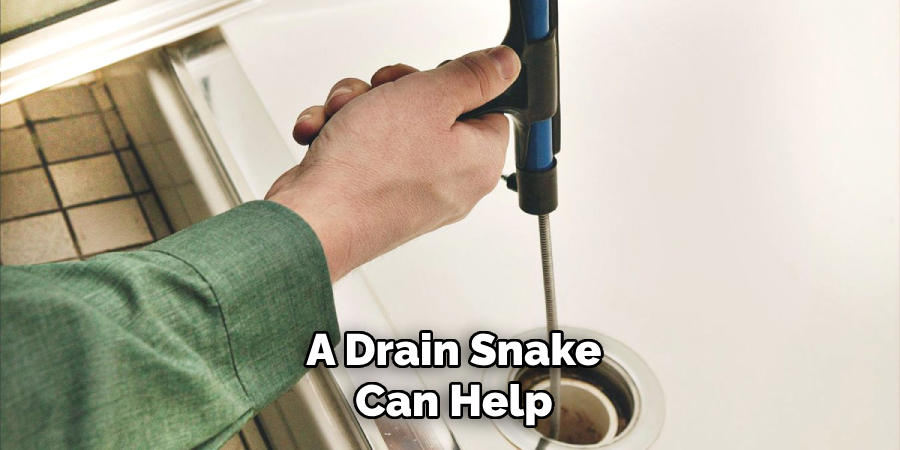
- Drain Snake: A drain snake can help break up and remove the blockage for more severe clogs.
- Toilet Auger: Similar to a drain snake, this tool is specifically designed for toilets and may be more effective in removing clogs.
- Hot Water: Boiling water can help loosen stubborn clogs and clear out pipes. However, be careful not to use boiling water if you have a porcelain or ceramic toilet, as it could cause cracks or damage.
Once you have all your materials ready, it’s time to get to work.
9 Easy Steps on How to Unclog Toilet Clogged With Flushable Wipes
Step 1: Assess the Situation
Before taking any action, assess the extent of the clog. If the toilet bowl is overflowing, quickly turn off the water supply valve located behind the toilet to prevent further flooding. This valve, usually located near the floor, will help you manage the situation before you start unclogging.
Step 2: Prepare the Area
Preparation is crucial for a practical unclogging session. Start by removing any items around the toilet area that could get wet, such as bath mats, toilet paper holders, or decor. This will help prevent any mess and allow you to move freely without obstruction.
Next, put on your rubber gloves to ensure your hands are protected from any unsanitary materials that may be encountered during the process. If there is a significant amount of water in the bowl, use your bucket to bail out the excess until it is at a manageable level—this will make plunging more effective and reduce the likelihood of overflow during the unclogging process. Once you’ve prepared the area, you’re ready to begin the actual unclogging steps with peace of mind that your surroundings are clean and safe.
Step 3: Use the Plunger
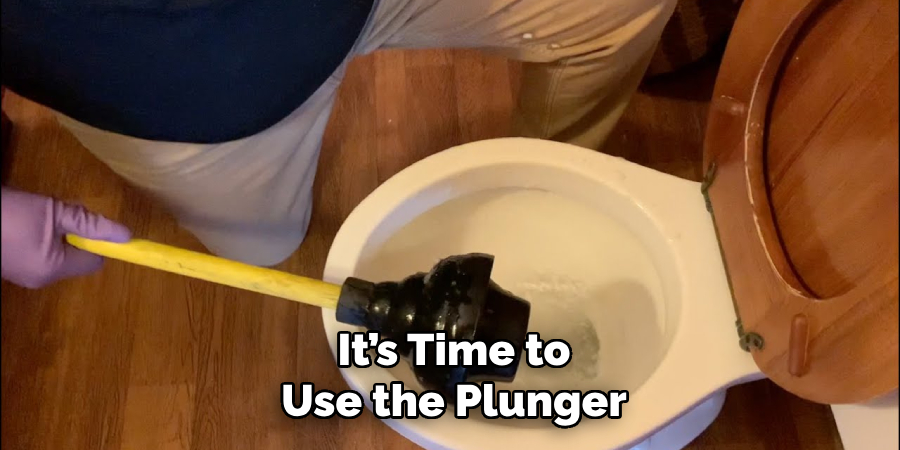
With your area prepared and all the necessary tools, it’s time to use the plunger. Position the plunger in the toilet bowl, ensuring the flange is submerged; this is crucial for creating a proper seal. Firmly push down and pull up on the handle, using a steady motion to create suction. Continue this for 15 to 20 seconds, maintaining the pressure and rhythm. You should feel resistance if done correctly, which means the clog loosens. After a series of plunging motions, take a break and check if the water drains. If not, continue plunging until you notice a change in the water level. If successful, flush the toilet to ensure everything is flowing smoothly.
Step 4: Try Hot Water
If plunging doesn’t resolve the clog, the following method to try is using hot water. Begin by boiling a kettle of water, but make sure it’s not at a full boil to avoid damage to your toilet. Once the water is hot, carefully pour it from waist height into the toilet bowl.
This height allows for a better impact on the clog. The heat from the water can help to soften the flushable wipes and any other buildup contributing to the blockage. After pouring, wait a few minutes to let the hot water work its magic before attempting to flush the toilet again. If the water drains successfully, you can proceed; if not, you may need to repeat this step or try the next method.
Step 5: Use a Drain Snake
If your efforts with the plunger and hot water haven’t cleared the clog, reaching for a drain snake might be time. Start by gently inserting the end of the drain snake into the toilet drain, ensuring you don’t scratch the porcelain. Slowly turn the snake handle clockwise as you push it further into the pipe. This motion allows the snake to navigate the bend and grab onto the clog.
Once you feel resistance, continue turning to break up the material blocking the passage. Pull the snake out carefully and check if any debris has come with it. Try flushing the toilet after using the drain snake to see if the blockage has cleared. If the toilet is still clogged, you may need to repeat this step or consider using a toilet auger for more stubborn clogs.
Step 6: Use a Toilet Auger
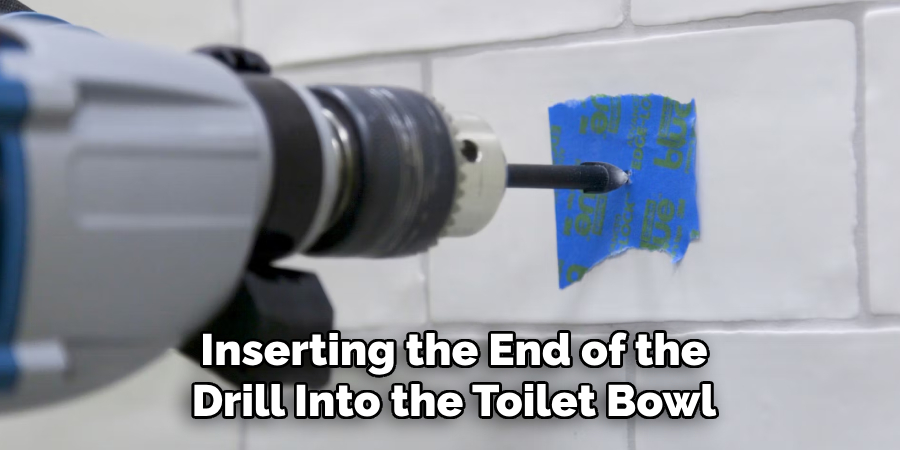
If the drain snake hasn’t resolved the issue, a toilet auger can be a more effective tool for stubborn clogs. Begin by inserting the end of the drill into the toilet bowl, ensuring it is positioned carefully to avoid damage. As you push the drill into the drain, turn the handle clockwise to navigate through the pipes. This tool is designed to bend and reach blockages that standard snakes may not. Once you feel resistance, continue to twist and gently push to break apart the clog.
After a few minutes of manipulation, carefully remove the auger to see if any debris has come out. Flush the toilet again to check if the obstruction has been cleared. If the toilet remains clogged, you may need to consider calling a professional plumber for assistance.
Step 7: Clean the Area
After successfully clearing the clog, it’s essential to clean the area to maintain hygiene and ensure everything is in order. Start by removing your rubber gloves and disposing of them appropriately. Use disinfecting wipes or a suitable cleaner to wipe down the toilet and the surrounding surfaces, mainly if any mess occurs during the unclogging process.
Don’t forget to clean your tools, including the plunger and any other equipment you used, by rinsing them thoroughly in hot, soapy water. This will prevent any build-up of bacteria and keep your tools in good condition for future use. Finally, replace any items you had removed, and check that everything is dry and tidy before resuming your regular routine.
Step 8: Prevent Future Clogs
To minimize the chances of future clogs, it’s essential to adopt some preventive measures. Start by being mindful of what you flush down the toilet; only human waste and toilet paper should be disposed of this way. Educate all household members on the importance of avoiding flushable wipes, feminine hygiene products, and other non-biodegradable items in the toilet. Additionally, consider installing a toilet brush and holder nearby to encourage regular cleaning, as this can help maintain the toilet’s functionality.
Regularly inspect your plumbing for signs of wear and tear or blockages, and consider scheduling routine maintenance from a professional plumber to ensure your system remains in optimal condition. By taking these proactive steps, you can keep your toilet and plumbing functioning properly and reduce the likelihood of dealing with clogs in the future.
Step 9: Know When to Call a Professional
Despite your best efforts and techniques, there may be situations where a clog is beyond the capabilities of DIY methods. If you’ve tried multiple approaches—such as plunging, hot water, a drain snake, and a toilet auger—and the blockage persists, you should call a professional plumber.
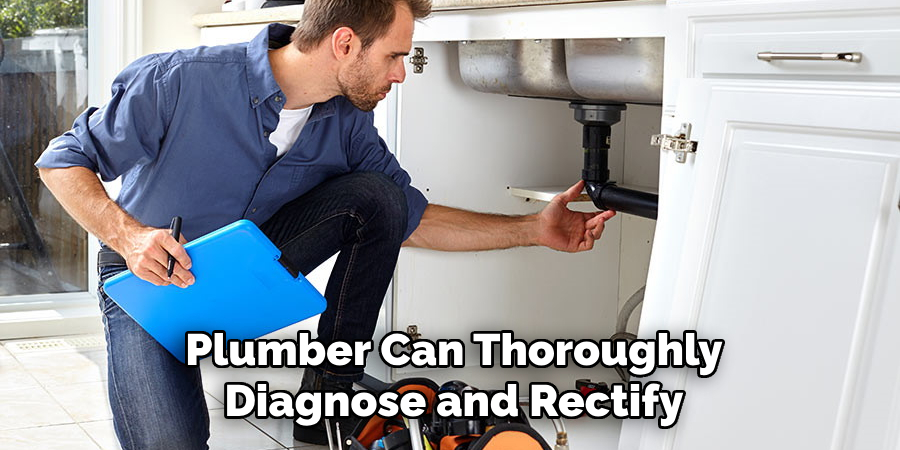
Additionally, signs of persistent issues, such as gurgling sound from the toilet or drains backing up in other fixtures, may indicate more severe plumbing problems that require expert intervention. A plumber can thoroughly diagnose and rectify the situation, providing solutions to restore your plumbing system to optimal function. Don’t hesitate to seek professional help; it can save you time and potentially damage your plumbing.
By following these steps, you can effectively unclog your toilet and prevent future blockages with proper maintenance.
Conclusion
In summary, how to unclog toilet clogged with flushable wipes requires a systematic approach and various tools. Start with the simplest solution, using a plunger, followed by methods such as hot water, a drain snake, and a toilet auger if needed.
Once the clog is cleared, clean the area thoroughly to maintain hygiene and keep your tools in good shape. Prevention is crucial; educate your household about suitable items to flush and consider implementing regular maintenance checks. If all fails, don’t hesitate to call a professional plumber.
By being proactive and informed, you can effectively manage and prevent future clogs, ensuring your toilet remains functional and hassle-free.
Check it out to Water Pressure in Apartment

