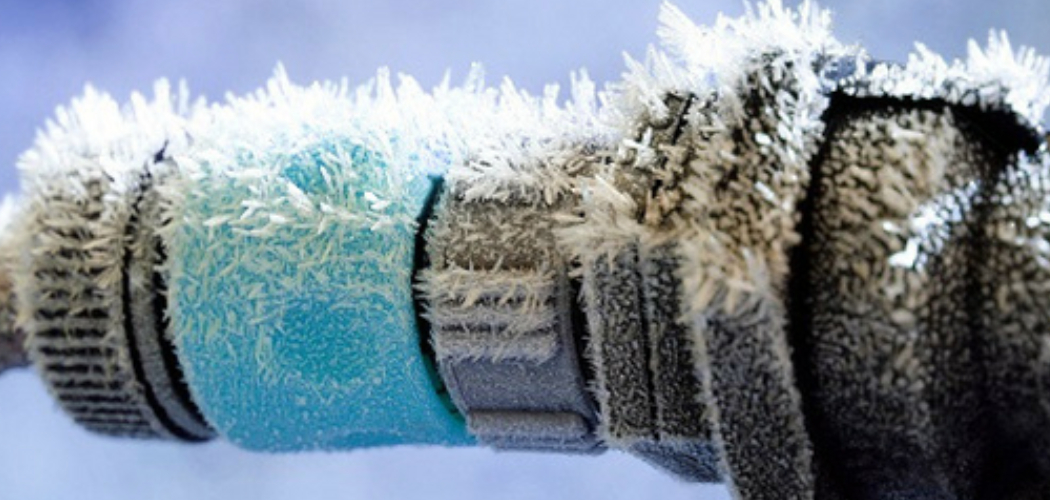
Are you tired of suffering from frozen pipes during the winter months in your trailer? Frozen pipes can cause inconvenience and even expensive damage to your plumbing system.
Frozen pipes in a trailer can be a frustrating and potentially costly problem, especially during the colder months. When water inside the pipes freezes, it can block the flow and even risk bursting the pipes, leading to significant damage. Fortunately, with the right approach and tools, you can safely and effectively unfreeze pipes in your trailer.
This guide on how to unfreeze pipes in trailer will provide you with practical steps and precautions to help you restore water flow and protect your plumbing system from further issues. Whether you’re dealing with a minor freeze or a more severe blockage, knowing how to handle frozen pipes is essential for any trailer owner.
What Are the Causes of Frozen Pipes?
Before diving into the steps to unfreeze pipes in your trailer, it’s essential to understand what causes them to freeze in the first place.
The most common cause of frozen pipes is exposure to extremely low temperatures. When water inside the pipes reaches a freezing point, it expands and puts pressure on the pipe walls. This can lead to cracks or even bursting if not addressed promptly. Furthermore, poorly insulated or exposed pipes are at higher risk of freezing than those in heated areas.
Other contributing factors may include:
- Poorly maintained or old plumbing system
- Leaks or cracks in the pipes
- Lack of proper insulation around exterior walls
Knowing these potential causes can help you take preventative measures to avoid frozen pipes in the future.
What Will You Need?
To successfully unfreeze pipes in your trailer, you will need the following tools and materials:
- Hairdryer or heat gun
- Hot water bottles or heating pads
- Towels or rags
- Bucket or basin
Before starting the process, make sure to gather all necessary items and have them easily accessible.
10 Easy Steps on How to Unfreeze Pipes in Trailer
Step 1: Identify the Frozen Pipe
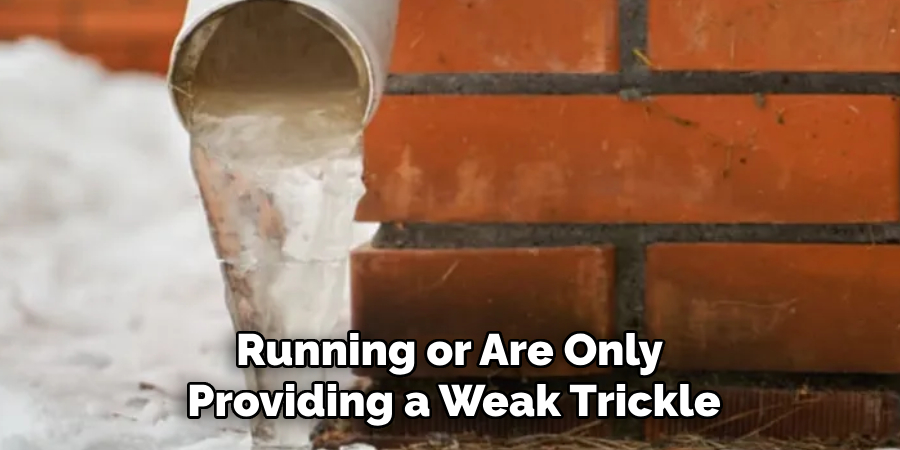
Start by locating the section of the pipe that is frozen. Look for visible frost on the pipe, or check for areas that feel cold to the touch. Additionally, note any faucets that are not running or are only providing a weak trickle, as this can help pinpoint the problem area. Once identified, ensure the surrounding area is safe to work in and free from hazards.
Step 2: Turn Off the Water Supply
Before starting the thawing process, shutting off the water supply is crucial to prevent potential flooding or water damage. Locate the main water valve for your trailer and turn it off completely. This step is essential if the frozen pipe has already cracked or burst, as thawing it could cause water to escape rapidly.
By turning off the water supply, you can safely work on unfreezing the pipe without creating a more significant problem. Additionally, open all faucets connected to the affected pipe to relieve pressure and drain any remaining water. This will make the thawing process more effective and prevent potential backups.
Step 3: Start the Thawing Process
Once the water supply is turned off and faucets are open, you can begin thawing the frozen pipe. Use a safe and effective method to apply gradual heat to the frozen area. A hairdryer set to a low or medium heat setting is often ideal, as it provides controlled warmth without the risk of overheating the pipe.
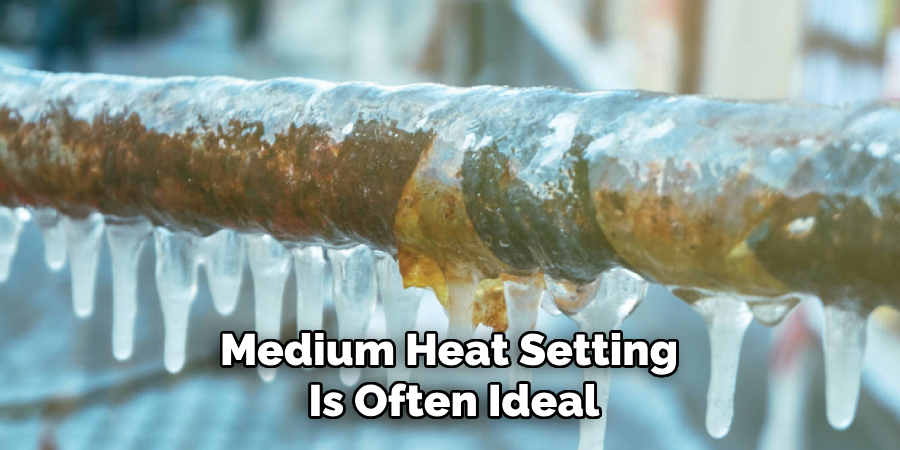
Start by focusing on the section of the pipe closest to the faucet, and slowly work toward the frozen area. Alternatively, you can wrap the pipe with warm towels or use a heating pad on a low setting. Avoid using open flames, such as a blowtorch, as this poses a serious fire hazard and may damage the pipe. Be patient during this process, as thawing can take some time, depending on the extent of the freezing.
Step 4: Check for Leaks and Restore Water Flow
Once the pipe has completely thawed, carefully inspect it for any cracks or leaks that may have occurred due to freezing. If you find any damage, contact a plumber to perform the necessary repairs before restoring the water flow. If there are no leaks, slowly turn the water supply back on and monitor the pipe to ensure it functions properly. Gradually opening the faucet closest to the thawed pipe will help release any remaining air and confirm that water is flowing freely.
Step 5: Prevent Future Freezing
To avoid frozen pipes in the future, take preventive measures, especially during cold weather. Keep your home’s temperature consistent and ensure it doesn’t drop below 55°F, even when you’re away. Insulate exposed pipes with foam sleeves or heat tape, particularly in unheated areas like basements, garages, or crawl spaces. During freezing periods, allow faucets to drip slowly, as the running water helps prevent freezing.
Seal gaps and cracks on exterior walls near pipes to minimize exposure to cold air. Taking these precautions can reduce the likelihood of dealing with frozen pipes again.
Step 6: Know When to Call a Professional
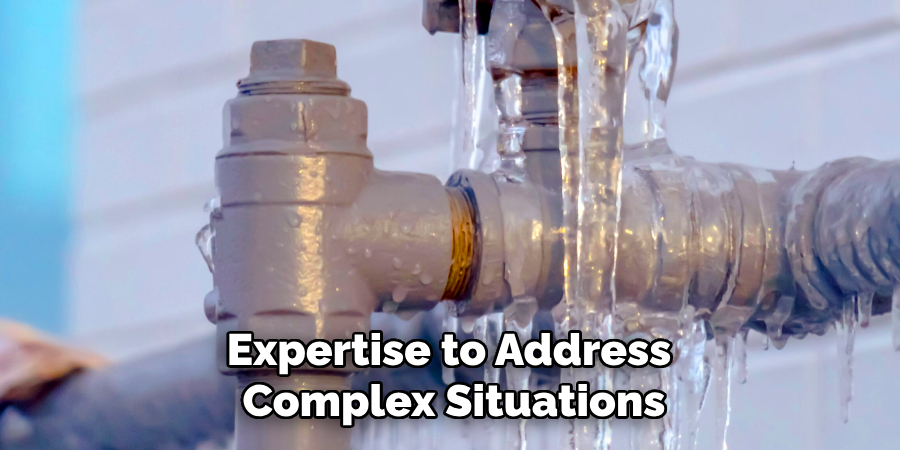
If you encounter persistent issues or cannot thaw the pipes safely, knowing when to call a licensed plumber is essential. Professionals have the tools and expertise to address complex situations and prevent further damage to your plumbing system. Additionally, if a pipe bursts or you notice significant water damage, contacting a professional immediately can mitigate costly repairs. Remember, prioritizing safety and addressing the issue promptly ensures your home’s plumbing remains in good condition.
Step 7: Take Preventative Maintenance Measures
To avoid future issues with frozen pipes, incorporate preventative maintenance into your home care routine. Insulate exposed pipes in areas vulnerable to freezing, such as basements, attics, and crawl spaces. Consider investing in smart monitoring devices that detect temperature drops and potential leaks. Regularly inspect your plumbing system for wear and tear, and address any minor leaks or issues before they escalate. By being proactive, you can protect your home and plumbing system from the challenges of freezing temperatures.
Step 8: Insulate Exposed Pipes
Insulating exposed pipes is an essential step to prevent freezing during cold weather. Use pipe insulation materials like foam tubes or heat tape to protect pipes in unheated areas like basements, attics, or crawl spaces. Ensure that the insulation is securely fitted and covers the entire length of the pipe to avoid any exposed areas. Proper insulation helps maintain temperatures and improves energy efficiency, reducing overall heating costs. This simple yet effective measure can significantly minimize the risk of frozen pipes and subsequent damage to your plumbing system.
Step 9: Keep Faucets Dripping
During freezing weather, allow faucets to drip slightly to keep water moving through the pipes. Even a tiny trickle of water can help relieve pressure in the system and reduce the likelihood of pipes freezing. Focus on faucets connected to exposed or less-insulated pipes, especially those near exterior walls. This simple precaution can be highly effective in protecting your plumbing system during freezing temperatures.
Step 10: Seal Cracks and Openings
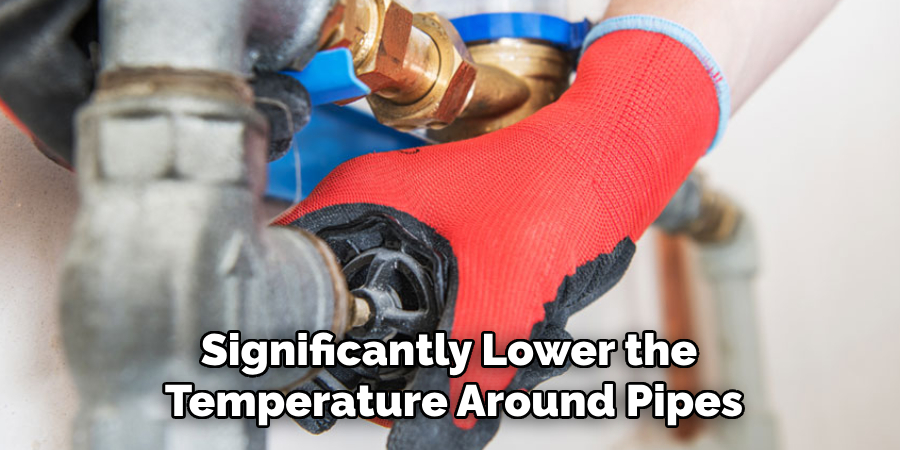
Inspect your home for cracks or openings around windows, doors, and areas where pipes enter the house. Use caulk or weatherstripping to seal these gaps, as cold air seeping in can significantly lower the temperature around pipes, increasing the risk of freezing. Properly sealing these areas protects your plumbing and improves your home’s overall energy efficiency, keeping it warmer during the winter months.
By following these steps and implementing preventive measures, you can effectively prevent and address frozen pipes in your home.
5 Things You Should Avoid
- Using Open Flames: Never use tools like blowtorches or lighters to thaw frozen pipes. These can cause significant damage to the pipes and create a dangerous fire hazard.
- Ignoring the Cause of Freezing: Simply thawing the pipes without addressing the root cause, like poor insulation or drafts, can lead to repeated freezing.
- Applying Excessive Heat: Avoid using heat sources such as space heaters or hair dryers at high settings, as they might overheat the pipes and cause them to burst.
- Forgetting to Turn Off Water Supply: If the pipe is frozen solid, keeping the water supply on can lead to a high-pressure buildup, possibly resulting in a rupture.
- Neglecting Safety Precautions: Skipping safety measures like wearing gloves or handling electrical devices near water can lead to accidents and injuries during thawing.
By avoiding these common mistakes, you can effectively and safely thaw frozen pipes without causing further damage or harm. It’s important to carefully follow proper thawing techniques and take necessary precautions to prevent accidents or damage to your home.
Conclusion
How to unfreeze pipes in trailer in a trailer requires careful preparation and attention to detail to avoid damage and ensure safety.
‘You can resolve the issue effectively by identifying the frozen section, taking preventative measures, and using appropriate thawing methods. Always ensure proper insulation, fix any drafts, and keep pipes warm during cold weather to prevent future freezing.
Remember, prioritizing safety and addressing the root cause is key to protecting your trailer and maintaining its plumbing system during harsh winter. Happy thawing!

