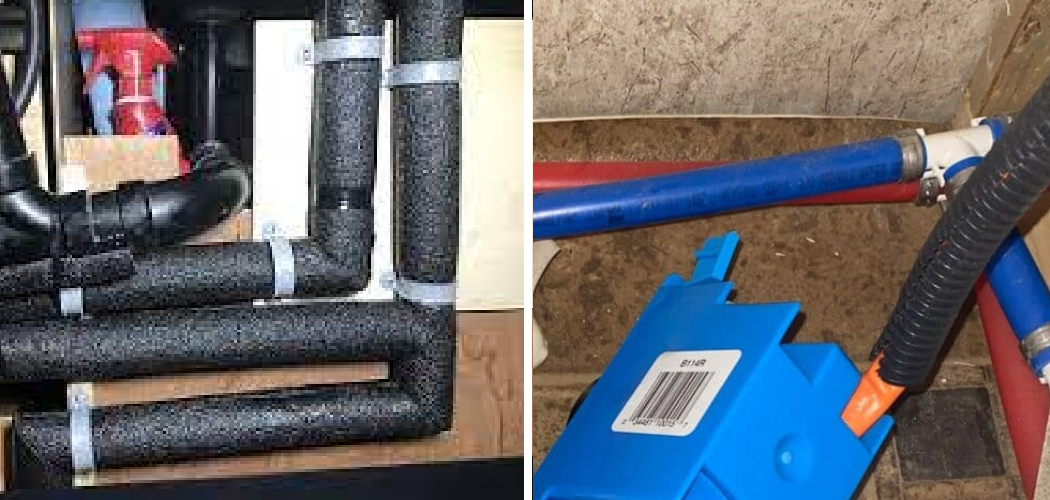
As temperatures drop, many RV owners face the common issue of frozen pipes, leading to inconvenient and costly damage if not addressed promptly. RV pipes are more vulnerable to freezing because of their exposure to the elements and generally have less insulation compared to traditional residential plumbing.
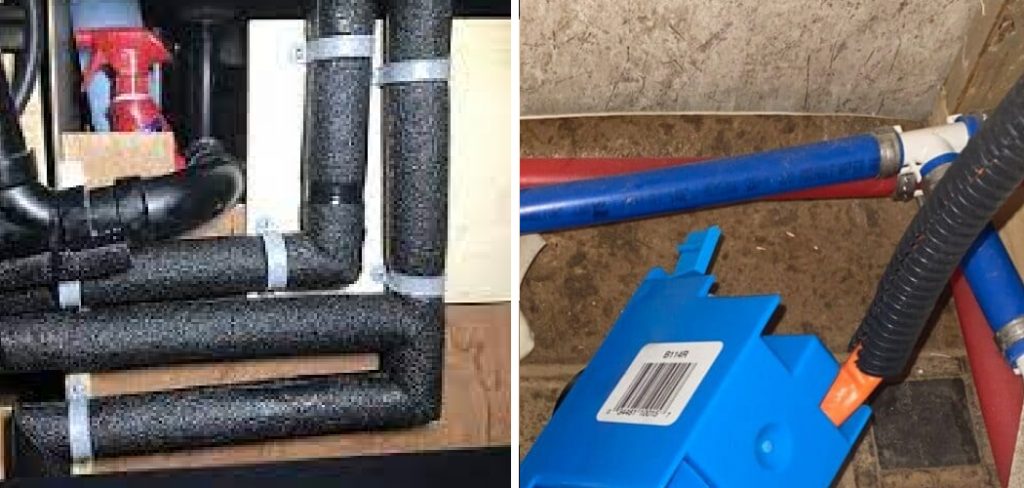
When water inside the pipes freezes, it expands, potentially causing cracks and leaks that may result in extensive repairs. This article aims to provide insight into how to unfreeze RV pipes effectively while also offering tips on prevention methods and best practices to avoid future freezing. By understanding the causes and solutions associated with frozen pipes, RV enthusiasts can proactively protect their vehicles and ensure a worry-free experience during cold weather.
Safety Precautions
Turn Off the Water Supply
Before attempting to unfreeze your RV’s pipes, turning off the water supply is crucial. This step prevents potential water damage once the ice melts, ensuring that you won’t inadvertently cause flooding or additional issues in your RV.
Inspect for Damage
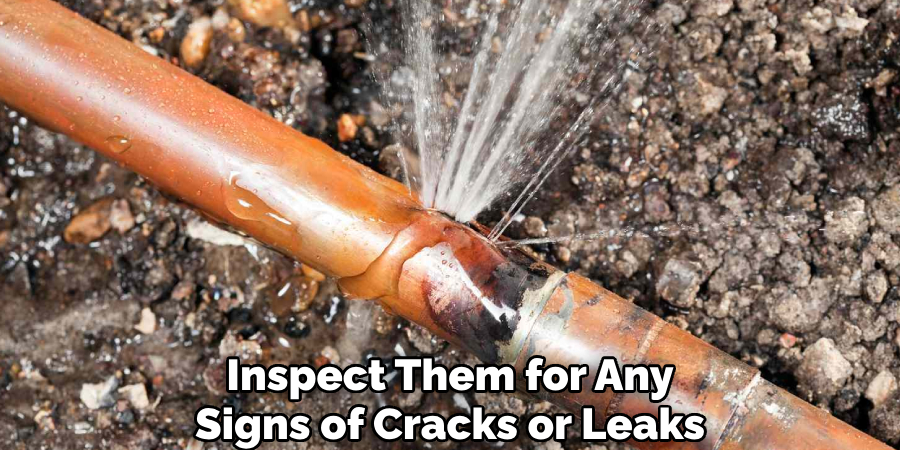
Inspect your pipes for any visible signs of damage, such as cracks or leaks, before thawing. Identifying any vulnerabilities in your plumbing system can help prevent flooding and further complications once the ice has melted.
Use Safe Heating Methods
When unfreezing pipes, always opt for safe, non-flammable heating methods. Avoid using open flames or extreme heat, as these can lead to pipe damage or even fires. Gentle warmth, such as a hairdryer set on low or heat tape, is recommended to effectively thaw pipes without causing harm.
Identifying Frozen Pipes
Common Symptoms of Frozen Pipes
Recognizing frozen pipes early can save you from extensive damage and costly repairs. One of the most obvious signs is a lack of water flow from taps; turning on a faucet and nothing coming out may indicate a blockage caused by ice.
Additionally, you may hear strange gurgling or banging noises in the plumbing system, which can signify water struggling to move past a frozen section. Lastly, if you notice frost or condensation on exposed pipes, this is a strong indicator that temperatures have dropped low enough for freezing to occur.
Locating the Freeze
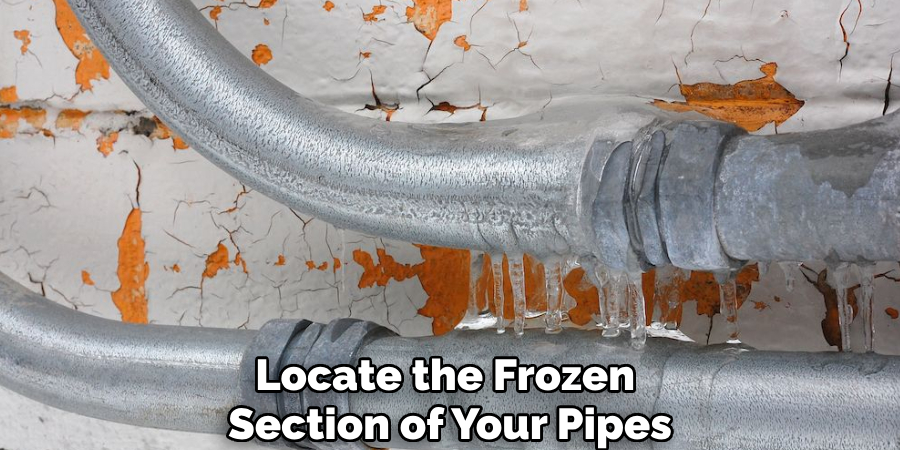
To effectively locate the frozen section of your pipes, begin by carefully feeling along the length of the exposed pipes for areas that feel unusually cold compared to the surrounding sections. Pay particular attention to pipe bends and fittings, as these spots are prone to freeze. You should also visually inspect the pipes for any frost buildup, which can help identify the frozen areas and allow for targeted thawing efforts.
How to Unfreeze RV Pipes: Methods to Unfreeze RV Pipes
Unfreezing RV pipes can be straightforward if the right methods are employed. Below are three effective methods for safely thawing your pipes.
Method 1: Use a Space Heater
One of the most effective ways to unfreeze RV pipes is by placing a space heater in the RV’s underbelly or close to the frozen section of the pipes. First, ensure the area is clear of any flammable materials, such as blankets or paper. Set the space heater on a stable surface where it won’t tip over, and ensure it is positioned safely away from walls or furniture.
Turn the heater on at a low setting to warm the area slowly. Monitor the process closely, adjusting the heater’s position to ensure even warmth. Check the pipes regularly to see if the ice is starting to thaw, and remember to keep the heater at a safe distance to prevent any fire hazards.
Method 2: Apply Heat Tape
Heat tape is another reliable method for thawing frozen pipes. Start by wrapping the heat tape around the frozen sections of your pipes, ensuring that it is in full contact with the surface. Once applied, plug the heat tape into a power source to activate it, which will provide consistent warmth and help melt the ice within the pipes.
Always follow the manufacturer’s instructions for safe and effective use of heat tape, as improper handling can cause damage to your plumbing or electrical systems. Ensure the tape is suitable for the type of piping you have to avoid any adverse effects while it warms the pipes.
Method 3: Hair Dryer or Heat Gun
Using a hair dryer or heat gun can effectively apply direct heat to frozen sections of your RV pipes. Start by turning the device on to a low setting and holding it several inches away from the pipe, focusing on the particularly cold section.
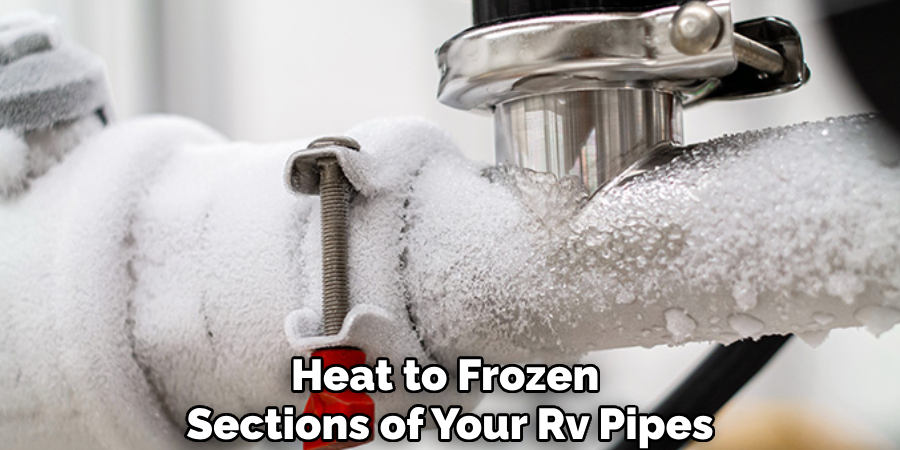
Gradually move the heat source back and forth to distribute warmth evenly, as staying in one spot for too long could lead to overheating and potentially damaging the pipe. Continue applying heat until you notice water starting to flow again from the faucets. It’s crucial to monitor the process closely and use this method cautiously to avoid any risk of burns or accidental damage to your plumbing.
How to Unfreeze RV Pipes: Thawing Interior Pipes
Step 1: Open Cabinets and Access Panels
To promote the thawing of interior pipes, start by opening any cabinets and access panels where the pipes are located. This step is essential as it allows warmer air from the RV’s heating system to circulate around the pipes, effectively raising their temperature.
Pay special attention to areas under sinks and around appliances, as these spots are prone to freezing. Enhancing airflow increases the chances of melting any ice blockage within a shorter timeframe.
Step 2: Use the RV’s Furnace
Next, run your RV’s furnace at a higher temperature. Set the thermostat to a warm level, ensuring warmth inside the vehicle. This ambient heat will warm the living space and help thaw any frozen pipes along the walls.
As the furnace operates, periodically check the taps to see if water flow has resumed, indicating that the frozen sections are beginning to thaw effectively.
Preventing Damage While Thawing
Monitor Water Flow
Once you begin the thawing process, it’s crucial to slowly turn the water supply back on. Gradually restore water flow while keeping an eye out for any leaks or unusual sounds in the pipes. By monitoring the situation closely, you can quickly address any issues that arise as the ice begins to melt.
Check for Cracks or Leaks
As the pipes thaw, inspect them for any signs of cracks or leaks, particularly around joints and fittings where vulnerabilities may arise. If you discover any damage during this process, it’s important to repair it promptly to prevent significant water loss and further complications once normal pressure is restored.
Use a Bucket or Towels
To safeguard against water damage, keep a bucket or towel handy beneath the suspected thawing areas. This preparation will help catch any excess water or leaks that may occur as the ice melts, allowing you to manage any moisture effectively.
Preventing Future Freezing
Insulate Exposed Pipes
To safeguard against future freezing, insulating any exposed pipes within your RV is crucial. Foam pipe insulation is an effective and affordable option, easily wrapping around pipes to provide a protective barrier against cold temperatures. Heat tape can also be used as it offers active heating to maintain a suitable temperature, especially in extreme conditions.
Insulating sleeves can be another alternative that provides decent insulation while allowing for easy installation and removal. You can significantly reduce the risk of pipes freezing during harsh weather by thoroughly insulating exposed areas.
Use a Skirt Around the RV
Incorporating a skirt around the base of your RV serves as an additional protective measure against freezing temperatures. A skirt helps retain heat by creating a barrier that minimizes exposure to the cold air beneath the vehicle. This setup can prevent cold drafts along the bottom, keeping the plumbing connected to those pipes insulated and reducing the chances of freezing.
Using materials like insulated tarps or manufactured skirting kits will enhance this protective layer, ensuring that warmth from the RV doesn’t escape and further shielding the pipes from cold conditions.
Keep a Small Trickle of Water Flowing
Another useful strategy during freezing weather is keeping a small trickle of water flowing through the pipes. Flowing water is less likely to freeze than still water, as movement can prevent ice formation. Simply allowing faucets to drip slightly will provide a continuous flow that maintains warmth and reduces the pressure build-up that can accompany ice formation.
Regular Maintenance and Inspection
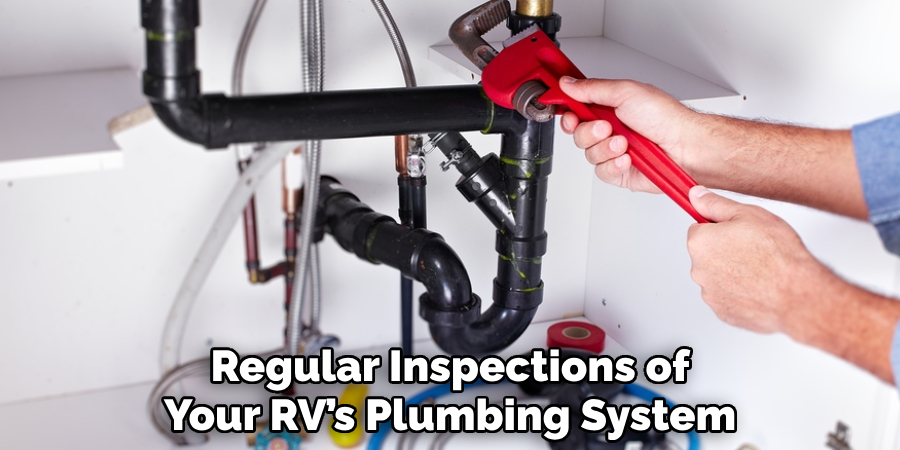
Regular inspections of your RV’s plumbing system are essential, especially before winter sets in. Checking for any vulnerabilities, cracks, or areas requiring additional insulation can help you rectify potential problems before they escalate. Preparing your pipes for colder weather through maintenance not only enhances their longevity but also ensures peace of mind during the chillier months.
Conclusion
In summary, knowing how to unfreeze RV pipes safely and effectively involves several important steps. Start by identifying the frozen sections of your plumbing and then apply safe heating methods, such as using a hair dryer or heat tape, to thaw them gently.
Monitoring water flow and checking for cracks or leaks as the ice melts is vital to prevent further damage. Always keep safety as a top priority when working with heating devices and plumbing systems, as mishandling can lead to serious issues.
Additionally, taking preventive measures—like insulating exposed pipes and maintaining a small trickle of water during extreme temperatures—can keep your RV’s plumbing intact. Addressing any issues as soon as they arise will help maintain your RV’s plumbing system in good condition, ensuring a smoother travel experience.

